Firebaseを使ったiOSアプリでfacebookログインを実装しようとした所、
Firebase Authenticationのドキュメント が SwiftSDKでなくiOS用SDK (ObjC SDK) でのやり方のようだったので、
SwiftSDKでの実装を以下にまとめます。
※ 2017/8/21追記
現時点ではSwiftSDKはBeta段階のSDKで、iOS用SDK (ObjC SDK)の方がバージョンが進んでますのでご注意下さい。
全体的なログイン処理の流れ
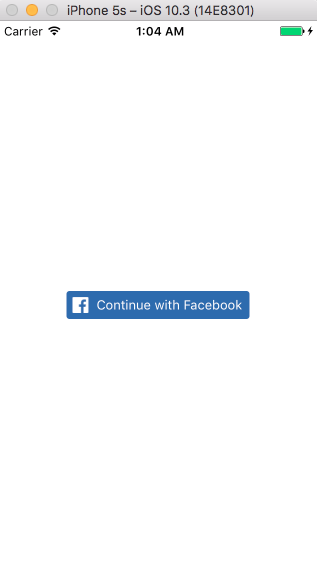
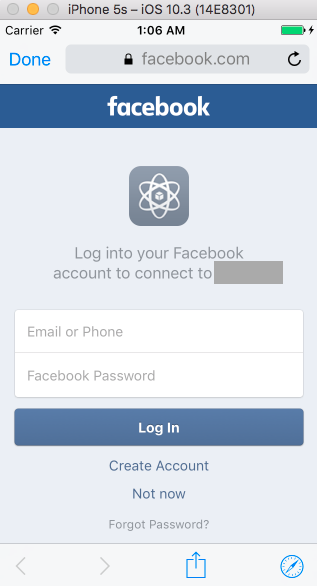
- facebookのSDKに用意されたログインボタンが押下されるとsafariでfacebookのログイン画面を表示
→ ログインに成功したら(制御がiOSアプリに戻り)tokenからcredentialを取り出してFirebaseに渡して認証
(既存ユーザはログイン、新規ユーザは新たにfirebase上でユーザが作られる)
という感じです。
 →
→ 
前提
- Xcode8.3.3
- Swift3.1
- Firebaseのconsole上でアプリは作成済みとする
実装手順
プラットフォーム側の設定
- facebook上でアプリを作成
- Facebook for Developersでアプリを作成し、App IDとApp Secretを確認しておく
- Firebaseでfacebookログインを有効化する
- Firebase consoleでアプリを選択肢、左タブの「Authentication」→ ログイン方法 にてfacebookを有効化し、(1で確認した)App ID, App Secretを入力
- App Secret入力欄直下の「OAuthリダイレクトURI」を確認しておく
- facebookのアプリ設定画面にリダイレクトURIを設定
- facebookアプリ設定画面の左タブの「Facebookログイン」→ 「有効なOAuthリダイレクトURI」に入力
iOSアプリの実装
-
Podファイルに必要ライブラリを追加
Podfilepod 'Firebase/Core' pod 'Firebase/Auth' pod 'FacebookCore' pod 'FacebookLogin' -
ライブラリインストール
pod install -
info.plistにfacebookの情報を追加
-
facebook iOS SDKのページ にコピペ用の以下のようなコードが表示されている(はず)ので、
info.plistの<dict>...</dict>に貼る
<key>FacebookAppID</key> <string>XXXXX</string> <key>FacebookDisplayName</key> <string>XXXXX</string> <key>LSApplicationQueriesSchemes</key> <array> <string>fbapi</string> <string>fb-messenger-api</string> <string>fbauth2</string> <string>fbshareextension</string> </array> -
facebook iOS SDKのページ にコピペ用の以下のようなコードが表示されている(はず)ので、
-
AppDelegate.swiftの修正
AppDelegate.swift
// 1. import文を追加
import Firebase
import FirebaseAuth
import FacebookCore
import FacebookLogin
// 2. class宣言に LoginButtonDelegate を追加
class AppDelegate: UIResponder, UIApplicationDelegate, LoginButtonDelegate {
// 3. application:didFinishLaunchingWithOptions: に以下を追加
FirebaseApp.configure()
SDKApplicationDelegate.shared.application(application, didFinishLaunchingWithOptions: launchOptions as? [UIApplicationLaunchOptionsKey : Any])
// 4. application:openUrl:options:を追加
@available(iOS 9.0, *)
func application(_ application: UIApplication, open url: URL, options: [UIApplicationOpenURLOptionsKey : Any])
-> Bool {
return SDKApplicationDelegate.shared.application(application,
open: url,
sourceApplication: options[UIApplicationOpenURLOptionsKey.sourceApplication] as? String,
annotation: [:])
}
//5. loginButtonDidCompleteLogin:result:を追加
func loginButtonDidCompleteLogin(_ loginButton: LoginButton, result: LoginResult) {
switch result {
case let LoginResult.failed(error):
// いい感じのエラー処理
break
case let LoginResult.success(grantedPermissions, declinedPermissions, token):
let credential = FacebookAuthProvider.credential(withAccessToken: token.authenticationToken)
// Firebaseにcredentialを渡してlogin
Auth.auth().signIn(with: credential) { (fireUser, fireError) in
if let error = fireError {
// いい感じのエラー処理
return
}
// ログイン用のViewControllerを閉じるなど
if let loginVC = self.window?.rootViewController?.presentedViewController{
loginVC.dismiss(animated: true, completion: nil)
}
}
default:
break
}
}
// 6. loginButtonDidLogOutを追加
func loginButtonDidLogOut(_ loginButton: LoginButton) {
// いい感じの処理
}
```
5. ログイン用のViewControllerの実装
```swift:LoginViewController.swift
import UIKit
import FacebookLogin
class LoginViewController: UIViewController {
override func viewDidLoad() {
super.viewDidLoad()
    let loginButton = LoginButton(readPermissions: [ .email ])
    loginButton.delegate = UIApplication.shared.delegate as! AppDelegate
    loginButton.center = view.center
    view.addSubview(loginButton)
}
```
備考
-
FirebaseにログインしていればAuthオブジェクトからユーザ情報が取れるため、ログイン画面の表示については
HogeViewController.swiftif Auth.auth().currentUser == nil { self.performSegue(withIdentifier: "hogeToLogin", sender: nil) }
こんな感じでアプリ起動時のViewControllerでチェック&ログイン画面に遷移するようにしてみました。