1. 本記事の概要
クラウド型IDE、Cloud9にNode-redをインストールするだけの記事です。
ドイツ語のこちらの記事を参考にしています。
無料で無期限使用可能ですので、ちょっとサーバー立てておこう、というときに便利です。
2. 手順
2.1. Cloud9のアカウントを作成
Cloud9からアカウントを作成します。GithubからSSOが簡単。
2.2. Workspaceの作成

+をクリックして新規Workspaceを作成します。
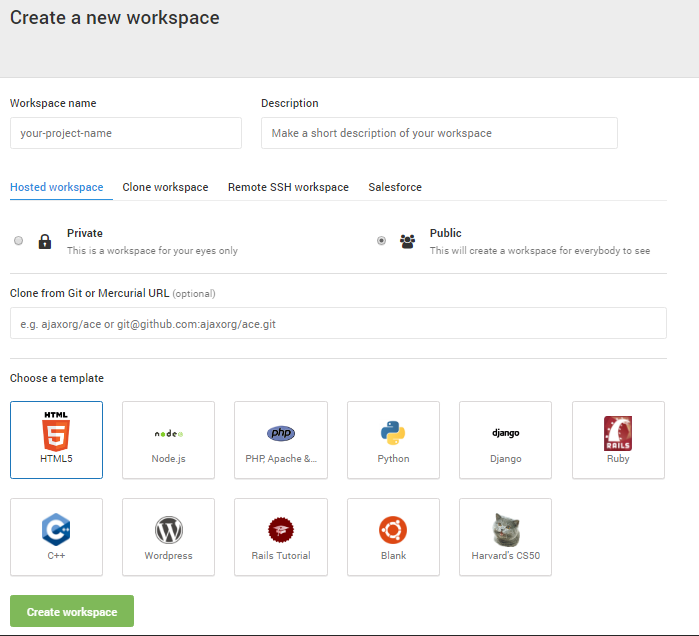
Workspaceの名前を入力し、公開/非公開を選択。今回はNode-redをインストールするので、Node.jsのテンプレートを選択します。
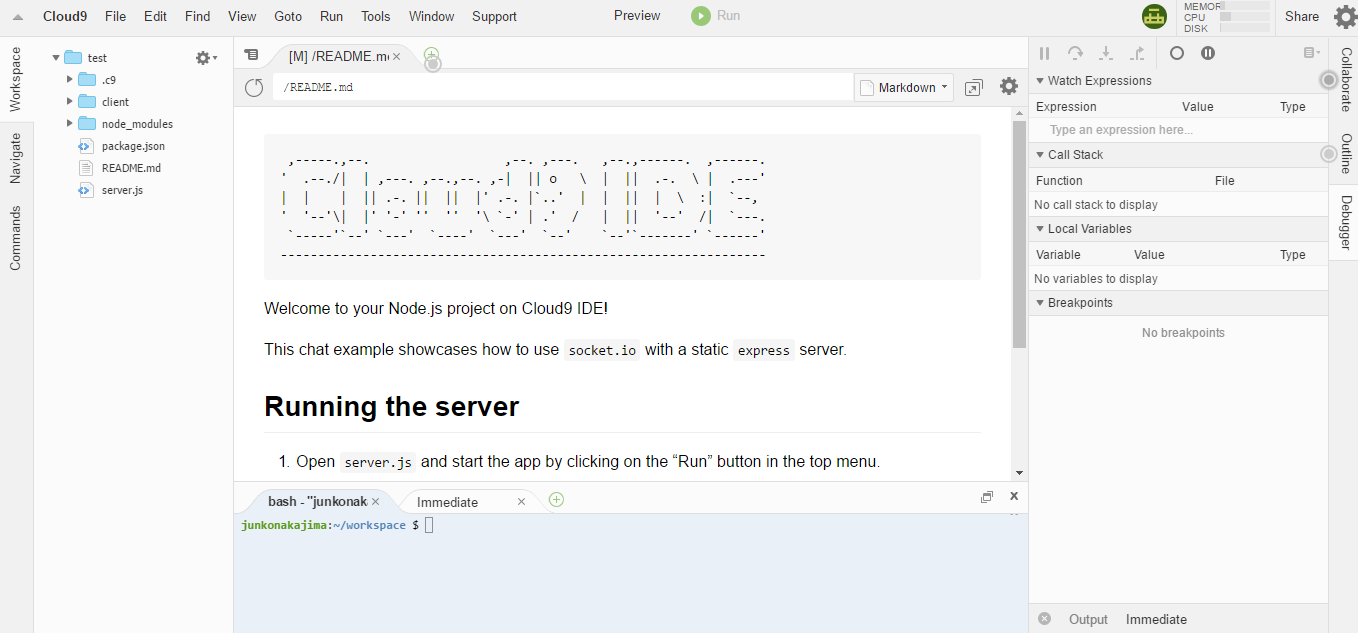
上のようなIDEが表示されます。
2.3. Node-redのインストール
以下は https://infvo.nl/lab/index.php/Internet_of_Things/Node-RED を参考にしています。
コンソールにて
sudo npm install -g node-red
と入力します。次にsettings.jsをこちらから取得。
Node-redを起動。
node-red -s settings.js
最後に、Node-redのパレットを開きます。ここのみ上の参考リンクと異なるので注意。
の形式でURLを叩いてください。
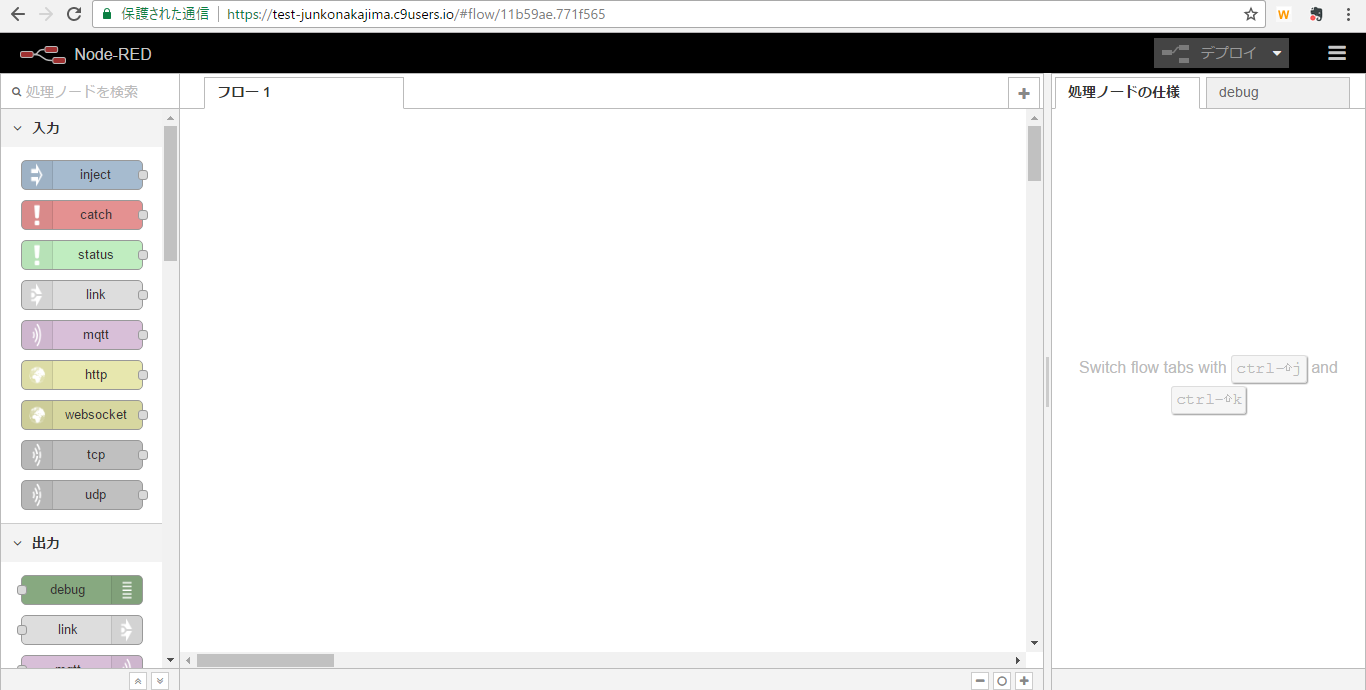
これで基本的な機能は使用できます。