概要
- headless chromeを使えるdocker環境を作って
- webページをheadless chromeでスクリーンショットをとる機能を実装して
- herokuにデプロイした
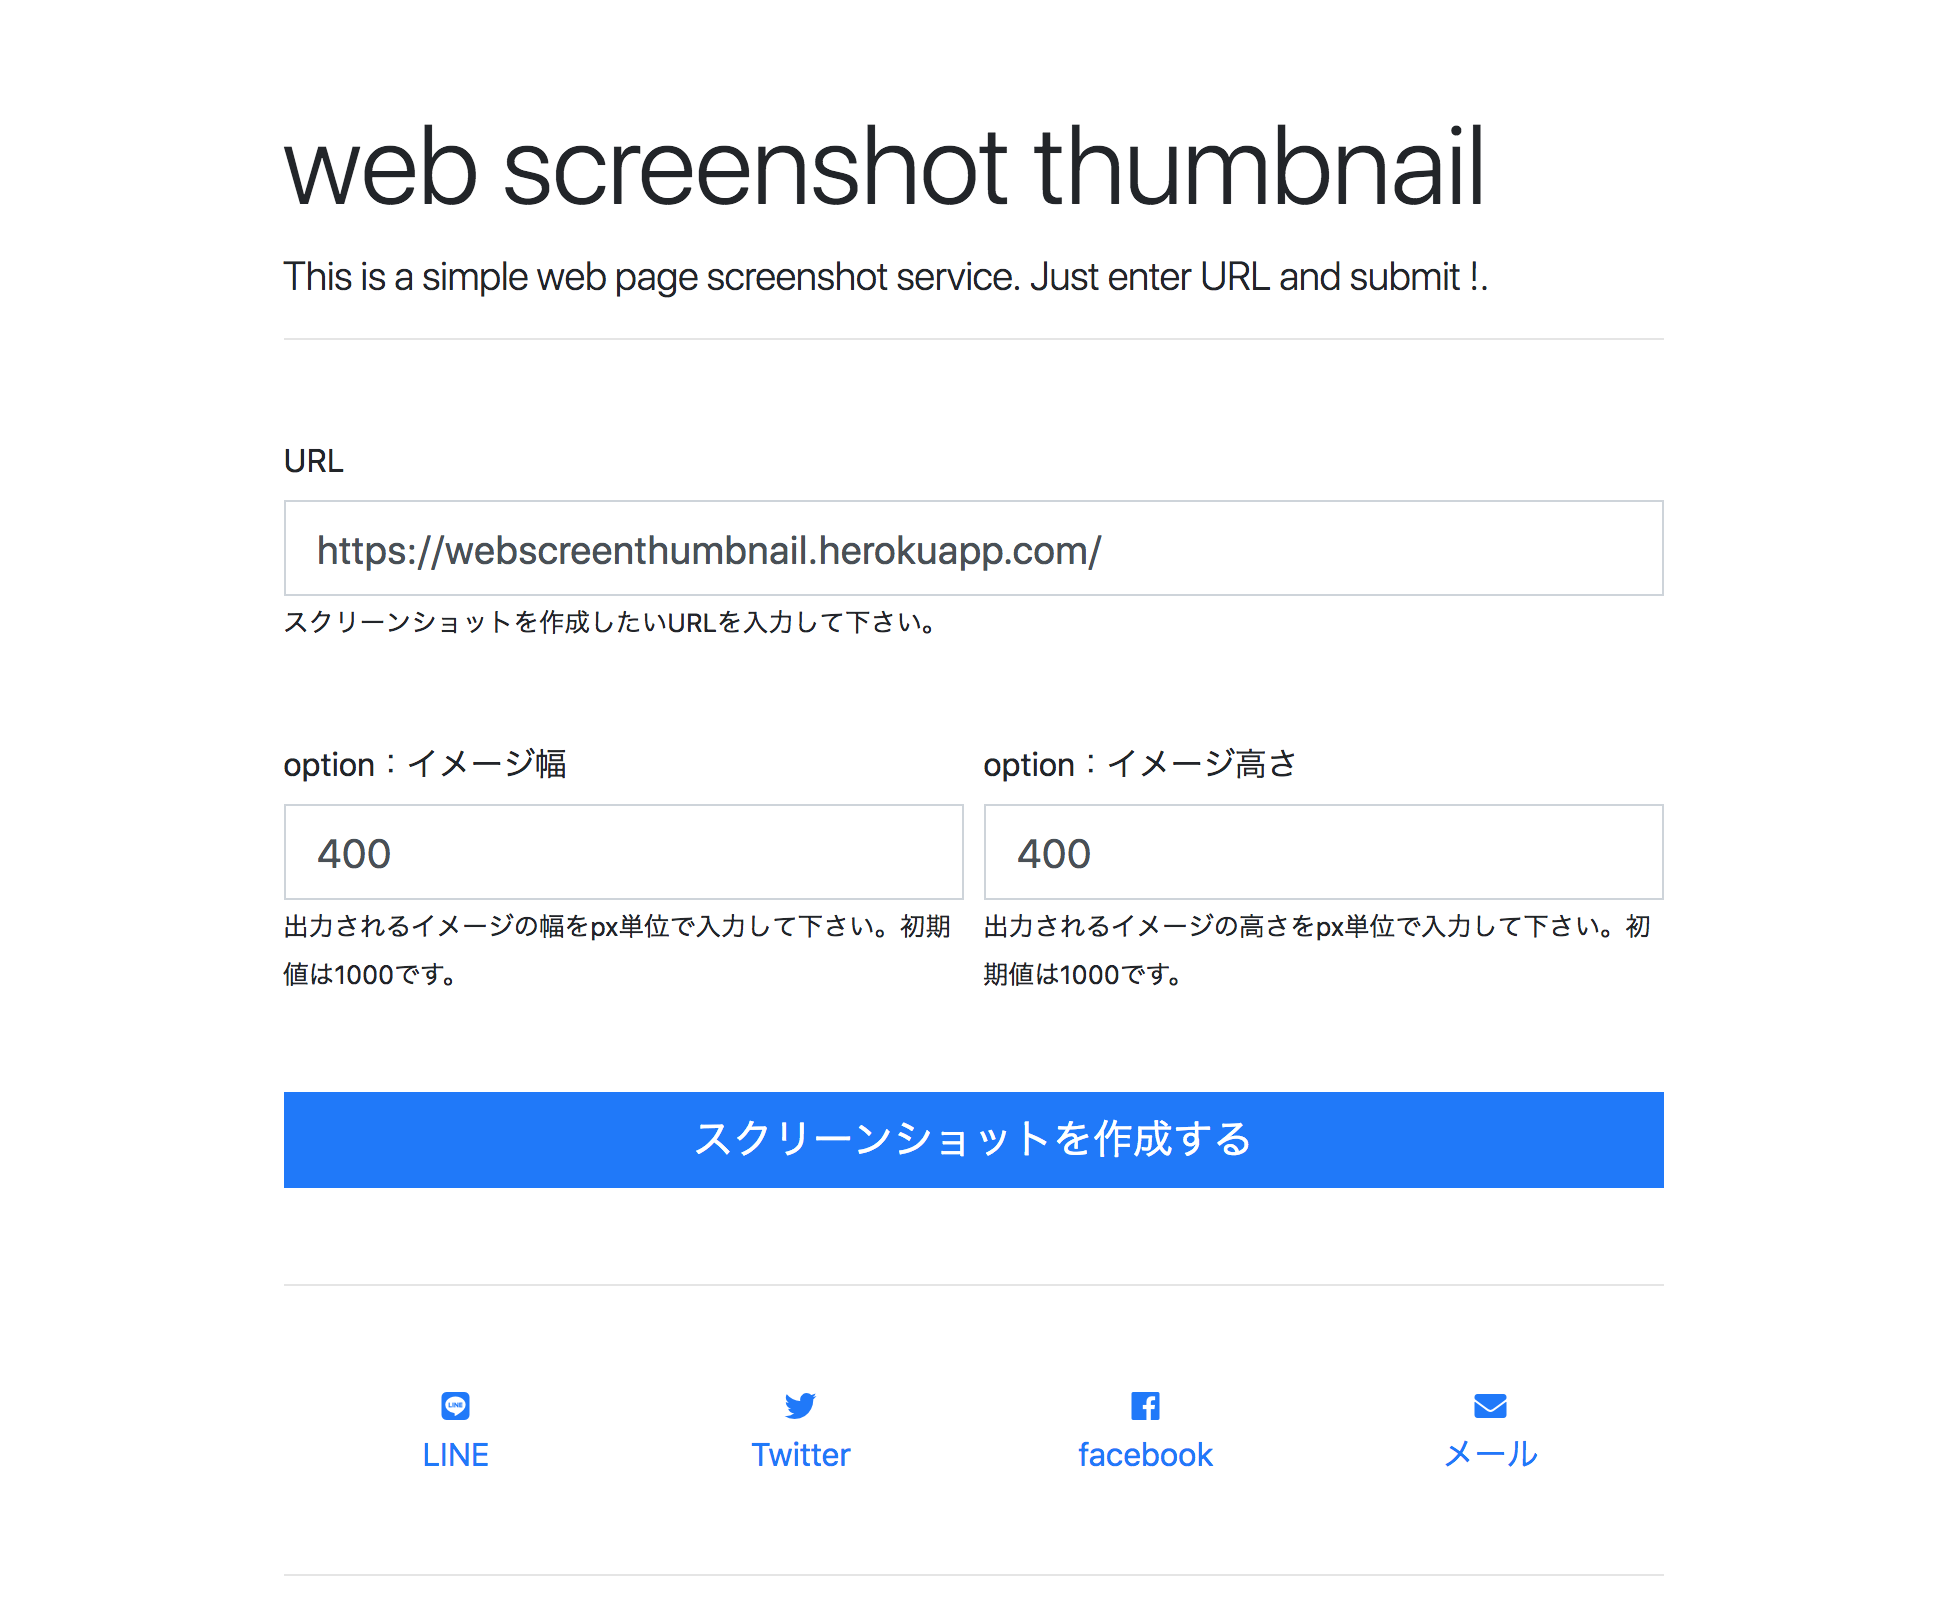
完成品
環境
- Rails 5.2
手順
開発環境構築
ベースとなるdocker環境はこちら DockerでRails+Webpackerの開発環境を構築するテンプレート を使って作りました。そこに、
Headless chrome の導入をこちらDockerで日本語対応のHeadless Chrome + puppeteerを立ち上げを参照しておこない、chrome driveはこちらを参照しました。docker-chromedriver/Dockerfile
スクリーンショットを撮るモジュールを作る
Seleniumでスクリーンショットを撮りたいurlにnavigateして、screenshot_asでスクリーンショットを撮ります。
ちなみに、driver.quit をしないとchromeが閉じないでずーっと残るのでみるみる残存メモリが減って行きます・・・
-
include ActiveModel::Attributesを使っているのでrails 5.2必須。(参考)、attribute :height, :integerを使うと気兼ねなく数値を渡せるので便利
lib/screenshot_capture.rb
  include ActiveModel::Attributes

  attribute :url, :string
  attribute :height, :integer
  attribute :width, :integer
- ココでpng imageを作る。
lib/screenshot_capture.rb
  def png_image
    nil unless valid?
    driver = Selenium::WebDriver.for :chrome, options: headless_chrome_options
    driver.navigate.to url
    driver.manage.window.resize_to(DESKTOP_WINDOW_WIDTH, height && width ? DESKTOP_WINDOW_WIDTH * image_height / image_width : DESKTOP_WINDOW_WIDTH)
    image = driver.screenshot_as(:png)
    driver.close
    driver.quit
    image
  end
- chromeをheadlessで動かす設定は下記参照。
lib/screenshot_capture.rb
  def headless_chrome_options
    options = Selenium::WebDriver::Chrome::Options.new
    options.add_argument('--headless')
    options.add_argument('--no-sandbox')
    options.add_argument('--disable-gpu')
    options.add_argument('--hide-scrollbars')
    options.binary = '/app/.apt/usr/bin/google-chrome' if heroku?
    options
  end
- 最終的に出力する画像イメージの変換はminimagickを使いました。
png_imageからバイナリで書き出して、それをそのまま受け取ってイメージ変換後バイナリを出力しましす。
  def resized_image
    nil unless png_image
    image = MiniMagick::Image.read(png_image)
    image.resize "#{image_width}x#{image_height}"
    image.to_blob
  end
スクリーンショットを出力するコントローラ
スクリーンショットは /screenshot?url:ウェブページのURL&height=イメージ高さ&width=イメージ幅
のurlをGETリクエストすることで取得することができます。それを表現したのは下記のコード。
ScreenshotCaptureモジュールで作ったイメージのバイナリをそのまま、 send_data に渡すだけです。
app/controllers/home_controller.rb
class HomeController < ApplicationController
  def screenshot
    # url = URI.encode_www_form_component('https://yahoo.co.jp')
    screen_capture = ScreenshotCapture.new(screenshot_params)
    send_data screen_capture.resized_image, type: 'image/png', disposition: 'inline'
  end

  private

  def screenshot_params
    url = URI.decode_www_form_component(params[:url])
    height = params[:height]
    width = params[:width]
    { url: url, height: height, width: width }
  end
end
Heroku対応&deploy
herrokuでheadless chromeを使う設定はHerokuを使ってchromeでwebページのスクリーンショットをとるを参照してかきました。
重要なのはココoptions.binary = '/app/.apt/usr/bin/google-chrome' if heroku?。binaryの場所を指定してます。
lib/screenshot_capture.rb
  def headless_chrome_options
    options = Selenium::WebDriver::Chrome::Options.new
    options.add_argument('--headless')
    options.add_argument('--no-sandbox')
    options.add_argument('--disable-gpu')
    options.add_argument('--hide-scrollbars')
    options.binary = '/app/.apt/usr/bin/google-chrome' if heroku?
    options
  end

  def heroku?
    Rails.env.production?
  end
あとは、herokuにdeployしてください。
以上