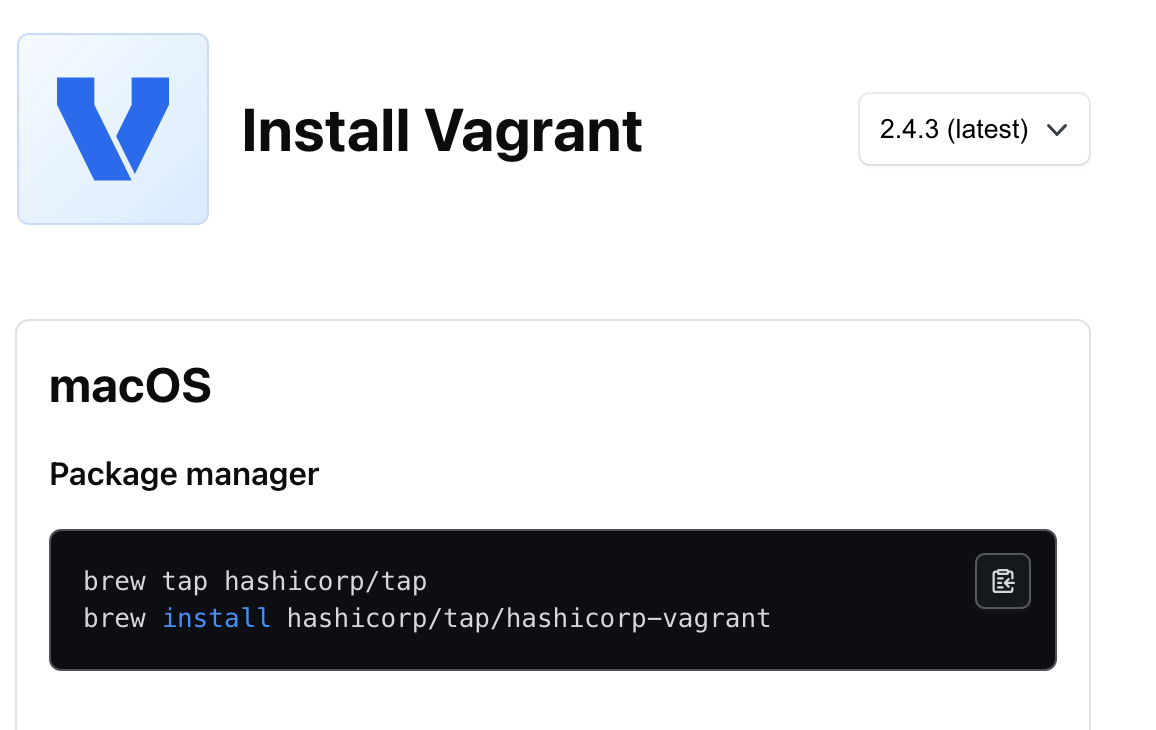
仮想環境を用意する
「Vagrant」 と 「VirturalBox」 をインストールする
・「Vagrant」
「開発環境構築」と共有を簡単に行うためのツール
・「VirtualBox」
プラットフォームはクロスプラットフォーム
Windowsの上でLinuxでの操作も可能
コマンドプロンプトから以下のコマンドを投入
1.「vagrant init mvbcoding/awslinux」
Boxファイルの指定
2.「vagrant up --provider virtualbox」
 ※多分失敗するので、失敗した場合は以下のファイルを操作する

C:\Users[username].vagrant.d\boxes\mvbcoding-VAGRANTSLASH-awslinux\2017.03.0.20170401\virtualbox\box.ovf
  amzn-ami-hvm-201703020170401-x86_64-gp2-201704051103-guestのところを
 guestあたりまで削除する(3か所)
3.「vagrant box list」

         Boxファイルの一覧取得
4.「vagrant up」

         仮想マシンを起動
5.「vagrant ssh」
Amazon Linuxの仮想マシンにログイン状態
Amazon Linuxの仮想マシンにてJavaをインストール
- 「sudo yum update」
-
「sudo yum install -y java-1.8.0-openjdk-devel」
Javaをインストールする -
「sudo alternatives --config java」
※1 or 2 の入力を求められるので、2を入力
There are 2 programs which provide 'java'.
  Selection    Command
-----------------------------------------------
*+ 1           /usr/lib/jvm/jre-1.7.0-openjdk.x86_64/bin/java
   2           /usr/lib/jvm/jre-1.8.0-openjdk.x86_64/bin/java

Enter to keep the current selection[+], or type selection number: 2
-
「java -version」
※バージョンが表示されたらJavaのインストールは完了
[vagrant@localhost var]$ java -version
openjdk version "1.8.0_141"
OpenJDK Runtime Environment (build 1.8.0_141-b16)
OpenJDK 64-Bit Server VM (build 25.141-b16, mixed mode)
Jenkins設定
Amazon Linuxの仮想マシンにてJenkinsをインストール
1.「sudo wget -O /etc/yum.repos.d/jenkins.repo http://pkg.jenkins-ci.org/redhat/jenkins.repo」
--2018-07-10 01:43:54--  http://pkg.jenkins-ci.org/redhat/jenkins.repo
Resolving pkg.jenkins-ci.org (pkg.jenkins-ci.org)... 52.202.51.185
Connecting to pkg.jenkins-ci.org (pkg.jenkins-ci.org)|52.202.51.185|:80... connected.
HTTP request sent, awaiting response... 200 OK
Length: 71
Saving to: ‘/etc/yum.repos.d/jenkins.repo’

/etc/yum.repos.d/jenkins.repo 100%[=================================================>]      71  --.-KB/s    in 0s
2018-07-10 01:43:55 (5.59 MB/s) - ‘/etc/yum.repos.d/jenkins.repo’ saved [71/71]
2.「sudo rpm --import https://jenkins-ci.org/redhat/jenkins-ci.org.key」
3.「sudo yum -y install jenkins」
Jenkinsをインストール
Installed:
  jenkins.noarch 0:2.131-1.1

Complete!
4.**「sudo service jenkins start」**

  Jenkinsを起動
[vagrant@localhost var]$ sudo service jenkins start
Starting Jenkins                                           [  OK  ]
5.「sudo service jenkins status」

  Jenkinsステータス
[vagrant@localhost var]$ sudo service jenkins status
jenkins (pid  23592) is running...
 ※jenkins(pid xxxx)is running...となっていればOK

**Jenkins** へアクセス
1.「http://192.168.33.10:8080」へアクセス
 ※アクセスできなかったら以下を設定
  C:\Users[username]\Vagrantfile の31、35行目のコメントアウトを外す(以下赤枠の内容を有効にする)
コマンドプロンプトで下記をたたく。

netstat -aon | findstr .0.0:80
全てタスクをkillする。

■各タスクで何が使用されているか確認
tasklist | findstr XXXX
2.「vagrant reload」
Vagrantを再起動
3. 「vagrant status」
仮想マシンの起動状態を確認
default running (virtualbox)となっていればOK
4.「Jenkins」の初期設定
インストールが完了したら、Webブラウザで「http://192.168.33.10:8080」
にアクセスすると、初期設定画面が表示される。ここでJenkinsへの初回アクセス時には意図しないユーザーによる設定を防ぐための「アンロック」作業が必要となります。
ここで画面に表示されたファイル(ここでは「/var/lib/jenkins/secrets/initialAdminPassword」)に記載されているパスワードを入力して「Continue」をクリックするとアンロックが完了し、Jenkinsの初期設定作業を開始できます。
次に行うのはインストールするプラグインの設定になります。
3. 右側の「Select plugins to Install」 を選択
3. 「Jenkinsのログインページ」 を確認
Xvfbの、vは仮想(Virtual)、fbはフレームバッファ(Frame Buffer)です。
ペイント.png (30.2 kB)

1.**「sudo yum -y install xorg-x11-server-Xvfb」**
xvfbインストール

Installed:
  xorg-x11-server-Xvfb.x86_64 0:1.15.0-26.41.amzn1

Dependency Installed:
  libXdamage.x86_64 0:1.1.3-4.7.amzn1                          libXdmcp.x86_64 0:1.1.1-3.8.amzn1
  libXfixes.x86_64 0:5.0.1-2.1.8.amzn1                         libXmu.x86_64 0:1.1.1-2.8.amzn1
  libXt.x86_64 0:1.1.4-6.1.9.amzn1                             libXxf86vm.x86_64 0:1.1.3-2.1.9.amzn1
  libdrm.x86_64 0:2.4.52-4.12.amzn1                            libpciaccess.x86_64 0:0.13.1-4.1.11.amzn1
  libunwind.x86_64 0:1.1-10.8.amzn1                            libxkbfile.x86_64 0:1.0.6-1.1.6.amzn1
  mesa-dri-drivers.x86_64 0:10.1.2-2.35.amzn1                  mesa-dri-filesystem.x86_64 0:10.1.2-2.35.amzn1
  mesa-dri1-drivers.x86_64 0:7.11-8.7.amzn1                    mesa-libGL.x86_64 0:10.1.2-2.35.amzn1
  pixman.x86_64 0:0.32.4-4.11.amzn1                            xkeyboard-config.noarch 0:2.6-6.6.amzn1
  xorg-x11-server-common.x86_64 0:1.15.0-26.41.amzn1           xorg-x11-xauth.x86_64 1:1.0.2-7.1.4.amzn1
  xorg-x11-xkb-utils.x86_64 0:7.7-4.8.amzn1

Complete!
2.「sudo vi ~/.bash_profile」ファイルを開く
3.「export DISPLAY=:1」を追加する
1.「gem install chromedriver-helper」

Fetching: mini_portile2-2.3.0.gem (100%)
Successfully installed mini_portile2-2.3.0
2.「wget https://chromedriver.storage.googleapis.com/2.31/chromedriver_linux64.zip」
3.「unzip chromedriver_linux64.zip」
4.「sudo mv chromedriver /usr/bin/」
5.「sudo chown root:root /usr/bin/chromedriver」
1.「sudo vi /etc/yum.repos.d/google-chrome.repo」
※google-chrome.repo に以下の内容を記入
2.「[google-chrome]
name=google-chrome
baseurl=http://dl.google.com/linux/chrome/rpm/stable/$basearch
enabled=1
gpgcheck=1
gpgkey=https://dl-ssl.google.com/linux/linux_signing_key.pub」
3.「curl https://intoli.com/install-google-chrome.sh | bash」
4.「sudo yum install -y google-chrome-unstable libOSMesa google-noto-cjk-fonts」
1.「sudo su -」
2.「curl -L get.rvm.io | bash -s stable」
3.「rvm group add rvm "$USER"」
4.「source /etc/profile.d/rvm.sh」
5.「curl -sSL https://rvm.io/mpapis.asc | gpg2 --import -」
6.「curl -L get.rvm.io | bash -s stable」
7.「source /usr/local/rvm/scripts/rvm」
言語はRubyを現状使用しております。
1.「rvm list known」
2.「rvm install 2.4.1」

Searching for binary rubies, this might take some time.
No binary rubies available for: amazon/2017.03/x86_64/ruby-2.4.1.
Continuing with compilation. Please read 'rvm help mount' to get more information on binary rubies.
Checking requirements for amazon.
Installing requirements for amazon.
Installing required packages: patch, bison, libffi-devel, libtool, patch, readline-devel, sqlite-devel, zlib-devel, libyaml-devel, openssl-devel..............
Requirements installation successful.
3.「rvm use 2.4.1 --default」
 ※.bashrcまたは.bash_profileに下記を追記する
". /usr/local/rvm/scripts/rvm
1.「gem update」
2.「gem list selenium」
3.「gem install selenium-webdriver」

Successfully installed selenium-webdriver-3.13.0
4.「gem list selenium」

*** LOCAL GEMS ***

selenium-webdriver (3.13.0)
日本語の文字化けを防ぐため
1.「wget https://noto-website-2.storage.googleapis.com/pkgs/Noto-hinted.ziphttps://qiita.com/onorioriori/items/4fa271daa3621e8f6fd9」

FINISHED --2018-07-10 02:24:37--
Total wall clock time: 22s
Downloaded: 2 files, 1.1G in 21s (52.0 MB/s)
2.「unzip Noto-hinted.zip」
3.「mkdir -p /usr/share/fonts/opentype/noto」
4.「cp *otf *ttf /usr/share/fonts/opentype/noto」
5.「fc-cache -f -v」


![FireShot Capture 119 - Sign in [Jenkins] - http___192.168.33.10_8080_login_from=%2F.png](https://qiita-user-contents.imgix.net/https%3A%2F%2Fqiita-image-store.s3.amazonaws.com%2F0%2F55160%2F5656ee16-3903-c4c2-c452-439a982afdad.png?ixlib=rb-4.0.0&auto=format&gif-q=60&q=75&s=5ce98e0140cbe608818c724a53d41aaf)
![FireShot Capture 120 - SetupWizard [Jenkins] - http___192.168.33.10_8080_.png](https://qiita-user-contents.imgix.net/https%3A%2F%2Fqiita-image-store.s3.amazonaws.com%2F0%2F55160%2F6f589950-8fbd-61e2-78e4-00f56c0b03eb.png?ixlib=rb-4.0.0&auto=format&gif-q=60&q=75&s=11285e2165ca06091d76c39c3d785446)

![FireShot Capture 121 - ダッシュボード [Jenkins] - http___192.168.33.10_8080_.png](https://qiita-user-contents.imgix.net/https%3A%2F%2Fqiita-image-store.s3.amazonaws.com%2F0%2F55160%2Fa15124ac-41ee-f67d-381e-2dc215ff4c15.png?ixlib=rb-4.0.0&auto=format&gif-q=60&q=75&s=b32bc93daf2b3ad38f737c678e32a9d5)