はじめに
こちらはCyberAgent 19新卒 エンジニア Advent Calendar 2018の6日目の記事になります。
今回はFirebase Cloud Firestoreのセキュリティルールの設定方法について、具体例を用いて説明していきたいと思います。
Firebase Cloud Firestoreとは
モバイル・Web・サーバーから直接利用できるNoSQLドキュメントデータベースです。
主な特徴としては、
- クライアントとのリアルタイムなデータ同期
- 高速で豊富なクエリ
- オートスケーリング
- 堅牢なセキュリティルール
などが挙げられますが、公式ドキュメントが非常にわかりやすいので詳しくはそちらを見ていただければと思います。
セキュリティルールとは
Firestoreでは、セキュリティルールを設定することでユーザーに書き込みや読み取りの制限を与えることができます。
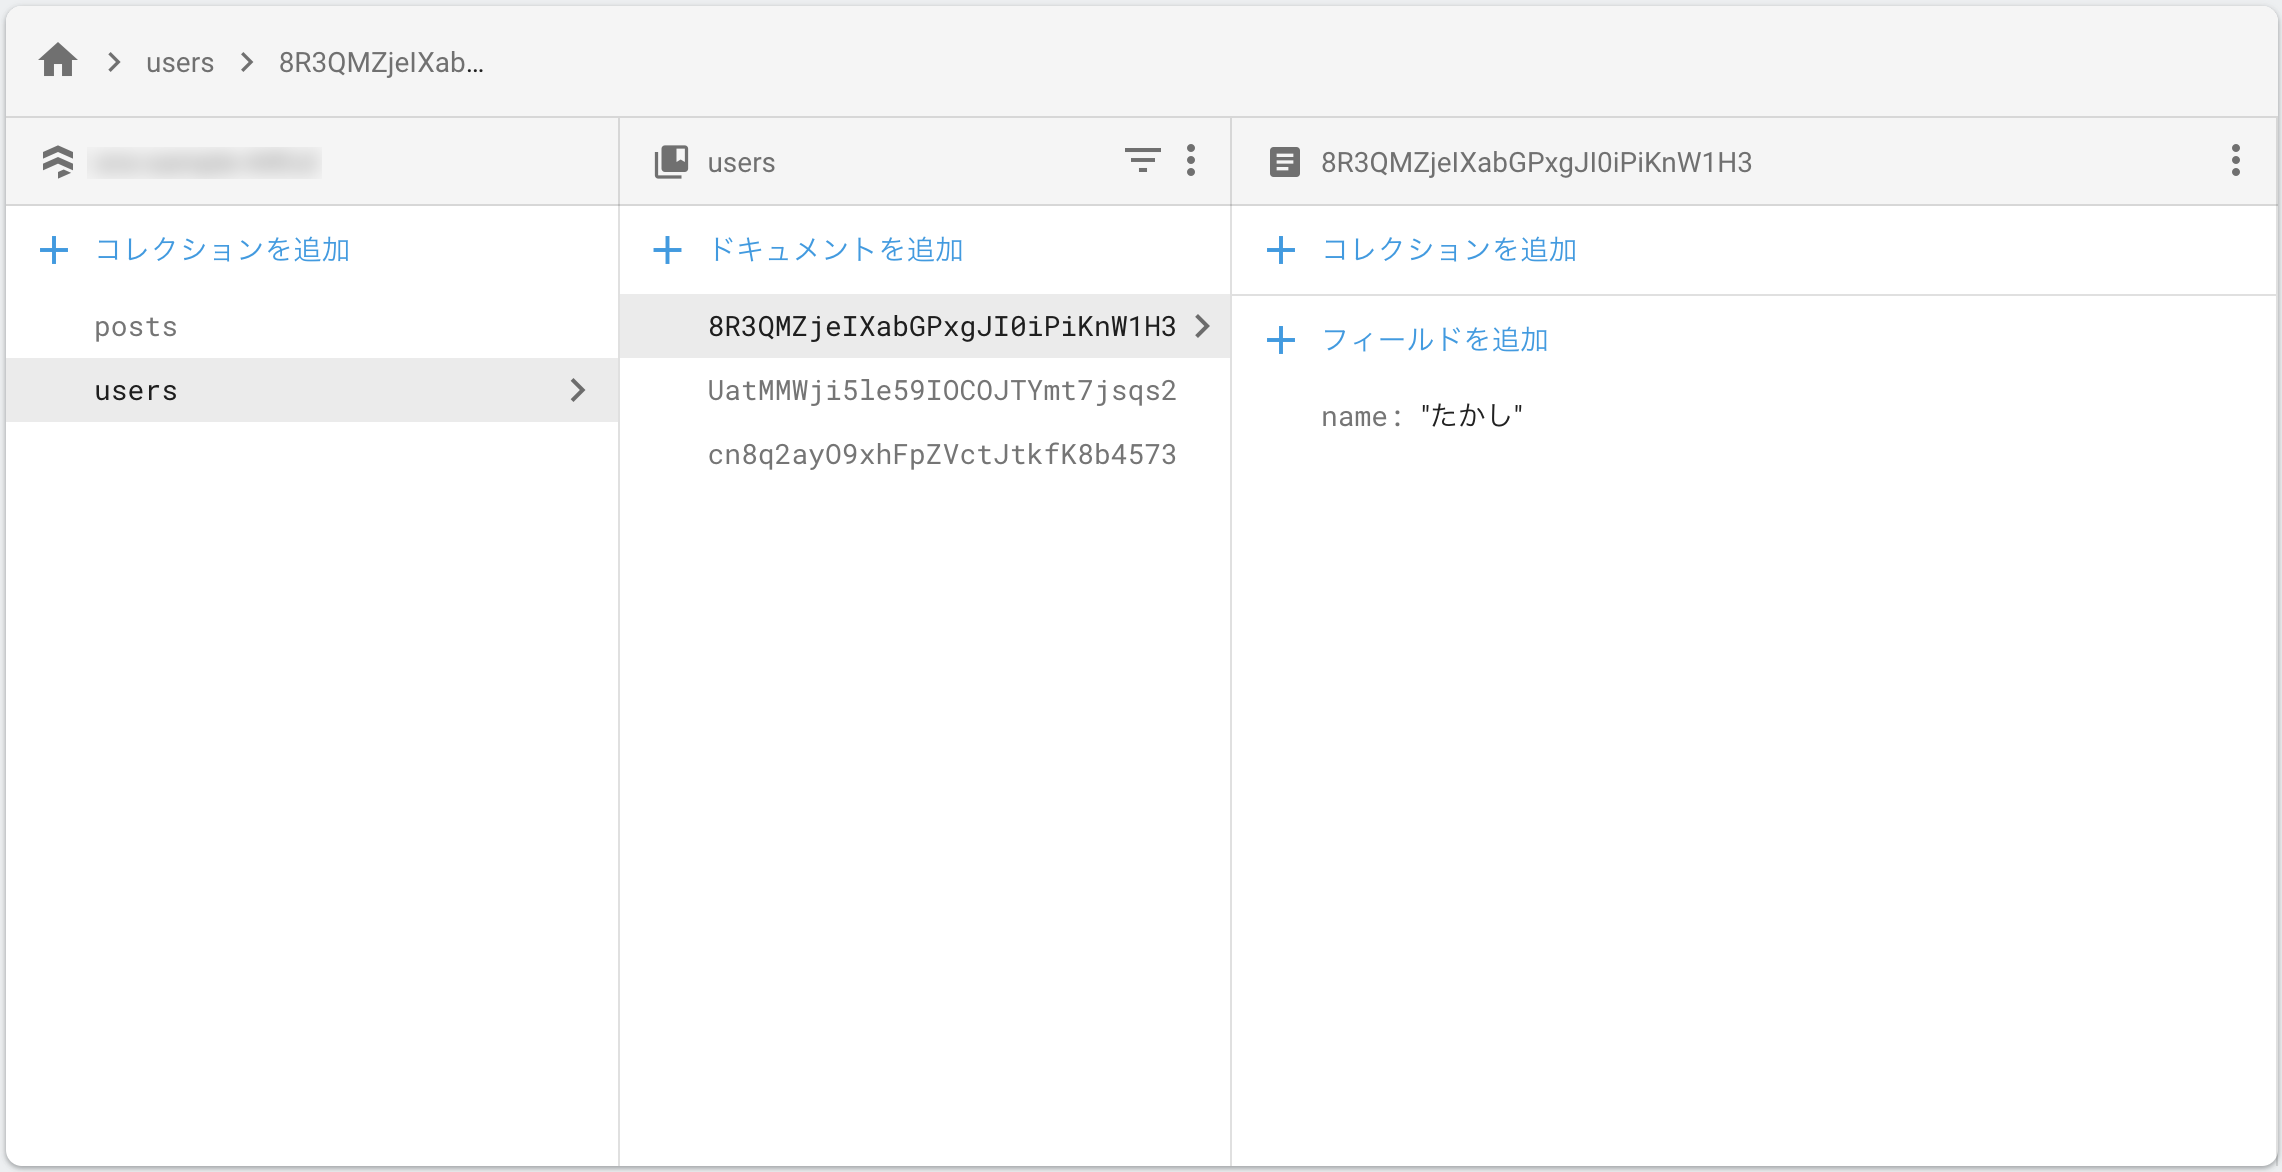
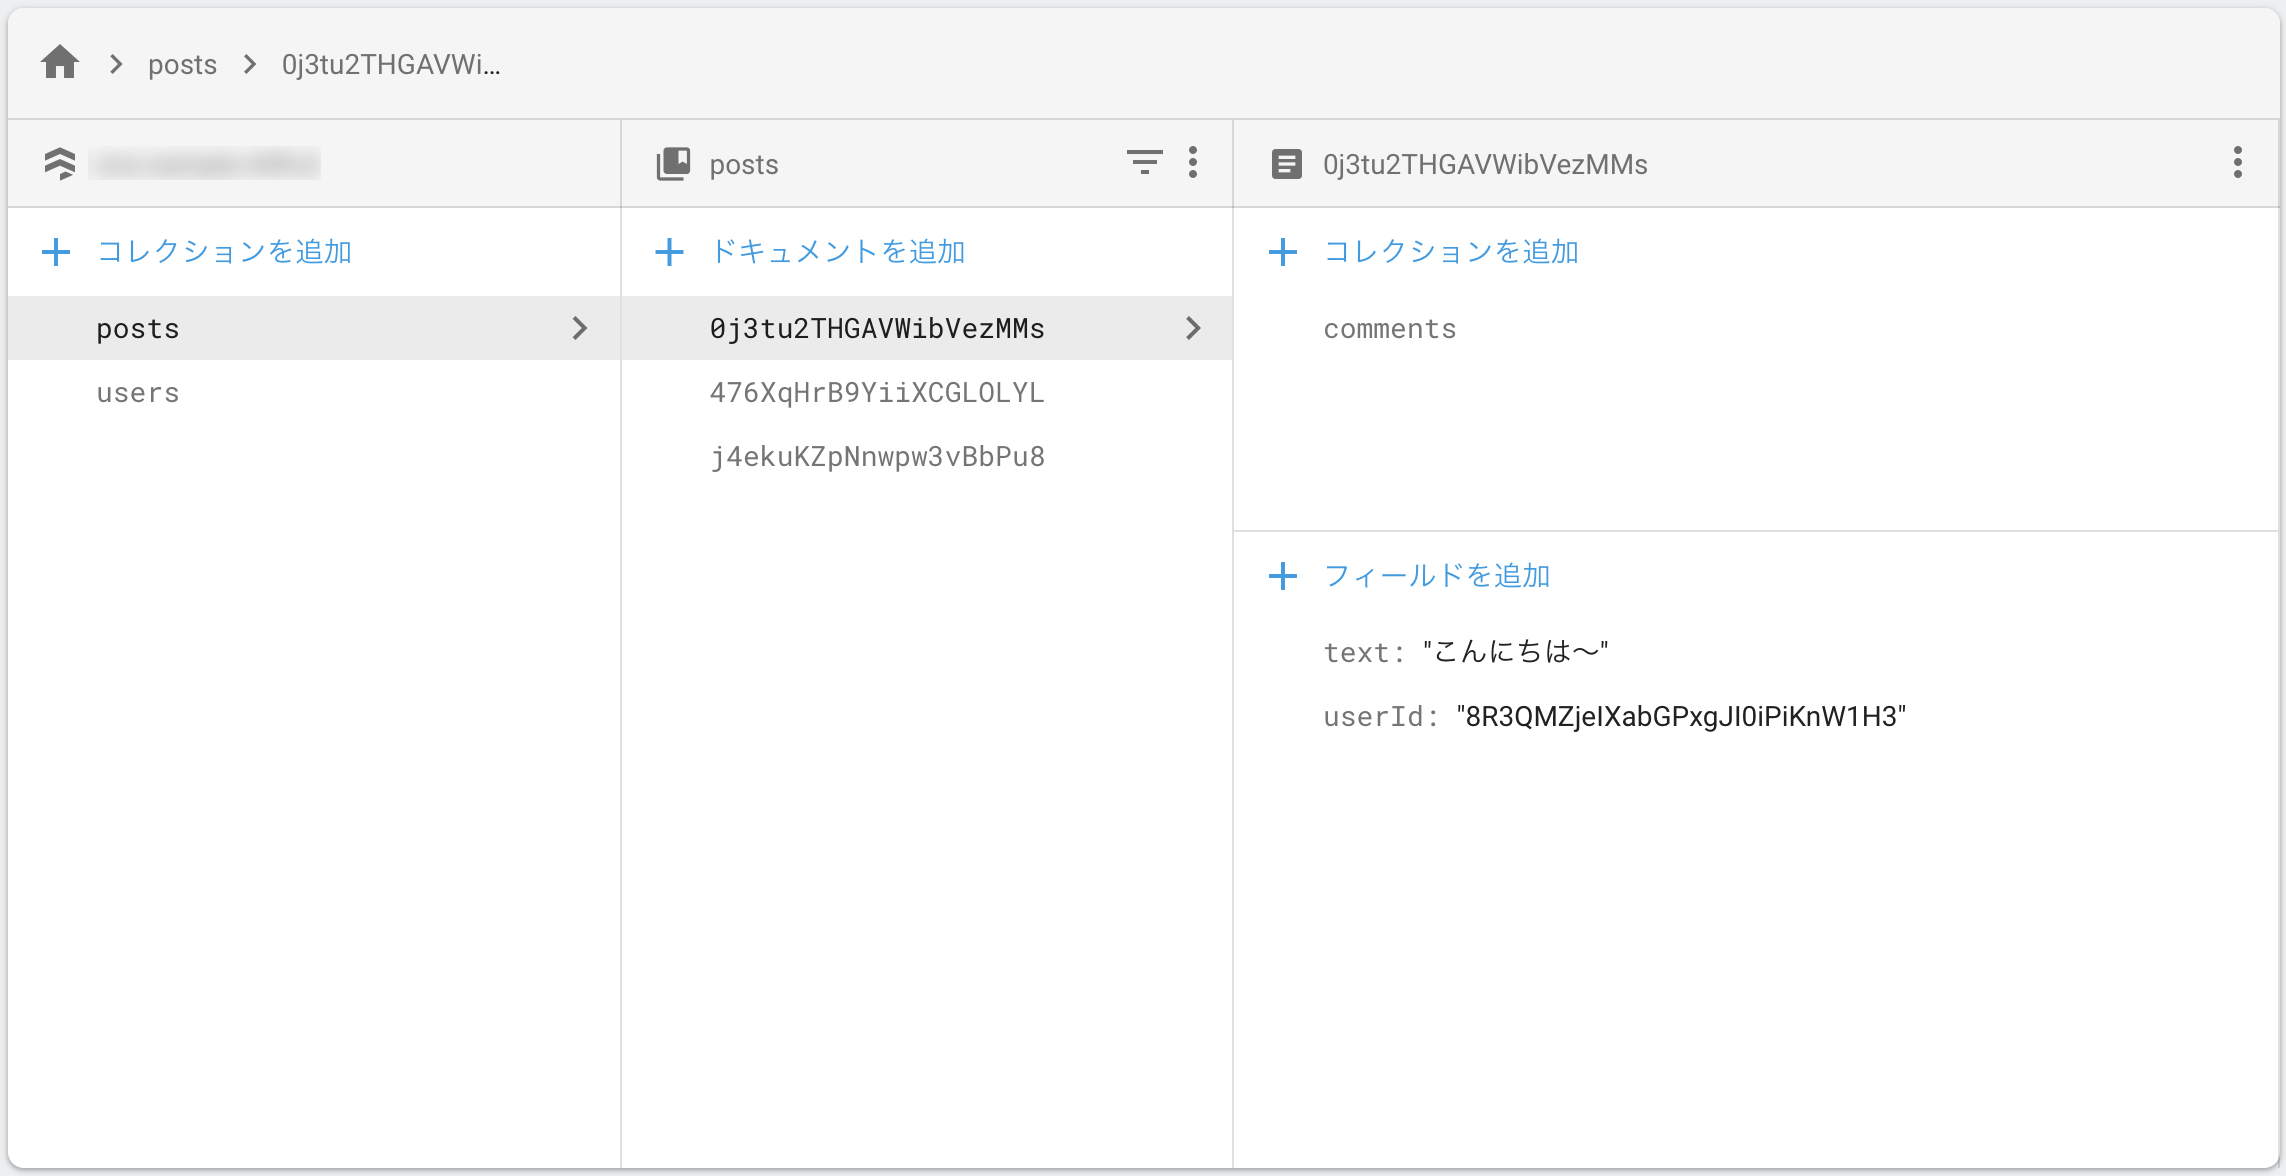
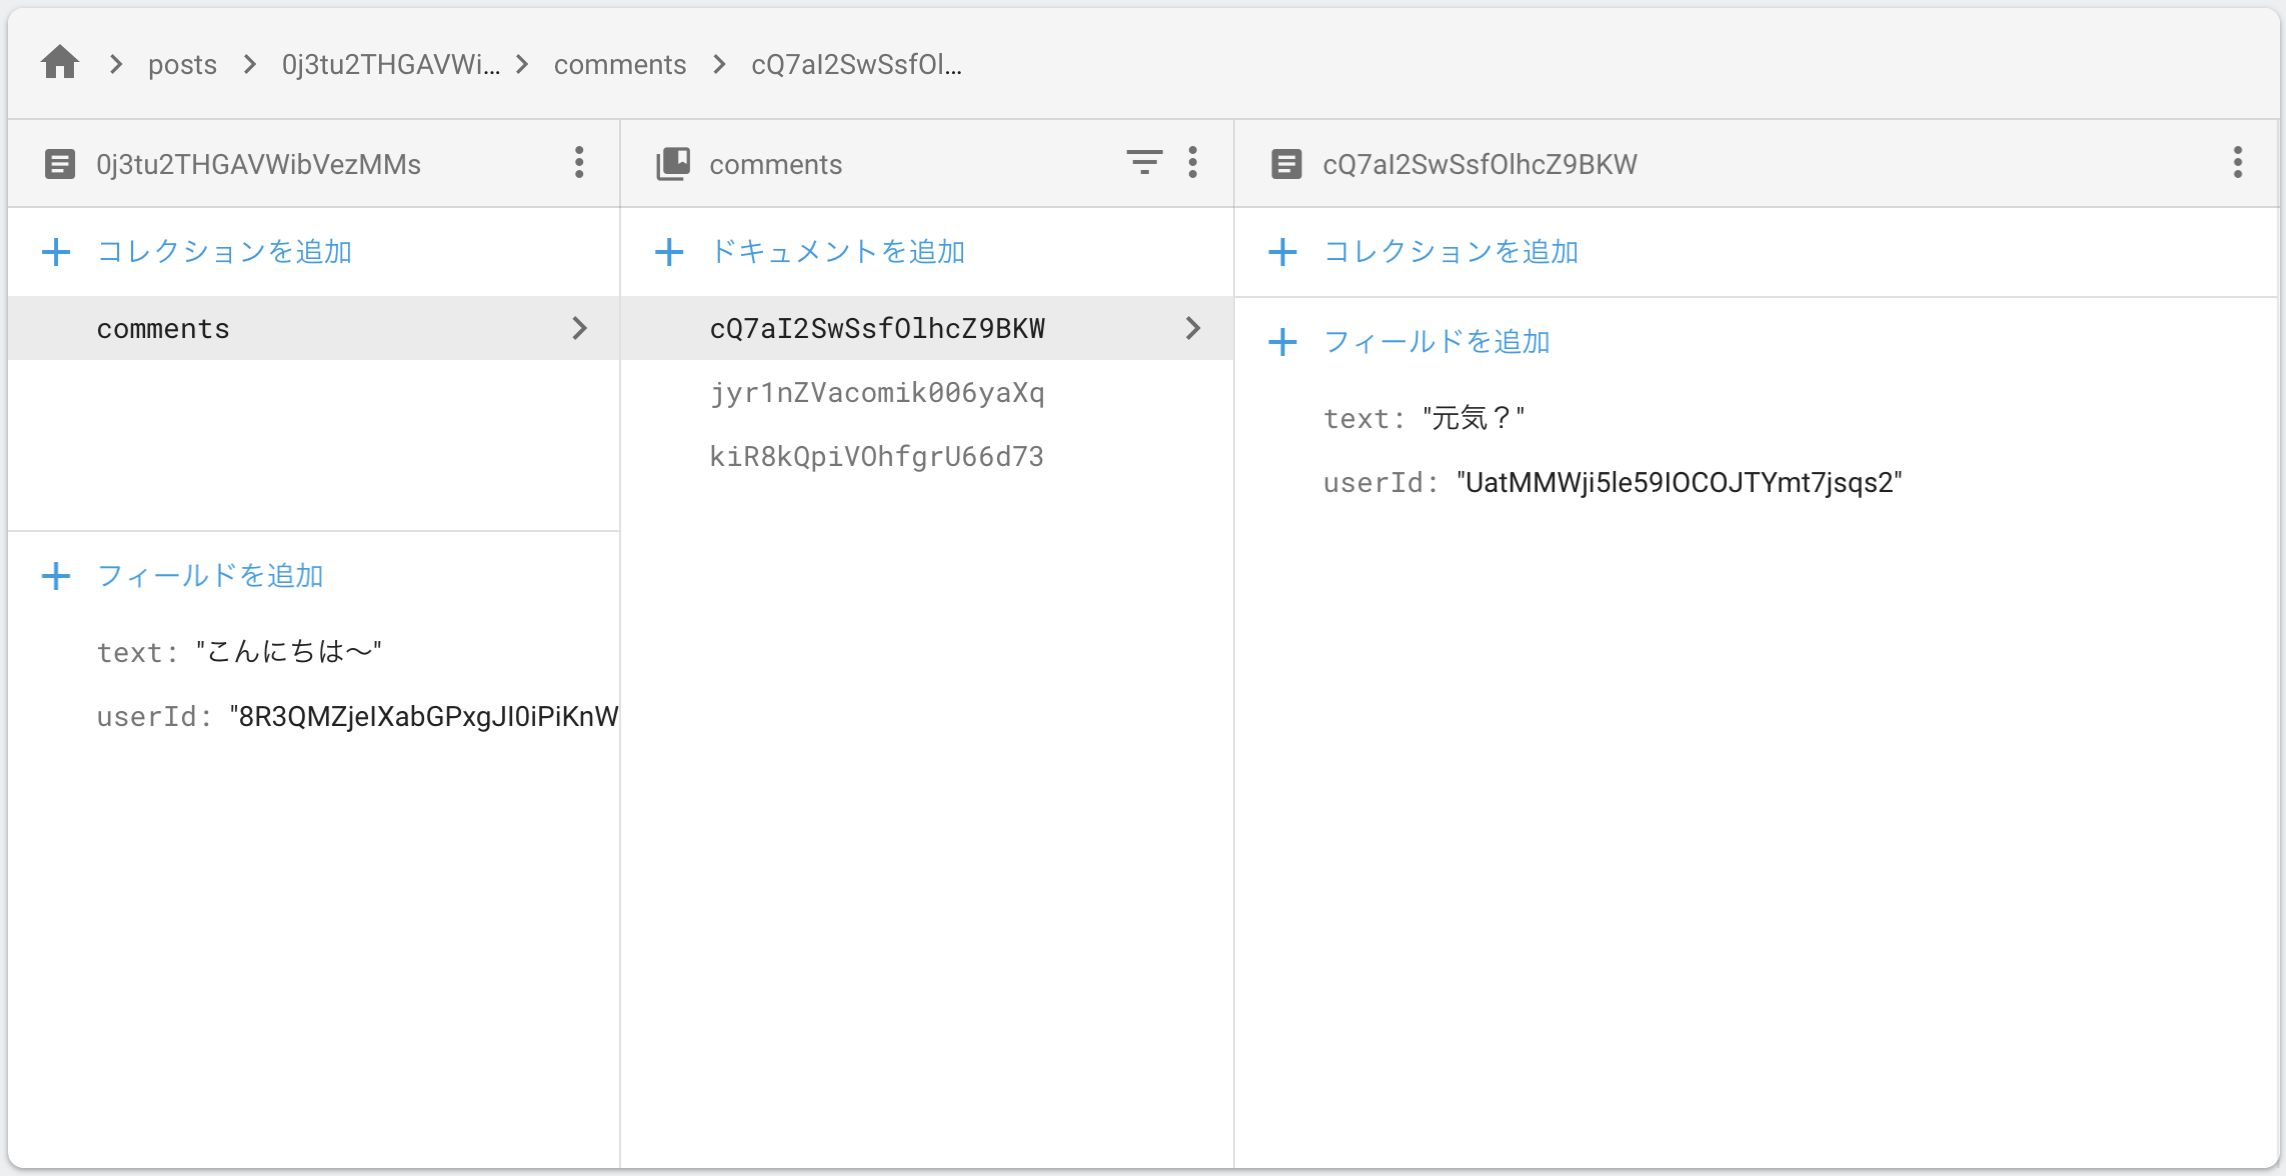
今回は、ユーザーがテキストを投稿し、その投稿に対してユーザーがコメントできる簡易的なSNS風アプリを想定して、実際にルールを作っていきます。
usersコレクションとpostsコレクションを用意し、postsの各ドキュメントはサブコレクションとしてcommentsを持つことにします。(簡略化のため、timestamp系のフィールドは省略させていただきました。)
基本的な書き方
具体的にルールを設定する前に書き方をざっと説明しておくと、基本的には以下のような形になります。
service cloud.firestore {
  match /databases/{database}/documents {
    match /コレクション名/{ドキュメントID} {
      allow read: if 条件式;
      allow write: if 条件式;
    }
  }
}
service cloud.firestoreとmatch /databases/{database}/documentsはデフォルトのままです。
/コレクション名/{ドキュメントID}の部分はusers/{userId}のようにドキュメントIDに該当する部分を{}で囲むことによって、中に書いたものがワイルドカードになり、条件式で使用できるようになります。
また、readはgetとlistに、writeはcreate、update、deleteに分割することもできます。
getとlistの違いは、getはドキュメントIDによる個別の読み取り、listはドキュメント一覧の読み取りを許可する際に使うそうですが、個人的にはreadの分割が必要な場面には出くわしたことがありません。
ここで、具体的な設定に入る前に、条件式でよく使う3つのオブジェクトをここで紹介しておきます。
| オブジェクト | 説明 |
|---|---|
| request.auth | Firebase Authenticationの認証情報 |
| request.resource.data | クライアントが書き込もうとしているデータ |
| resource.data | 書き込む先のドキュメントの元々のデータ |
ここから先は、これらのオブジェクトを使いながら実際にルールを設定していきます。
認証との連携
- Firebase Authenticationで認証する
- Firebase AuthenticationのユーザーUIDをusersコレクションの各ドキュメントのIDと一致させる
上記を前提とした場合、次のようにしてルールに認証を組み込むことができます。
service cloud.firestore {
  match /databases/{database}/documents {
    ...
    match /users/{userId} {
      allow read, create: if request.auth.uid != null;
      allow update, delete: if request.auth.uid == userId;
    }
    ...
  }
}
request.authの情報を用いて、readとcreateはログインしている全てのユーザー、updateとdeleteは自身の認証用IDと書き込み先のドキュメントIDが一致しているユーザーにのみ許可することができます。
データのバリデーション
セキュリティルールを用いて、書き込まれるデータの型を指定することができます。例えばpostsのtextフィールドの値はstringであることを保証したい場合、
service cloud.firestore {
  match /databases/{database}/documents {
    ...
    match /posts/{postId} {
      ...
      allow write: if request.resource.data.text is string;
      ...
    }
    ...
  }
}
このようにrequest.resource.dataの中身を調べて、textフィールドの値がstringである場合にのみ書き込みを許可するよう設定することができます。
サブコレクションのルール設定
postsのサブコレクションであるcommentsに対してルールを反映させる方法のうち、1つはワイルドカードに「=**」をつけることで、postsと同じルールをcommentsにも設定することができます。
service cloud.firestore {
  match /databases/{database}/documents {
    ...
    match /posts/{postId=**} {
      allow read, create: if request.auth.uid != null;
      allow update, delete: if request.auth.uid == resource.data.userId;
    }
    ...
  }
}
一方、postsは編集可能にしたいがcommentsは編集不可にしたいときなど、ルールを分けたい場合は、次のようにネストさせて別々のルールを設定することができます。
service cloud.firestore {
  match /databases/{database}/documents {
    ...
    match /posts/{postId} {
      allow read, create: if request.auth.uid != null;
      allow update, delete: if request.auth.uid == resource.data.userId;

      match /comments/{commentId} {
        allow read, create: if request.auth.uid != null;
      }
    }
    ...
  }
}
関数の利用
セキュリティルール内で、関数を定義して使用することができます。例えば、今回頻繁に出てきた
request.auth.uid != nullやrequest.auth.uid == 〇〇を関数にしてみます。
具体的には次のようにして定義・使用することができます。
service cloud.firestore {
  match /databases/{database}/documents {
    function isAuthenticated() {
      return request.auth.uid != null;
    }

    function isUserAuthenticated(userId) {
      return request.auth.uid == userId;
    }
    ...
    match /posts/{postId} {
      allow read, create: if isAuthenticated();
      allow update, delete: if isUserAuthenticated(resource.data.userId);

      match /comments/{commentId} {
        allow read, create: if isAuthenticated();
      }
    }
    ...
  }
}
まとめ
ここまでを踏まえると、今回想定したアプリ全体のセキュリティルールは、一例ですが次のようになりました。
service cloud.firestore {
  match /databases/{database}/documents {
    function isAuthenticated() {
      return request.auth.uid != null;
    }

    function isUserAuthenticated(userId) {
      return request.auth.uid == userId;
    }

    match /users/{userId} {
      allow read: if isAuthenticated();
      allow create: if isAuthenticated()
                    && request.resource.data.name is string;
      allow update: if isUserAuthenticated(userId)
                    && request.resource.data.name is string;
      allow delete: if isUserAuthenticated(userId);
    }

    match /posts/{postId} {
      allow read: if isAuthenticated();
      allow create: if isAuthenticated()
                    && request.resource.data.text is string
                    && request.resource.data.userId is string;
      allow update: if isUserAuthenticated(resource.data.userId)
                    && request.resource.data.text is string
                    && request.resource.data.userId is string;
      allow delete: if isUserAuthenticated(resource.data.userId);

      match /comments/{commentId} {
        allow read: if isAuthenticated();
        allow create: if isAuthenticated()
                      && request.resource.data.text is string
                      && request.resource.data.userId is string;
        allow delete: if isUserAuthenticated(resource.data.userId);
      }
    }
  }
}
今回は以上になります。
他にも様々な設定方法や便利な関数などがたくさんあるので、リファレンスも参考にしながらぜひリッチなセキュリティルールを作ってみてください!