spandrelはチェックポイントファイル(pth)のみからpytorchモデルを復元/実行できるライブラリ。
Super Resolution のupscalerもたくさんある。Stable Diffusion WebUIで使われているやつ。
モデルはこのリポジトリとか
このWebページにたくさんあります。
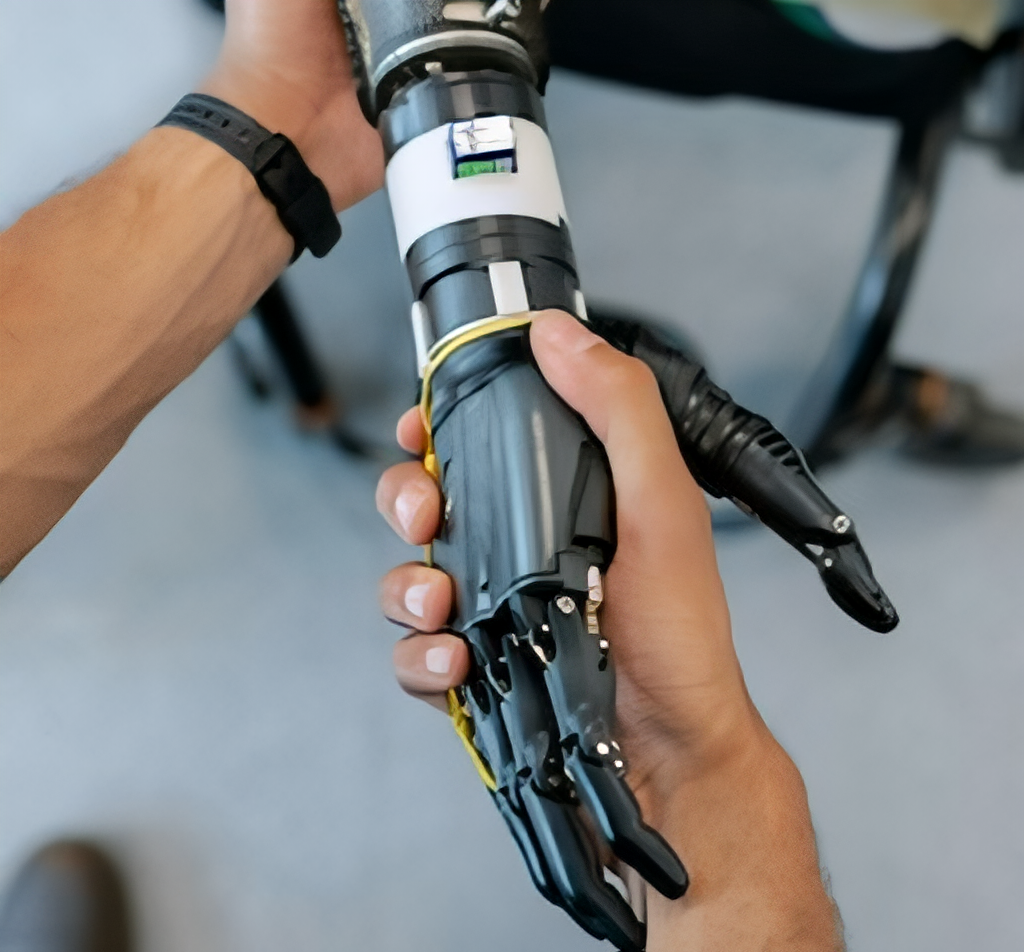
今回はこの256*238の画像で試します。

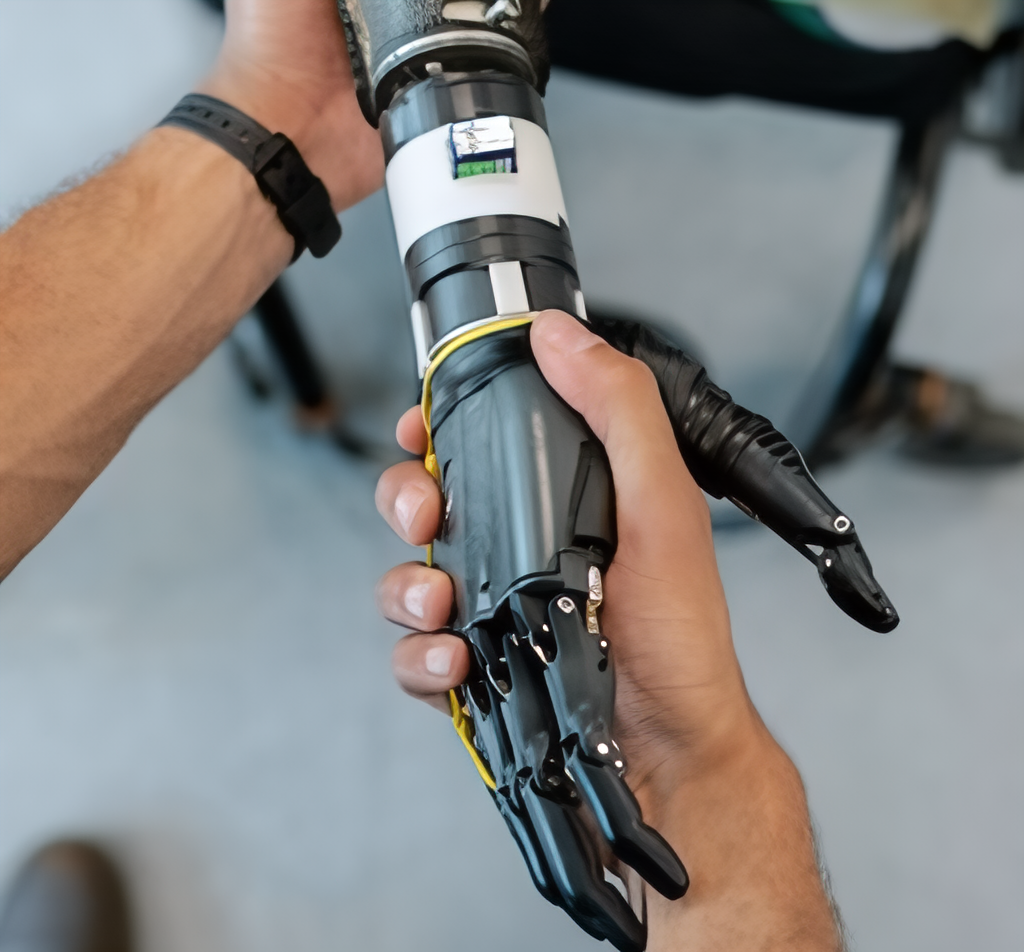
単純に4倍リサイズすると、

4xRealWebPhoto_v3_atd.pth 4倍 t4実行時間5秒

4xTextures_GTAV_rgt-s.pth t4実行時間4秒

4xRealWebPhoto_v4_drct-l.pth t4実行時間11秒
4xRealWebPhoto_v4_dat2.pth t4実行時間

4xRealWebPhoto_v2_rtg_s.pth t4実行時間6秒
4x_UniversalUpscalerV2-Sharp_101000_G.pth t4実行時間0.6秒

4xLexicaDAT2_otf.pth t4実行時間4秒

4x_foolhardy_Remacri.pth t4実行時間0.7秒

4x-UltraSharp.pth t4実行時間0.6秒

8x_NMKD-Superscale_150000_G.pth t4実行時間1秒
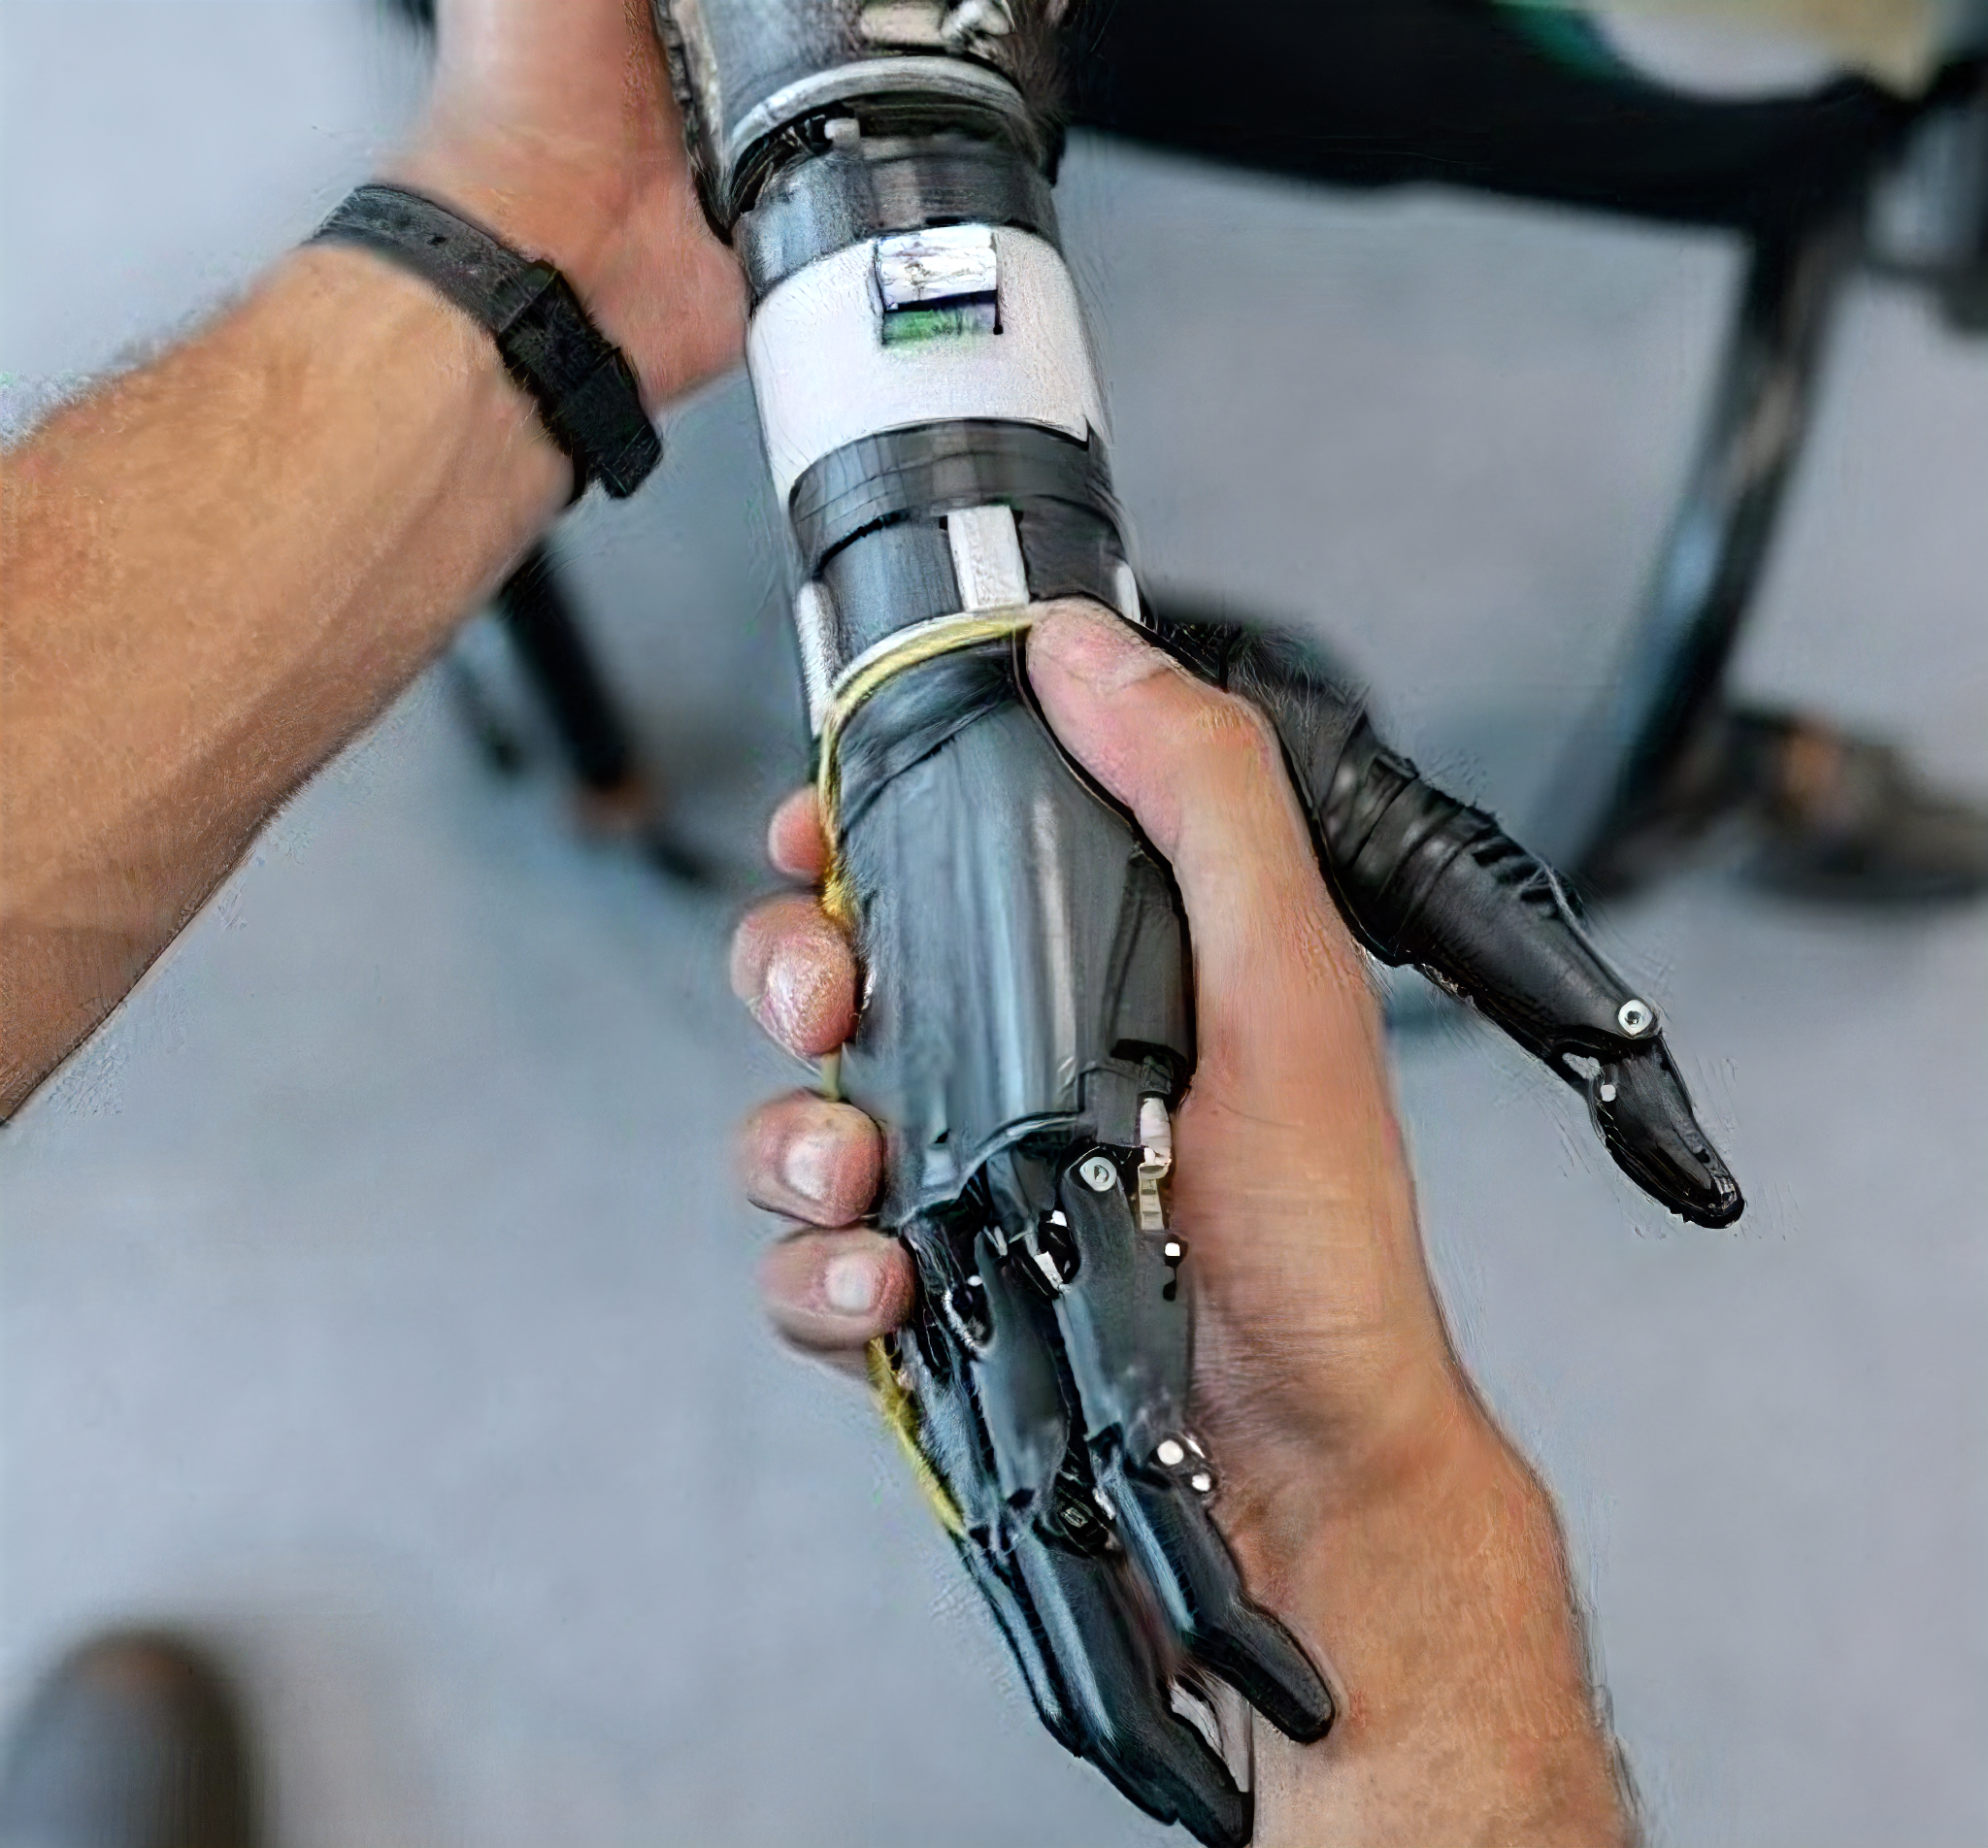
4x_NMKD-Siax_200k.pth t4実行時間0.7秒

Swin2SR_RealworldSR_X4_64_BSRGAN_PSNR.pth t4実行時間2秒

4xNickelbackFS_72000_G.pth t4実行時間0.6秒

4x_Valar_v1.pth t4実行時間0.6秒

4xNomos8kSC.pth t4実行時間0.6秒

4xNomos8k_span_otf_medium.pth t4実行時間秒

spandrelの使い方
spandrel をインストール
pip install spandrel
モデル初期化
from spandrel import ImageModelDescriptor, ModelLoader
import torch
model_name = "your_model.pth"
# load a model from disk
model = ModelLoader().load_from_file(model_name)

# make sure it's an image to image model
assert isinstance(model, ImageModelDescriptor)

# send it to the GPU and put it in inference mode
model.cuda().eval()
推論と画像前処理/後処理の関数
from PIL import Image
import numpy as np

def pil_image_to_torch_bgr(img: Image.Image) -> torch.Tensor:
    img = np.array(img.convert("RGB"))
    img = img[:, :, ::-1]  # flip RGB to BGR
    img = np.transpose(img, (2, 0, 1))  # HWC to CHW
    img = np.ascontiguousarray(img) / 255  # Rescale to [0, 1]
    return torch.from_numpy(img).unsqueeze(0).float().cuda()

def torch_bgr_to_pil_image(tensor: torch.Tensor) -> Image.Image:
    if tensor.ndim == 4:
        # If we're given a tensor with a batch dimension, squeeze it out
        # (but only if it's a batch of size 1).
        if tensor.shape[0] != 1:
            raise ValueError(f"{tensor.shape} does not describe a BCHW tensor")
        tensor = tensor.squeeze(0)
    assert tensor.ndim == 3, f"{tensor.shape} does not describe a CHW tensor"
    # TODO: is `tensor.float().cpu()...numpy()` the most efficient idiom?
    arr = tensor.float().cpu().clamp_(0, 1).numpy()  # clamp
    arr = 255.0 * np.moveaxis(arr, 0, 2)  # CHW to HWC, rescale
    arr = arr.round().astype(np.uint8)
    arr = arr[:, :, ::-1]  # flip BGR to RGB
    return Image.fromarray(arr, "RGB")

def process(image: torch.Tensor) -> torch.Tensor:
    with torch.no_grad():
        return model(image)
推論
image = pil_image_to_torch_bgr(Image.open("input.jpg"))
image = process(image)
image = torch_bgr_to_pil_image(image)
image.save("output.png")
はい、かんたん。
🐣
フリーランスエンジニアです。
AIについて色々記事を書いていますのでよかったらプロフィールを見てみてください。
もし以下のようなご要望をお持ちでしたらお気軽にご相談ください。
AIサービスを開発したい、ビジネスにAIを組み込んで効率化したい、AIを使ったスマホアプリを開発したい、
ARを使ったアプリケーションを作りたい、スマホアプリを作りたいけどどこに相談したらいいかわからない…
いずれも中間コストを省いたリーズナブルな価格でお請けできます。
お仕事のご相談はこちらまで
rockyshikoku@gmail.com
機械学習やAR技術を使ったアプリケーションを作っています。
機械学習/AR関連の情報を発信しています。