使いかた
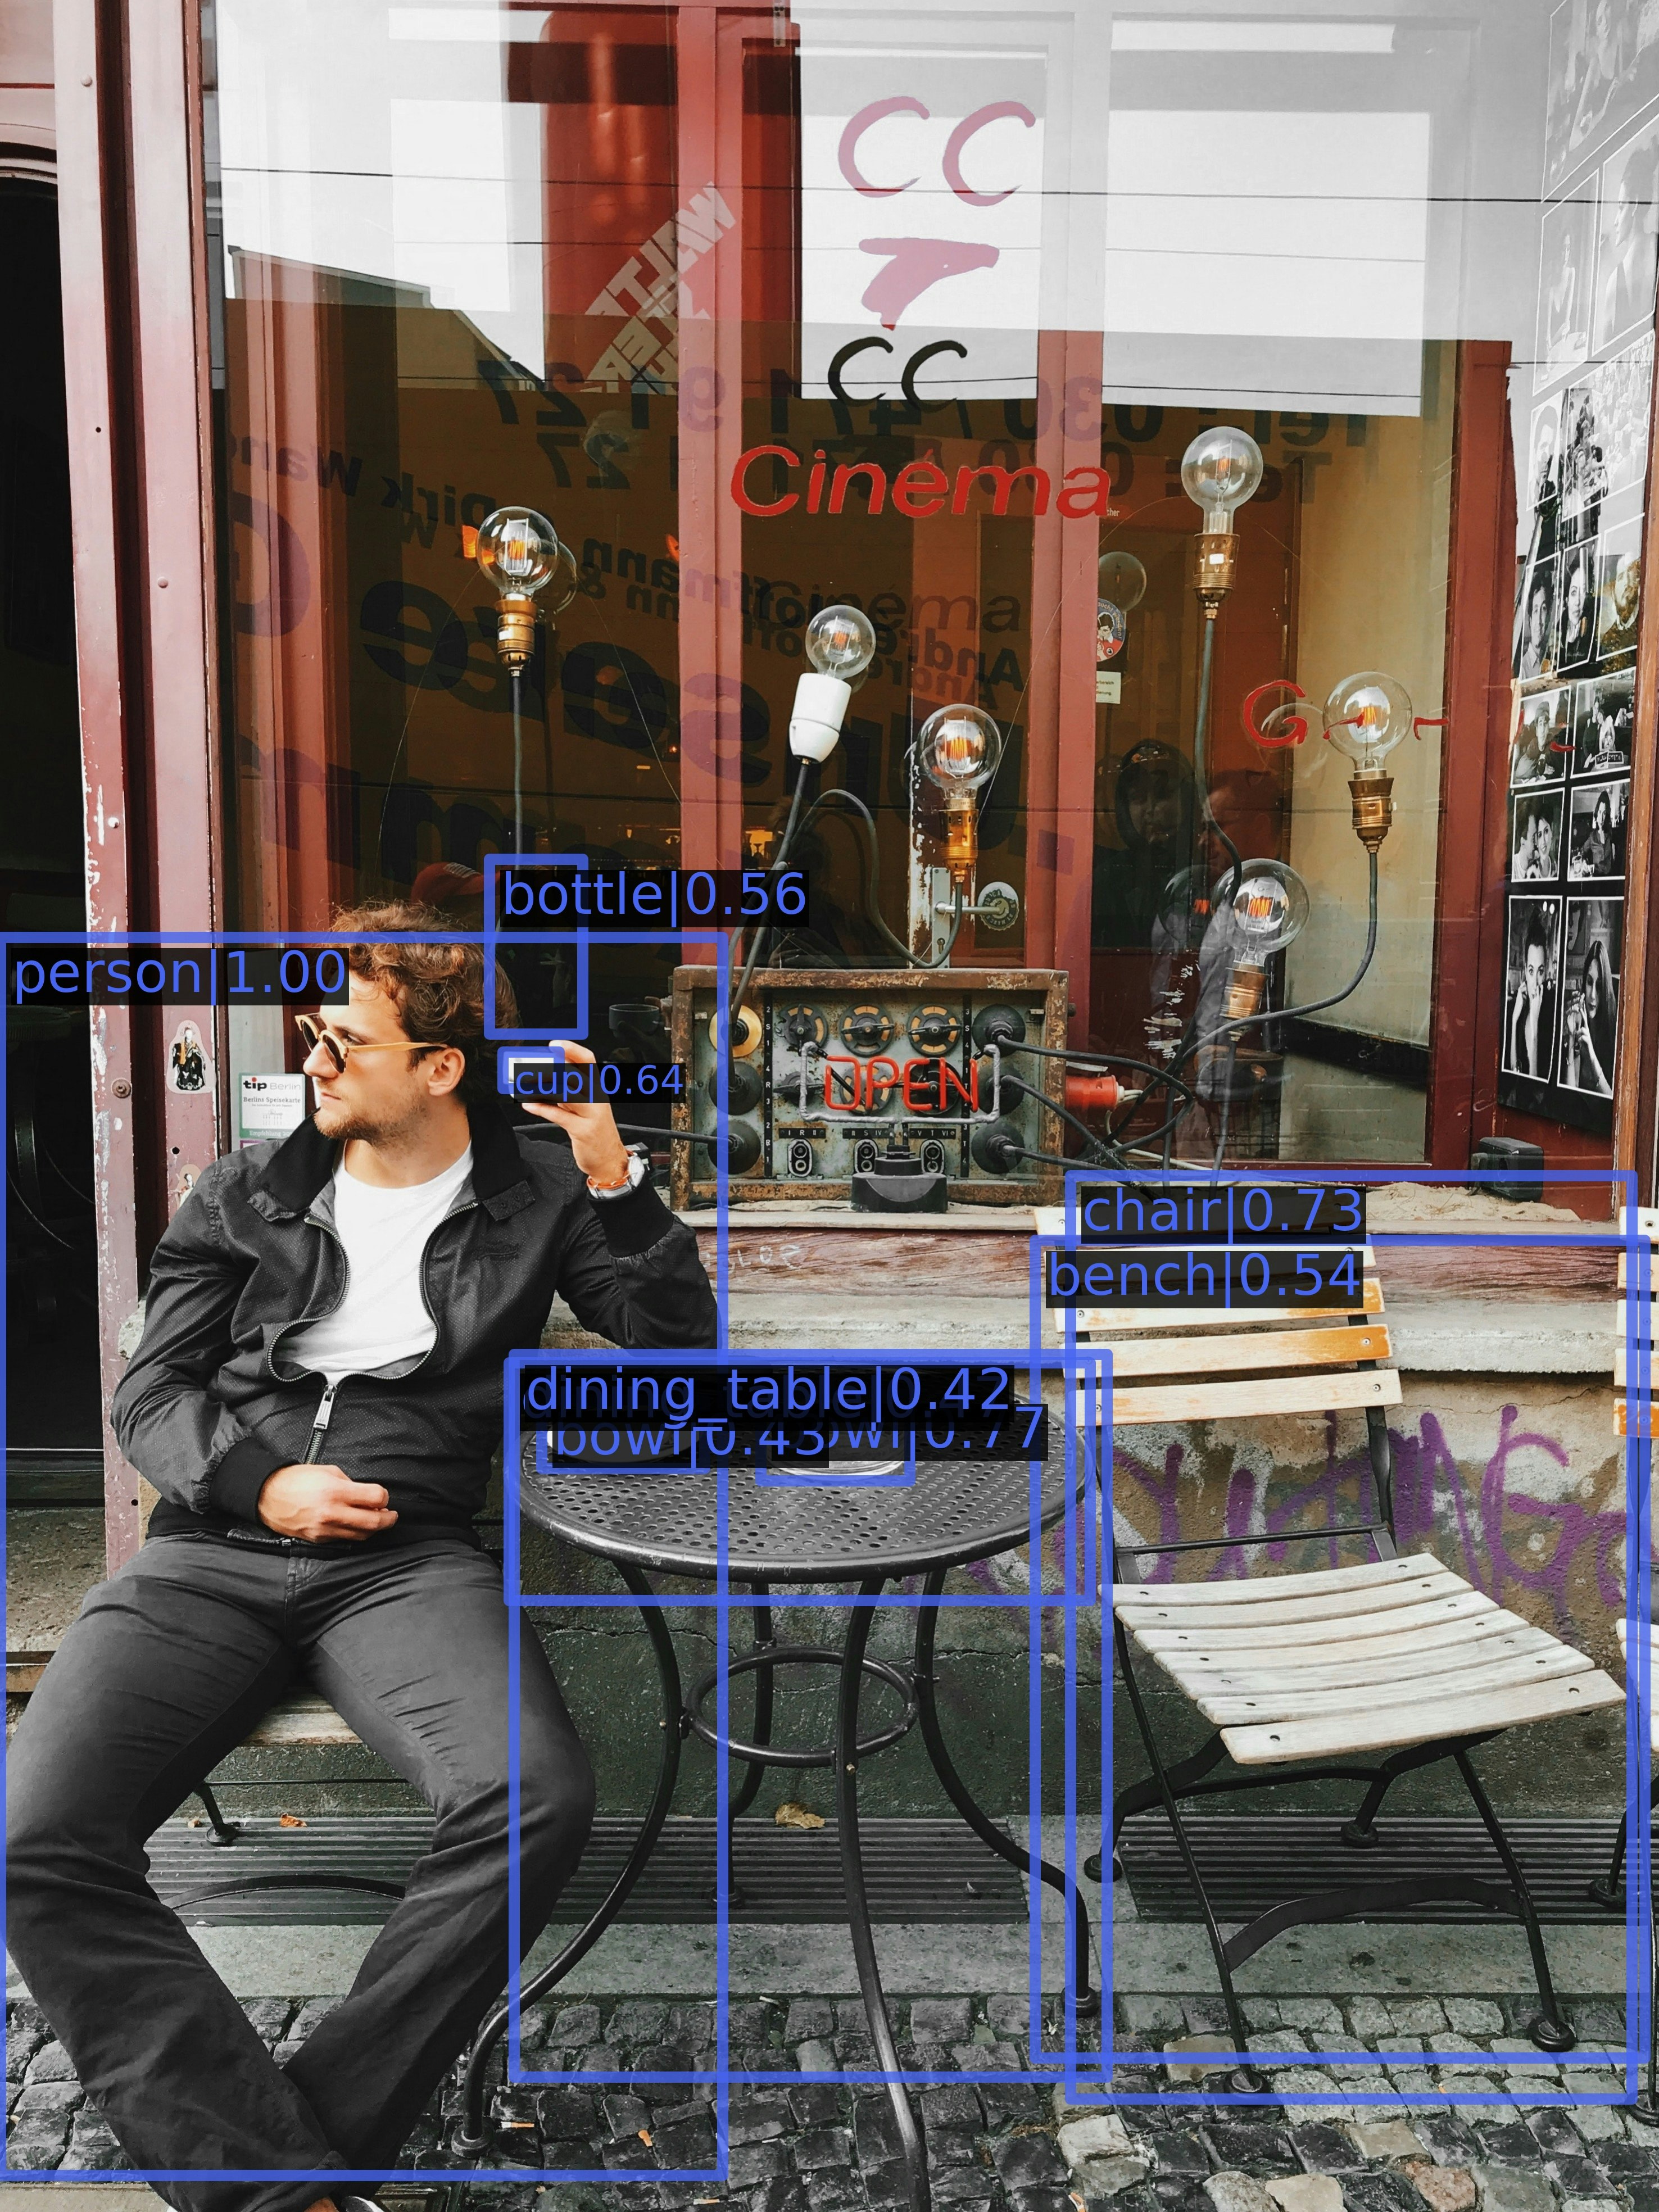
mmdetectionは物体検出とインスタンスセグメンテーションの様々なモデルが使えるツールボックスです。
以下のようなモデルが同じ実行形式で使えるようになっています。

物体検出機能の使い方です。
セグメンテーションについては使ったことがないですが、基本同じ感じで使えると思います。
インストール
pip install -U openmim
mim install mmcv-full
git clone https://github.com/open-mmlab/mmdetection.git
cd mmdetection
pip install -v -e .
推論
configファイル、ウェイトのチェックポイントからdetectorを初期化し、
入力を指定して実行する。
from mmdet.apis import init_detector, inference_detector
import mmcv

# Specify the path to model config and checkpoint file
config_file = 'configs/faster_rcnn/faster_rcnn_r50_fpn_1x_coco.py'
checkpoint_file = 'faster_rcnn_r50_fpn_1x_coco_20200130-047c8118.pth'

# build the model from a config file and a checkpoint file
model = init_detector(config_file, checkpoint_file, device='cuda:0')

# test a single image and show the results
img = 'your_image.jpg'  # or img = mmcv.imread(img), which will only load it once
result = inference_detector(model, img)
# visualize the results in a new window
model.show_result(img, result)
# or save the visualization results to image files
model.show_result(img, result, out_file='result.jpg')
トレーニング
データセット
まずCOCO形式の独自データセットを準備します。
PascalVOCや中間形式についても方法がリポジトリに記載されています。
学習
独自のconfigファイル(使うモデル、設定、データセットが記載されている)を作って、トレーニングスクリプトを実行します。
work-dirにログとチェックポイントが保存されます。
python tools/train.py configs/my_config.py --work-dir work_dir/
Configファイル
Configファイルには、使うモデル、設定、データセットなど、学習に必要なオプションが全て記載されています。
これを自分が使いたい設定で作ります。
以下に例を記載します。
# The new config inherits a base config to highlight the necessary modification
_base_ = 'faster_rcnn/faster_rcnn_r50_fpn_1x_coco.py'

# We also need to change the num_classes in head to match the dataset's annotation
model = dict(
    roi_head=dict(
        bbox_head=dict(num_classes=2)))

# Modify dataset related settings
dataset_type = 'COCODataset'
classes = ('my_class0','my_class1')
data = dict(
    train=dict(
        img_prefix='my_dataset/images/train/',
        classes=classes,
        ann_file='my_dataset_train.json'),
    val=dict(
        img_prefix='my_dataset/images/val/',
        classes=classes,
        ann_file='my_dataset_val.json'),
    test=dict(
        img_prefix='my_dataset/images/val/',
        classes=classes,
        ann_file='my_dataset_val.json'))

load_from = 'faster_rcnn_r50_fpn_1x_coco_20200130-047c8118.pth'
runner = dict(type='EpochBasedRunner', max_epochs=300)
configファイルに必要な項目
以下のような内容を記載して継承元configを書き換えますが、記載形式がモデルによって異なるので、継承元configを参照して記載するようにします。
_ base _
自分のconfigファイルの元となる継承元configファイルを設定します。
継承元のconfigファイルはリポジトリの configs/ にあります。
自分のconfigファイルに記載する内容は継承元のconfigファイルの項目を書き換え、特に記載しない項目については継承元のconfigファイルの項目をそのまま引き継ぎます。
つまり、configファイルは、ベースのconfigファイルを継承しています。
さらに、継承元のconfigファイル(父config)は更なる他のconfigファイル(祖父config)を継承している場合があります。
自分のconfigファイル(子)で継承元のconfigファイルの内容を書き換える場合は、継承元の記載形式を厳密に引き継いで内容を変える必要があります。そのため、継承元のconfigをさかのぼれるところまで見ておくことを推奨します。
model
自分のデータセットのクラス数などをここのbbox_headで設定しておく必要があります。
dataset_type
自分が使用するデータセットタイプを指定します。今回はCOCO形式を使うのでCOCODatasetを指定しています。
使えるデータセット形式(カスタム含む)はリポジトリのdataset/ディレクトリにあります。
classes
自分のデータセットのクラス名を記載します。
data
データ画像のディレクトリとアノテーションファイルのパスを指定します。
load_from
トレーニングに使う事前トレーニング済みの重みのチェックポイントを指定します。
チェックポイントは継承元のモデルconfigとセットになっており、リポジトリのReadMeのモデル一覧から取得できます。
runner
トレーニングの回数(エポック数)をここで指定します。
デフォルトでは1エポックごとにチェックポイントファイルが保存されます。
学習開始時にエラーが出た場合、configファイルの何かしらが間違っているので、継承元を辿りながら正しく継承できるように解消していきます。
🐣
フリーランスエンジニアです。
お仕事のご相談こちらまで
rockyshikoku@gmail.com
機械学習、ARアプリ(Web/iOS)を作っています。
機械学習/AR関連の情報を発信しています。