はじめに
以下の投稿でSAMで作ったリソースを、Serverless Application Repositoryに公開してみたので手順をまとめました。
基本的には公式のAWS Serverless Application Repository - アプリケーションの発行手順の通りです。
Serverless Application Repositoryの公開手順
SAMテンプレートにメタデータを追加
Serverless Application Repositoryに公開するにあたり、アプリケーションについての情報を、SAMテンプレートに追加します。
template.yaml
Metadata:
  AWS::ServerlessRepo::Application:
    Name: tests-pullrequest-in-codecommit-using-codebuild-and-notify-slack.
    Description: This repository contains sample code that tests pull requests created in AWS CodeCommit with CodeBuild and notifies to Slack using AWS Chatbot.
    Author: joe-king-sh
    SpdxLicenseId: AML
    LicenseUrl: LICENSE
    ReadmeUrl: README.md
    Labels: ['codecommit','codebuild','awschatbot','slack','lambda','ci','eventbridge']
    HomePageUrl: https://github.com/joe-king-sh/aws-codecommit-pull-request-aws-codebuild-aws-chatbot
    SemanticVersion: 0.0.1
    SourceCodeUrl: https://github.com/joe-king-sh/aws-codecommit-pull-request-aws-codebuild-aws-chatbot
公開用アプリケーションのパッケージ作成
以下のコマンドで、アプリケーションをパッケージ化しS3へアップロードします。
% sam package \
--template-file template.yml \
--output-template-file packaged.yml \
--s3-bucket serverless-application-repository-deploy-bucket
アップロード先のS3バケットはServerlessApplicationRepositoryからアクセスできる必要があり、
あらかじめ、以下の通りにバケットポリシーを設定しておきます。
S3_BucketPolicy
{
    "Version": "2012-10-17",
    "Statement": [
        {
            "Effect": "Allow",
            "Principal": {
                "Service":  "serverlessrepo.amazonaws.com"
            },
            "Action": "s3:GetObject",
            "Resource": "arn:aws:s3:::serverless-application-repository-deploy-bucket/*"
        }
    ]
}
公開
sam publishコマンドで公開します
% sam publish \
--template packaged.yml \
--region ap-northeast-1
Publish Succeeded
Created new application with the following metadata:
{
"Name": "tests-pullrequest-in-codecommit-using-codebuild-and-notify-slack",
"Description": "This repository contains sample code that tests pull requests created in AWS CodeCommit with CodeBuild and notifies to Slack using AWS Chatbot.",
"Author": "joe-king-sh",
"SpdxLicenseId": "AML",
"LicenseUrl": "s3://serverless-application-repository-deploy-bucket/15d219711004e23a9507e8ab1ce160b7",
"ReadmeUrl": "s3://serverless-application-repository-deploy-bucket/fa5d01dad58d52938c900bbc34ce3cc1",
"Labels": [
"codecommit",
"codebuild",
"awschatbot",
"slack",
"lambda",
"ci",
"eventbridge"
],
"HomePageUrl": "https://github.com/joe-king-sh/aws-codecommit-pull-request-aws-codebuild-aws-chatbot",
"SemanticVersion": "0.0.1",
"SourceCodeUrl": "https://github.com/joe-king-sh/aws-codecommit-pull-request-aws-codebuild-aws-chatbot"
}
Click the link below to view your application in AWS console:
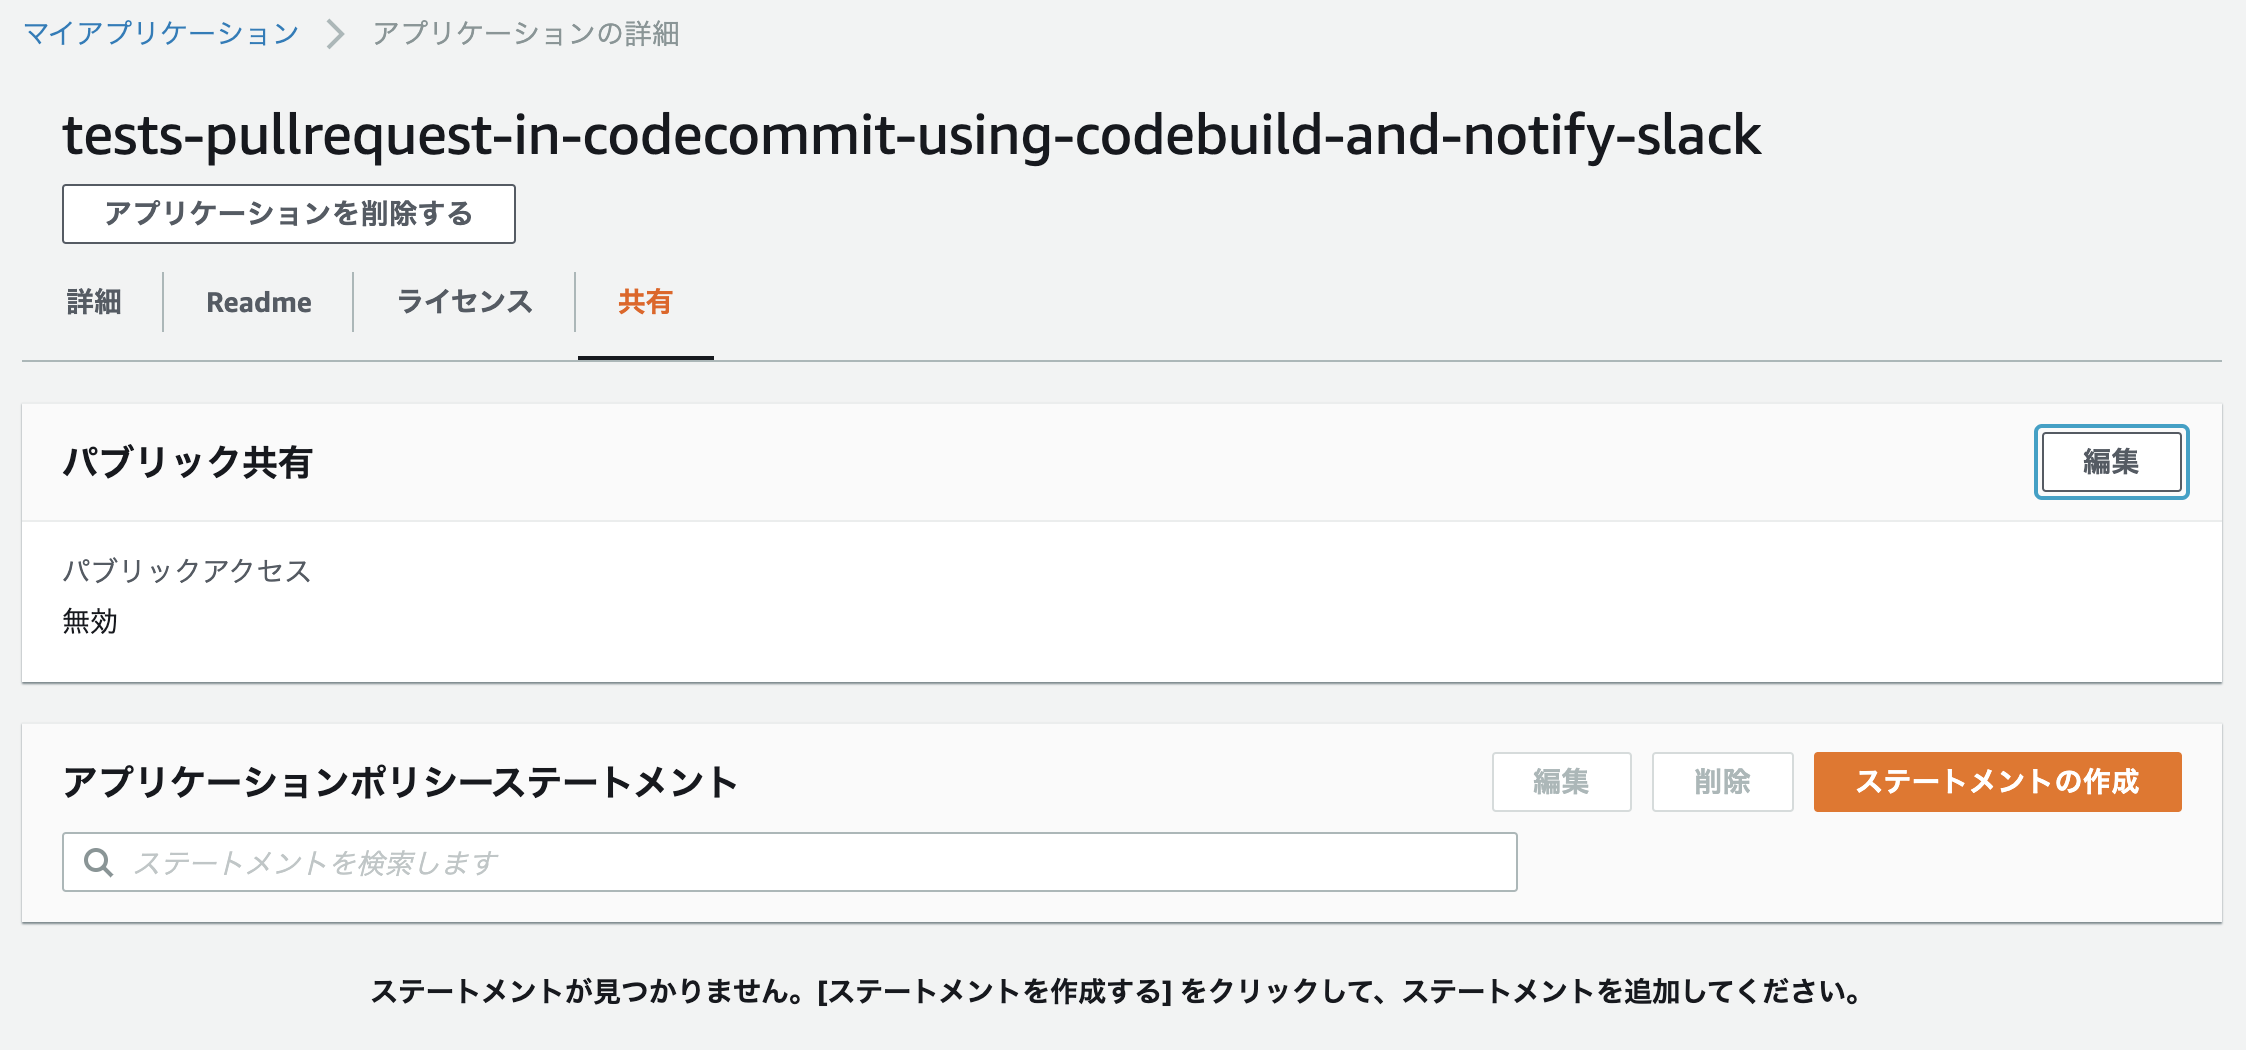
https://console.aws.amazon.com/serverlessrepo/home?region=ap-northeast-1#/published-applications/arn:aws:serverlessrepo:ap-northeast-1:757523705531:applications~tests-pullrequest-in-codecommit-using-codebuild-and-notify-slack
ディフォルトではパブリック共有が非公開になっています。
必要に応じて、マネジメントコンソールからパブリックアクセスを有効にしてください。
おわりに
SAMでアプリケーションの構築だけでなく、公開まで1コマンドでできるのは楽。
SAMはCfnの拡張だけあって、Cfnリソースを含めてもsam deploy、sam validateなどsamコマンドが使えることを最近知って、
これまで。SAMでテンプレートを書いても、結局aws cloudformationコマンドでデプロイをしていたので、もっとSAMの利点を生かしていこうと思った。