はじめに
昔からHerokuで運用しているRailsアプリをHerokuにgit pushしようとしたら、反応がなくて困りました。
$ git push heroku-staging master
(反応なし)
しばらく待つと以下のようなエラーメッセージが出ました。
ssh: connect to host heroku.com port 22: Operation timed out
fatal: Could not read from remote repository.

Please make sure you have the correct access rights
and the repository exists.
今まではこれでデプロイできてたのに、いったいどうして??と思っていろいろ調べてみました。
どうやらsshでgit pushできなくなったらしい
Herokuのヘルプページによると、sshを使ったgit pushはサポートされなくなったようです。
As Heroku continues to make architecture upgrades to improve performance, the SSH Git Transport feature is deprecated as of November 30, 2021.
The only Git transport configured by the Heroku CLI is HTTP. You must make all git pushes using the HTTP Git deployment method starting December 1, 2021.
Heroku CLIでHTTP接続する設定を追加する
現在はHTTPを使ったデプロイしかできなくなっているので、下記ヘルプページにあるとおり、Heroku CLIを使ってHTTP接続する設定を追加する必要があるとのこと。
というわけで、以下のようなコマンドを実行しました。
# -aはHeroku上のアプリ名、-rはリモートリポジトリ名(任意)
heroku git:remote -a my-awesome-app -r heroku-staging-http
よし、これでOKなはず。というわけで、git pushを実行してみます。
git push heroku-staging-http master
するとユーザー名とパスワードを聞かれるので、Herokuログインで使用しているユーザー名(メールアドレス)とパスワードを入力します。
Username for 'https://git.heroku.com': myname@example.com
Password for 'https://myname@example.com@git.heroku.com':
人によってはこれでデプロイに成功するかもしれませんが、僕の場合は以下のようなエラーが出てまたデプロイに失敗しました。
remote: !	WARNING:
remote: !	Do not authenticate with username and password using git.
remote: !	Run `heroku login` to update your credentials, then retry the git command.
remote: !	See documentation for details: https://devcenter.heroku.com/articles/git#http-git-authentication
fatal: Authentication failed for 'https://git.heroku.com/my-awesome-app.git/'
一般的な解決方法:heroku loginを使ってログインする
heroku loginコマンドを実行してログインすると、~/.netrcに認証情報が書き込まれるので、それ以降はふつうにgit pushできるようになるはずです。
この情報は @zunda さんに教えていただきました(どうもありがとうございます!)。
ただし、僕のマシンではセキュリティ対策としてGPGToolsが導入されていたため、以下の方法で解決しました。
GPGTools(GPG Suite)を使っている場合
GPGToolsを使っている場合は以下の手順で対応します。
Step 1. API tokenを使ってログインするように設定する
まず、API tokenを使ってログインできるようにします。
参考情報
- https://devcenter.heroku.com/articles/git#http-git-authentication
- https://devcenter.heroku.com/articles/authentication
Heroku CLIを使ってAPI tokenを生成しましょう。
$ heroku auth:token
 ›   Warning: token will expire 08/30/2022
 ›   Use heroku authorizations:create to generate a long-term token
8aeec5f2-xxxx-xxxx-xxxx-xxxxxxxxxxxx
が、警告メッセージに「トークンの有効期限は2022年8月30日」と書いてあります。1ヶ月しか使えないのはちょっと短すぎますね。heroku authorizations:createというコマンドを使えば有効期限のないトークンが作れるようです(参考)。
というわけでheroku authorizations:createを実行してみました。
$ heroku authorizations:create
Creating OAuth Authorization... done
Client:      <none>
ID:          3d869571-xxxx-xxxx-xxxxxxxxxxxxxxxxx
Description: Long-lived user authorization
Scope:       global
Token:       5017ef9c-xxxx-xxxx-xxxx-xxxxxxxxxxxx
Updated at:  Sun Jul 31 2022 13:55:21 GMT+0900 (Japan Standard Time) (less than a minute ago)
続いて~/.netrcを開き、上で取得したトークンをパスワード代わりに書き込んで保存します。
machine api.heroku.com
  login myname@example.com
  password 5017ef9c-xxxx-xxxx-xxxx-xxxxxxxxxxxx
machine git.heroku.com
  login myname@example.com
  password 5017ef9c-xxxx-xxxx-xxxx-xxxxxxxxxxxx
いったんこれでデプロイできることを確認します。
$ git push heroku-staging-http master
Enumerating objects: 55, done.
Counting objects: 100% (43/43), done.
Delta compression using up to 8 threads
Compressing objects: 100% (23/23), done.
Writing objects: 100% (23/23), 6.71 KiB | 3.35 MiB/s, done.
Total 23 (delta 13), reused 0 (delta 0), pack-reused 0
remote: Compressing source files... done.
remote: Building source:
(以下略)
Step 2. ~/.netrcを暗号化する
続いて、以下のコマンドを実行して~/.netrcを暗号化します。
cd ~
gpg -e -r myname@example.com ~/.netrc
chmod 600 .netrc.gpg

# 暗号化されていて読めないことを確認
cat .netrc.gpg

# 元のテキストが表示されることを確認
gpg -d .netrc.gpg

# 平文のファイルは危険なので削除
rm ~/.netrc
Step 3. gitのcredential helperをセットアップする
Macの場合、以下の2つのファイルが存在することを確認します。
$ ls /Library/Developer/CommandLineTools/usr/share/git-core/perl/Git.pm
/Library/Developer/CommandLineTools/usr/share/git-core/perl/Git.pm

$ ls /opt/homebrew/share/git-core/contrib/credential/netrc/git-credential-netrc.perl
/opt/homebrew/share/git-core/contrib/credential/netrc/git-credential-netrc.perl
環境変数としてPERLLIBを追加します。
export PERLLIB="/Library/Developer/CommandLineTools/usr/share/git-core/perl"
~/.gitconfigを開き、以下の設定を追記します。
# 既存の設定は省略...
[credential "https://git.heroku.com"]
    helper = "/opt/homebrew/share/git-core/contrib/credential/netrc/git-credential-netrc.perl --gpg gpg -f $HOME/.netrc.gpg get"
Step 4. 動作確認
設定が終わったら再度デプロイが成功する(エラーが出ない)ことを確認します。
(gpgが使用されていることを示すメッセージも表示されます)
$ cd ~/path/to/my-awesome-app
$ git push heroku-staging-http master
gpg: encrypted with 4096-bit RSA key, ...略
      "Scott Tiger <myname@example.com>"
Everything up-to-date
herokuコマンドも実行できることを確認しておきましょう。
$ heroku list
# ...Heroku上のアプリ一覧が表示される
参考:credentialを削除する場合
Macの場合、credential情報はKeychainに保存されるはずです。
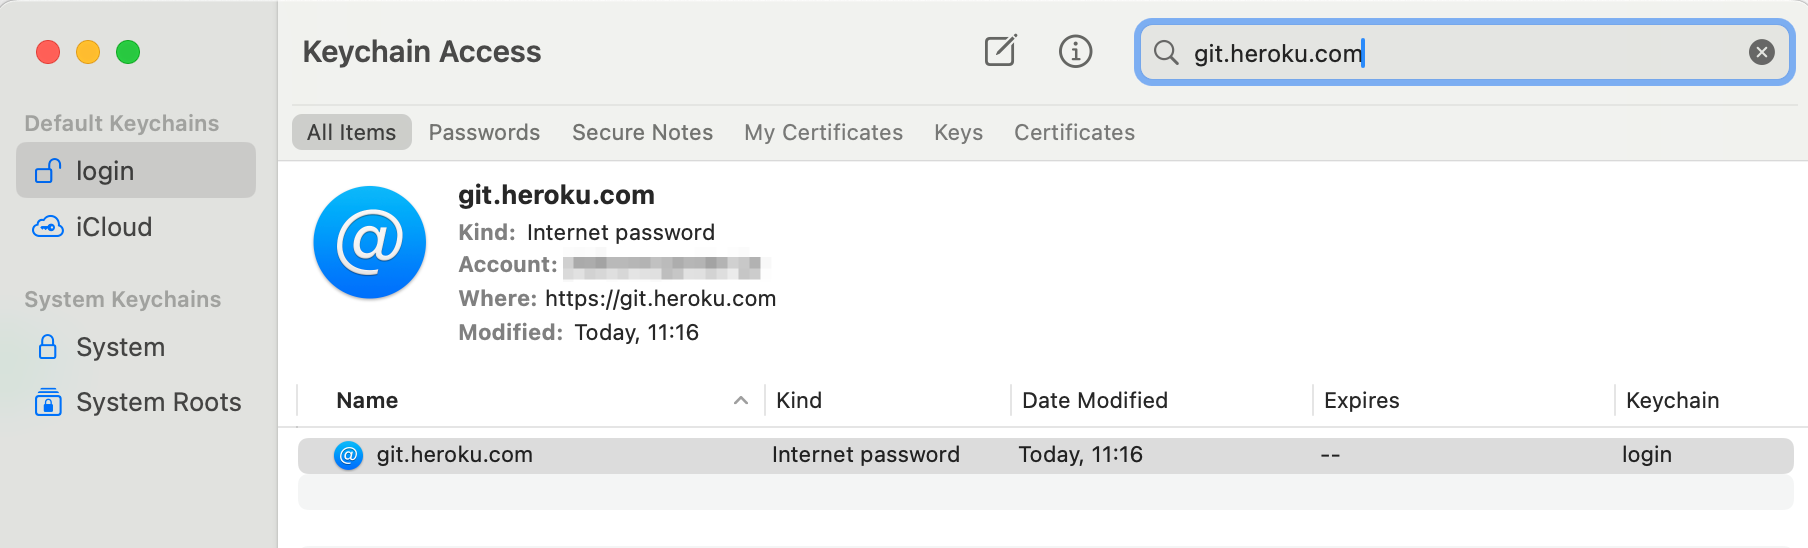
この情報はKeychain Accessからは削除できません。
削除する場合は以下のコマンドを実行します。
git credential-osxkeychain erase
このコマンドを実行すると、入力待ち状態になるので、以下の情報を入力します。
host=git.heroku.com
protocol=https
最後にリターンキーを押すと、Keychainからcredential情報が削除されます。
GitHub統合するのもあり
git pushでデプロイするのではなく、HerokuとGitHubを統合し、GitHubにpushしたら自動デプロイされるようにする方法もあります。
その場合は「Step 3. gitのcredential helperをセットアップする」は省略可能です。
まとめ
対応方法は以上です。
僕と同じように「なんで今までgit pushできてたのに急にできなくなったの!?」という人はこの記事を参考にしてみてください。