LIGGGHTS-PUBLIC (LIGGGHTS3.8)
LIGGGHTS2.Xと3.X系ではちょっと違う模様。
(LIGGGHTS-PUBLICとなったらしい)
特に、結果の可視化が大幅に簡素化された。
インストールのメモを残しておく。
なお、環境は、
WSL-Ubuntu20.04 (Win10)
です。vaioのノートPC (i7-10700U)で試しました。
後日、UltraVNCでつないだワークステーション
(Ubuntu20.04, AMD 3970X)でも試したが、
VNCとParaviewの相性が悪いらしく、不便。
インストール
sudo apt install openmpi-bin libopenmpi-dev
git clone https://github.com/CFDEMproject/LIGGGHTS-PUBLIC.git
cd LIGGGGHTS-PUBLICS/src
make auto
初回は警告をだして、Makefileをつくってくれる。
vtkは自動インストールもできるが、うまくいかなかったので、手動。
vi MAKE/Makefile.user
の、120~122行目を
120 #VTK_INC_USR=-I/usr/include/vtk-6.3↲
121 # Path that contains the VTK libraries↲
122 #VTK_LIB_USR=-L/usr/lib/cmake/vtk-6.3↲
とした。
なおvtkは、
sudo apt install libvtk6.3 libvtk6-dev
で入れた。
その後、
make auto
数分待つ。
lmp_autoが実行ファイル
cp lmp_auto /home/hoge/hoge
で、pathの通ったところに置く。
また、bash_rcなどに
export LD_LIBRARY_PATH=$LD_LIBRARY_PATH:/usr/lib/cmake/vtk-6.3↲
を書いておく。
これで、インストールは完了。
viewerのParaviewを
sudo apt install paraview
して、いれておく。
Tutorials
cd /hogehoge/LIGGGHTS-PUBLIC/examples/LIGGGHTS/Tutorials_public/chute_wear
mpirun -np 4 lmp_auto -in in.chute_wear
2-3分でいける。
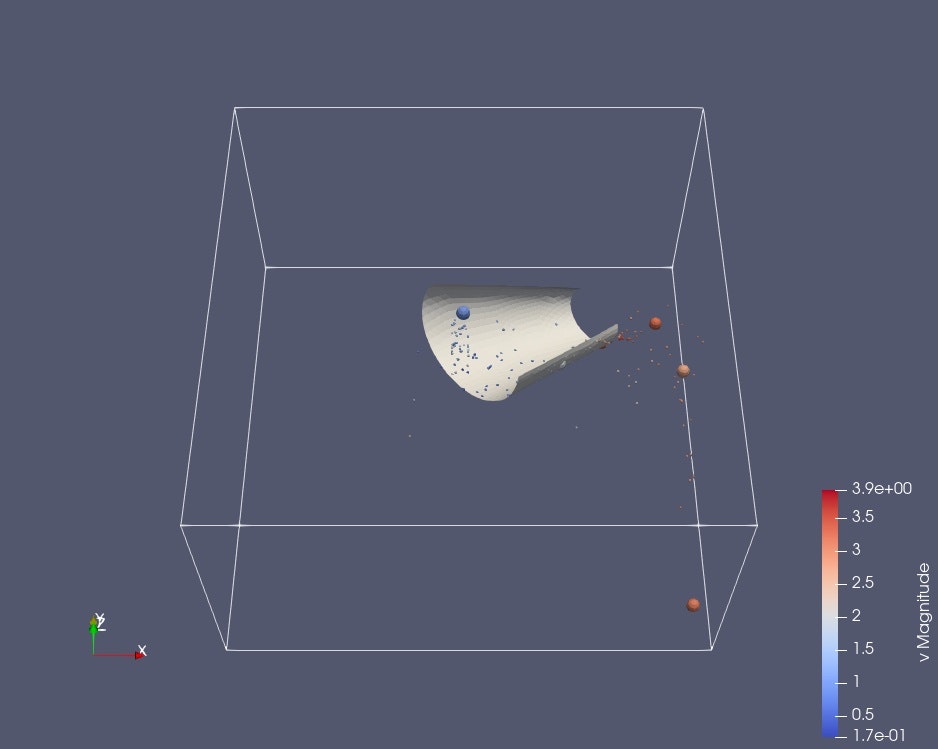
結果を、Paraviewを開いて、
ファイルの読み込みで、/hogehoge/LIGGGHTS-PUBLIC/examples/LIGGGHTS/Tutorials_public/chute_wear/Post/
の.vtkを全部選ぶ。
Paraviewの左上のファイルの並んでいるところをクリックして、
目のアイコンを開くと、ストラクチャが表示される。
chute wearの回転
ストラクチャーを回転させましょう。
in.chute_wearで、12行目を変更、38行目のあとに追加。
...
12 region        domain block -0.5 0.5 -0.5 0.5 -0.4 0.15 units box
...
38 fix  granwalls all wall/gran model hertz tangential history mesh n_meshes 1 meshes cad
39 fix move_cad all move/mesh mesh cad rotate origin 0. 0. 0. axis  0. 0. 1. period 1
...
12行目で、計算の空間をしていしているが、cad (ホーン?)を回転させると、デフォルトの領域だとぶつかる。
39行目で、回転させている。
ここで、wall/granやmove/meshが関数のようである。
意味は
https://www.cfdem.com/media/DEM/docu/Section_commands.html#fix-styles
にある。
粒子のサイズ分布
42~44行目。
# distributions for insertion
42 fix  pts1 all particletemplate/sphere 15485863 atom_type 1 density constant 2500 radius constant 0.0010
43 fix  pts2 all particletemplate/sphere 15485867 atom_type 1 density constant 2500 radius constant 0.0050
44 fix  pdd1 all particledistribution/discrete 32452843  2 pts1 0.3 pts2 0.7
pts1が0.001, pts2が0.005で、pts1:pts2 = 0.3:0.7 (mass %)
たくさん増やすときは、使えるrandom seedに注意。(順番につかう?)
Paraviewで粒子の大きさをかえる
- 粒子(chute)を選んでApplyをしてから、
Glyphを押す。 - Glyph type>Glyph sourceでsphere
- Scale > Scale Arrayでradius
- Scale Factorをリセット
- Applyする。目のアイコンで表示させることをわすれずに。
アニメーションの保存
最後にFile>Save animationすれば、かっこいい。
拡張しにaviを選んで、好きなフレームレートを入れる。
(Qiitaは動画の貼り付けができないのですね・・・)
参考
https://www.cfdem.com/media/DEM/docu/Manual.html
https://www.engineerdo.com/wp-content/uploads/2020/06/EngineerDo_Installation_liggghts.pdf
https://qiita.com/baozam/items/ba1b1333407891107901