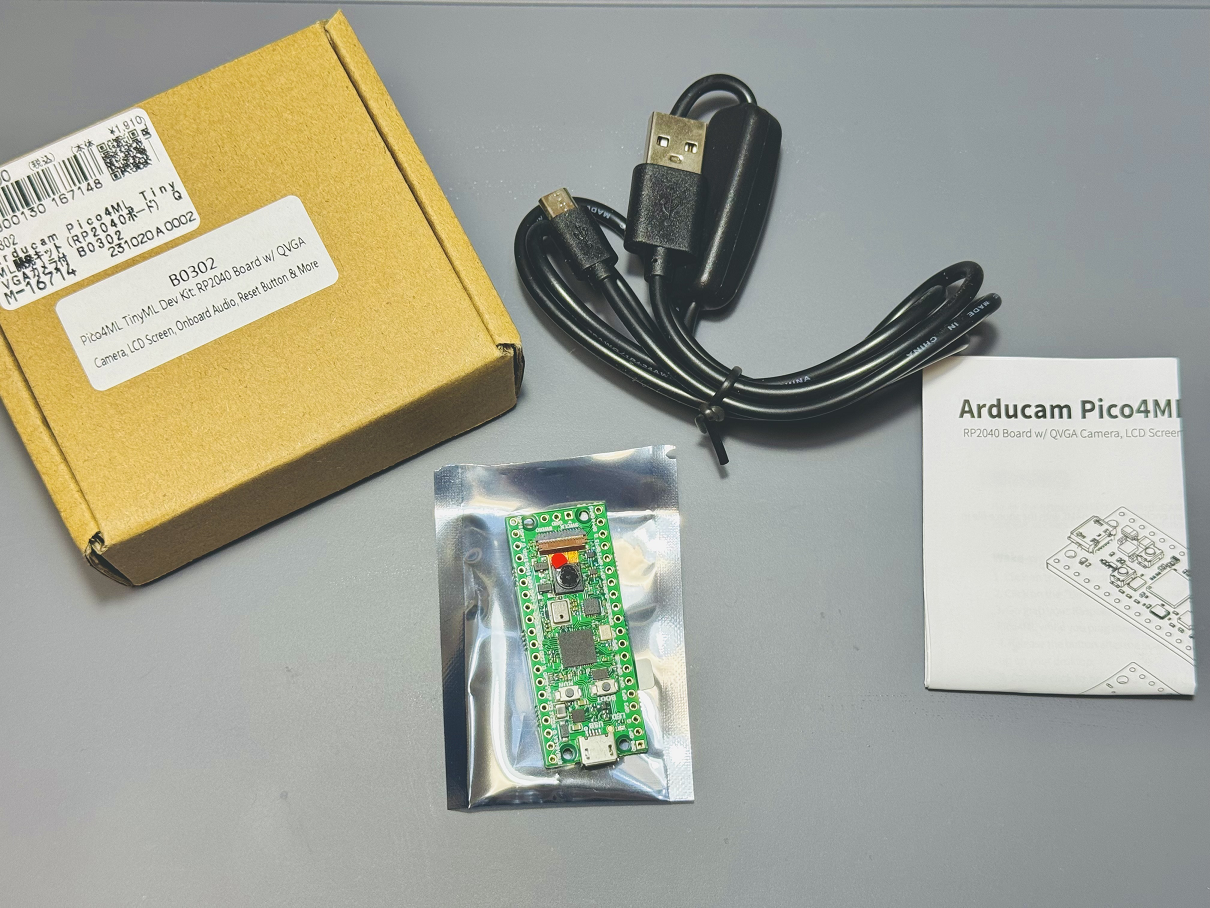
秋月電子通商で2100円で販売されているPico4MLを試してみました。
パッケージには、Pico4MLとUSBケーブル、簡易マニュアルが同梱されています。

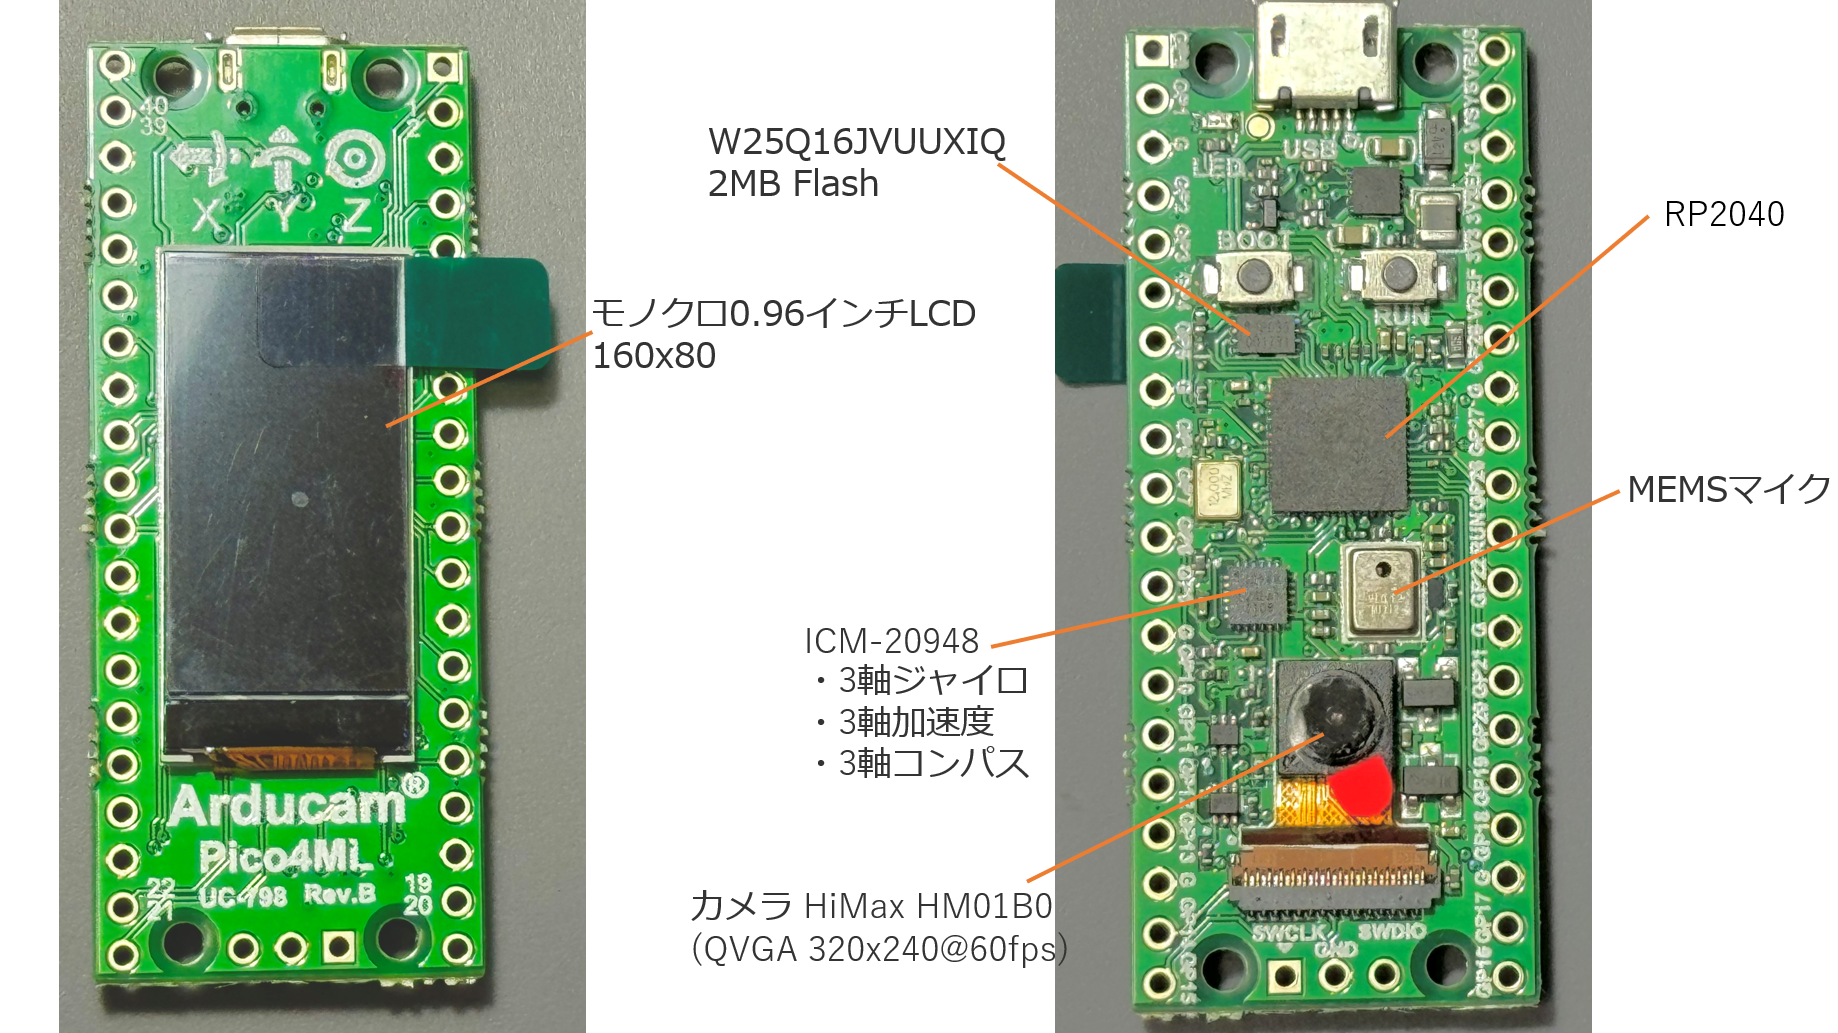
2100円という価格にも関わらず、センサーやLCD、カメラが搭載されています。

ピン配列は、Raspberry Pi Pico互換となっているので、拡張ボードなどは互換して使用できます。(表にはカメラ、裏にはLCDがあるので、拡張ボードを使う場合は、どちらかが使用不可になるかと)
動かしてみる
製造元である、ArduCAMのGithubからコンパイル済みのファームがいくつか配布されています。その中からperson_detection_int8を動かしてみます。
Pico4MLをUSBでPCにつなぎ、BOOTボタンを押しながらRUNボタンを押します。そうするとPCがストレージとして認識するので、そこにダウンロードした、person_detection_int8.uf2をコピーします。
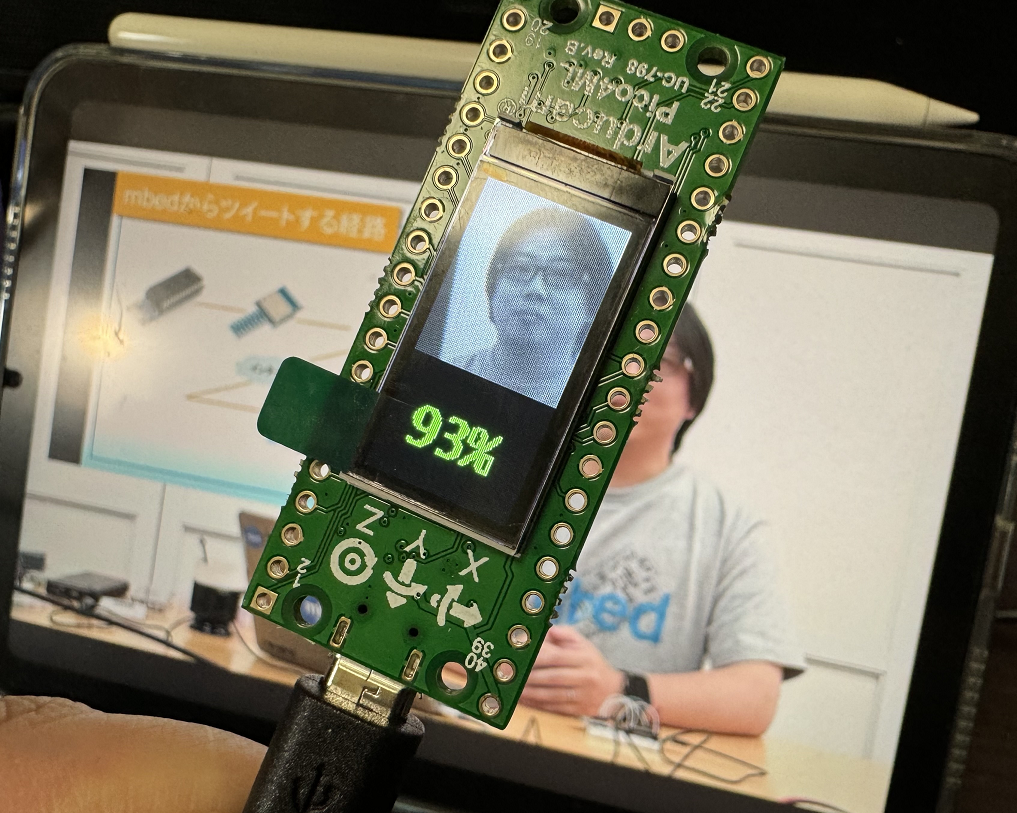
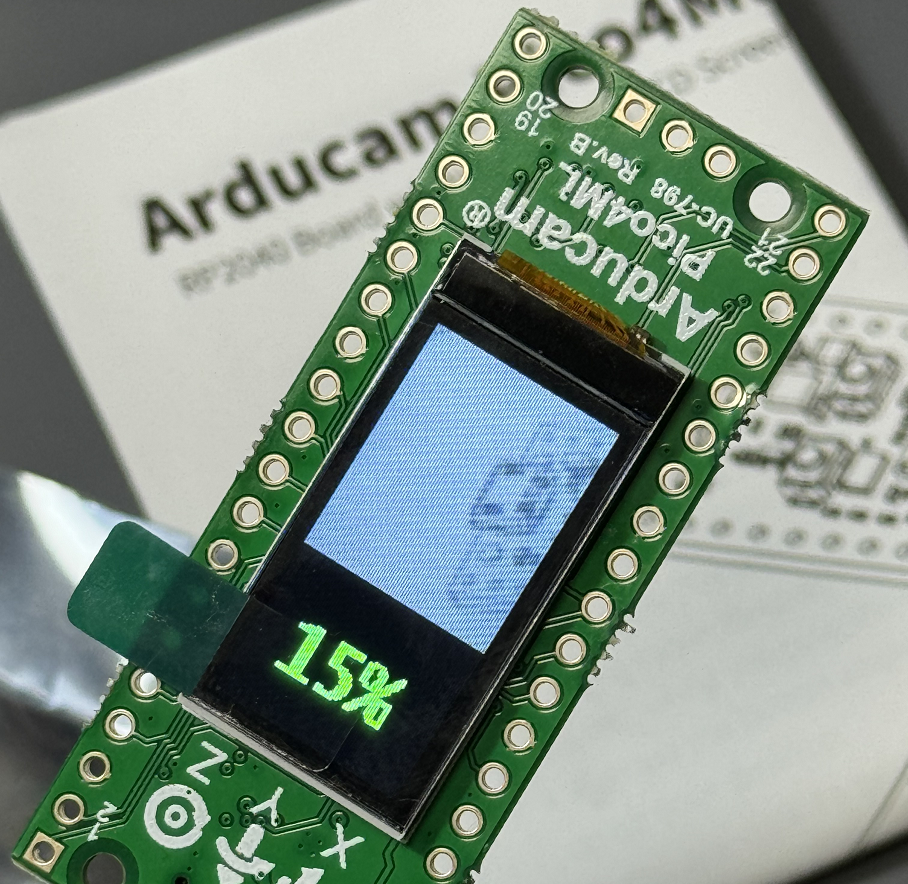
コピーが終わるとLCDにカメラ画像と数値が表示されます。この数値は、カメラに写ってるのが人物かどうかの確率です。
人物が映り込むと100%に近くなります。(素材は私が出てるYoutubeチャンネル)

Githubには、プログラムやコンパイル方法なども配布されているので、開発する場合は、それらが参考になります。
ちなみにRP2040の開発環境は、Raspberry Pi上に以下のコマンドで簡単にインストールできます。
$ wget https://raw.githubusercontent.com/raspberrypi/pico-setup/master/pico_setup.sh
$ chmod +x pico_setup.sh
$ ./pico_setup.sh
$ sudo reboot
今後、やりたいこと
以前に試したEdge ImpulseがRP2040にも対応していて、Pico4MLも対応してそうなので、今後試していきたいと思います。
あとは、いつもRaspberry Pi Picoの開発に使用しているArduino環境でもライブラリがあるので、そちらでも開発できるように準備したいと思います。
