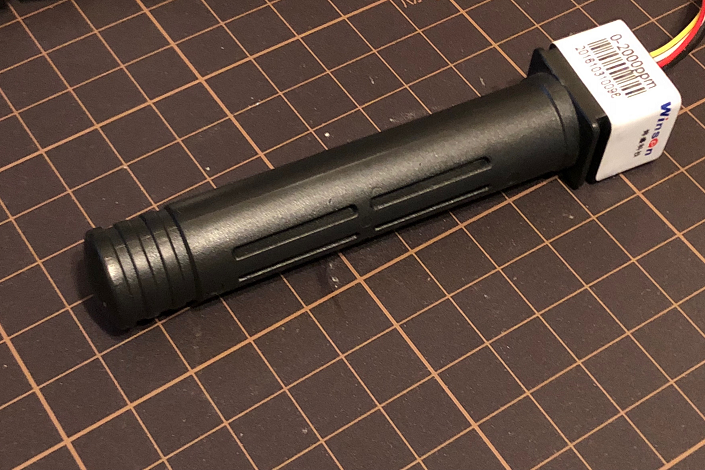
Co2の濃度が測れるCo2センサーがGroveのモジュールとして売られています。
このCo2センサーをWio LTEに接続して、値を取得してみたいと思います。
だがしかし、事前にスペックを確認したら単純には繋げられませんでしたので接続方法を紹介します。
Co2センサーの電源
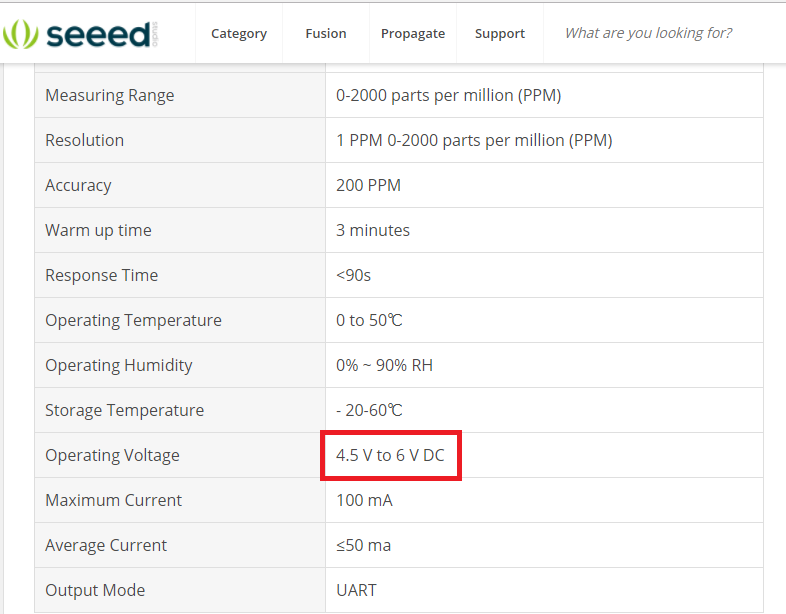
スペックを確認すると電源電圧が4.5~6Vと書いてあります。
Wio LTEのGroveコネクタから出力されているのは3.3Vなので、そのまま繋げても動きません。
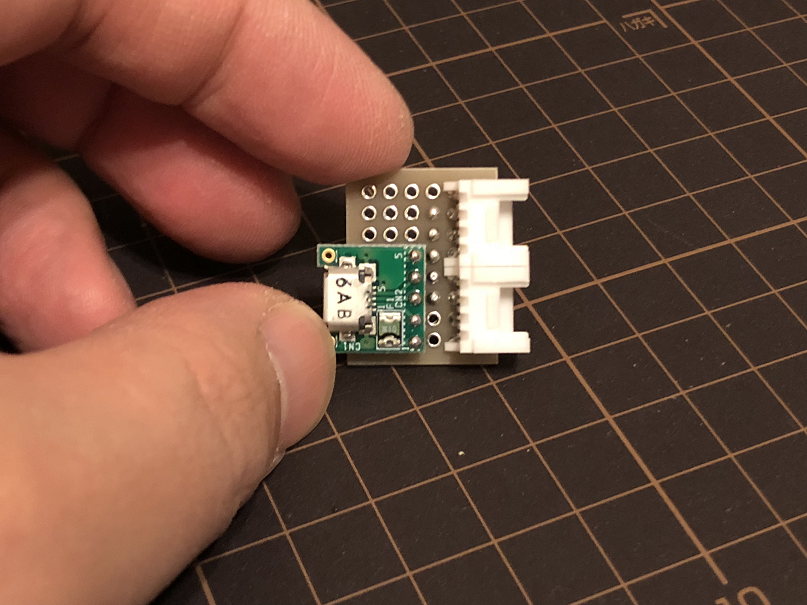
USBの電源が5Vなので、それを電源として扱うための基板を作りました。
こんな感じです。
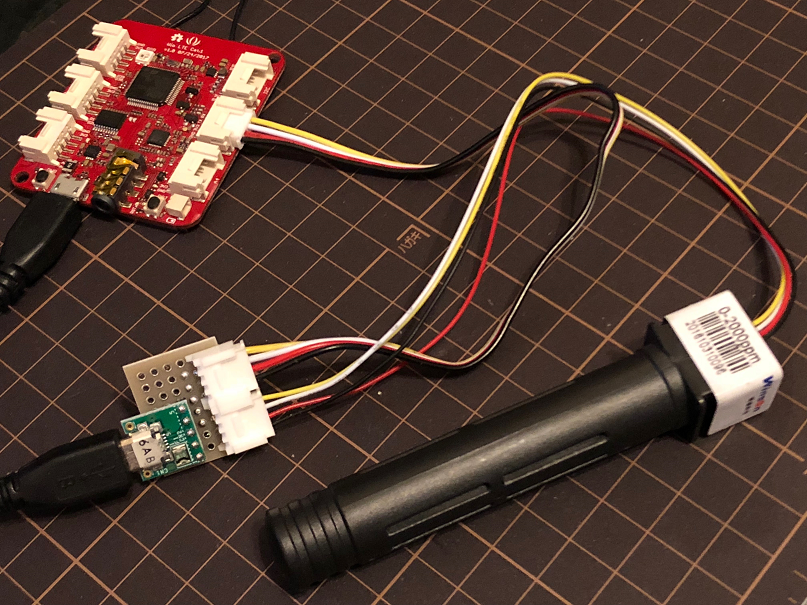
Groveのモジュールとマイコン間に入れて使います。
ちなみにCo2センサーはシリアル(UART)でWio LTEと通信します。この信号のレベルは3.3Vとなってました。それなので信号線はそのまま繋げています。
(Wio LTEに搭載されているマイコンは5Vトレラント入力対応なので、信号レベルが5Vだとしてもそのまま繋げられます。)
プログラム
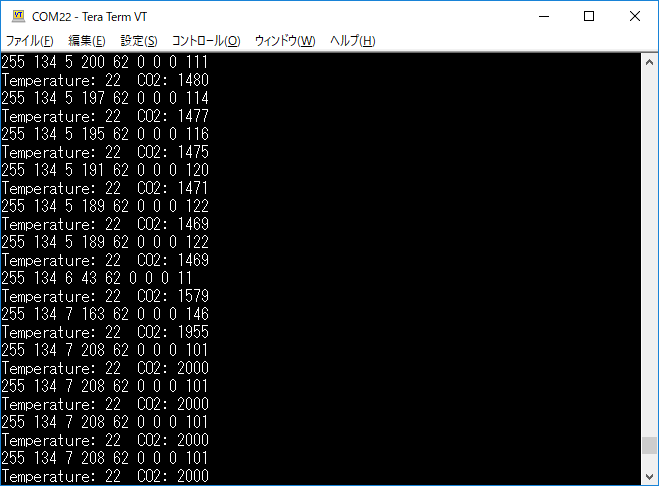
プログラムはCo2センサーのWikiページにあるものを参考に作りました。Co2センサーから取得したCo2値と温度をコンソールに出力します。
# include <WioLTEforArduino.h>
# include <WioLTEClient.h>
# include <stdio.h>

HardwareSerial* Co2SensorSerial;
const unsigned char cmd_get_sensor[] =
{
    0xff, 0x01, 0x86, 0x00, 0x00,
    0x00, 0x00, 0x00, 0x79
};

unsigned char dataRevice[9];
int temperature;
int CO2PPM;

void setup() {

  Co2SensorBegin(&Serial);

};

void loop() {

  if(dataRecieve())
  {
      SerialUSB.print("Temperature: ");
      SerialUSB.print(temperature);
      SerialUSB.print("  CO2: ");
      SerialUSB.print(CO2PPM);
      SerialUSB.println("");
  }
  delay(1000);
};


void Co2SensorBegin(HardwareSerial* serial)
{
  Co2SensorSerial = serial;
  Co2SensorSerial->begin(9600);
}

bool dataRecieve(void)
{
    byte data[9];
    int i = 0;

    //transmit command data
    for(i=0; i<sizeof(cmd_get_sensor); i++)
    {
        Co2SensorSerial->write(cmd_get_sensor[i]);
    }
    delay(10);
    //begin reveiceing data
    if(Co2SensorSerial->available())
    {
        while(Co2SensorSerial->available())
        {
            for(int i=0;i<9; i++)
            {
                data[i] = Co2SensorSerial->read();
            }
        }
    }

    for(int j=0; j<9; j++)
    {
        SerialUSB.print(data[j]);
        SerialUSB.print(" ");
    }
    SerialUSB.println("");

    if((i != 9) || (1 + (0xFF ^ (byte)(data[1] + data[2] + data[3] + data[4] + data[5] + data[6] + data[7]))) != data[8])
    {
        return false;
    }

    CO2PPM = (int)data[2] * 256 + (int)data[3];
    temperature = (int)data[4] - 40;

    return true;
}
