シェアハウスをチョット快適に
こんにちは、新宿のシェアハウスに住んでいる大学生です。 (2019/10〜 一人暮らしはじめました🎉)
普段は主にRailsやAWSを触っているのですが、約1週間前ほどから「基礎から学ぶ Vue.js」でVue.jsの勉強を始めました。
フロントエンドってなんかカッコいいじゃないですか??
毎日インターンに向かう電車の中で本を読み何となくVue.jsについて理解できたので、さっそくオリジナルのwebアプリを作ってみることにしました。
せっかくなので役立つものを・・・ということで、作ったのはシェアハウスで使える掲示板です。
ソースコード GitHub
ちなみにJSはRailsのCoffeeScriptでチョコっと書くくらいの初心者です。皆さん教えてください...
ざっくりとした仕様紹介
機能はとってもシンプルでユーザが行うことのできるアクションは2つです。
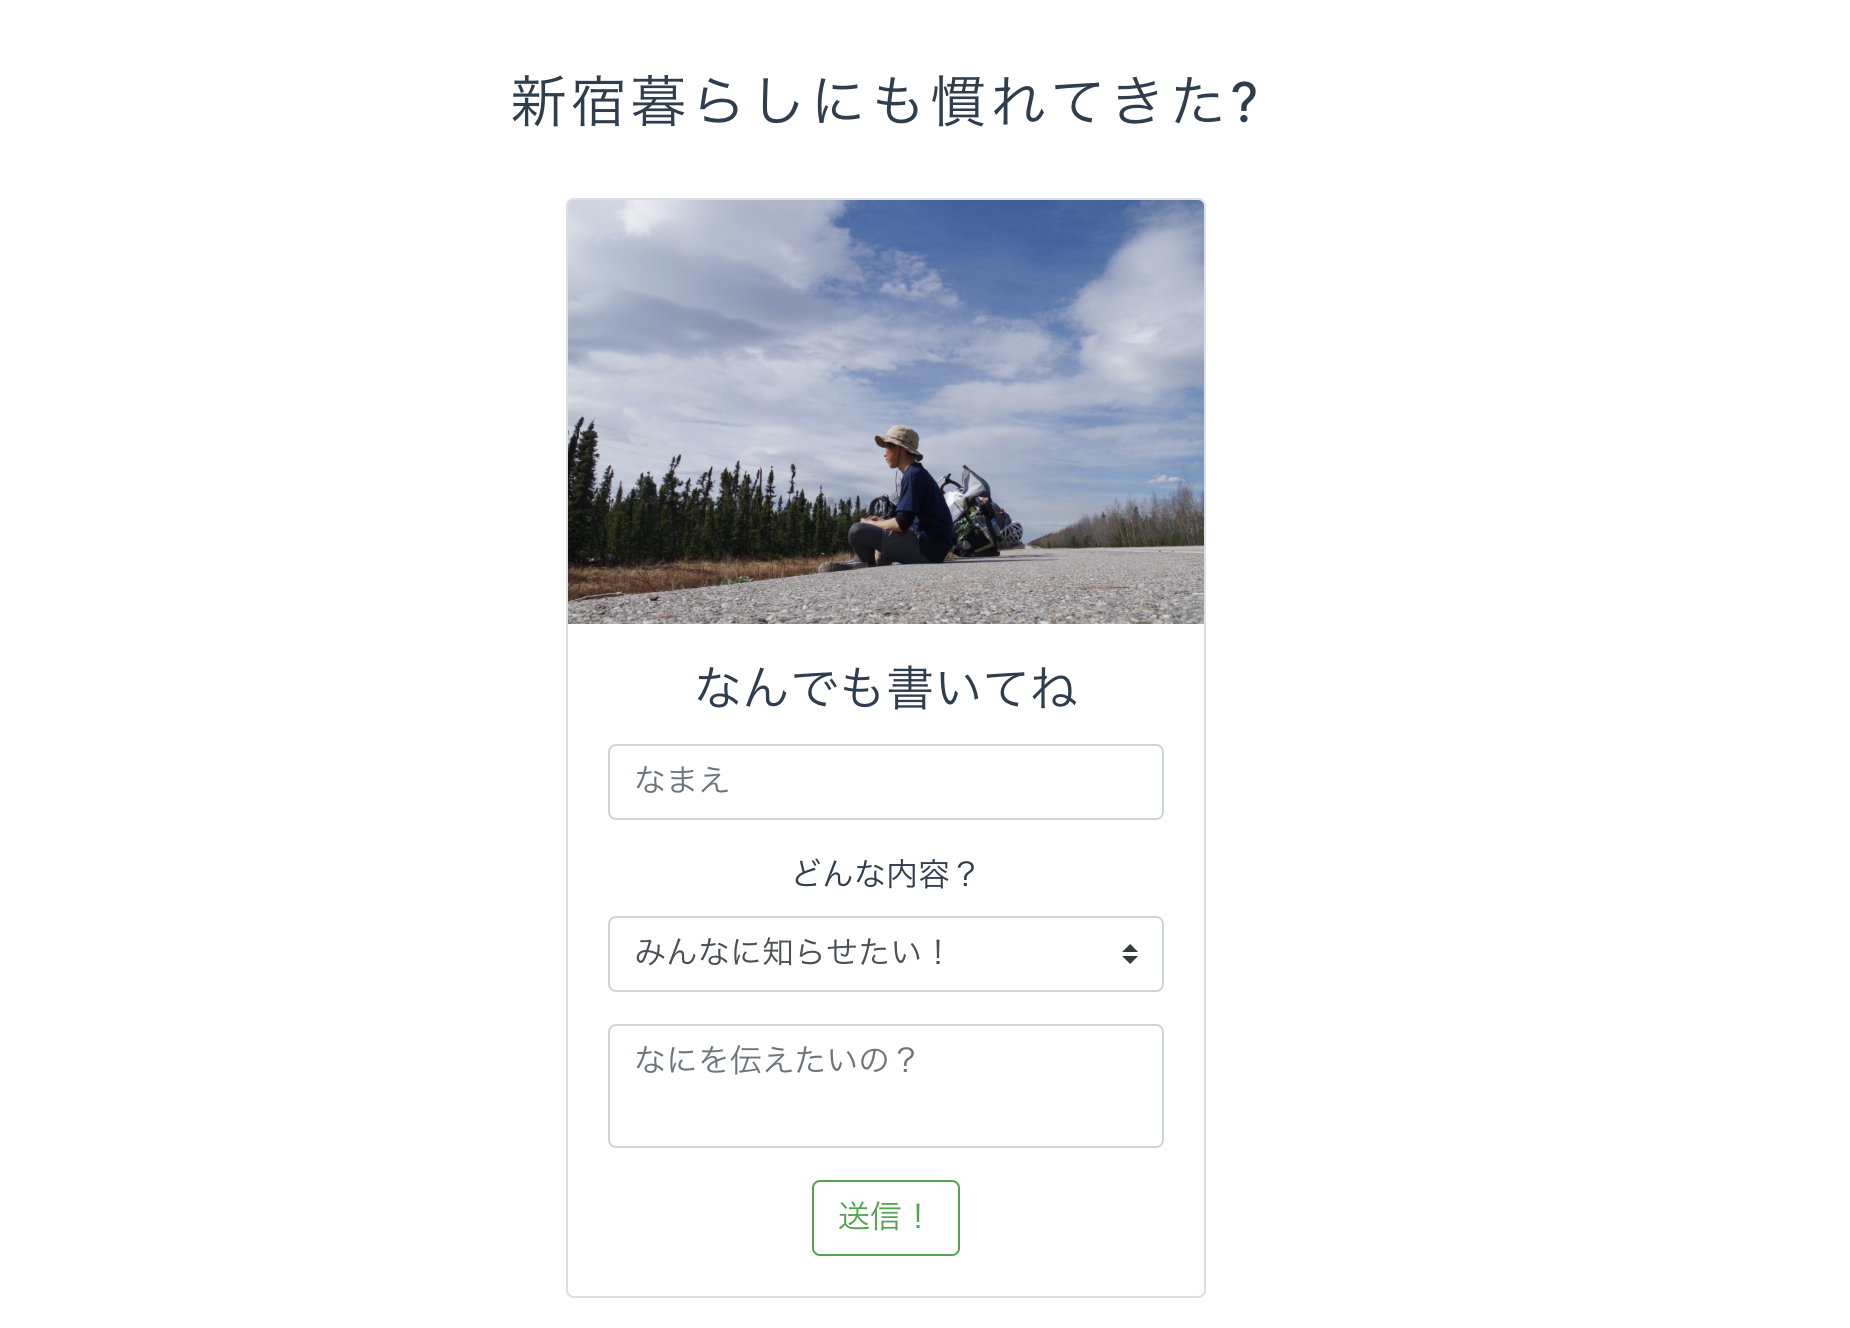
①住民へのお知らせや買ってきて欲しいものを投稿する
セレクトボックスで投稿のタイプ**「お知らせ」か「買ってきて欲しいもの」**を選び、内容を書いて投稿します。
Rails大学生の私は遷移のないフォームが簡単に作れただけでもちょっと感動しました。
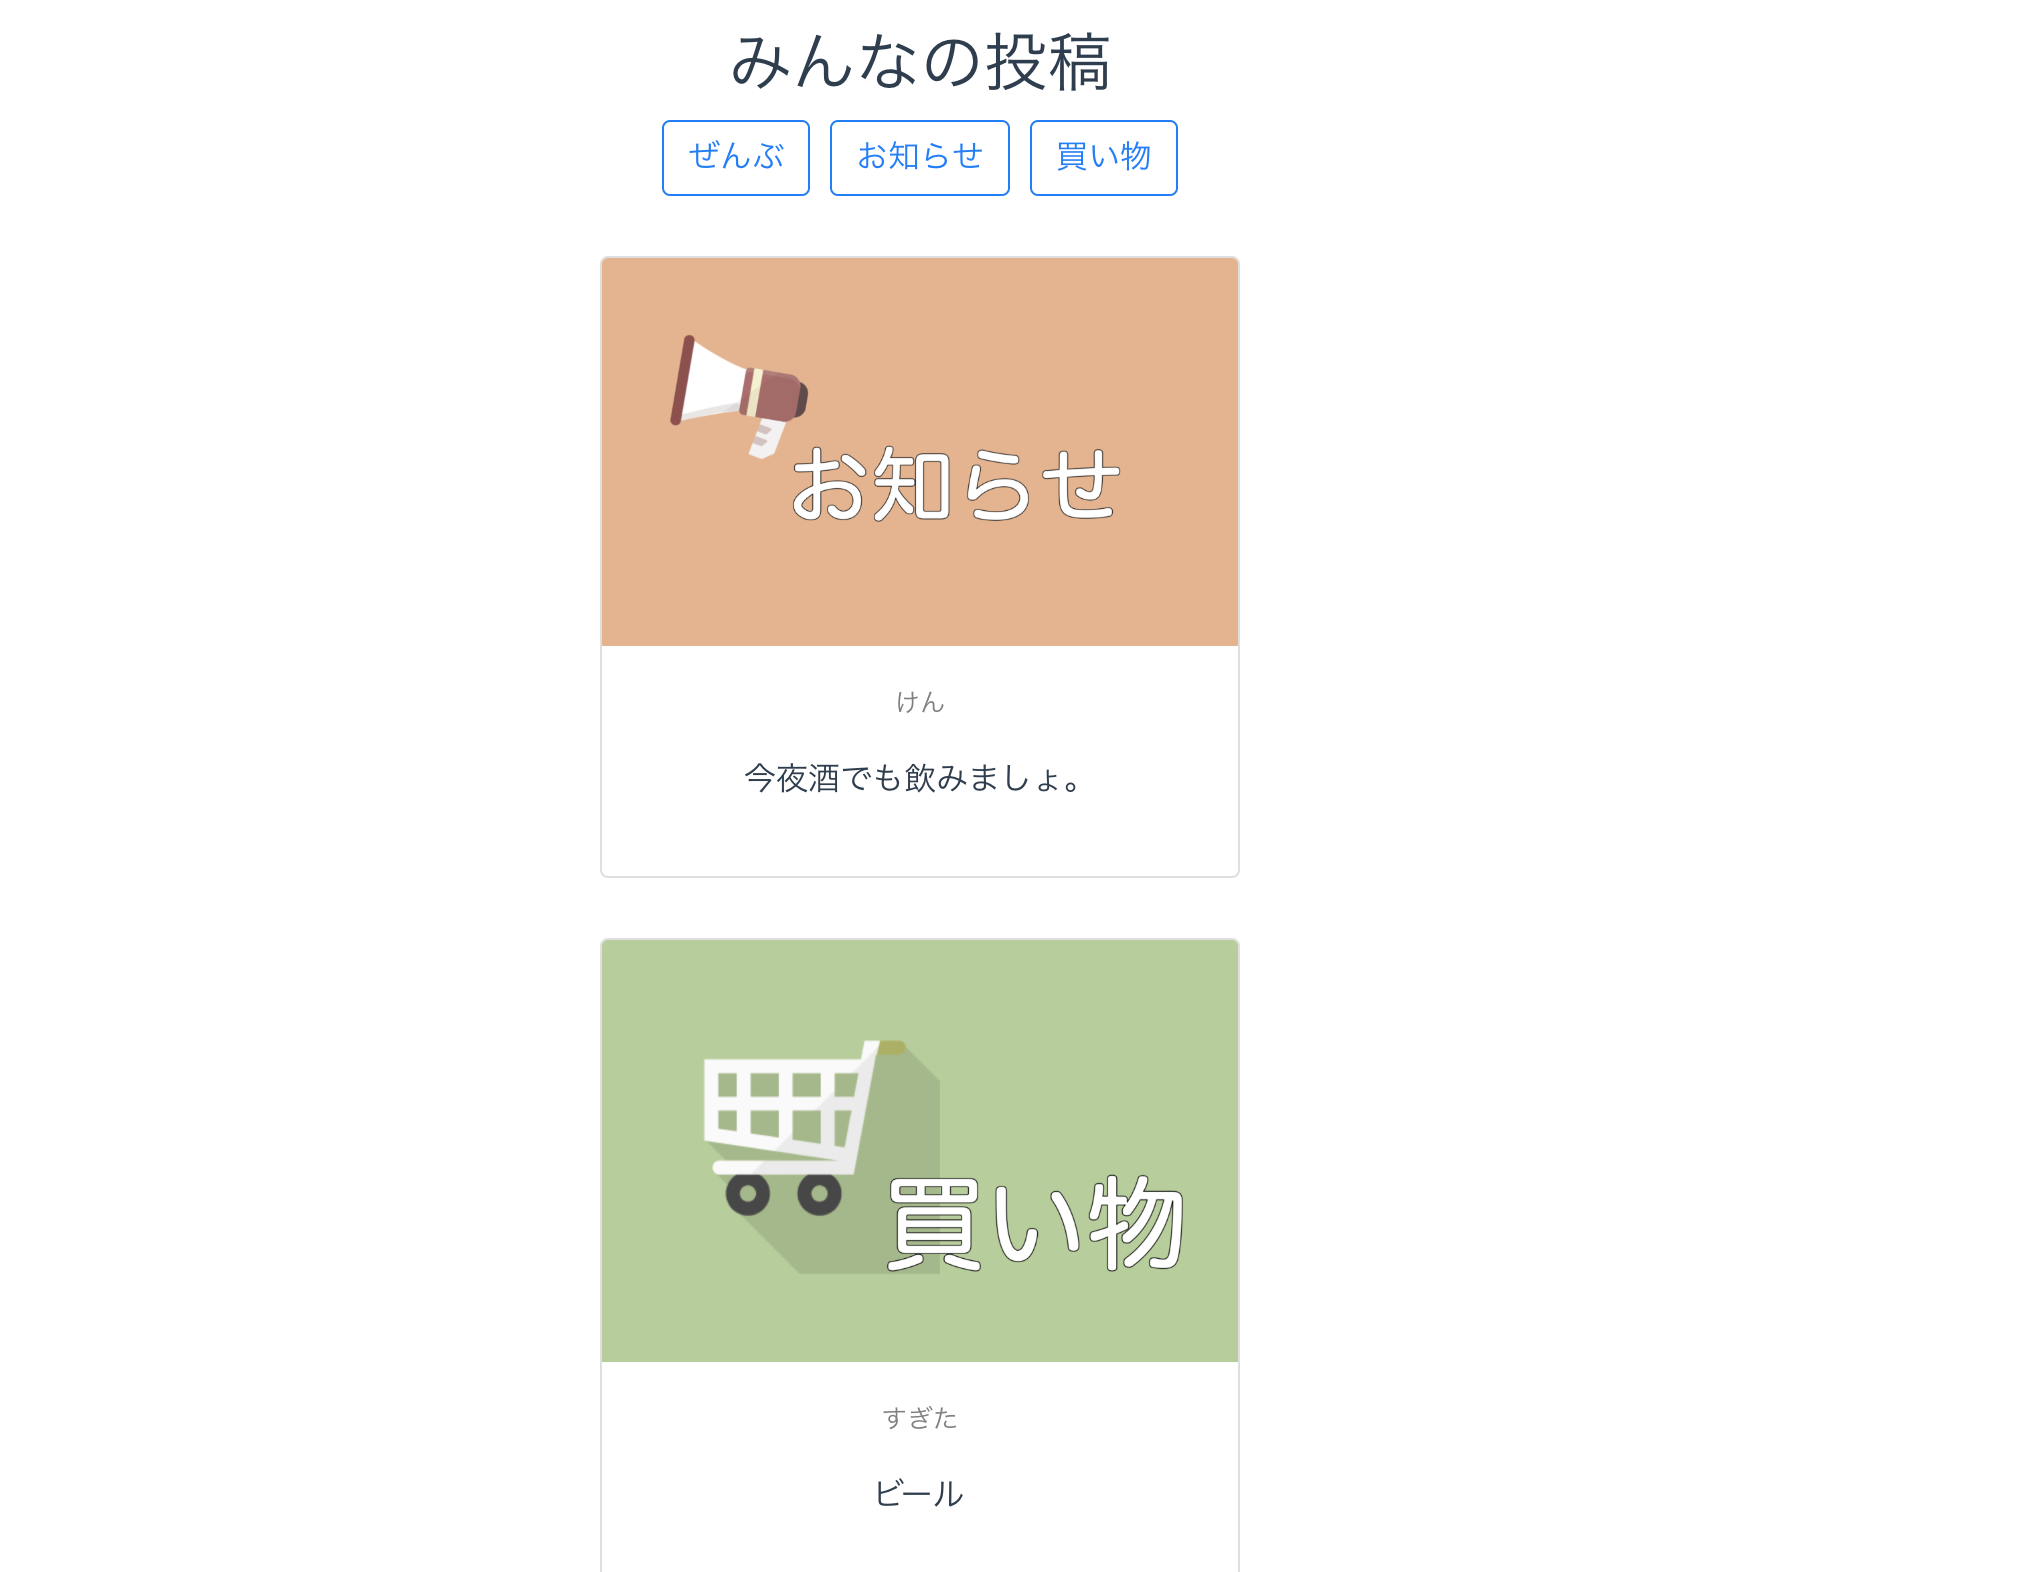
②投稿一覧を絞り込む
投稿タイプによって投稿一覧の絞り込みができます。
Vue transitionのアニメーションがカッコいいです。
開発に使用したツールやホスティングについて
ビルドまで簡単にできるcli: Vue cli ver3.8.4
データベース: Firebase Firestore
デザイン: BootStrap Vue
ホスティング: Firebase
今回は初めてFirebaseを使ってみました。プロジェクトの作成からデータベース接続、サイトのホスティングまでビックリするくらい簡単にできるのでオススメです!
データベースの構造について
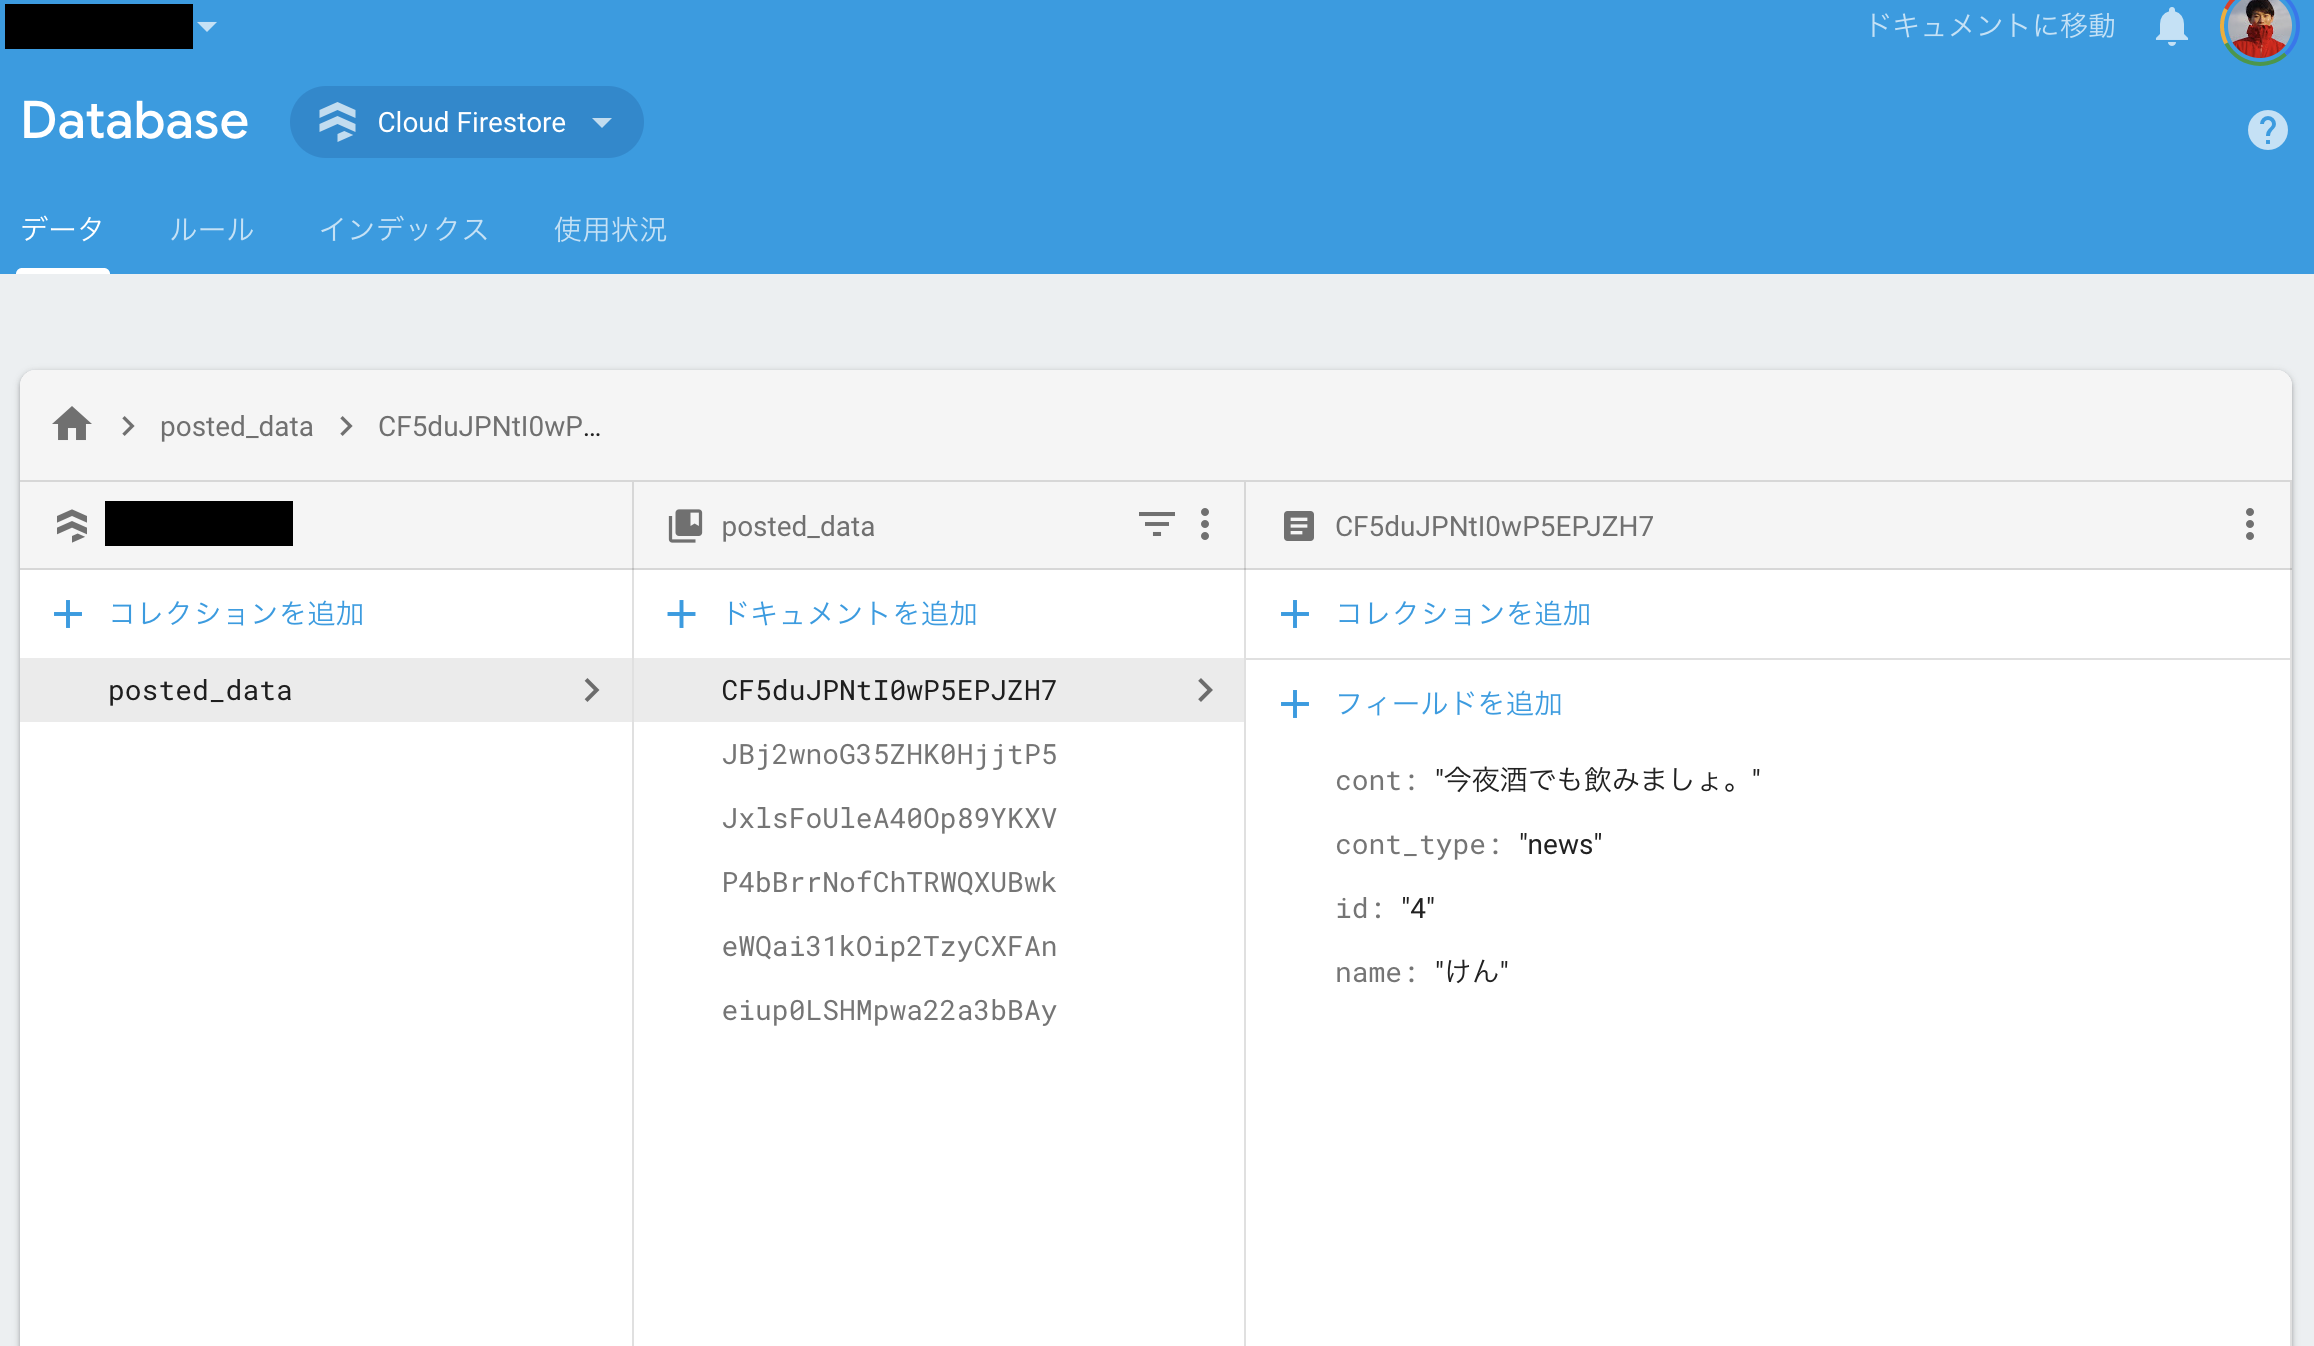 1つの投稿はそれぞれ以下のデータを保持しています。型はすべてStringです。
| キー | 解説 |
|---|---|
| cont | 投稿の本文(コンテンツ) |
| cont_type | 投稿のタイプ(お知らせか買い物か) |
| id | ユニークとなるid |
| name | なまえ |
コードの解説
シンプルなアプリのためコード量も少なめです。手を加えたファイルは主にmain.js App.vueとコンポーネントのform.vue post.vueです。
まずmain.jsこのようになっています。
import Vue from 'vue'
import App from './App.vue'
import firebase from 'firebase'
import BootstrapVue from 'bootstrap-vue'
import 'bootstrap/dist/css/bootstrap.css'
import 'bootstrap-vue/dist/bootstrap-vue.css'

Vue.use(BootstrapVue)

Vue.config.productionTip = false

var firebaseConfig = {
  apiKey: process.env.VUE_APP_API_KEY,
  authDomain: process.env.VUE_APP_AUTH_DOMAIN,
  databaseURL: process.env.VUE_APP_DATABASE_URL,
  projectId: process.env.VUE_APP_PROJECT_ID,
  storageBucket: process.env.VUE_APP_STORAGE_BUCKET,
  messagingSenderId: process.env.VUE_APP_MESSAGING_SENDER_ID,
  appId: process.env.VUE_APP_APP_ID
};
// Initialize Firebase
firebase.initializeApp(firebaseConfig);

new Vue({
  render: h => h(App),
}).$mount('#app')
BootstrapとFirebaseの設定を記述しています。
Firebaseのキーはgitignoreされている.env.localファイルで管理しています。
VUE_APP_API_KEY=ここにキーを書く
(以下、省略)
App.vueも同じようにあまり追記していません。
<template>
  <div id="app">
    <Form></Form>
    <Post></Post>
    <Footer/>
  </div>
</template>

<script>
import Form from '@/components/form.vue'
import Post from '@/components/post.vue'
import Footer from '@/components/footer.vue'
import firebase from 'firebase'

export default {
  name: 'app',
  components: {
    Form,
    Post,
    Footer
  }
}
</script>

<style>
# app {
  font-family: 'Avenir', Helvetica, Arial, sans-serif;
  -webkit-font-smoothing: antialiased;
  -moz-osx-font-smoothing: grayscale;
  text-align: center;
  color: #2c3e50;
  width:80%;
  margin: 50px auto;
}
</style>
コンポーネントの呼び出しとスタイルを編集しました。
さて、続いては主に処理を記述したコンポーネントform.vueとpost.vueです。
はじめはform.vueから。
<template>
  <div id='form-wrapper'>
    <h3 style='letter-spacing:0.07em;margin:30px 0px;'>新宿暮らしにも慣れてきた?</h3>
    <transition name='post-alert'>
      <b-alert v-show='post_message' variant="success" show>内容が投稿されました!</b-alert>
    </transition>
    <transition name='post-validataion'>
      <b-alert v-show='post_validation' variant="danger" show>内容を入力して下さい</b-alert>
    </transition>
    <b-card
      title="なんでも書いてね"
      img-src="https://sugitashinjiro.fun/wp-content/uploads/2018/05/imgp6363.jpg"
      img-alt="Image"
      img-top
      tag="article"
      style="max-width: 20rem;"
      id="form-card"
    >
      <b-card-text>
        <div id='spinner' v-show='spinner'>
          <b-spinner variant="success" label="Spinning"></b-spinner>
        </div>
        <b-form>
          <div v-show='card_form_cont'>

            <b-form-group
              id="input-group-name"
            >
            <b-form-input
              id="input-name"
              v-model="form_data.name"
              required
              placeholder='なまえ'
            ></b-form-input>
            </b-form-group>

            <b-form-group id="input-group-cont_type" label="どんな内容?" label-for="input-3">
              <b-form-select
                id="input-cont_type"
                v-model="form_data.cont_type"
                :options="cont_types"
                required
              ></b-form-select>
            </b-form-group>

            <b-form-group
              id="input-group-cont"
            >
            <b-form-textarea
              id="input-cont"
              v-model="form_data.cont"
              placeholder="なにを伝えたいの?"
              rows="3"
              max-rows="6"
              required
            ></b-form-textarea>
            </b-form-group>

          </div>
          <b-button v-on:click='submit_form' variant="outline-success">送信!</b-button>
        </b-form>
      </b-card-text>
    </b-card>
  </div>
</template>

<script>
import firebase from 'firebase'

export default {
  name: 'form-wrapper',
  data() {
    return {
    form_data: {
      name: '',
      cont_type: 'news',
      cont: '',
    },
    cont_types: [{ text: 'みんなに知らせたい!', value: 'news'}, { text: 'これ買ってきて!', value: 'shopping'}],
    id_last: '0',
    post_message: false,
    post_validation: false,
    spinner: false,
    card_form_cont: true
    }
  },
  created:
  function() {
    firebase.firestore().collection("posted_data").get().then(function(querySnapshot) {
        querySnapshot.forEach(function(doc) {

          if (Number(doc.data().id) > Number(this.id_last)){
            this.id_last = doc.data().id
          }

        }.bind(this));
    }.bind(this));
  },
  methods: {
    submit_form: function() {
      if (this.form_data.name=='' || this.form_data.cont==''){
        this.post_validation = true;
        setTimeout(function(){this.post_validation = false;}.bind(this), 2000);
        return
      };

      this.id_last = String( Number(this.id_last) + 1 );

      firebase.firestore().collection("posted_data").add({
          id: this.id_last,
          name: this.form_data.name.trim(),
          cont_type: this.form_data.cont_type.trim(),
          cont: this.form_data.cont.trim()
      });

      this.form_data.name = ''
      this.form_data.cont_type = 'news'
      this.form_data.cont= ''

      this.card_form_cont = false;
      this.spinner = true;
      setTimeout(function(){this.card_form_cont = true}.bind(this), 700);
      setTimeout(function(){this.spinner = false;}.bind(this), 700);

      this.post_message = true;
      setTimeout(function(){this.post_message = false;}.bind(this), 2000);
    }
  }
}
</script>

<style>
# form-card {
  margin: 0 auto;
}
# spinner {
  height:180px;
  padding-top:90px;
}

.post-alert-enter-active, .post-alert-leave-active {
  transition: opacity 2s, transform 1.5s;
}
.post-alert-enter {
  opacity: 0;
  transform: translateY(-50px);
}
.post-alert-leave-to {
  opacity: 0;
  transform: translateY(200px);
}

.post-validataion-enter-active, .post-validataion-leave-active {
  transition: opacity 1s, transform 1s;
}
.post-validataion-enter, .post-validataion-leave-to {
  opacity: 0;
  transform: translateY(-50px);
}
</style>
form.vueではフォームの部分の表示とデータベースへの書き込みを行なっています。
まずライフサイクルフックの created で新たに書き込むデータのidを決めます。
Cloud Firestoreから全データを取得し、一番大きい数字のidをid_lastに入れてあげます。
  created:
  function() {
    firebase.firestore().collection("posted_data").get().then(function(querySnapshot) {
        querySnapshot.forEach(function(doc) {

          if (Number(doc.data().id) > Number(this.id_last)){
            this.id_last = doc.data().id
          }

        }.bind(this));
    }.bind(this));
  }
id_lastが決まったのでsubmit_formメソッドが想定通り動き、Cloud Firestoreにデータを書き込むことができます。
    submit_form: function() {
      if (this.form_data.name=='' || this.form_data.cont==''){
        this.post_validation = true;
        setTimeout(function(){this.post_validation = false;}.bind(this), 2000);
        return
      };

      this.id_last = String( Number(this.id_last) + 1 );

      firebase.firestore().collection("posted_data").add({
          id: this.id_last,
          name: this.form_data.name.trim(),
          cont_type: this.form_data.cont_type.trim(),
          cont: this.form_data.cont.trim()
      });

    (省略)
    }
データにユニークなidを持たせたのは投稿をv-forで表示する上でv-bind:keyとして使用するためです。
つぎにpost.vueです。
<template>
  <div id='posts-wrapper'>
    <hr/>
    <h2>みんなの投稿</h2>
    <b-button v-on:click='show_all_card' variant="outline-primary">ぜんぶ</b-button>
    <b-button v-on:click='show_news_card' variant="outline-primary" style='margin:0px 10px;'>お知らせ</b-button>
    <b-button v-on:click='show_shopping_card' variant="outline-primary">買い物</b-button>
    <transition-group name='news-card-transition'>
      <b-card
        img-alt="Image"
        img-src="https://sugitashinjiro.fun/wp-content/uploads/2019/06/6b9021eab5eae199f24949ec18a73317.png"
        img-top
        tag="article"
        style="max-width: 20rem;"
        class="post-card"
        v-for='post in posts'
        v-bind:key="post.id"
        v-if='post.cont_type=="news"'
        v-show='card_show_news'
      >
        <b-card-text>
          <p style='font-size:80%;color:grey;'>{{post.name}}</p>
          <p>{{post.cont}}</p>
        </b-card-text>
      </b-card>
    </transition-group>
    <transition-group name='shopping-card-transition'>
    <b-card
        img-alt="Image"
        img-src="https://sugitashinjiro.fun/wp-content/uploads/2019/06/1afdf9c70417307de37a10f8cef87096.png"
        img-top
        tag="article"
        style="max-width: 20rem;"
        class="post-card"
        v-for='post in posts'
        v-bind:key="post.id"
        v-if='post.cont_type=="shopping"'
        v-show='card_show_shopping'
      >
        <b-card-text>
          <p style='font-size:80%;color:grey;'>{{post.name}}</p>
          <p>{{post.cont}}</p>
        </b-card-text>
      </b-card>
    </transition-group>
  </div>
</template>

<script>
import firebase from 'firebase'

export default {
  name: 'form-wrapper',
  data() {
    return {
      posts: [],
      card_show_news: true,
      card_show_shopping: true,
    }
  },
  created:
  function() {
    firebase.firestore().collection("posted_data").where("id", ">=", "1")
      .onSnapshot(function(querySnapshot) {
          querySnapshot.forEach(function(doc) {

            var id_ary = new Array();
            this.posts.forEach(function(post){
              id_ary.push(post.id);
            });

            if (id_ary.indexOf(doc.data().id) == -1) {
              this.posts.push(doc.data());
            }

          }.bind(this));
      }.bind(this));
  },
  methods: {
    show_all_card: function() {
      this.card_show_news = true;
      this.card_show_shopping = true;
    },
    show_news_card: function() {
      this.card_show_news = true;
      this.card_show_shopping = false;
    },
    show_shopping_card: function() {
      this.card_show_shopping = true;
      this.card_show_news = false;
    }
  }
}
</script>

<style>
.post-card {
  margin: 30px auto;
}

.news-card-transition-enter-active, .news-card-transition-leave-active {
  transition: opacity 1s, transform 1s;
}
.news-card-transition-enter {
  opacity: 0;
  transform: translateX(-70px);
}
.news-card-transition-leave-to {
  opacity: 0;
  transform: translateX(70px);
}

.shopping-card-transition-enter-active, .shopping-card-transition-leave-active {
  transition: opacity 1s, transform 1s;
}
.shopping-card-transition-enter {
  opacity: 0;
  transform: translateX(-70px);
}
.shopping-card-transition-leave-to {
  opacity: 0;
  transform: translateX(70px);
}
</style>
post.vueは投稿されたデータを取得し表示する役割を担ったコンポーネントです。
投稿タイプを選択するボタンを押すことで投稿の絞り込みもできます。
ここでポイントとなるのはcreatedフックで行う Cloud Firestore からリアルタイムでイベントリッスン(データを取得)する処理です。
  created:
  function() {
    firebase.firestore().collection("posted_data").where("id", ">=", "1")
      .onSnapshot(function(querySnapshot) {
          querySnapshot.forEach(function(doc) {

            var id_ary = new Array();
            this.posts.forEach(function(post){
              id_ary.push(post.id);
            });

            if (id_ary.indexOf(doc.data().id) == -1) {
              this.posts.push(doc.data());
            }

          }.bind(this));
      }.bind(this));
  }
すでに読み込んだデータはpostsに入れないように工夫しています。
ここではidが1以上のデータ(つまり全データ)を監視し、データ全体に対して変更や追加が行われる度に上記の処理が呼び出しされます。
つまり、リアルタイムでデータがイベントリッスンされているためウィンドウの再読み込みをしなくても、データの変更がどこでも反映されます。
これは片方ウィンドウで行われたデータの書き込み(投稿)が別ウィンドウでリアルタイムで読み込みされる様子です。
Firebaseすごいですね。チャットアプリなどリアルタイムが求められるものでは重宝しそうです。
Firebaseには Cloud Firestore と Realtime Database という二種類のリアルタイムでイベントリッスン可能なデータベースがあるわけですが、今回は「次世代のRealtime Database」と謳われているCloud Firestoreを使ってみました。
Cloud Firestore ではドキュメントを跨いだデータの取得が制限されているため、データ設計はきちんとやった方が良さそうです。
Railsをやっている私はActiveRecordっぽく、↓このようなコレクション内のデータをすべて取得するクエリがあるだろうと思ってましたが現実は厳しかったです。
firebase.firestore().collection("posted_data").all
firebase.firestore().collection("posted_data").where("id", ">=", "1")
今回はデータごとにユニークなidを持たせたことが功を奏し、実質全データを監視することができました。
あとはビルドしてdistフォルダをFirebaseでホスティングすれば簡単にwebアプリとして公開できます。
VueもFirebaseも素晴らしいですね。
反省点とこれから
今回は簡単なVue.jsのwebアプリを作ってみましたが反省点もあります。
反省点
反省点というより、これから修正を加えないといけない部分です...
まずは上でも紹介したform.vueの id_last (最後のid) を見つけてくる以下のコードです。
  created:
  function() {
    firebase.firestore().collection("posted_data").get().then(function(querySnapshot) {
        querySnapshot.forEach(function(doc) {

          if (Number(doc.data().id) > Number(this.id_last)){
            this.id_last = doc.data().id
          }

        }.bind(this));
    }.bind(this));
  }
これは複数人が同時にアクセスした場合、idの衝突(被り)が発生する可能性がありそうです。
そのためpost.vueのイベントリッスンしている箇所からコンポーネント間通信を介してリアルタイムで最新の id_last を教えてもらうようにすると良さそうです。form.vueでイベントリッスンしても良いのですがFirestoreへのアクセスはできるだけ減らしたいですからね...
これから
ひとまずVue.jsについて少しだけ理解できたので、次は vue router を取り入れたSPAを作ってみようと思います。あとはtransitionのアニメーションについて良く分かっていないのでそこらへんも勉強しようと思います。
書き方の正解がわからないので探り探りでしたが、私のような初心者でも簡単な掲示板であれば半日で楽しく開発することができました。
Vue.jsとFirebaseを使ったことがない方は一度試してもいいかもしれません。
それではまた!