やってみたこと
- 回転によるレイアウト変更時にアニメーションを入れてみる
- 画面回転の対応
まずレイアウト変更時のアニメーションから

VStack {
  Text("Top And Left")
    .padding(50)
  Text("Bottom And Right")
    .padding(50)
}
まずこんな感じのレイアウトを用意しました。
次は、VStackとHStackを用意して
- 端末が縦: VStackで表示
- 端末が横: HStackで表示
にしたいと思います。
まずは試しに縦横の変数を用意して、ボタンで切り替えてみたいと思います
とりあえず横縦の管理は
@State var isPortrait = true
これで行います。
続けて、フラグを切り替えるためのテスト用のボタンを配置しました。
VStack {
    if isPortrait {
        VStack {
            Text("Top And Left")
                .padding(50)
            Text("Bottom And Right")
                .padding(50)
        }
    } else {
        HStack {
            Text("Top And Left")
                .padding(30)
            Text("Bottom And Right")
                .padding(30)
        }
    }
    Button(action: {
        self.isPortrait.toggle()
    }) {
        Text("回転したとき")
    }.padding(.all)
}
これでボタンをタップしたらisPortraitが切り替わり、VStackとHStackの表示が切り替わります。
いよいよ最後のステップ、アニメーション追加です。
Button(action: {
    withAnimation {
        self.isPortrait.toggle()
    }
})
withAnimationを追加するだけで、アニメーションしてくれます。
アニメーションをカスタマイズしたい場合は、VStackとHStackに transition でアニメーションを指定するだけです。
swiftui animation tutorial
とても細かいところまでこだわろうとすると色々理解する必要がありますが、
何も知識がなくても簡単にできちゃうのはすごいですね。
画面の回転を検知してみる
参考にしたのはstackoverflowです。
まずは縦横情報をObservableObjectにしたいので、modelを作成します。
final class OrientationModel: ObservableObject {
    @Published var orientation: UIInterfaceOrientation = .unknown
}
次は定義したものを宣言
class SceneDelegate: UIResponder, UIWindowSceneDelegate {
    @ObservedObject(initialValue: OrientationModel()) var model: OrientationModel
次に画面回転をハンドリング
func windowScene(_ windowScene: UIWindowScene, didUpdate previousCoordinateSpace: UICoordinateSpace, interfaceOrientation previousInterfaceOrientation: UIInterfaceOrientation, traitCollection previousTraitCollection: UITraitCollection) {
    model.orientation = windowScene.interfaceOrientation
}
次は挙動を確認するためにViewを作成しました。
struct CheckOrient: View {
    @EnvironmentObject var model: OrientationModel
    var body: some View {
        Text(model.orientation.isLandscape ? "横" : "縦")
            .font(.title).bold()
    }
}
最後にSceneDelegateからmodelを渡すようにします。
window.rootViewController = UIHostingController(rootView: CheckOrient().environmentObject(model))
これで回転したらラベルが切り替わることが確認出来ます。
最後の仕上げ
まずは最初に作ったContentViewの処理をOrientationModelに置き換えです。
struct ContentView: View {
    @EnvironmentObject var model: OrientationModel
    var body: some View {
        Group {
            if model.orientation.isPortrait {
                VStack {
                    Text("Top And Left")
                        .padding(50)
                    Text("Bottom And Right")
                        .padding(50)
                }
            } else {
                HStack {
                    Text("Top And Left")
                        .padding(30)
                    Text("Bottom And Right")
                        .padding(30)
                }
            }
        }
    }
}
window.rootViewController = UIHostingController(rootView: ContentView().environmentObject(model))
これで画面回転でVStackとHStackの切り替えが完了しました。
アニメーションも加えてみる
func windowScene(_ windowScene: UIWindowScene, didUpdate previousCoordinateSpace: UICoordinateSpace, interfaceOrientation previousInterfaceOrientation: UIInterfaceOrientation, traitCollection previousTraitCollection: UITraitCollection) {
    withAnimation {
        model.orientation = windowScene.interfaceOrientation
    }
}
var body: some View {
    VStack {  // <= これを最初はGroupにしたけど、そうするとアニメーションを自動でやってくれない
        if model.orientation.isPortrait {
            VStack {
                Text("Top And Left")
                    .padding(50)
                Text("Bottom And Right")
                    .padding(50)
            }
        } else {
            HStack {
                Text("Top And Left")
                    .padding(30)
                Text("Bottom And Right")
                    .padding(30)
            }
        }
    }
}
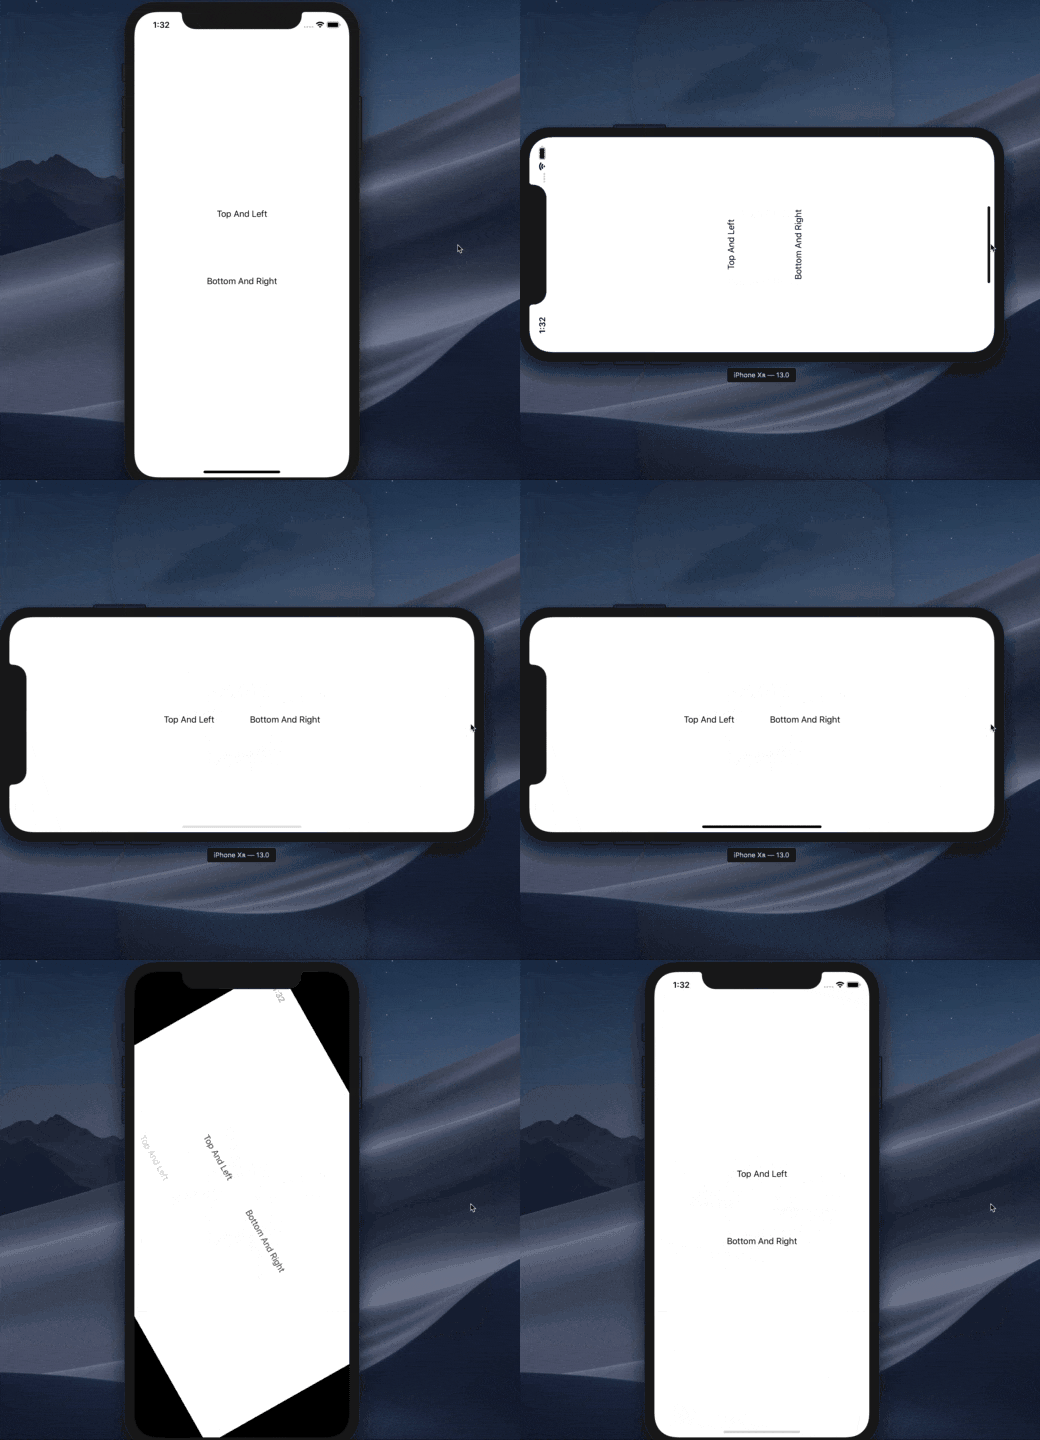
これで回転したときに、フェードアニメーションで中身が切り替わるようになりました!
その他
Groupだとアニメーションしてくれなくてちょっと焦りました。
なにか他の方法もありそうですね。
もっといい方法あれば教えて下さい!!
