はじめに
こちらの記事は、@Sicut_studyさんがアップしている【Reactアプリ100本ノック】シリーズに相乗りし、アウトプットを行うための記事になります。
- 実装ルールや成果物の達成条件は元記事に従うものとします。
- 元記事との差別点として、具体的に自分がどんな実装を行ったのか(と必要に応じて解説)を記載します。
@Sicut_studyさんのノック100本についていき、Reactを100日間学ぶのが目標です。
今回の元記事はこちら
前回の記事
問題
自分の住んでいる都道府県の天気予報を表示する
ルール
元記事より引用
- 主要なライブラリやフレームワークはReactである必要がありますが、その他のツールやライブラリ(例: Redux, Next.js, Styled Componentsなど)を組み合わせて使用することは自由
- TypeScriptを利用する
- 要件をみたせばデザインなどは自由
達成条件
元記事より引用
- 指定された地域の天気予報を表示できる
- 天気の表示間隔は自由 (1日ごとや10分ごとなど)
- 最高気温/最低気温が表示されている
- イラストで天気がひと目でわかる (晴れなら晴れマークを表示)
実装
ここ数回、実装部分の記載が雑だったので、丁寧に書いていこうと思います。
本記事では以下の方針で実装していきます。
- 1日ごとに直近3日分の天気を表示する
- 対象の地域をユーザが指定できるようにする
- 天気の表示部分をコンポーネント化する
- UIライブラリとしてMUIを使用する
- APIと通信するためにaxiosを使用する
天気の取得には、元記事と同様に以下のAPIを用いました。
プロジェクト作成
npx create-react-app weather-app --template typescript
を実行し、必要なライブラリをインストールしていきます。
npm install axios
npm install @mui/material @emotion/css @emotion/react @emotion/styled
ソースコード
コードは以下のようになりました。
src/locations.json
src/locations.json
[
  { "name": "北海道", "id": "016010" },
  { "name": "青森県", "id": "020010" },
  { "name": "岩手県", "id": "030010" },
  { "name": "宮城県", "id": "040010" },
  { "name": "秋田県", "id": "050010" },
  { "name": "山形県", "id": "060010" },
  { "name": "福島県", "id": "070010" },
  { "name": "茨城県", "id": "080010" },
  { "name": "栃木県", "id": "090010" },
  { "name": "群馬県", "id": "100010" },
  { "name": "埼玉県", "id": "110010" },
  { "name": "千葉県", "id": "120010" },
  { "name": "東京都", "id": "130010" },
  { "name": "神奈川県", "id": "140010" },
  { "name": "新潟県", "id": "150010" },
  { "name": "富山県", "id": "160010" },
  { "name": "石川県", "id": "170010" },
  { "name": "福井県", "id": "180010" },
  { "name": "山梨県", "id": "190010" },
  { "name": "長野県", "id": "200010" },
  { "name": "岐阜県", "id": "210010" },
  { "name": "静岡県", "id": "220010" },
  { "name": "愛知県", "id": "230010" },
  { "name": "三重県", "id": "240010" },
  { "name": "滋賀県", "id": "250010" },
  { "name": "京都府", "id": "260010" },
  { "name": "大阪府", "id": "270000" },
  { "name": "兵庫県", "id": "280010" },
  { "name": "奈良県", "id": "290010" },
  { "name": "和歌山県", "id": "300010" },
  { "name": "鳥取県", "id": "310010" },
  { "name": "島根県", "id": "320010" },
  { "name": "岡山県", "id": "330010" },
  { "name": "広島県", "id": "340010" },
  { "name": "山口県", "id": "350020" },
  { "name": "徳島県", "id": "360010" },
  { "name": "香川県", "id": "370000" },
  { "name": "愛媛県", "id": "380010" },
  { "name": "高知県", "id": "390010" },
  { "name": "福岡県", "id": "400010" },
  { "name": "佐賀県", "id": "410010" },
  { "name": "長崎県", "id": "420010" },
  { "name": "熊本県", "id": "430010" },
  { "name": "大分県", "id": "440010" },
  { "name": "宮崎県", "id": "450010" },
  { "name": "鹿児島県", "id": "460010" },
  { "name": "沖縄県", "id": "471010" }
]
src/types.ts
src/types.ts
export interface Temperature {
  celsius: string | null;
  fahrenheit: string | null;
}

export interface Image {
  url: string;
  title: string;
}

export interface Forecast {
  date: string;
  dateLabel: string;
  telop: string;
  temperature: {
    min: Temperature;
    max: Temperature;
  };
  image: Image;
}

export interface WeatherData {
  forecasts: Forecast[];
}
src/components/WeatherCard.tsx
src/components/WeatherCard.tsx
import { Forecast, Temperature } from "./../types";
import { Card, CardContent, Typography } from "@mui/material";

const WeatherCard: React.FC<{ forecast: Forecast }> = ({ forecast }) => {
  const getTemperature = (temp: Temperature) =>
    temp && temp.celsius !== null ? `${temp.celsius}°C` : "データなし";

  return (
    <Card
      sx={{
        minWidth: 250,
        maxWidth: 400,
        margin: 3,
        boxShadow: 3,
        borderRadius: 2,
        backgroundColor: "#F0FEF0",
      }}
    >
      <CardContent sx={{ textAlign: "center", padding: 1 }}>
        <Typography
          variant="subtitle1"
          component="div"
          sx={{ fontWeight: "bold" }}
        >
          {forecast.dateLabel} ({forecast.date})
        </Typography>
        <hr
          style={{
            border: "none",
            height: "2px",
            backgroundColor: "#4caf50",
            width: "90%",
            margin: "auto",
          }}
        />
        <img
          src={forecast.image.url}
          alt={forecast.image.title}
          style={{ width: "80%", marginTop: 2 }}
        />
        <Typography variant="body2" color="text.secondary">
          天気: {forecast.telop}
        </Typography>
        <Typography variant="body2">
          最高気温: {getTemperature(forecast.temperature.max)}
        </Typography>
        <Typography variant="body2">
          最低気温: {getTemperature(forecast.temperature.min)}
        </Typography>
      </CardContent>
    </Card>
  );
};

export default WeatherCard;
src/App.tsx
src/App.tsx
import { useState, useEffect } from "react";
import axios from "axios";
import WeatherCard from "./components/WeatherCard";
import locations from "./locations.json";
import {
  Container,
  Typography,
  FormControl,
  Select,
  MenuItem,
  Box,
  Grid,
} from "@mui/material";
import { WeatherData, Forecast } from "./types";

const App: React.FC = () => {
  const [location, setLocation] = useState<string>(locations[0].id);
  const [weatherData, setWeatherData] = useState<WeatherData | null>(null);

  useEffect(() => {
    const fetchWeatherData = async () => {
      try {
        const response = await axios.get(
          `https://weather.tsukumijima.net/api/forecast/city/${location}`
        );
        setWeatherData(response.data);
      } catch (error) {
        console.error("Weather data fetch error:", error);
      }
    };

    fetchWeatherData();
  }, [location]);

  return (
    <Container
      maxWidth="lg"
      sx={{
        display: "flex",
        flexDirection: "column",
        alignItems: "center",
        justifyContent: "center",
        minHeight: "100vh",
      }}
    >
      <Box my={4}>
        <Typography
          variant="h4"
          component="h1"
          gutterBottom
          sx={{ textAlign: "center" }}
        >
          天気予報
        </Typography>
        <FormControl
          fullWidth
          margin="normal"
          variant="outlined"
          sx={{ backgroundColor: "#fff", borderRadius: 1 }}
        >
          <Select
            value={location}
            onChange={(e) => setLocation(e.target.value as string)}
            displayEmpty
          >
            {locations.map((loc) => (
              <MenuItem key={loc.id} value={loc.id}>
                {loc.name}
              </MenuItem>
            ))}
          </Select>
        </FormControl>

        <Grid container spacing={2}>
          {weatherData && weatherData.forecasts ? (
            weatherData.forecasts
              .slice(0, 3)
              .map((forecast: Forecast, index: number) => (
                <Grid item xs={12} sm={6} md={4} key={index}>
                  <WeatherCard forecast={forecast} />
                </Grid>
              ))
          ) : (
            <Typography>天気データを読み込み中...</Typography>
          )}
        </Grid>
      </Box>
    </Container>
  );
};

export default App;
補足解説
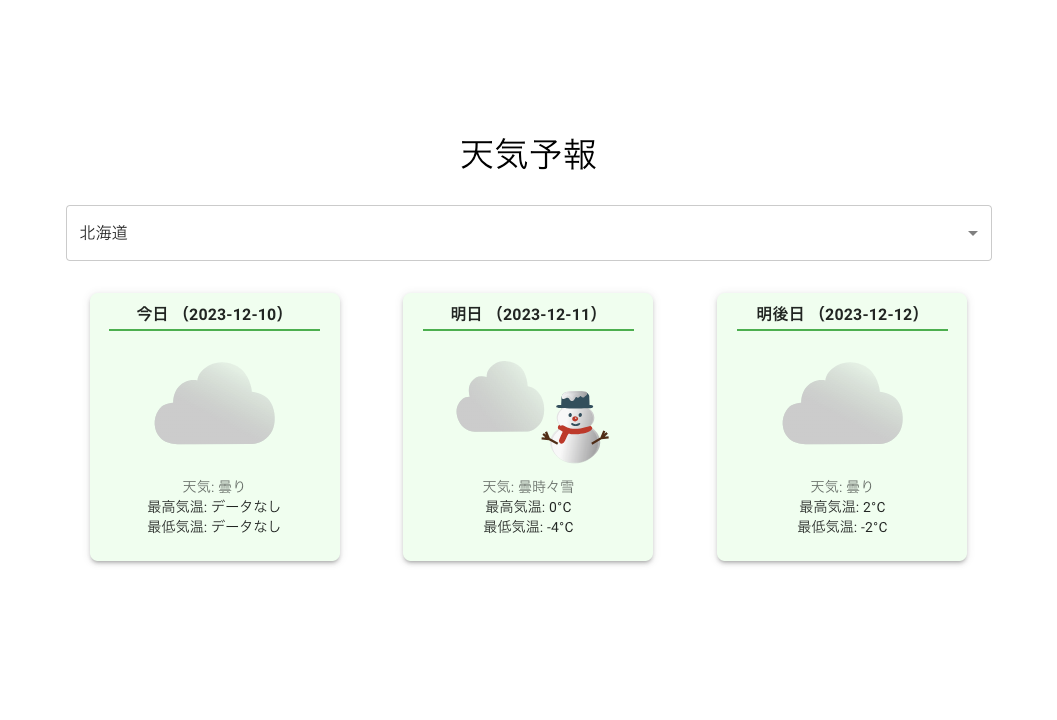
今回使用したAPIでは、天気を取得する時間帯によっては、当日の最高気温と最低気温が取得できません。
ドキュメントに以下のような記載がありました。
- 気象庁から配信されているデータの関係上、今日の最低気温は取得できません( null になります)
- 17時発表の予報では今日の最高気温も取得できないようです。今日の予想気温は取得できない場合も考慮して実装してください。
そのため、WeatherCard.tsxでは、気温データがnullだった場合は「データなし」と表示を行うように実装しております。
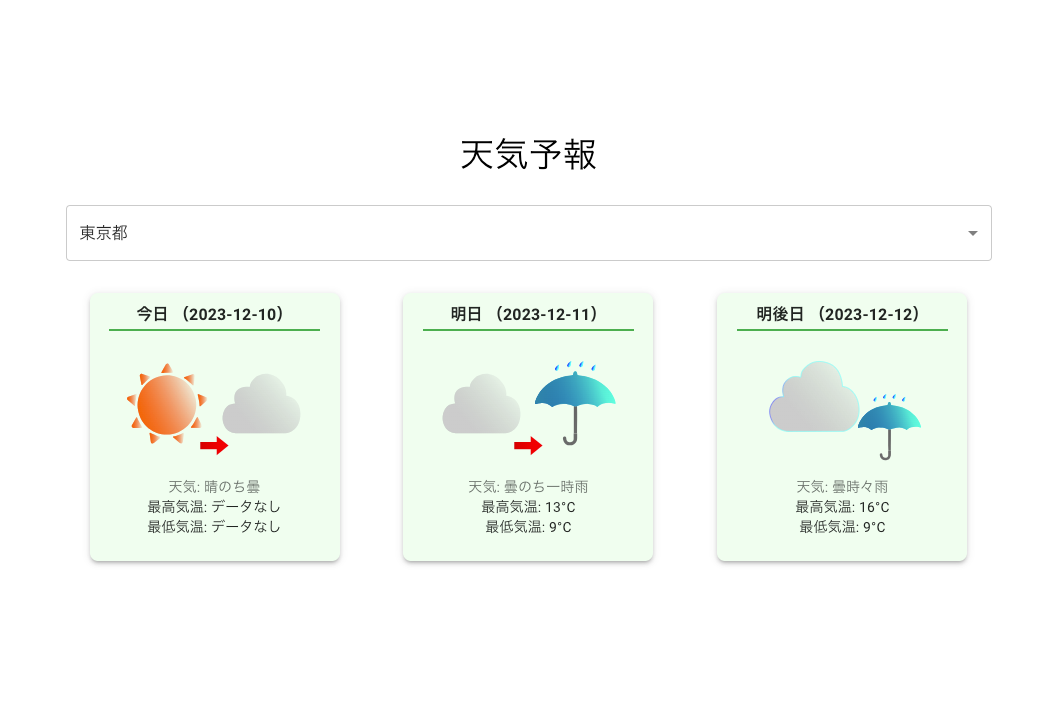
完成
npm start
で画面を確認します。
完成形は以下の通りです。
最後に
前回まではEmotionでレイアウトを装飾していましたが、今回は試しにMUIを導入してみました。
全然使い慣れていないので、まだまだ練習が必要そうです。
引き続き、100回完走を目指して継続していきます。
応援してくれる方はぜひフォローいただけると嬉しいです。
いいね、ストックもお待ちしております。
ではまた。