画像処理
画像の加工、解析を行うためによくされる画像処理である。おぼえておくと、画像ファイルの減少などもできるので覚えておくとよい。
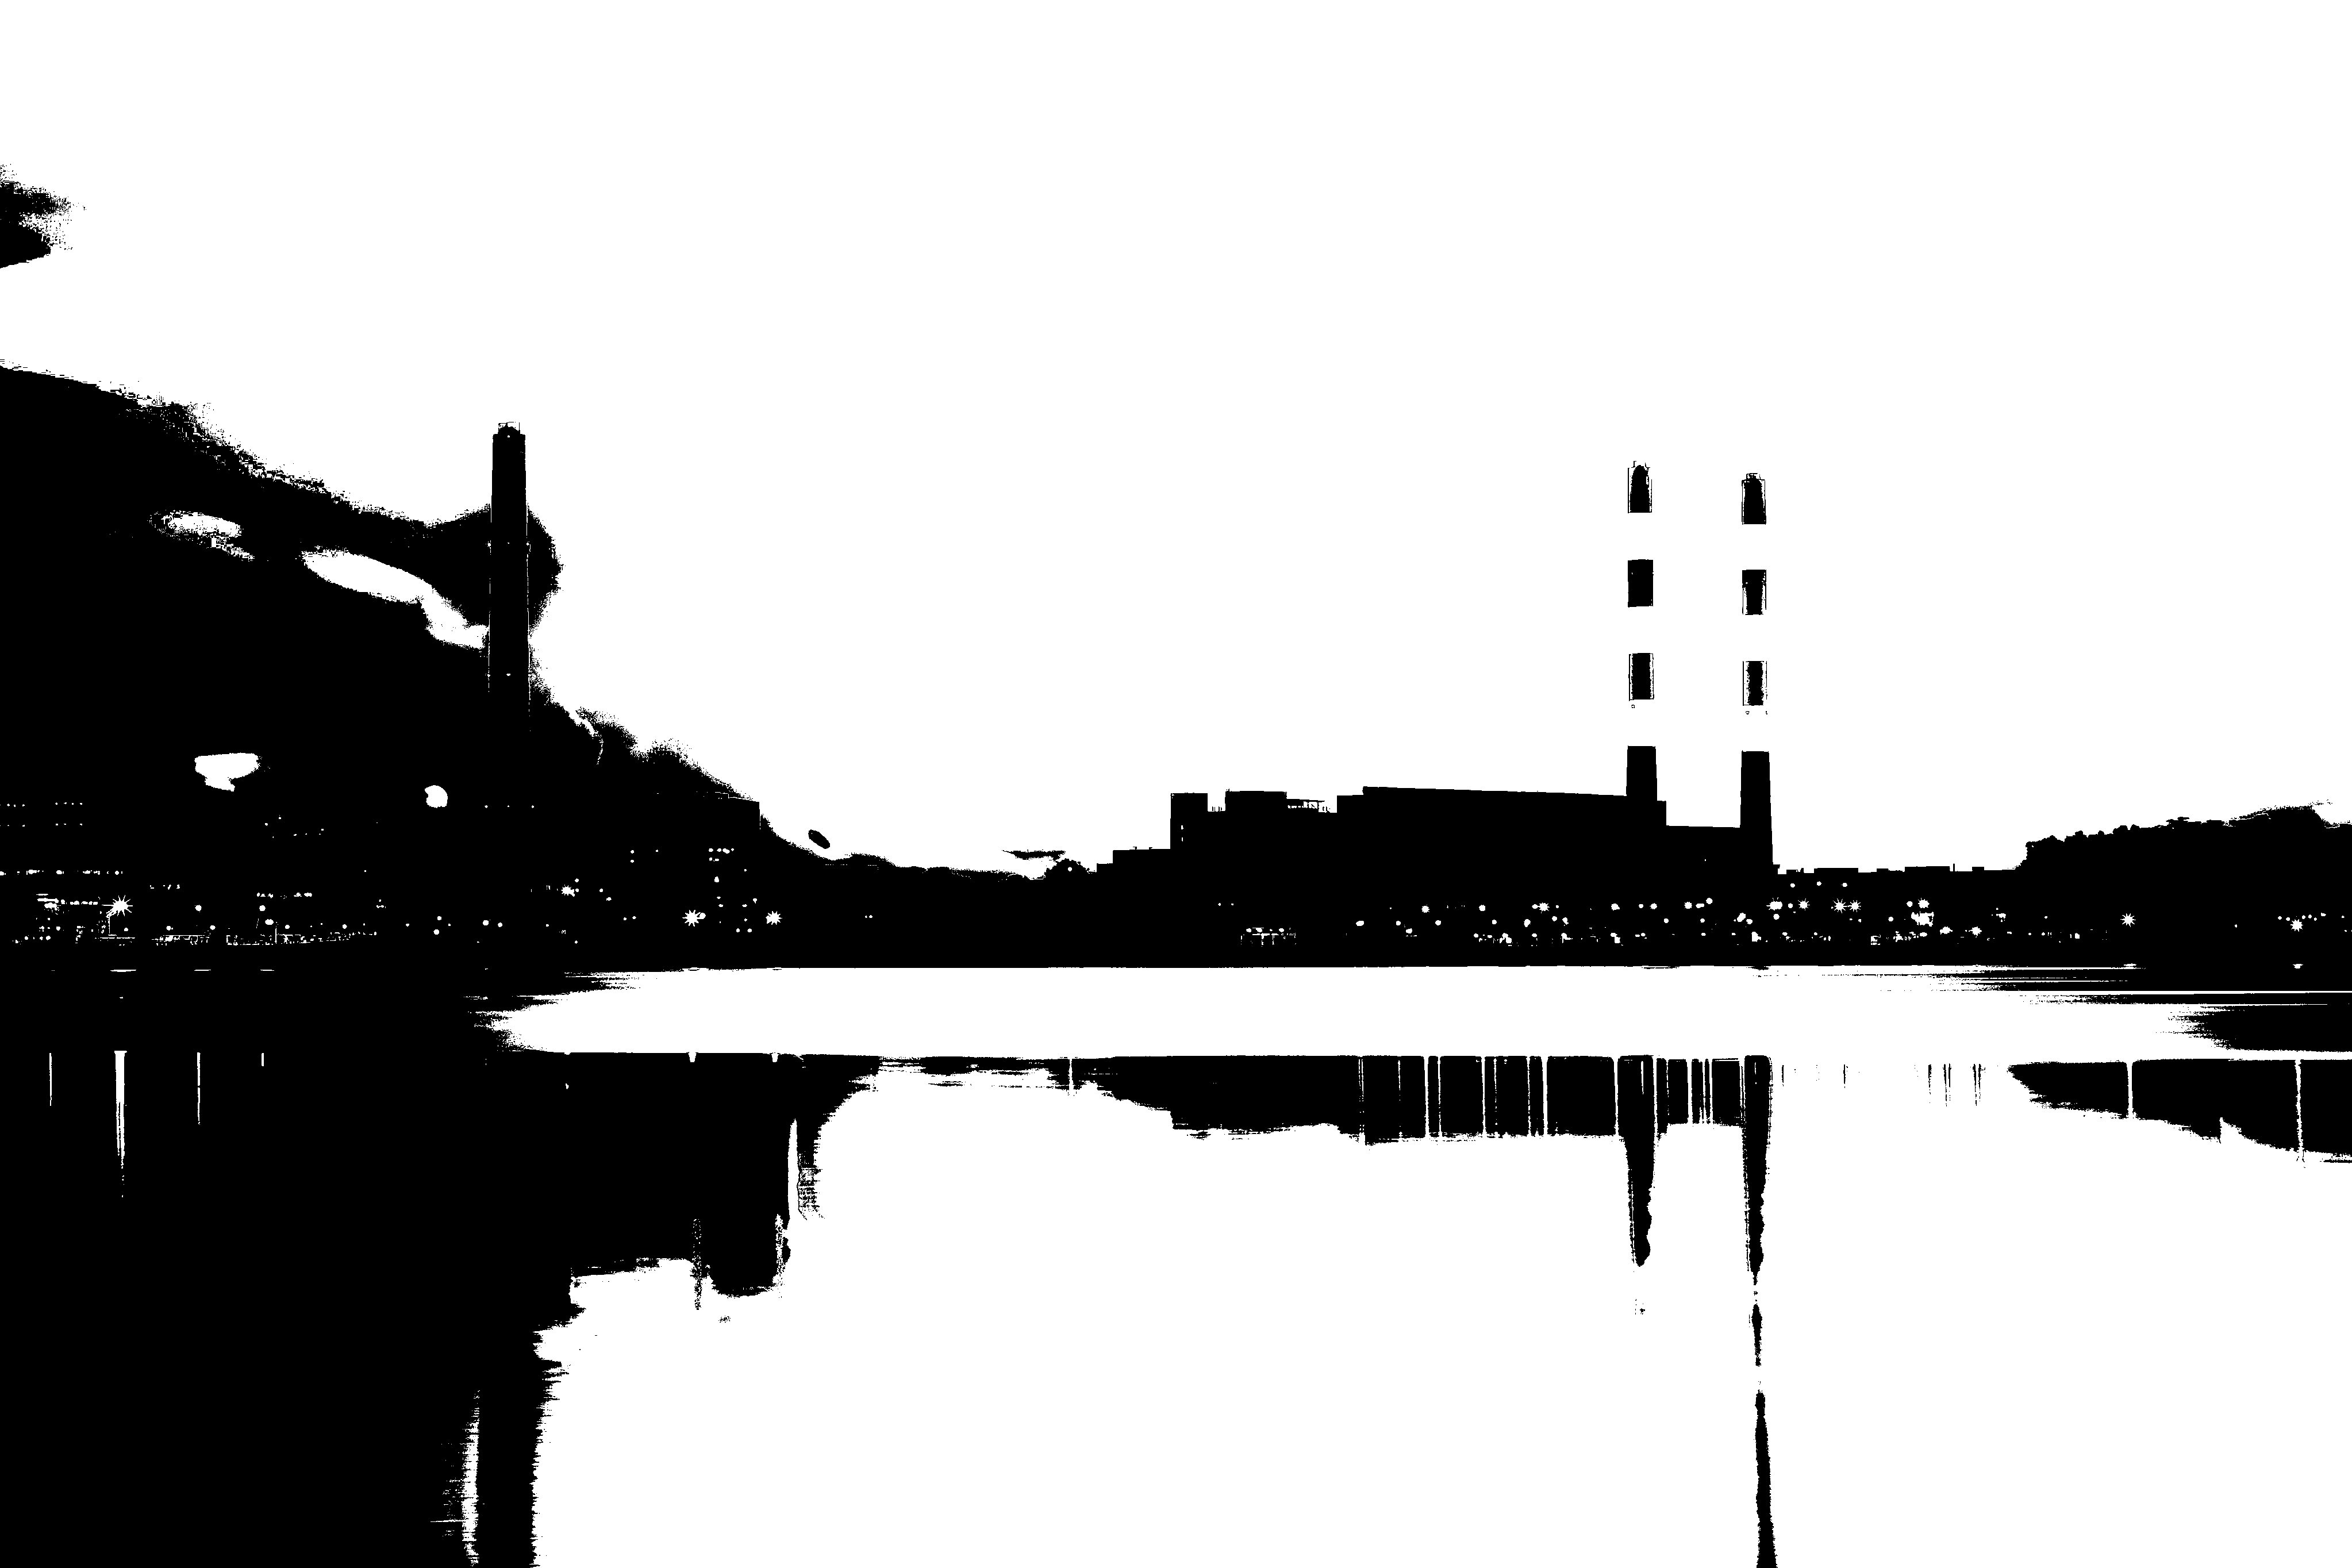
二値化画像
グレースケール画像ともいう。白黒することである。画像処理の基本となる。
環境
・jupyternotebook
・python version == 3.7.4
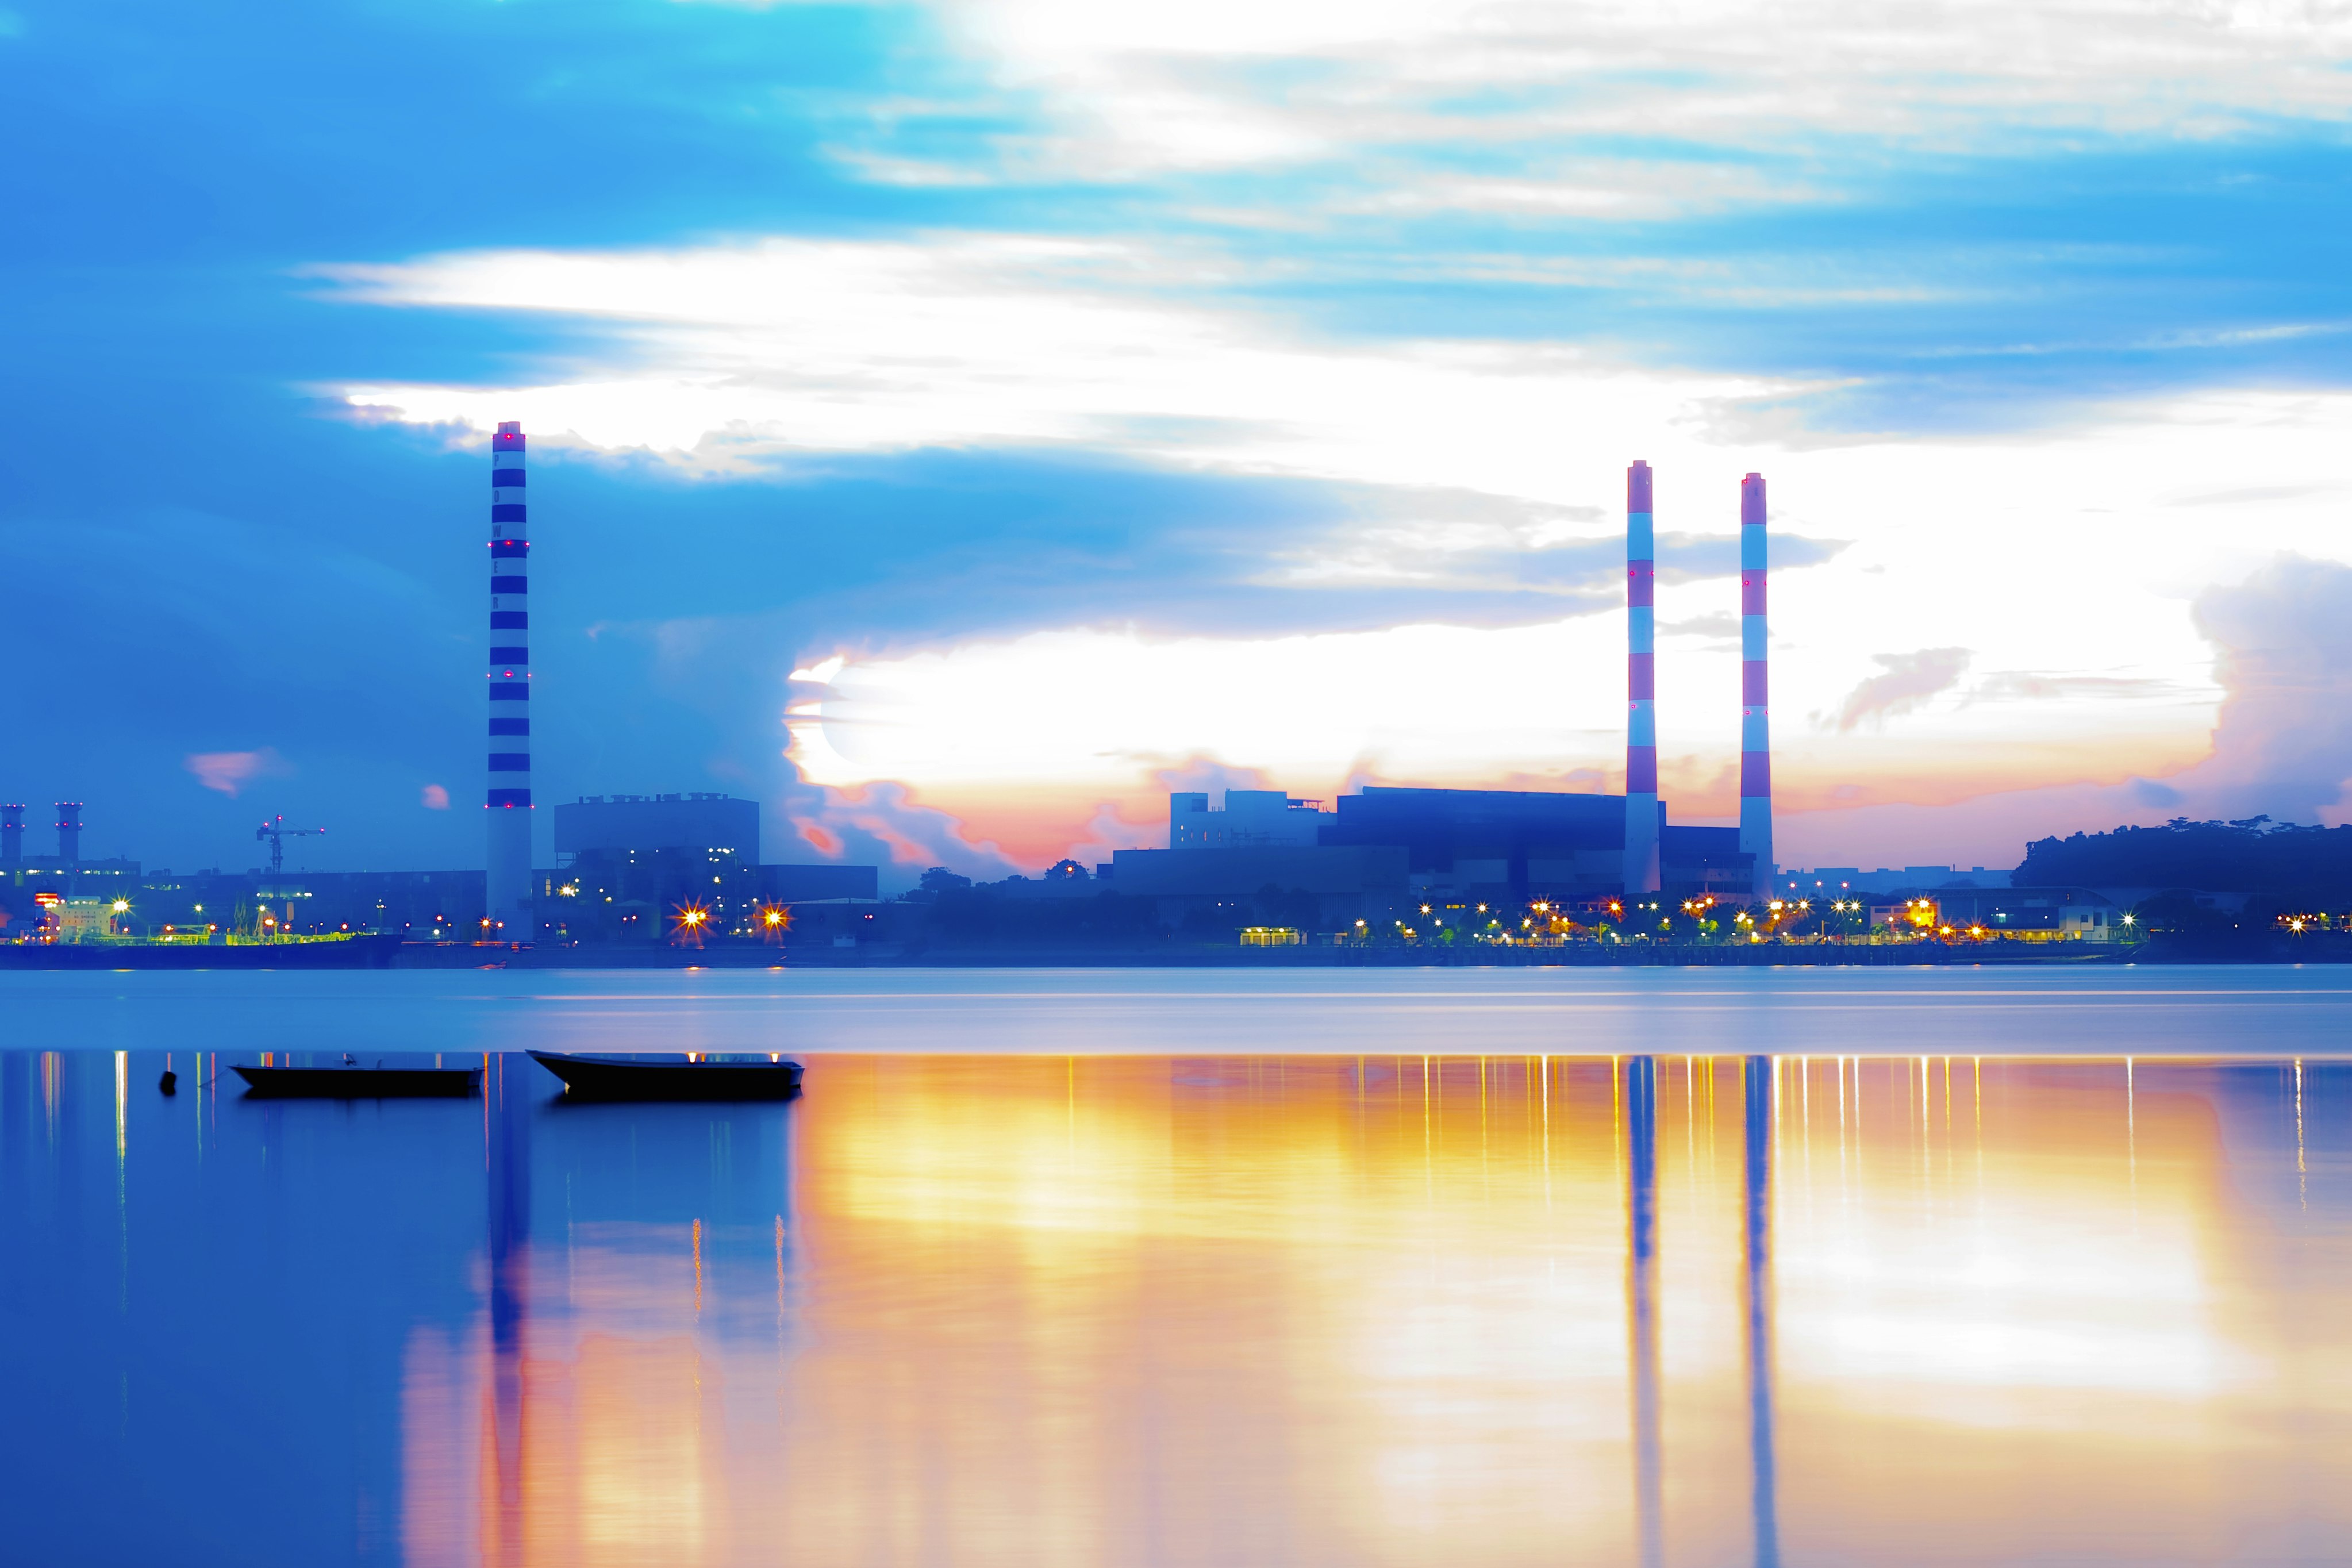
・sample.jpg(from http://free-photo.net/archive/entry10252.html)

ソースコード
# opencvとnumpyのimport
import cv2
import numpy as np

# 画像の読み込み
img = cv2.imread("sample1.jpg")

# グレースケール変換
gray = cv2.cvtColor(img, cv2.COLOR_RGB2GRAY)

# 閾値の設定
threshold_value = 150

# 配列の作成(output用)
threshold_img = gray.copy()

# 実装(numpy)
threshold_img[gray < threshold_value] = 0
threshold_img[gray >= threshold_value] = 255

# Output
cv2.imwrite("C:\\Users\\[username]\\python\\sample1-2.jpg",threshold_img)
出力画像結果
閾値の設定のところで、"150"ではなく、ほかの数字で試してみると白黒の位置変化がみられる。
imageJ(URL:"https://imagej.nih.gov/ij/")
などのソフトを使うとそういった変化もリアルタイムで見ることができるので、使ってみるとよい。
