KVMをWebから操作できるようにする(WebVirtMgr)
我が家では自宅で使用するサーバや、検証のための環境をKVMを使用して作っています。
しかし、今までは仮想マシンを操作するために、ハイパーバイザにログインしてコマンドを打たなければ行けない状況で若干面倒でした。
そこで、Webからそれらの操作を行えるものを探していたのですが、WebVirtMgrが使いやすくていいのではないかと思い、インストールしてみました。
環境
OS: CentOS 7.1 (virtによるKVM環境構築済み)
※ KVM環境に関しては CentOS7上にKVM環境を構築する(CUI環境) を参照
セットアップ手順
Install WebVirtMgrを参照してインストールしてみます。
動作に必要なアプリケーションをインストール
$ sudo yum -y install http://dl.fedoraproject.org/pub/epel/7/x86_64/e/epel-release-7-9.noarch.rpm
$ sudo yum -y install git python-pip libvirt-python libxml2-python python-websockify supervisor nginx
$ sudo yum -y install gcc python-devel
$ sudo pip install numpy
gitからwebvirtmgrをダウンロードし、初期設定を行う
### gitからクローンする
$ git clone git://github.com/retspen/webvirtmgr.git
$ cd webvirtmgr

### 必要モジュールのインストール
$ sudo pip install -r requirements.txt

### 初期設定
$ ./manage.py syncdb
...
You just installed Django's auth system, which means you don't have any superusers defined.
Would you like to create one now? (yes/no): yes
Username (leave blank to use 'username'):
Email address: hogehoge@yahaoo.co.jp
Password:
Password (again):
Superuser created successfully.
Installing custom SQL ...
Installing indexes ...
Installed 6 object(s) from 1 fixture(s)

### staticファイルの作成
$ ./manage.py collectstatic
WARNING:root:No local_settings file found.

You have requested to collect static files at the destination
location as specified in your settings.

This will overwrite existing files!
Are you sure you want to do this?

Type 'yes' to continue, or 'no' to cancel: yes
nginxの設定を行う
### webvirtmgrを移動
$ sudo mv webvirtmgr /var/www
$ sudo chown -R nginx:nginx /var/www

### nginxのプロキシを設定
$ sudo vim /etc/nginx/conf.d/webvirtmgr.conf
server {
    listen 80 default_server;

    server_name $hostname;
    #access_log /var/log/nginx/webvirtmgr_access_log;

    location /static/ {
        root /var/www/webvirtmgr/webvirtmgr;
        expires max;
    }

    location / {
        proxy_pass http://127.0.0.1:8000;
        proxy_set_header X-Real-IP $remote_addr;
        proxy_set_header X-Forwarded-for $proxy_add_x_forwarded_for;
        proxy_set_header Host $host:$server_port;
        proxy_set_header X-Forwarded-Proto $scheme;
        proxy_connect_timeout 600;
        proxy_read_timeout 600;
        proxy_send_timeout 600;
        client_max_body_size 1024M;
    }
}

### デフォルトページ部分をコメントアウトする
$ sudo vim /etc/nginx/nginx.conf
#    server {
#        listen       80 default_server;
#        server_name  localhost;
#        root         /usr/share/nginx/html;
#
#        #charset koi8-r;
#
#        #access_log  /var/log/nginx/host.access.log  main;
#
#        # Load configuration files for the default server block.
#        include /etc/nginx/default.d/*.conf;
#
#        location / {
#        }
#
#        # redirect server error pages to the static page /40x.html
#        #
#        error_page  404              /404.html;
#        location = /40x.html {
#        }
#
#        # redirect server error pages to the static page /50x.html
#        #
#        error_page   500 502 503 504  /50x.html;
#        location = /50x.html {
#        }
#    }

### nginxの再起動
$ sudo service nginx restart
supervisorの設定
8000/tcpでバックグラウンド動作するように設定を行っていきます。
### 末尾に追加する
$ sudo vim /etc/supervisord.conf
[program:webvirtmgr]
command=/usr/bin/python /var/www/webvirtmgr/manage.py run_gunicorn -c /var/www/webvirtmgr/conf/gunicorn.conf.py
directory=/var/www/webvirtmgr
autostart=true
autorestart=true
logfile=/var/log/supervisor/webvirtmgr.log
log_stderr=true
user=nginx

[program:webvirtmgr-console]
command=/usr/bin/python /var/www/webvirtmgr/console/webvirtmgr-console
directory=/var/www/webvirtmgr
autostart=true
autorestart=true
stdout_logfile=/var/log/supervisor/webvirtmgr-console.log
redirect_stderr=true
user=nginx

### 再起動
$ sudo service supervisord restart
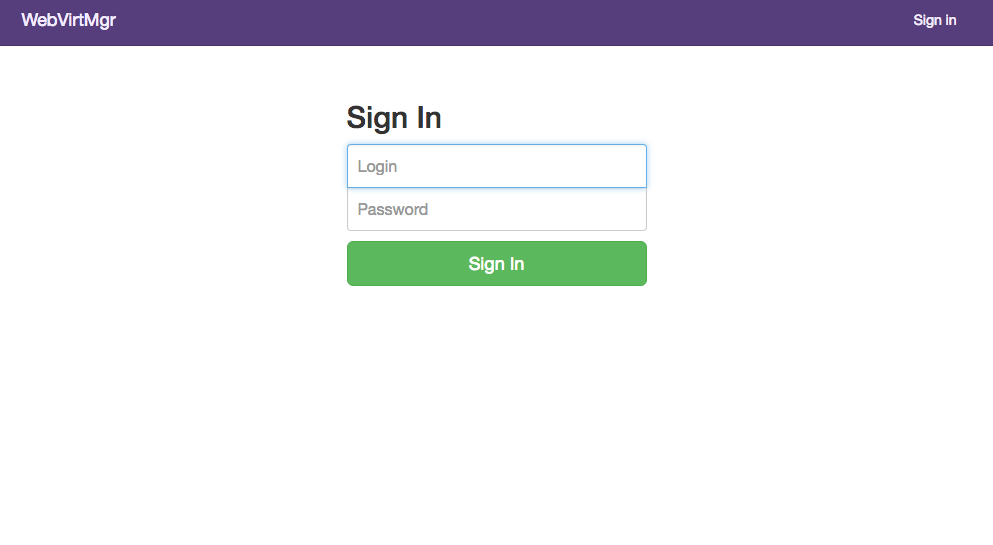
Webページの確認
ここまでくると、http://hostnameでログイン画面が確認できると思います。
(うまくいかない場合はSELinuxの無効化や、ファイアウォールの設定を確認)
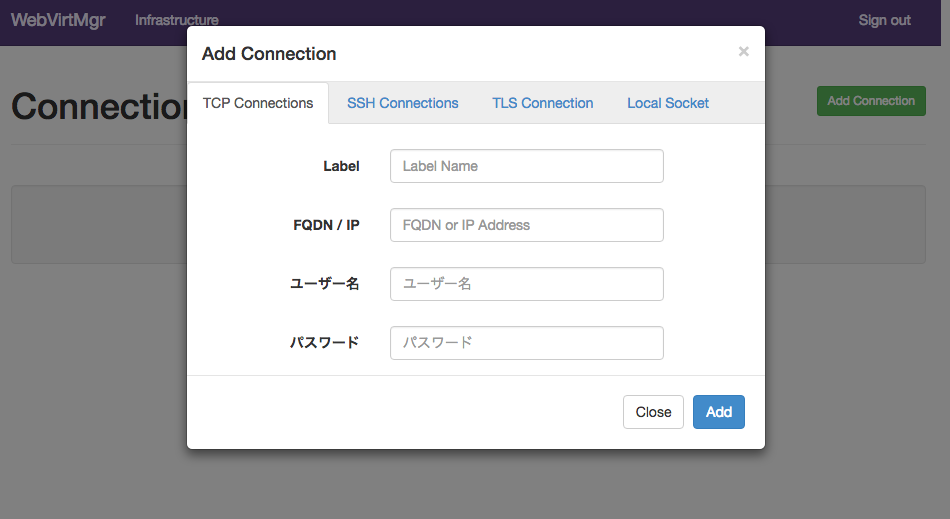
ハイパーバイザを追加
Webインターフェース上から、操作する対象のハイパーバイザを追加することができます。(今回はローカル)
ハイパーバイザへの接続方法はTCP, SSH, TLS, Socketがあるようですが、SSHで試してみます。
Setup SSH Authorizationを参考に設定して行きます。
### nginxユーザに入る
$ sudo su - nginx -s /bin/bash

### 鍵の作成(名前はid_rsaでよい)
[nginx]$ ssh-keygen -b 4096
[nginx]$ touch ~/.ssh/config && echo -e "StrictHostKeyChecking=no\nUserKnownHostsFile=/dev/null" >> ~/.ssh/config
[nginx]$ chmod 0600 ~/.ssh/config
[nginx]$ exit

### webvirtmgrユーザを追加
$ sudo adduser webvirtmgr

### パスワード設定
$ sudo passwd webvirtmgr

### libvirtグループに追加
$ sudo usermod -G libvirt -a webvirtmgr

### nginxユーザに入る
$ sudo su - nginx -s /bin/bash

###  鍵を送信(他の方法でもよい)
[nginx]$ ssh-copy-id webvirtmgr@qemu-kvm-libvirt-host
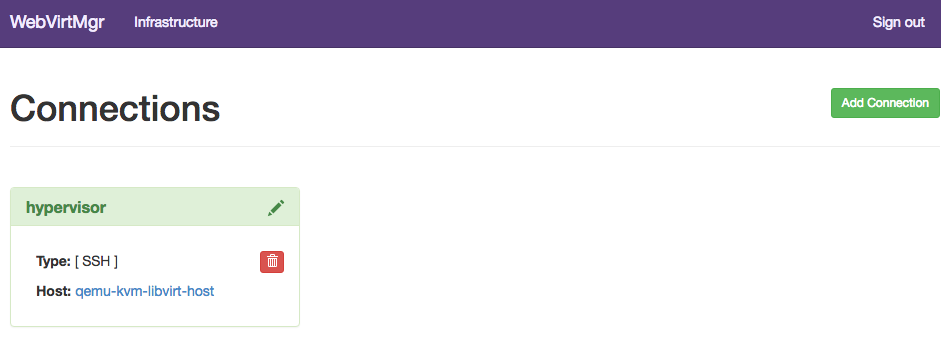
Webインターフェースから、 [Add Connection] -> [SSH Connections] を選択して、先ほどの情報を入力します。
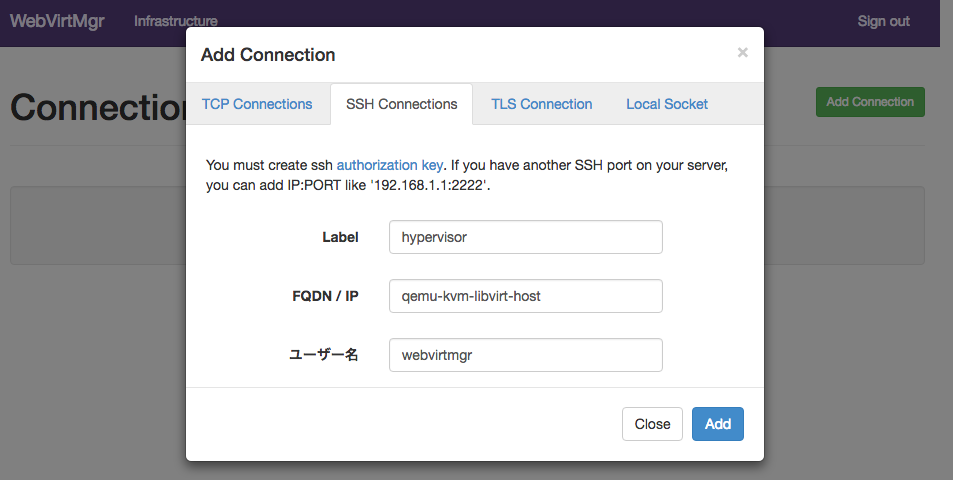
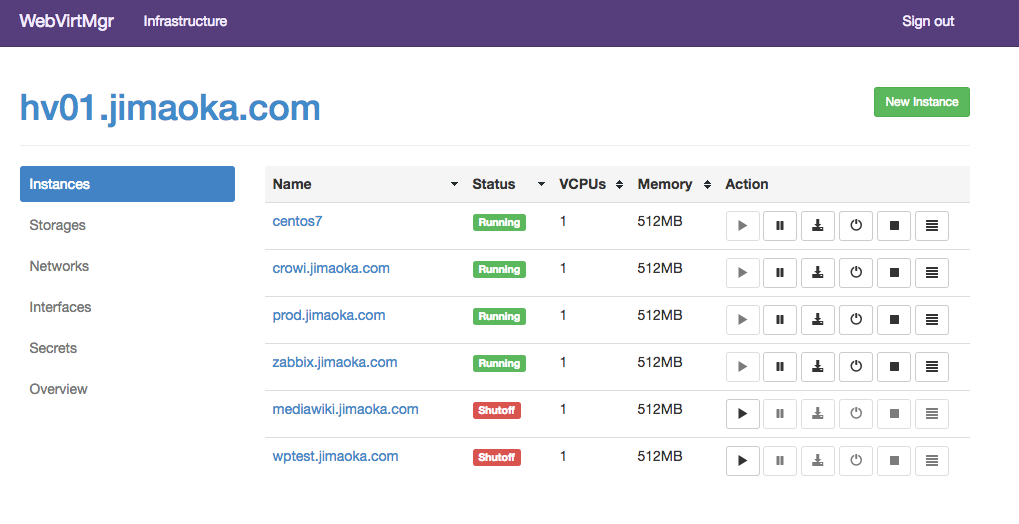
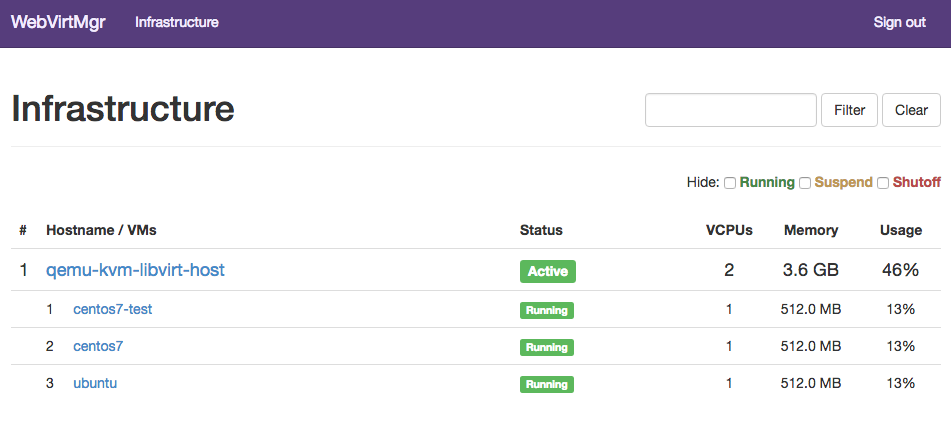
うまくいくと、下記のようにConnectionsに追加され、Web上からの管理ができるようになっています。
元々コマンドライン経由でゲストマシンを幾つか作っていたので、元からホストが表示されています。
インスタンスの作成
インストール用のメディアをダウンロードしてきます。(今回はCentOS7-minimal)
### Centos7(minimal)のダウンロード
$ sudo -u nginx wget -O /var/www/webvirtmgr/images/CentOS-7-x86_64-Minimal-1511.iso http://ftp.nara.wide.ad.jp/pub/Linux/centos/7/isos/x86_64/CentOS-7-x86_64-Minimal-1511.iso
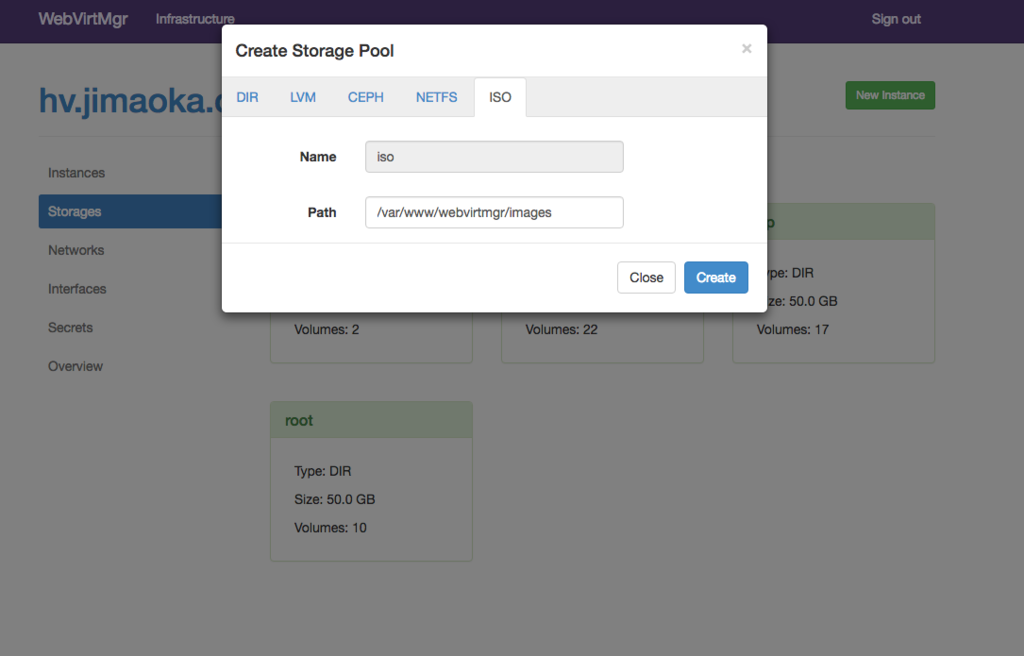
終わったら、対象のハイパーバイザ → "Storages" → "New Storage" ボタンを押します。

出てきたウィンドウの "ISO" タブを押すと、デフォルトで /var/www/webvirtmgr/images が指定されているのでそのまま作成します。
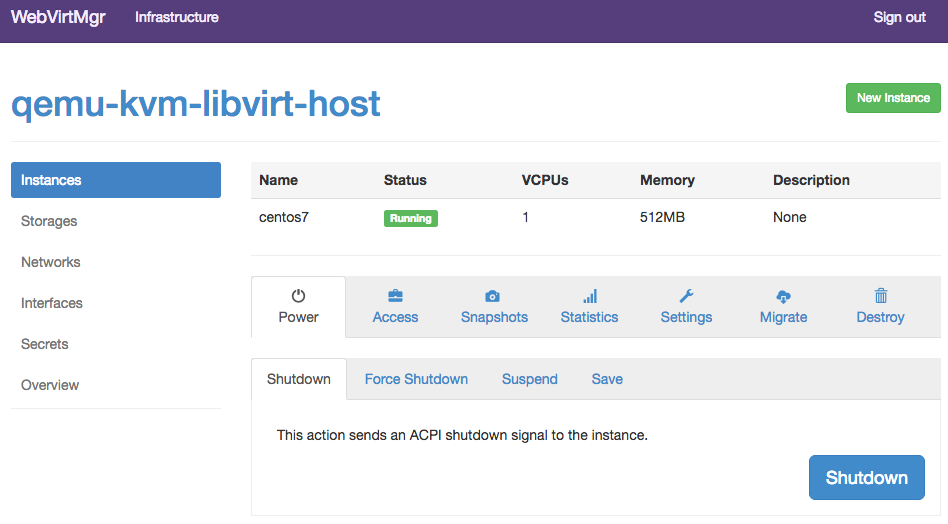
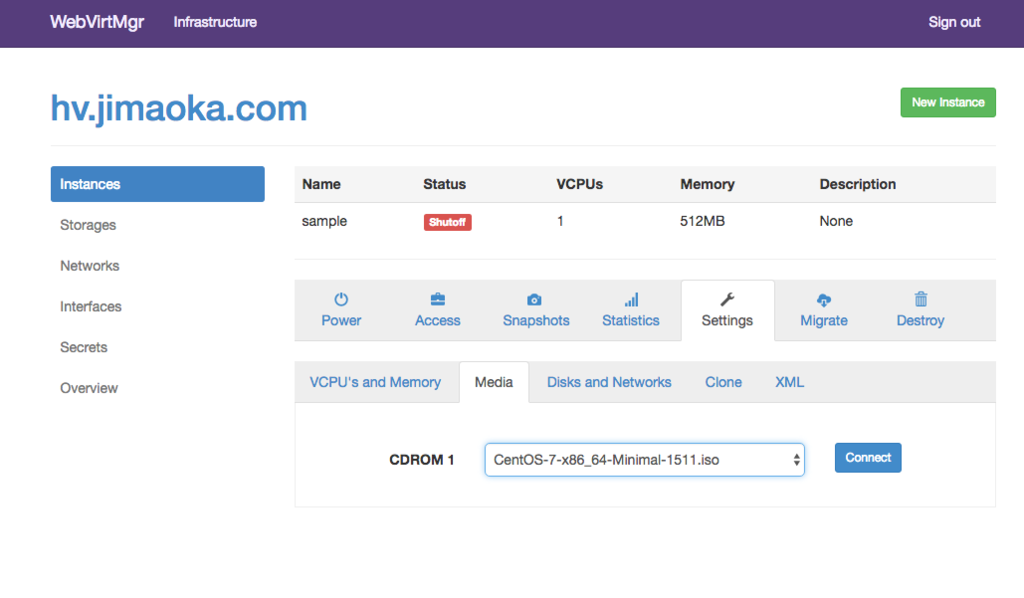
その後、"New Instance"ボタンから適当なインスタンスを作成し、”Settings” → "Media" タブを選択すると、先ほどダウンロードしたisoファイルが選択されているはずなので、"Connect" ボタンで取り付けます。
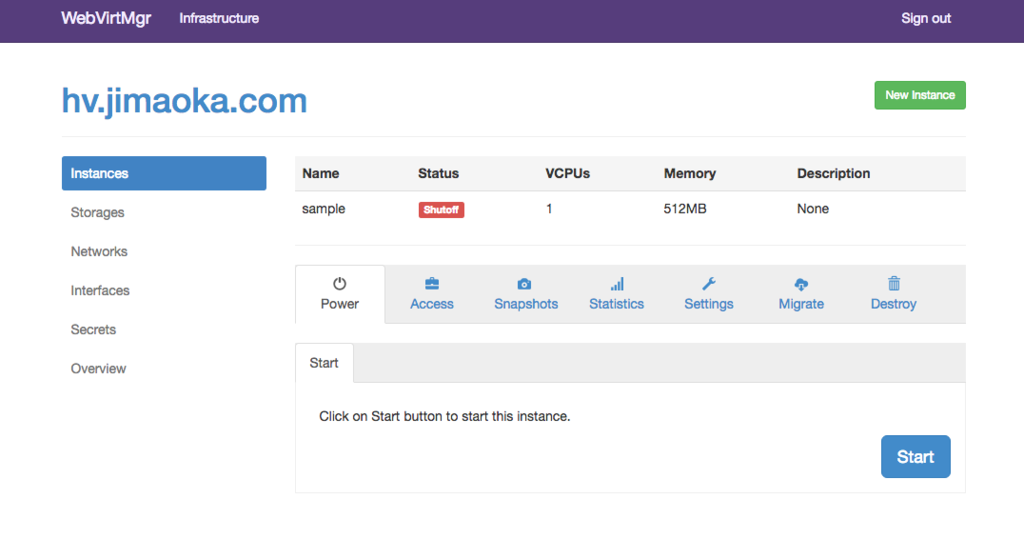
その後 "Power" → "Start" でパワーオン
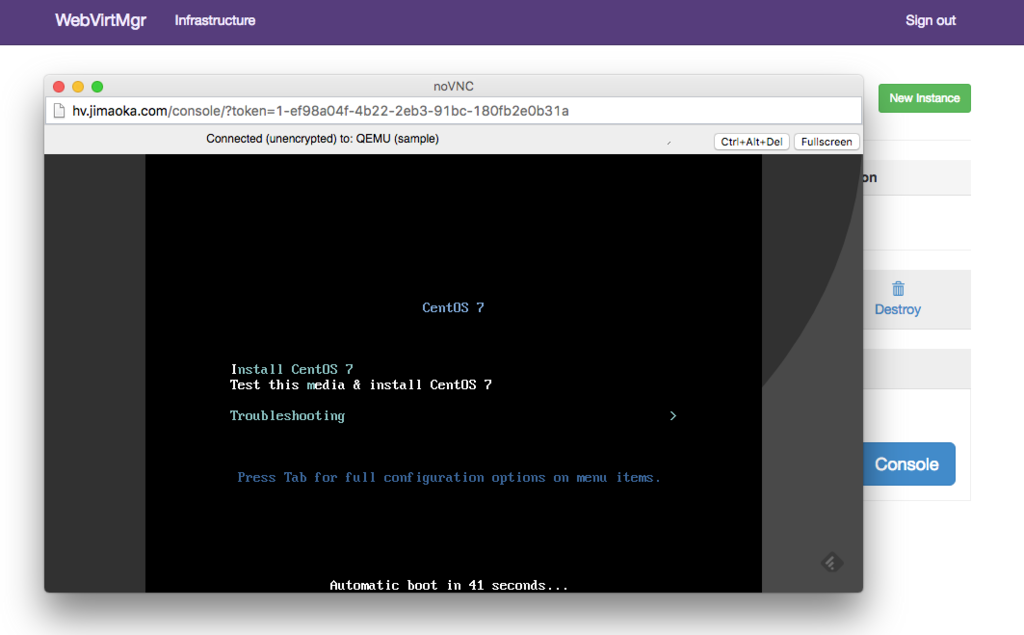
"Access" → "Console" → "Console" ボタンを押すとホストに接続される(はず)ので、ポチポチとインストール作業を進めればインストール完了です。
所感
セットアップが簡単でUIもある程度整っているので、気に入っています。
何より、今までコマンド経由だったものが、Webから操作できるようになって非常に楽になっています。
--
この投稿は、以前にブログに書いたものと同様の内容になります。
http://jimaoka.hatenablog.jp/entry/WebVirtMgr