CentOS7.7.1908にAmon2でHello worldを出すまで。
必要なもの
- yum
- nginx
- git
- plenv
- perl
- cpanm
- Amon2
- gcc
yumのアップデート
$ sudo yum update
nginxのインストール
インストール
sudo yum install -y nginx
# (中略)
Installed:
  nginx.x86_64 1:1.12.2-3.el7

$ nginx -v
nginx version: nginx/1.12.2
簡単にバージョン1.12.2を入れられます。
最新版が欲しい場合は yum install nginx を実行する前に、
$ sudo vi /etc/yum.repos.d/nginx.repo
でnginx.repoを作成し以下のように書いて保存します。
[nginx]
name=nginx repo
baseurl=http://nginx.org/packages/mainline/centos/7/$basearch/
gpgcheck=0
enabled=1
そして
$ sudo yum install -y nginx
# (中略)
Installed:
  nginx.x86_64 1:1.17.4-1.el7.ngx

$ nginx -v
nginx version: nginx/1.17.4
バージョン1.17.4が入りました。
サービスの設定
$ sudo systemctl enable nginx # 自動起動する
$ sudo systemctl start nginx # nginxを起動する
$ sudo systemctl status nginx # nginxが起動したか確認する
# (略)
    Active: active (running) since Thu 2019-10-10 14:20:18 JST; 6s ago
# (略)
ファイアウォールの設定
初期状態では接続できなかったので変更します。
$ sudo firewall-cmd --add-service=http --permanent
success
$ sudo firewall-cmd --reload
success
これで設定完了です!
http://サーバーのIPアドレス
に接続するとWelcome to nginx! が表示されます。
参考:ConoHaのVPSにNginxインストール(CentOS7)
plenvのインストール
$ curl -L http://is.gd/plenvsetup | bash
gitが必要なので、入ってないよとエラーが出た場合は sudo yum install -y git でインストールしてください。
インストールが終わったらターミナルを再接続するよう指示されますので再接続します。
$ plenv -v
plenv 2.3.0-10-gb8ca5d3
無事にインストールできました。
plenvでperlのインストール
現時点での最新版を入れておきます。
$ plenv install 5.30.0 --as 5.30
--as 5.30のように別名を付けておくと、マイナーアップデートで出た5.30.1などをインストールするとcpanモジュールもそのまま引き継いで使えるようになります(こちらを推奨)。
別名無しでインストールすると5.30.0、5.30.1のように別バージョンとしてインストールされてしまうのでAmon2やその他のモジュールもすべて入れ直しになってしまいます。
おそらくgccが入っていないので以下のようなエラーが出ます。
Use which C compiler? [cc]
./trygcc: line 10: cc: command not found
Uh-oh, the C compiler 'cc' doesn't seem to be working.
./trygcc: line 25: gcc: command not found
./checkcc: line 10: cc: command not found
Uh-oh, the C compiler 'cc' doesn't seem to be working.
You need to find a working C compiler.
Either (purchase and) install the C compiler supplied by your OS vendor,
or for a free C compiler try http://gcc.gnu.org/
I cannot continue any further, aborting.
sudo yum install -y gcc でgccをインストールしてから再度 plenv install しましょう。
時間が5分ほどかかります。この隙にコーヒーでも淹れましょう。
$ plenv versions
  system
* 5.30 (set by /home/****/.plenv/version)
$ perl -v
This is perl 5, version 30, subversion 0 (v5.30.0) built for x86_64-linux
# (以下略)
システムを汚さずにperl 5.30.0がインストールできました。
cpanmのインストール
Amon2をインストールするためにcpanmが必要です。
$ plenv install-cpanm
--> Working on App::cpanminus
Fetching http://www.cpan.org/authors/id/M/MI/MIYAGAWA/App-cpanminus-1.7044.tar.gz ... OK
Configuring App-cpanminus-1.7044 ... OK
Building and testing App-cpanminus-1.7044 ... OK
Successfully installed App-cpanminus-1.7044
1 distribution installed

$ cpanm -v
cpanm (App::cpanminus) 1.7044 on perl 5.030000 built for x86_64-linux
Amon2のインストール
インストール
ようやくAmon2のインストールです。
$ cpanm Amon2
# (中略)
  TOKUHIROM/Amon2-6.13.tar.gz
  ./Build install  -- OK
こちらは20分程度とかなり時間がかかります。昼寝でもしておきましょう。
雛形生成
$ amon2-setup.pl helloworld
# (中略)
--------------------------------------------------------------

Setup script was done! You are ready to run the skelton.

You need to install the dependencies by:

    > carton install

And then, run your application server:

    > carton exec perl -Ilib script/helloworld-server

--------------------------------------------------------------
helloworldというディレクトリを作られその中に雛形が配置されました。
Cartonが必要だと言われるので入れます。
$ cpanm Carton
CartonのCはちゃんと大文字でいれましょう。小文字だとそんなのないと怒られます。
# (中略)
Building and testing Carton-v1.0.34 ... OK
Successfully installed Carton-v1.0.34
13 distributions installed
$ carton -v
carton v1.0.34
インストールできました。
$ cd helloworld
$ carton install
helloworldディレクトリに移動し、Cartonで依存モジュールをインストールします。
125 distributions installed
Complete! Modules were installed into /home/****/helloworld/local
Cartonがlocal以下にモジュールをいれてくれました。
※サーバーの時間がずれているとDatetimeのインストールに失敗します
$ carton exec -- perl -Ilib script/helloworld-server
これでよし... ではなくてこの時点でローカルからサーバーへアクセスしようとしても見えないので、nginxのリバースプロキシを使ってサーバーのIPアドレスにアクセスするとサーバーの127.0.0.1:5000のページを返すようにします。
nginxのリバースプロキシの設定
$ sudo vi /etc/nginx/conf.d/default.conf
server {
    listen       80;
    server_name  localhost;

    #charset koi8-r;
    #access_log  /var/log/nginx/host.access.log  main;

    location / {
        proxy_pass http://127.0.0.1:5000; # <- ここを追加
        root   /usr/share/nginx/html;
        index  index.html index.htm;
    }
# (以下略)
で保存し sudo systemctl restart nginx でnginxをリスタートします。
それから改めて
$ carton exec -- perl -Ilib script/helloworld-server
helloworld: http://127.0.0.1:5000/
とし、リモートのブラウザで http://サーバーのIPアドレス にアクセスすると…
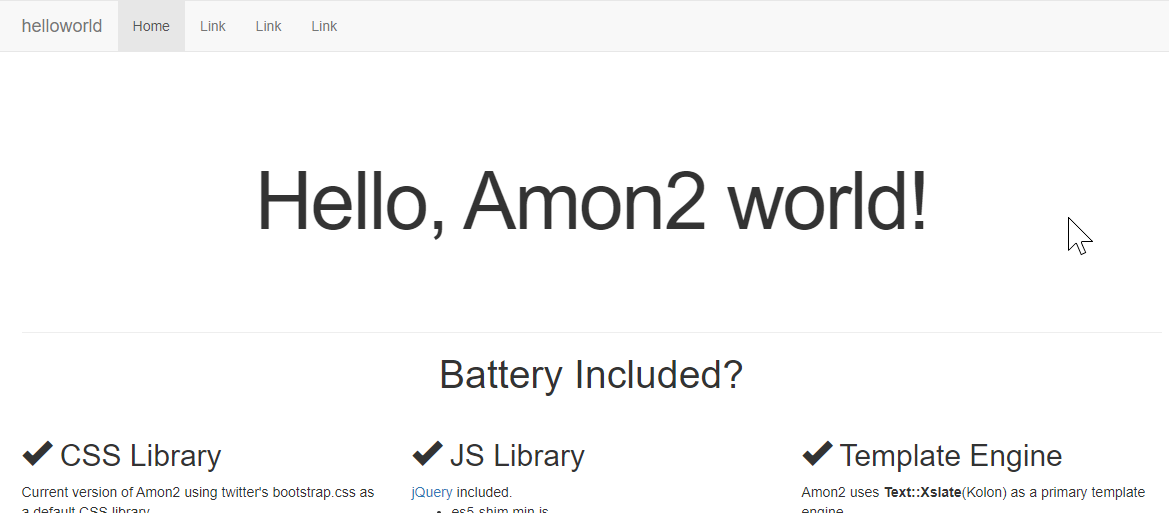
やりました! Hello Worldが表示されました!
終了するときはCtrl + Cです。