Hi, my name is Jerfareza.
In this article I want to explore the usage of Cache Storage API as an approach to store responses fetched from API.
この記事の日本語版はこちら ⇒ Cache Storage API紹介(Next.Js利用)
Motivation
When we're faced with unstable internet connections, it's often beneficial to have offline support. This means even when there is no internet, at least we can show something to users. I'll demonstrate how we can achieve this by using Cache Storage API in a simple project made with Next.Js.
What is Cache Storage API?
Cache Storage API is a storage technique for storing and retrieving network requests and responses locally in a browser. It stores a pair of request objects (as key) and response objects (as value).
For storing network resources needed to load your content in the application, Cache Storage API is the right tool.
The advantage of Cache Storage API:
- Asynchronous and do not block the main thread
- Available in most modern browsers
- Easy to access from window object, web workers, or service workers
- Can store a lot of data including blob and images (this depends on browsers and devices however, see here for details)
Why use Next.Js in this demo?
Modern applications require modern solutions. React by itself is already powerful to build performant and reliable applications, but using Next.Js as a web dev framework takes it up a notch by offering functionalities such as server-side rendering. I'm using Next.Js to run my website.
If you haven't heard about React or Next.Js, I suggest reading the basics in the respective documentation.
Let's Get Started!🔥🔥
This demo will be using the source code that I have prepared beforehand, so go ahead and clone the repository below to your local development machine.
Get the source code here: cache-api-with-next-js
Set up the project
Assuming you already have node and npm configured, run this command to install the required packages:
npm install
Then run the project locally
npm run dev
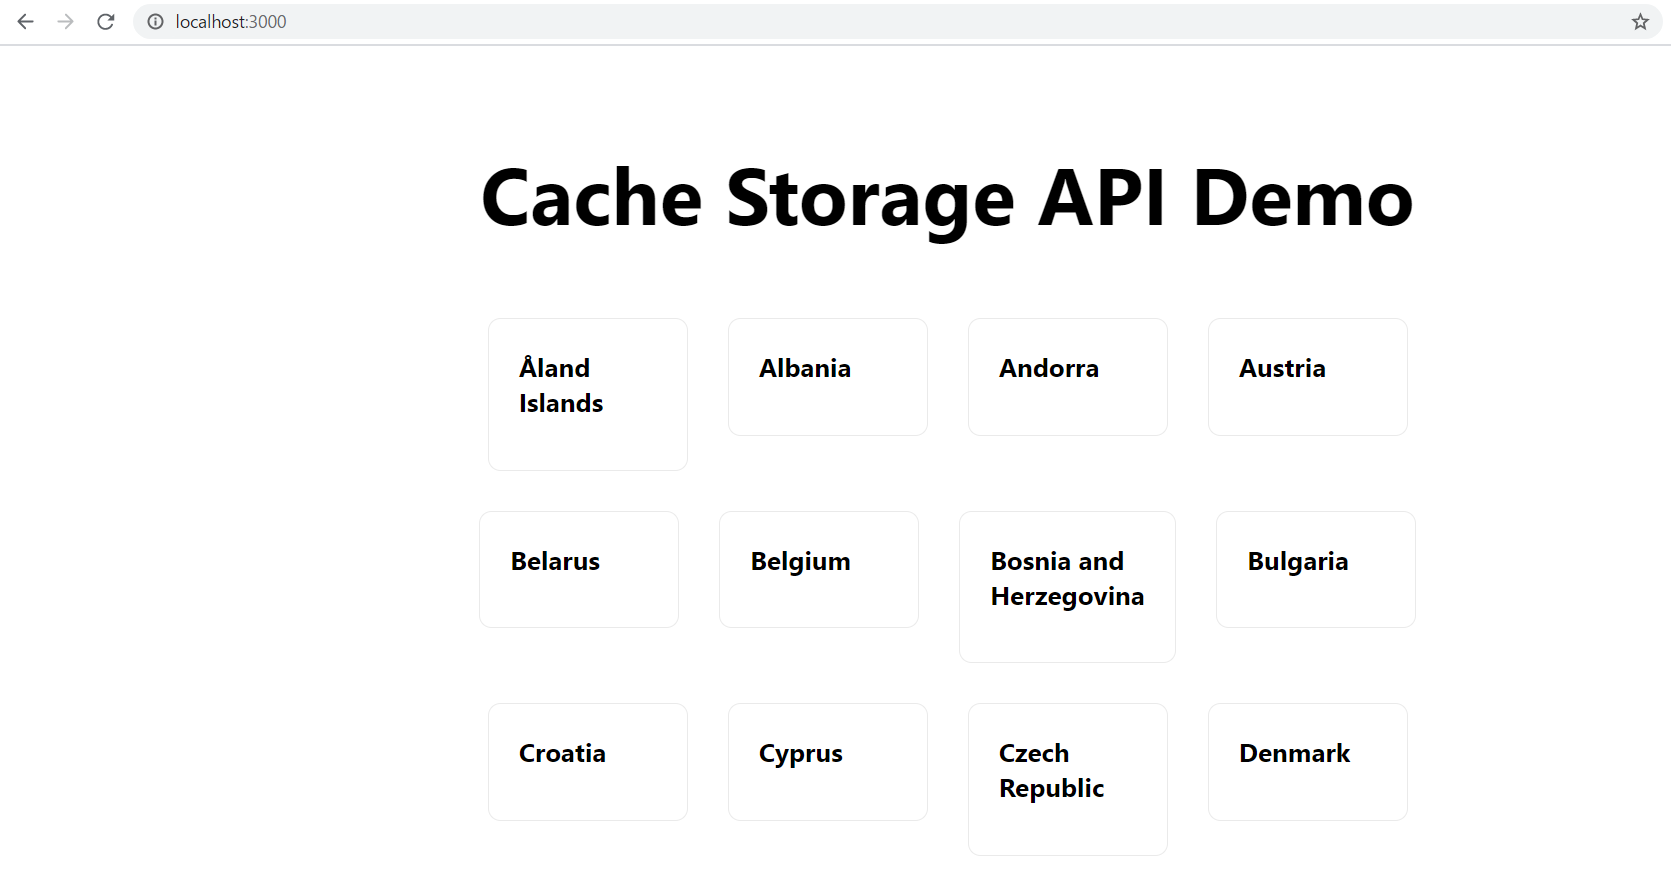
You should be able to see the list of countries in your browser by accessing URL http://localhost:3000/.
Note: We are using the free-to-use REST Countries API for country data. No API settings required.
https://restcountries.eu/rest/v2/region/europe?fields=name
Fetch the data from API
Up until here, we have successfully fetched data from REST Countries API. This will be the normal flow where we fetch the data on the client-side, i.e. after the page is rendered. You'd probably see a flash of Loading data... as a placeholder while the data is being fetched.
Use Cache Storage API to save the data locally
Next we want to save the fetched data to cache. In file /pages/index.js, comment out the chunk below:
// Comment this chunk for Cache Storage API demo
useEffect(() => {
	async function fetchNoCache() {
		try {
		  // Fetch data from API
		  const responseFromAPI = await fetch(url, {
			method: "GET",
		  });
		  // Resolve fetch to get data
		  const dataFromAPI = await responseFromAPI.json();
		  // Set list of countries for rendering
		  setCountries(dataFromAPI);
		} catch (error) {
		  console.log(error);
		}
	}
	fetchNoCache();
}, []);
And uncomment the chunk below instead:
// Uncomment this chunk for Cache Storage API demo
useEffect(() => {
	async function fetchWithCache() {
	  // Since next js works on server side, need to check if cache is available in window
	  if ("caches" in window) {
		// Open cache or create new one if not exists
		const cache = await caches.open("demo-cache-api");

		try {
		  // Fetch data from API
		  const responseFromAPI = await fetch(url, {
			method: "GET",
		  });
		  // Clone and resolve here so that cache.put can resolve the original response
		  const dataFromAPI = await responseFromAPI.clone().json();

		  // Set list of countries for rendering
		  setCountries(dataFromAPI.data);

		  // Here, cache resolves the fetch promise if status code of response is in 200 range
		  // or rejects the promise if not in 200 range
		  // Additionally, cache.put will also overwrite previous responses of the same request
		  console.log("Create an entry in Cache Storage");
		  cache.put(url, responseFromAPI);
		} catch (error) {
		  // In case of fetch error, get data from cache
		  console.log(error);
		  console.log(
			"Fetch to API has failed so retrieve data from cache if any"
		  );

		  // Retrieve response from cache
		  const responseFromCache = await cache.match(url);

		  // If no match is found, it resolves to undefined
		  // Due to async nature, even if fetch from API is successful, by the time we
		  // reach here cache might not be populated yet so match would fail
		  if (responseFromCache === undefined)
			console.log("Uh, no match is found in cache for " + url);
		  else {
			console.log("Match is found in cache for " + url);
			const dataFromCache = await responseFromCache.json();

			// Set list of countries for rendering
			setCountries(dataFromCache);
		  }
		}
	  }
	}
	fetchWithCache();
}, []);
Then save the file!
React Hot Module Replacement should be reflecting the changes you made automatically once you save the file.
Ok, Cache Storage is now working!
But how? On-screen, there will be no difference, but behind-the-scene, Cache Storage should have been called and the API response is saved to browser.
To check on this open your browser dev tools (I'm using Chrome so use Ctrl+Shift+C to show). Then check Application tab, under Cache Storage. You will see an entry there named demo-cache-api.
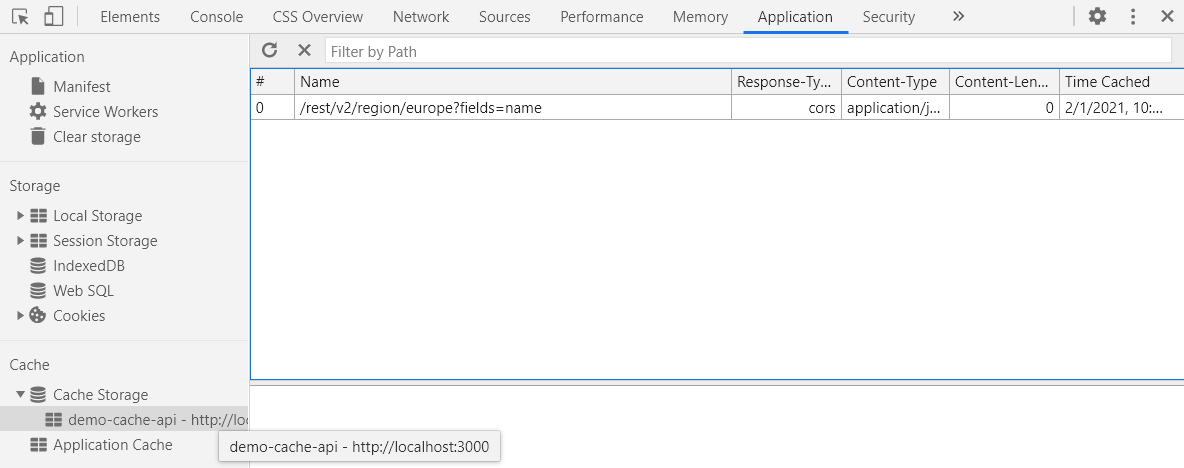
Inside, a pair of requests & responses are saved. If you click on /rest/v2/region/europe?fields=name you will see the response data.
[{name: "Ã
land Islands"}, {name: "Albania"}, {name: "Andorra"}, {name: "Austria"}, {name: "Belarus"},…]
0: {name: "Ã
land Islands"}
1: {name: "Albania"}
2: {name: "Andorra"}
3: {name: "Austria"}
4: {name: "Belarus"}
5: {name: "Belgium"}
6: {name: "Bosnia and Herzegovina"}
7: {name: "Bulgaria"}
8: {name: "Croatia"}
9: {name: "Cyprus"}
10: {name: "Czech Republic"}
11: {name: "Denmark"}
12: {name: "Estonia"}
...
<the rest of result...>
How did we achieve this?
When we fetched data API, at the same time we also opened new cache and saved the response there. This is done via window object on the client-side.
// Open the cache or create new if not exist
const cache = await caches.open("demo-cache-api");
...
// Save the response by using request url as key
cache.put(url, responseFromAPI);
Fetching the data from the cache instead of from API
Ok, here comes the interesting part! We know that we have successfully saved the API response locally, so let's use that by simulating a failed fetch when the network is down.
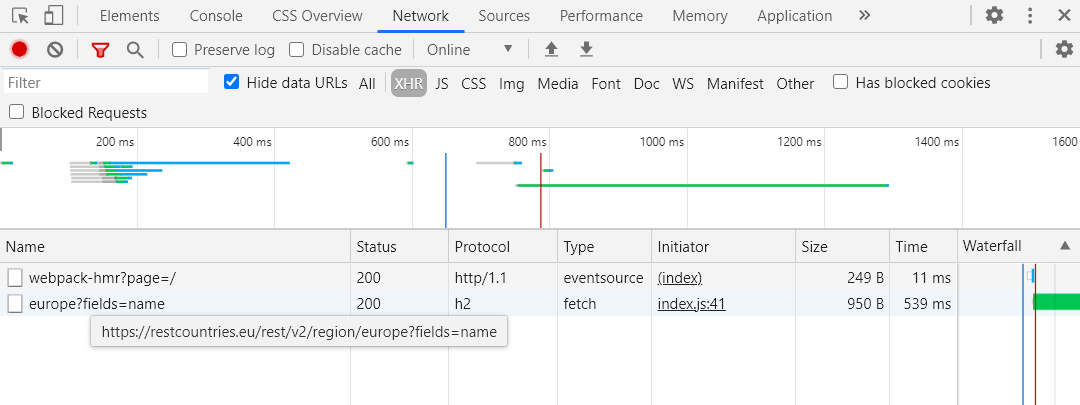
Check API fetch before network down
Go to dev tools Network tab then select XHR and Fetch filter. Reload the page and you will see the application made a call to API (denoted by europe?fields=name). This is the normal condition when the network is up.
Check API fetch after network down
Now, turn off the internet in your machine by either switching off Wi-Fi or unplugging the ethernet cable. Then reload the page again. Since we have no internet, the call to API should fail and the page should not be showing a list of countries at all right? Well, because we have saved the response in cache, data is still showing on the page as if nothing happened.
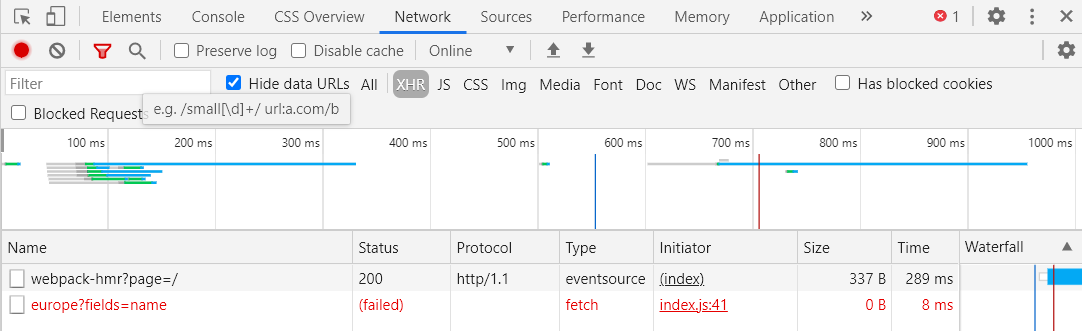

We can see here the API fetch has failed due to a network problem, but in our code below we have told the application to retrieve data from the cache in case of failed fetch. We used cache.match to match the request URL as key to retrieve the value.
console.log("Fetch to API has failed so retrieve data from cache if any");

// Retrieve response from cache
const responseFromCache = await cache.match(url);

// If no match is found, it resolves to undefined
// Due to async nature, even if fetch from API is successful, by the time we
// reach here cache might not be populated yet so match would fail
if (responseFromCache === undefined)
  console.log("Uh, no match is found in cache for " + url);
else {
  console.log("Match is found in cache for " + URL);
  const dataFromCache = await responseFromCache.json();

  // Set list of countries for rendering
  setCountries(dataFromCache);
}
So there it is! Cache Storage API is pretty neat huh!
Yes, it is! You can also cache images as blob, but that's another topic to cover separately.
The caveat though, is that using cache might eventually lead to a lot of stale data which might not be best for applications with frequently-updated data. Also, you need to be careful with the storage limit of browser among other points to take note of.
Closing remarks
That being said, Cache Storage API is a very useful tool to store some network-related resources permanently and locally in browser. It's typically used in Progressive Web Application (PWA) for offline support and ensuring reliable performance regardless of network speed.
Thank you for reading. This article is just a simple demo that only touches the surface of Cache Storage, but I hope it'll be useful as a starting point to experiment more.