今回の記事では、iOS14のWidget機能について、紹介、実装していこうと思います。
環境
OS:Catlina 10.15.4
Xcode:12.2 beta2
1、Widgetとは
AppleはiOS8からホーム画面から左にスワイプすると出てくる通知センターにカレンダーやタイマーといったようなシンプルな機能を持ったアプリをアクセス出来るようなAPIを提供してきたが、iOS14ではホーム画面にもその表示ができるようになりました。機能がさらに増加され、表示内容もタイムラインに沿って更新できます。
!重要:Widget機能はSwiftUIでしか実装できないので、Widgetの本質はタイムラインによって変わるSwiftUIビューと言っても良い。
2、実装順番
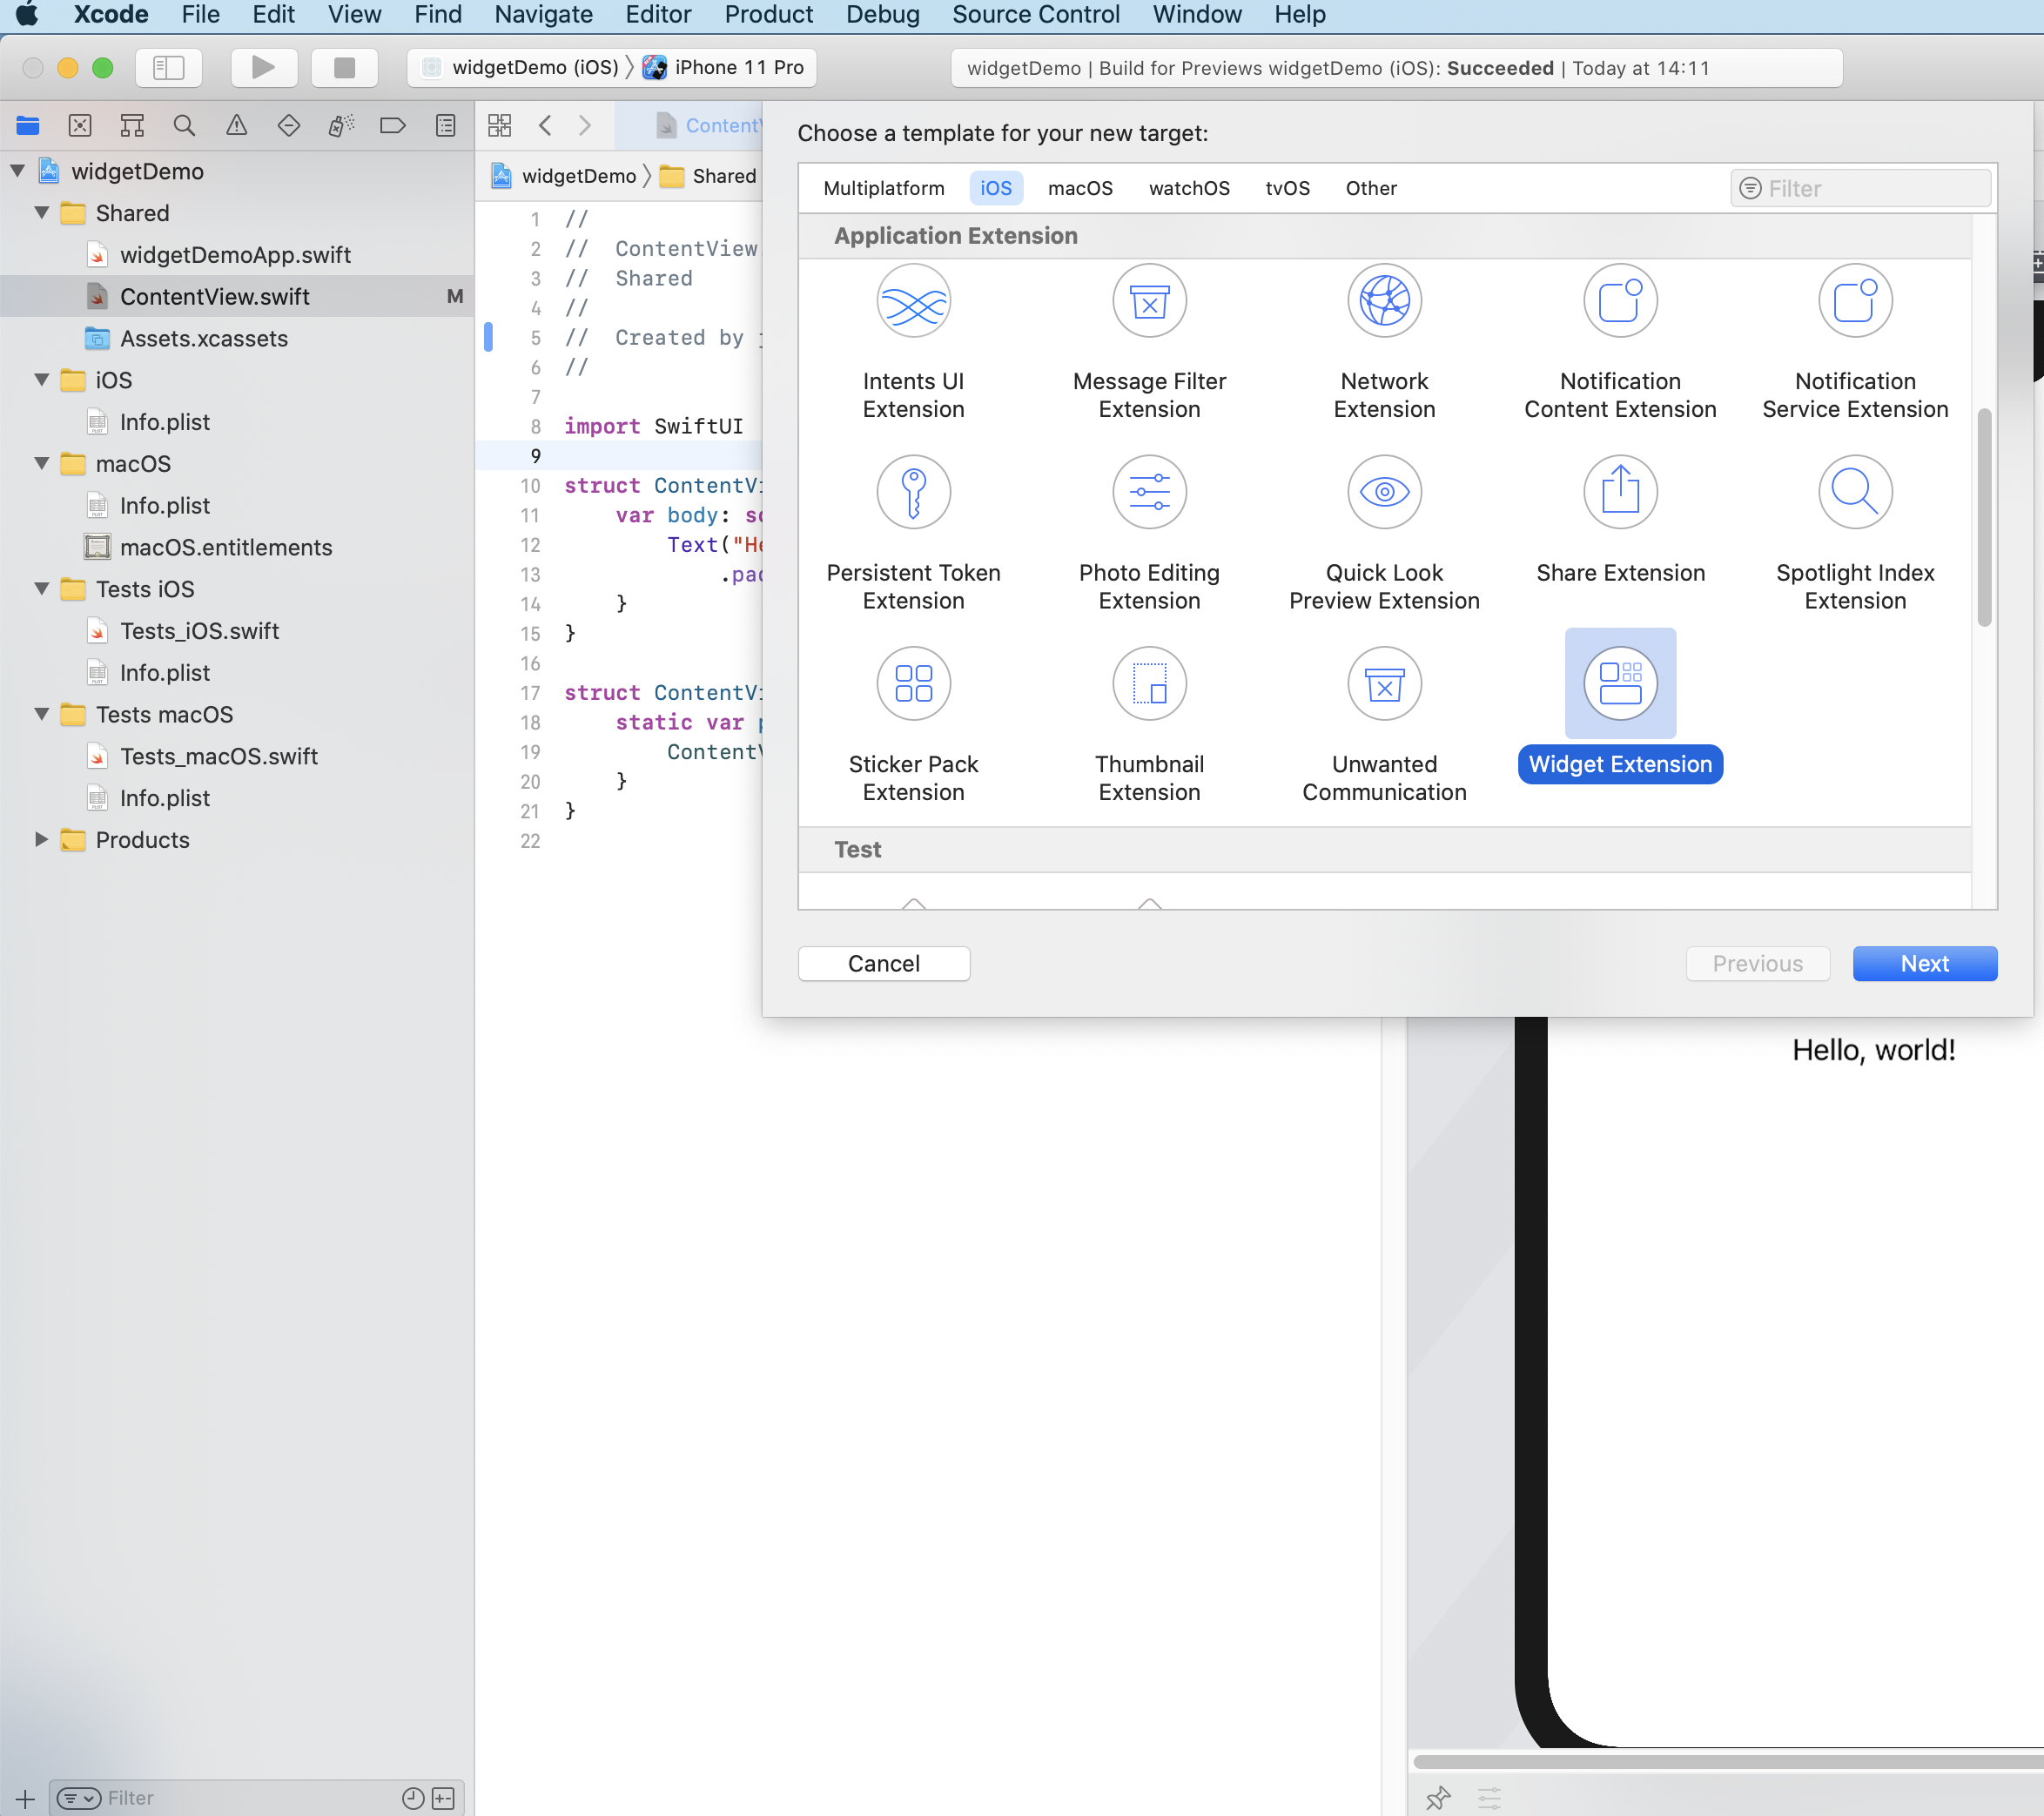
Widget Extension追加
SwiftUIでマルチプラットホームのプロジェクトを新たに作成したら、Widget Extensionを追加します。
ちなみに、1つのアプリで複数のWidget Extensionを追加することができます。
Xcode →File →New →Target →Widget Extension widgetDemoW targetの追加に成功したら、タイムviewがデフォルトで表示されます。
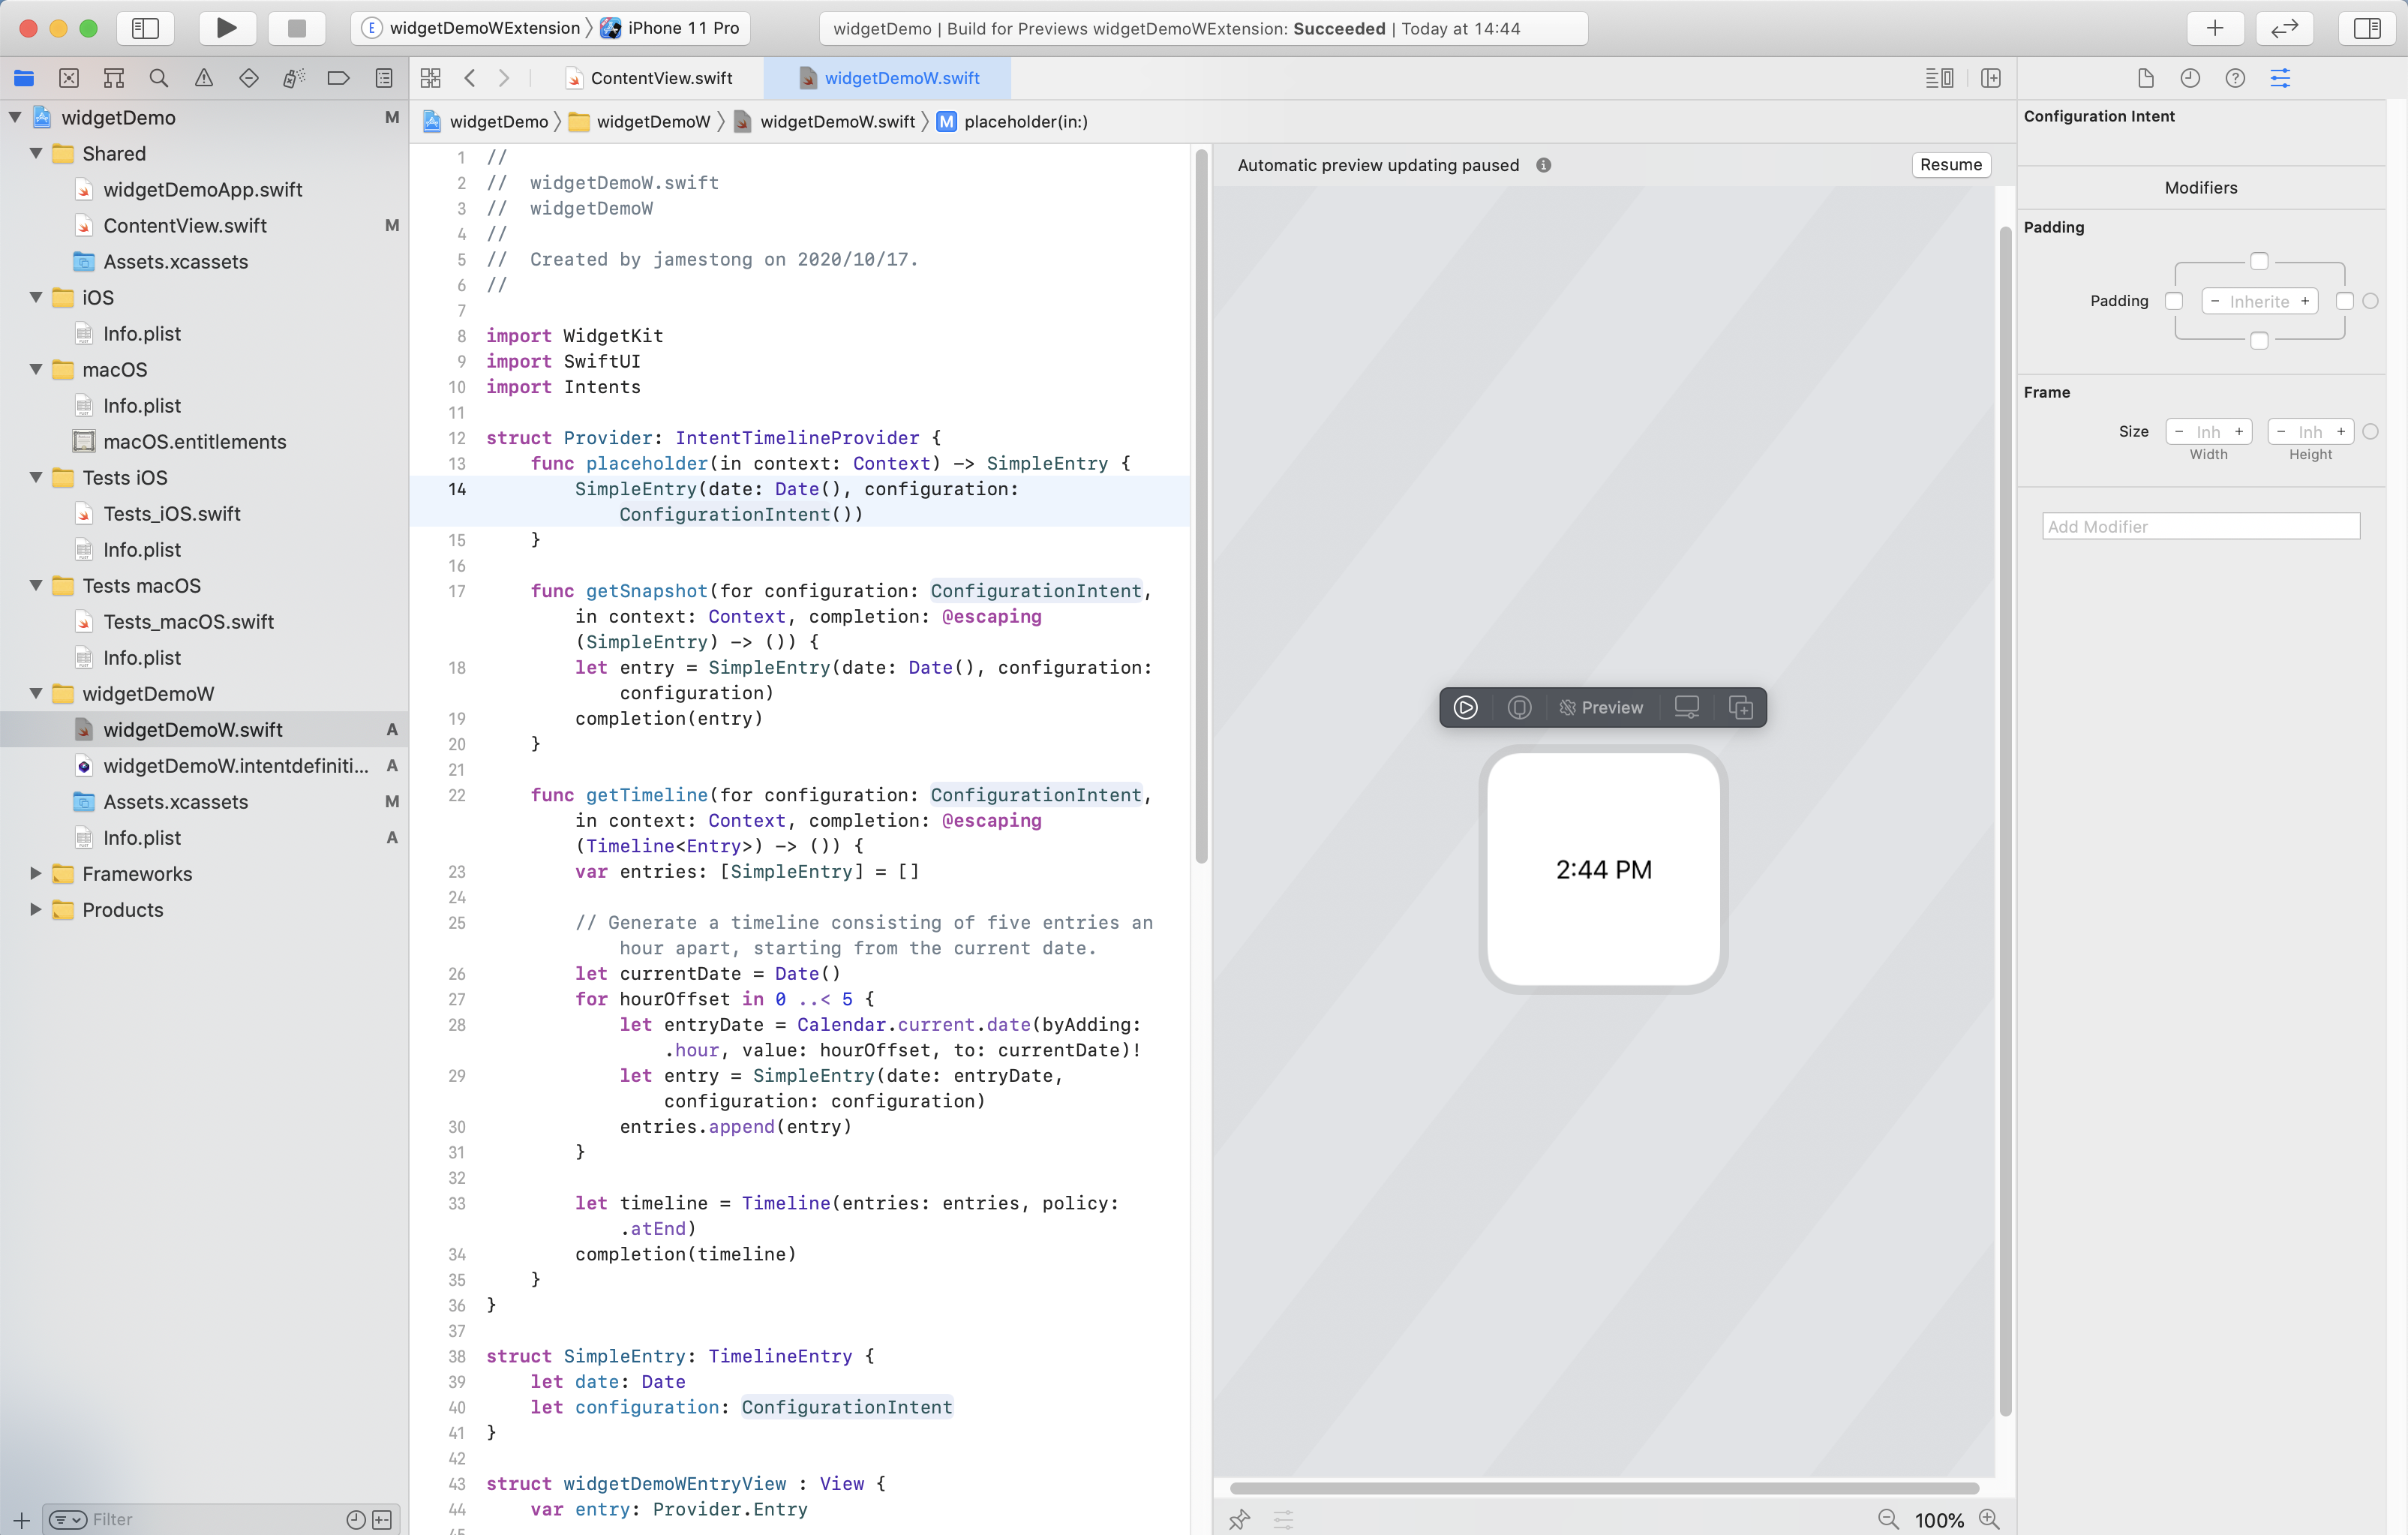
Widgetの入り口
widgetDemoW.swiftクラスの中、@mainマークはWidgetの入り口です。
struct widgetDemoWEntryView : View {
var entry: Provider.Entry
var body: some View {
Text(entry.date, style: .time)
}
}
@main
struct widgetDemoW: Widget {
let kind: String = "widgetDemoW"
var body: some WidgetConfiguration {
IntentConfiguration(kind: kind, intent: ConfigurationIntent.self, provider: Provider()) { entry in
widgetDemoWEntryView(entry: entry)
}
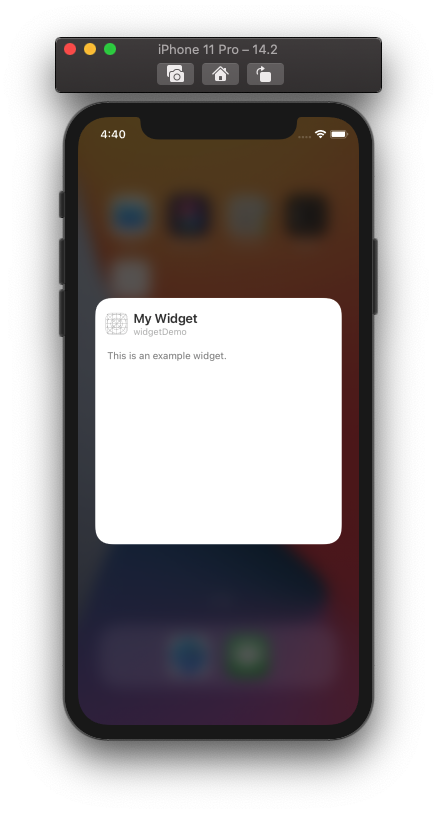
.configurationDisplayName("My Widget")
.description("This is an example widget.")
.supportedFamilies([.systemMedium])
}
}
-
configurationDisplayNameはユーザがアプリのWidgetを追加、編集する時のWidgetの表示名(1つのアプリに複数のWidgetの存在もあり得るため) -
descriptionはWidgetの説明 -
supportedFamiliesはサーポットサイズでデフォルトでは大、中、小を全てサーポット。
providerは、Widgetを更新するためのタイムラインを決定するオブジェクトです。 Widgetを更新するための将来の時間を提供することで、システムは更新プロセスを最適化できます。
widgetDemoWEntryViewのEntryViewは実際に表示するViewです。
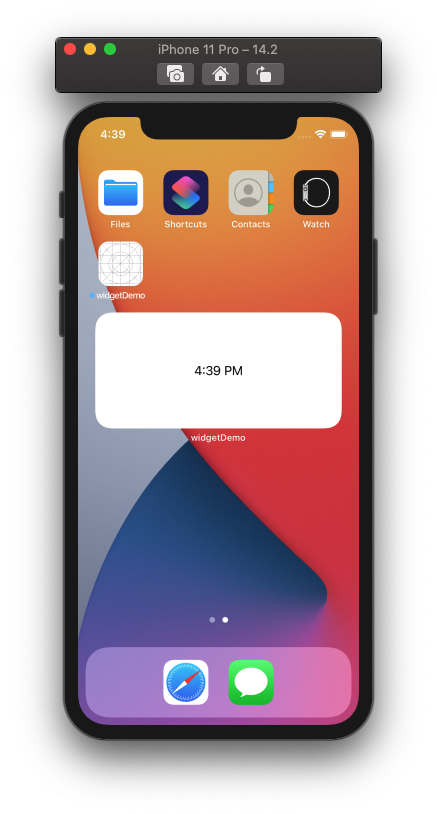
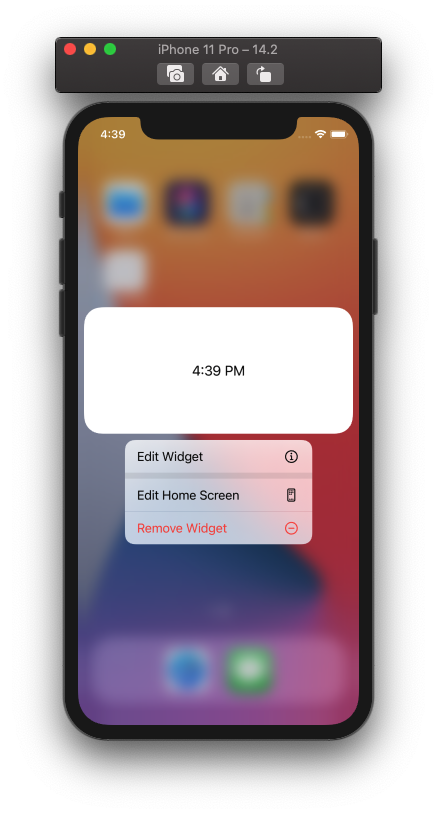
Widgetをクリックしたら本アプリを起動できます。Widgetを長押すと編集に入ります。
3、Widgetの表示内容をカスタマイズする
Widgetの更新はWidgetCenterによって完全に制御されます。 開発者は、APIを介してWidgetビューをアクティブに更新することはできません。タイムラインを更新する必要があることをWidgetCenterに通知することしかできません。
システム上は、タイムラインのリロードを駆動する2つの方法を提供します。 System ReloadsとApp-Driven Reloads。
**注意:**タイムラインのリロードはWidgetを直接更新しませんが、WidgetCenterはデータの次のステージのためにWidgetを再要求します。 タイムラインのProviderは、このデータを提供するオブジェクトです。
タイムラインのProviderによって提供されるデータには2つの部分があります。1つはTimelineEntryで、もう1つはReloadPolicyです。
TimelineEntryは、Widgetが特定のタイムノードの下に表示する必要があるビュー情報と時点です。
ReloadPolicyは、次の期間中のタイムラインの更新ポリシーです。3つのタイプがあります。
atEnd:最後のタイムスライスに達したときにタイムラインが更新されることを示します。
atAfter:一定時間後の定期的な更新を指します。
never:それは将来更新する必要がないことを意味します。 最後のEntryが表示されたら、更新せず最後のEntryに止まります。
アプリの起動だけでなく、Widgetには異なるページへ遷移する複数のボタンが含まれることも可能です(中/大サイズのWidgetのみ)。
実装例1
静的表示
struct widgetDemoWEntryView : View {
    var entry: Provider.Entry

    var body: some View {
        HStack {
            Text("今回の記事では、iOS14のWidget機能について、紹介、実装していこうと思います。 -20201017")
                .foregroundColor(.black)
            VStack {
                Image("widgetPic")
                    .overlay(RoundedRectangle(cornerRadius: 10)
                                .stroke(Color.purple, lineWidth: 3))
                    .shadow(radius: 10)
                    .cornerRadius(10.0)
                Text(entry.date, style: .time)
            }
            .padding()
        }
        .padding()
    }
}
実際の表示

実装例2
タイムラインに沿って表示する
import WidgetKit
import SwiftUI
import Intents

struct Provider: IntentTimelineProvider {
    func placeholder(in context: Context) -> SimpleEntry {
        SimpleEntry(date: Date(), text: "朋遠方より来たるあり。また楽しからずや。", configuration: ConfigurationIntent())
    }

    func getSnapshot(for configuration: ConfigurationIntent, in context: Context, completion: @escaping (SimpleEntry) -> ()) {
        let entry = SimpleEntry(date: Date(), text: "朋遠方より来たるあり。また楽しからずや。", configuration: configuration)
        completion(entry)
    }

    func getTimeline(for configuration: ConfigurationIntent, in context: Context, completion: @escaping (Timeline<Entry>) -> ()) {
        var entries: [SimpleEntry] = []

        // 現在の日付から開始して、1時間間隔で60エントリで構成されるタイムラインを生成する
        let currentDate = Date()
        var textArray = [String]()
        for i in 0..<60 {
            textArray.append("朋遠方より来たるあり。また楽しからずや。 timeline: \(i)")
        }
        for minOffset in 0 ..< 60 {
            let entryDate = Calendar.current.date(byAdding: .minute, value: minOffset, to: currentDate)!
            let entryText = textArray[minOffset]
            let entry = SimpleEntry(date: entryDate, text: entryText, configuration: configuration)
            entries.append(entry)
        }

        let timeline = Timeline(entries: entries, policy: .atEnd)
        completion(timeline)
    }
}

struct SimpleEntry: TimelineEntry {
    let date: Date
    let text: String
    let configuration: ConfigurationIntent
}

struct widgetDemoWEntryView : View {
    var entry: Provider.Entry

    var body: some View {
        HStack {
            Text(entry.text)
                .foregroundColor(.black)
            VStack {
                Image("widgetPic")
                    .overlay(RoundedRectangle(cornerRadius: 10)
                                .stroke(Color.purple, lineWidth: 3))
                    .shadow(radius: 10)
                    .cornerRadius(10.0)
                Text(entry.date, style: .time)
            }
            .padding()
        }
        //アプリ側ではonOpenURLを通じてURLをハンドリングし、Widgetをタップすれば特定の画面へ遷移するアクションを実現
        .widgetURL(URL(string: "widgetdemo://go2secondview"))
        .padding()
    }
}

@main
struct widgetDemoW: Widget {
    let kind: String = "widgetDemoW"

    var body: some WidgetConfiguration {
        IntentConfiguration(kind: kind, intent: ConfigurationIntent.self, provider: Provider()) { entry in
            widgetDemoWEntryView(entry: entry)
        }
        .configurationDisplayName("My Widget")
        .description("This is an example widget.")
        .supportedFamilies([.systemMedium])
    }
}

struct widgetDemoW_Previews: PreviewProvider {
    static var previews: some View {
        widgetDemoWEntryView(entry: SimpleEntry(date: Date(), text: "朋遠方より来たるあり。また楽しからずや。", configuration: ConfigurationIntent()))
            .previewContext(WidgetPreviewContext(family: .systemMedium))
    }
}
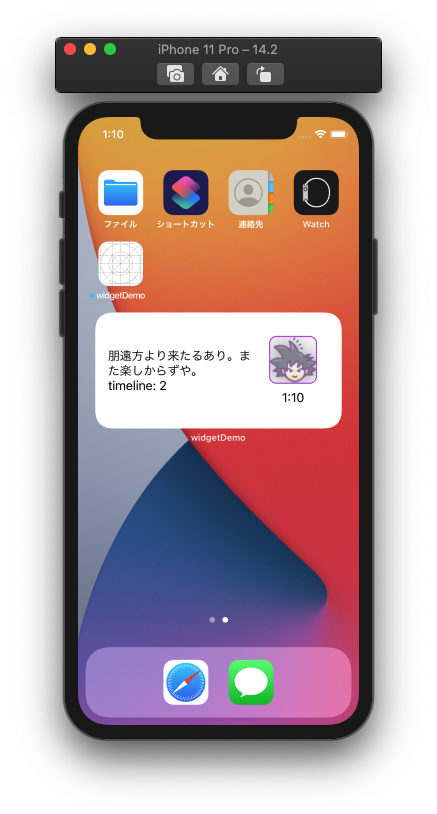
悟空アイコンが静的に表示し、論語のコンテンツとタイムを1分単位で更新します。
実際の表示


4、終わり
WidgetKitの発想はすごく良いですが、OSのパフォーマンスと電力消費の考慮で、Widgetはビデオと動的画像の表示ができません。但し、うまく利用すればアプリの品質向上に繋がるには間違いないと思うので、もっと優秀なWidgetが出るのを期待したいです!