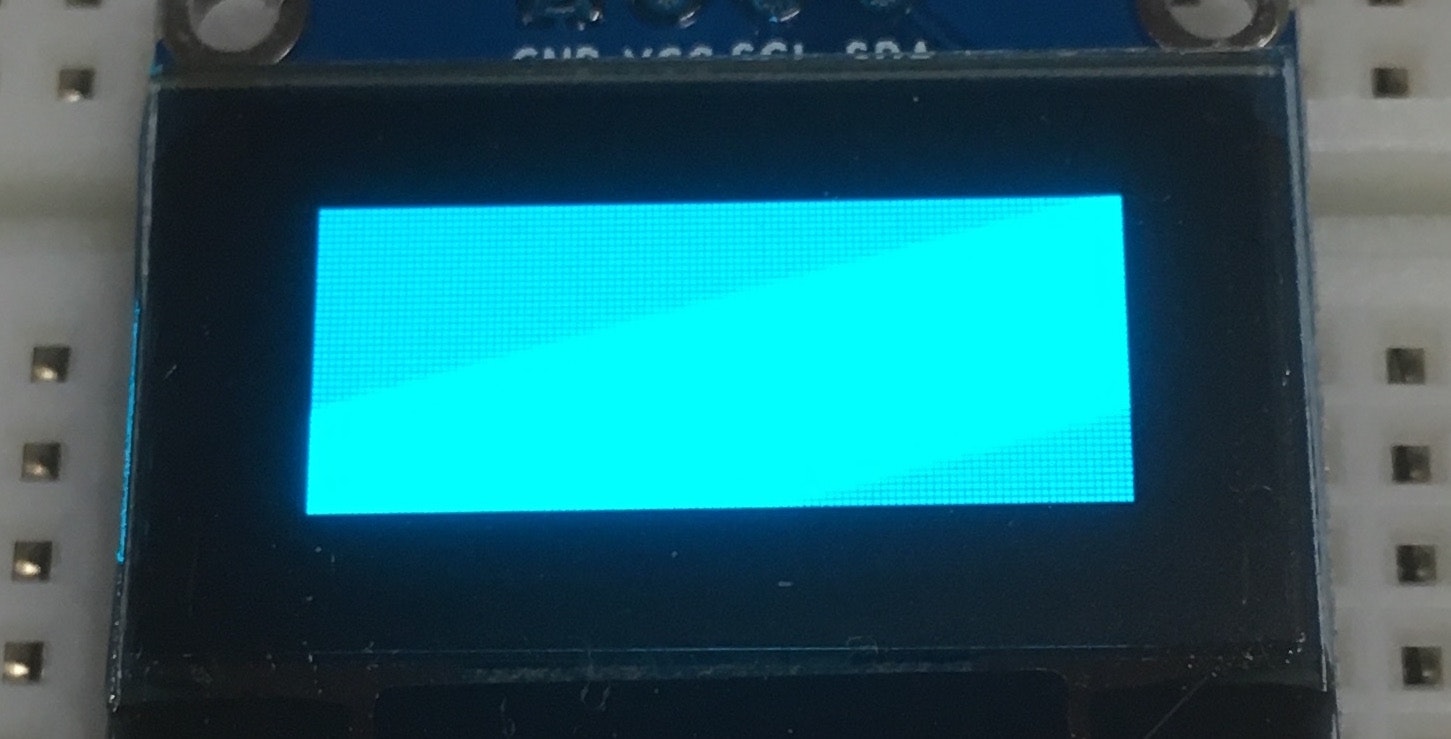
この記事について
ebayで購入したOLEDディスプレイにArduinoを使用して色々表示するスケッチを記載します。
使用するディスプレイやライブラリの詳細は次の記事を参考にしてください。
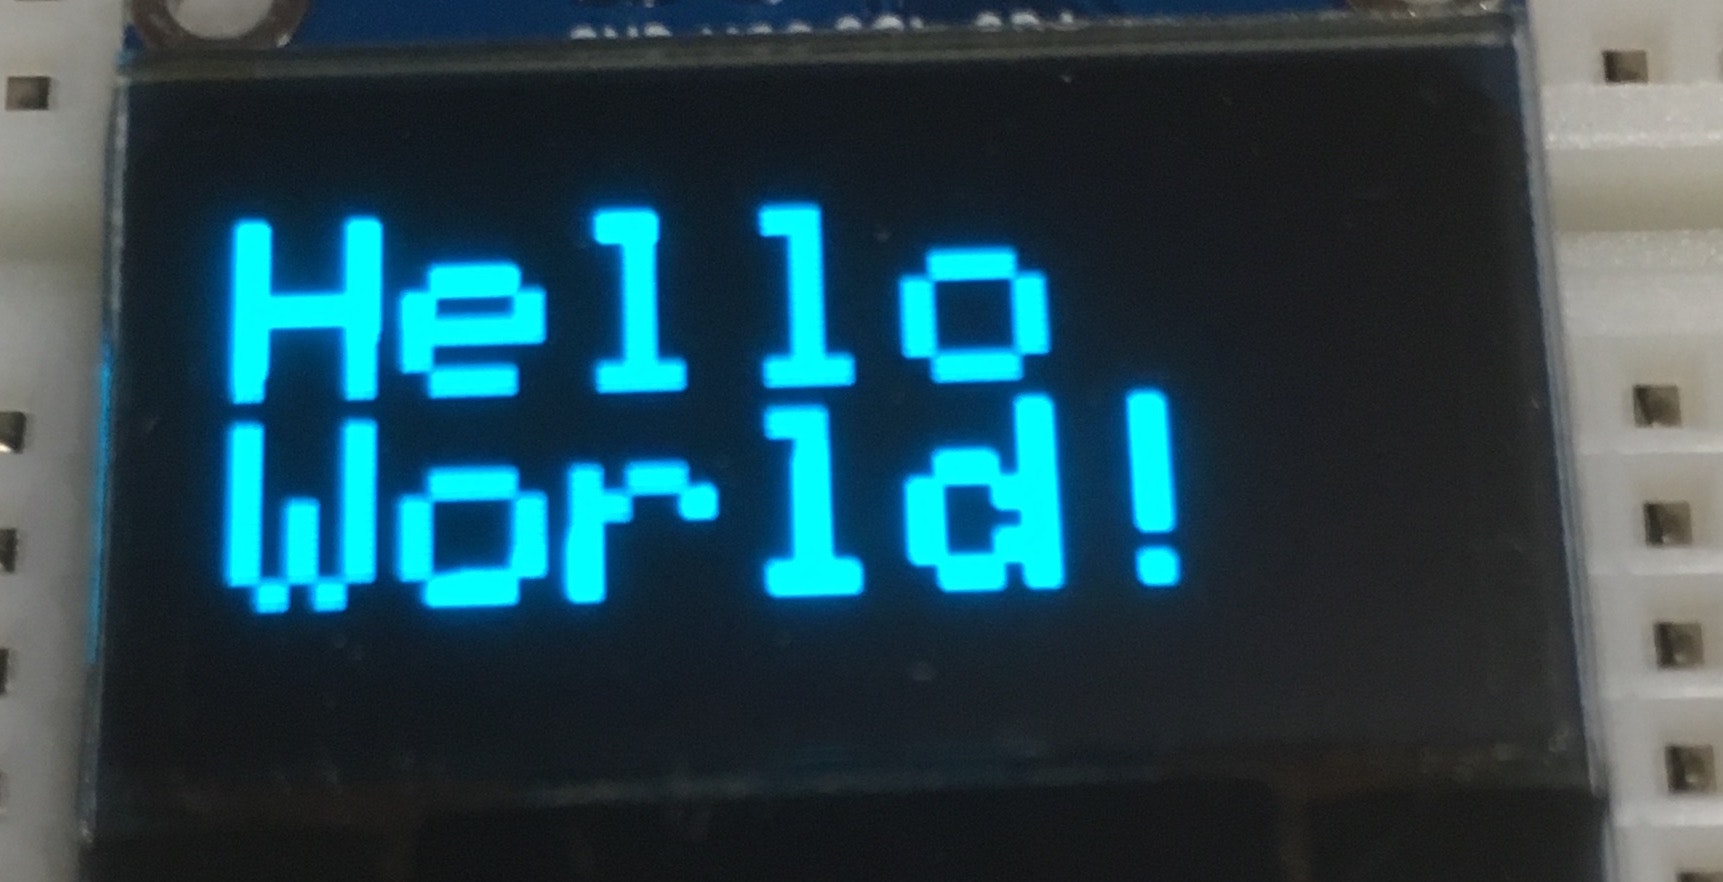
テキストを描画
DrawText.ino
# include <Wire.h>
# include <Adafruit_GFX.h>
# include <Adafruit_SSD1306.h>

// コンパイル時にヘッダーファイルが適切に編集されていない場合に
// "Height incorrect, please fix Adafruit_SSD1306.h!"
// というエラーを表示するための記述
# if (SSD1306_LCDHEIGHT != 64)
# error("Height incorrect, please fix Adafruit_SSD1306.h!");
# endif

// RSTピンがない互換品を使用するので-1を指定
Adafruit_SSD1306 display(-1);

void setup() {
  // I2Cアドレスは使用するディスプレイに合わせて変更する
  display.begin(SSD1306_SWITCHCAPVCC, 0x3C);
}

void loop() {
  // 画面表示をクリア
  display.clearDisplay();

  // テキストサイズを設定
  display.setTextSize(3);
  // テキスト色を設定
  display.setTextColor(WHITE);
  // テキストの開始位置を設定
  display.setCursor(0, 10);

  // 1行目に"Hello"を表示
  display.println("Hello");
  // 2行目に"World!"を表示
  display.println("World!");

  // 描画バッファの内容を画面に表示
  display.display();

  delay(1000);
}
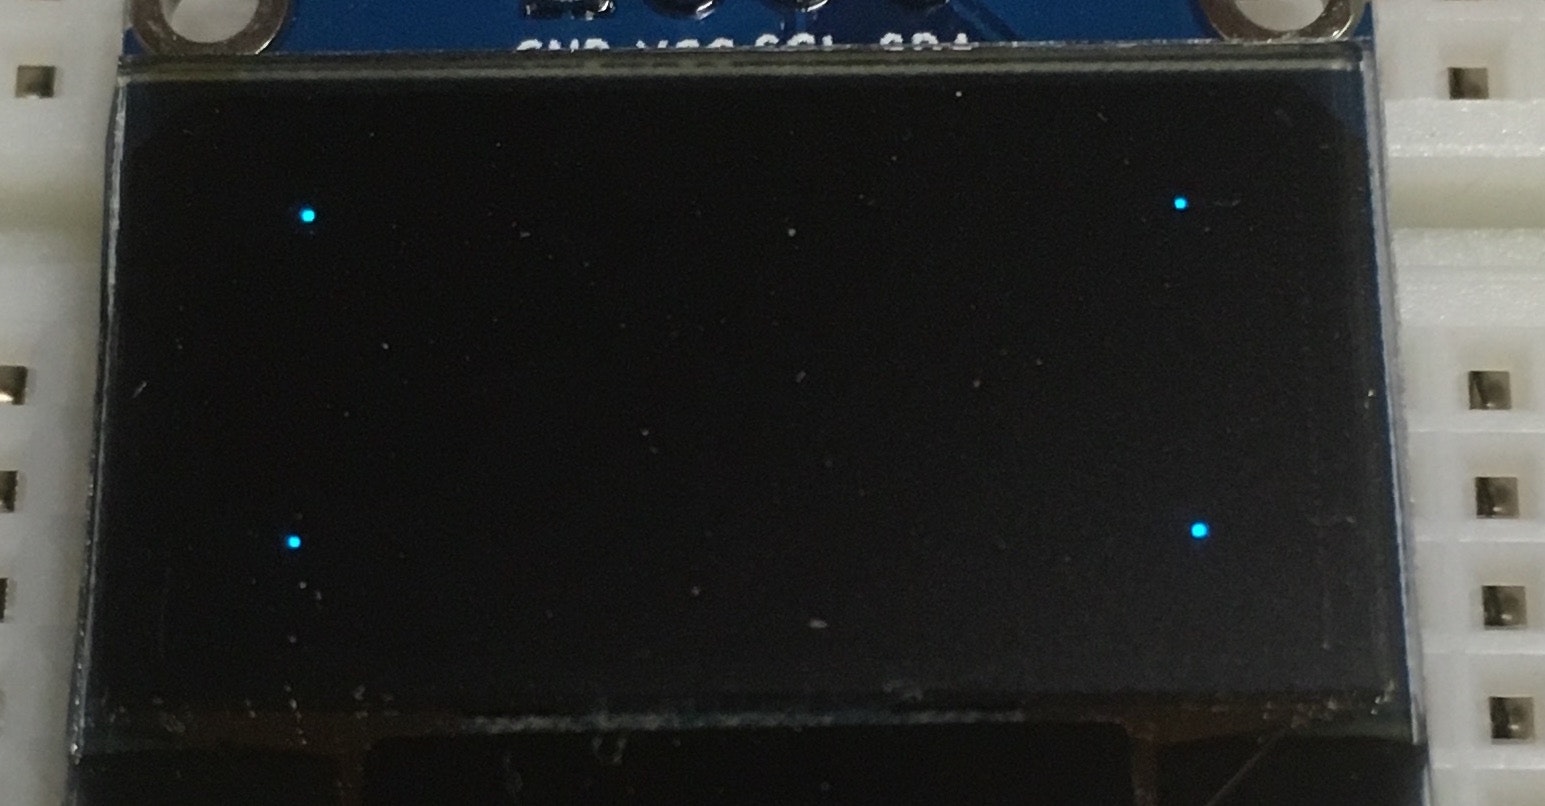
点を描画
DrawPixel.ino
# include <Wire.h>
# include <Adafruit_GFX.h>
# include <Adafruit_SSD1306.h>

// コンパイル時にヘッダーファイルが適切に編集されていない場合に
// "Height incorrect, please fix Adafruit_SSD1306.h!"
// というエラーを表示するための記述
# if (SSD1306_LCDHEIGHT != 64)
# error("Height incorrect, please fix Adafruit_SSD1306.h!");
# endif

// RSTピンがない互換品を使用するので-1を指定
Adafruit_SSD1306 display(-1);

void setup() {
  // I2Cアドレスは使用するディスプレイに合わせて変更する
  display.begin(SSD1306_SWITCHCAPVCC, 0x3C);
}

void loop() {
  // 画面表示をクリア
  display.clearDisplay();

  // 画面の左上に点を描画
  // display.drawPixel(座標x, 座標y, 点の色);
  display.drawPixel(10, 10, WHITE);

  // 画面の右上に点を描画
  // display.drawPixel(座標x, 座標y, 点の色);
  display.drawPixel(117, 10, WHITE);

  // 画面の右下に点を描画
  // display.drawPixel(座標x, 座標y, 点の色);
  display.drawPixel(117, 53, WHITE);

  // 画面の左下に点を描画
  // display.drawPixel(座標x, 座標y, 点の色);
  display.drawPixel(10, 53, WHITE);

  // 描画バッファの内容を画面に表示
  display.display();

  delay(1000);
}
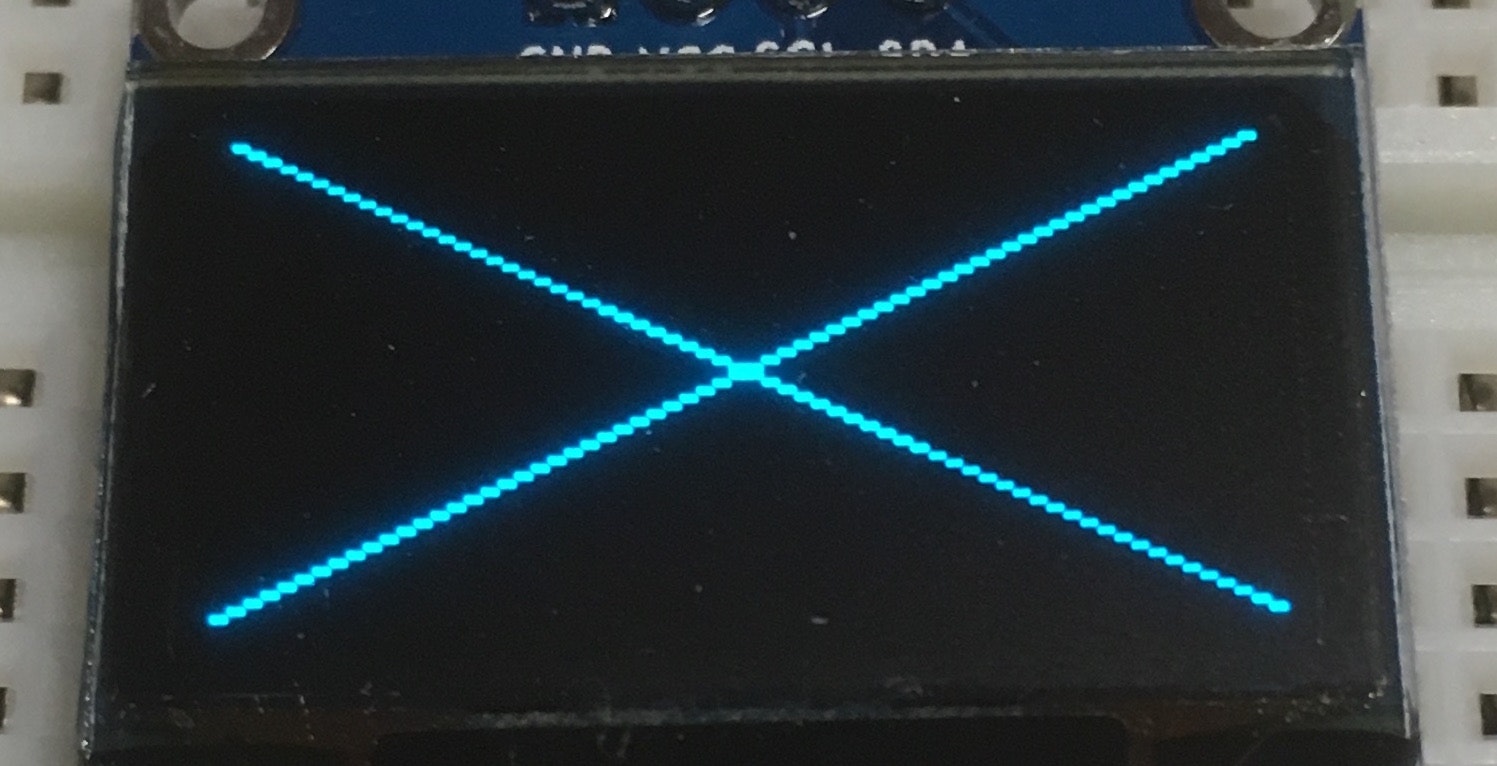
線を描画
DrawLine.ino
# include <Wire.h>
# include <Adafruit_GFX.h>
# include <Adafruit_SSD1306.h>

// コンパイル時にヘッダーファイルが適切に編集されていない場合に
// "Height incorrect, please fix Adafruit_SSD1306.h!"
// というエラーを表示するための記述
# if (SSD1306_LCDHEIGHT != 64)
# error("Height incorrect, please fix Adafruit_SSD1306.h!");
# endif

// RSTピンがない互換品を使用するので-1を指定
Adafruit_SSD1306 display(-1);

void setup() {
  // I2Cアドレスは使用するディスプレイに合わせて変更する
  display.begin(SSD1306_SWITCHCAPVCC, 0x3C);
}

void loop() {
  // 画面表示をクリア
  display.clearDisplay();

  // 画面の左上から右下に線を描画
  // display.drawLine(始点x, 始点y, 終点x, 終点y, 線の色);
  display.drawLine(0, 0, 127, 63, WHITE);

  // 画面の右上から左下に線を描画
  // display.drawLine(始点x, 始点y, 終点x, 終点y, 線の色);
  display.drawLine(127, 0, 0, 63, WHITE);

  // 描画バッファの内容を画面に表示
  display.display();

  delay(1000);
}
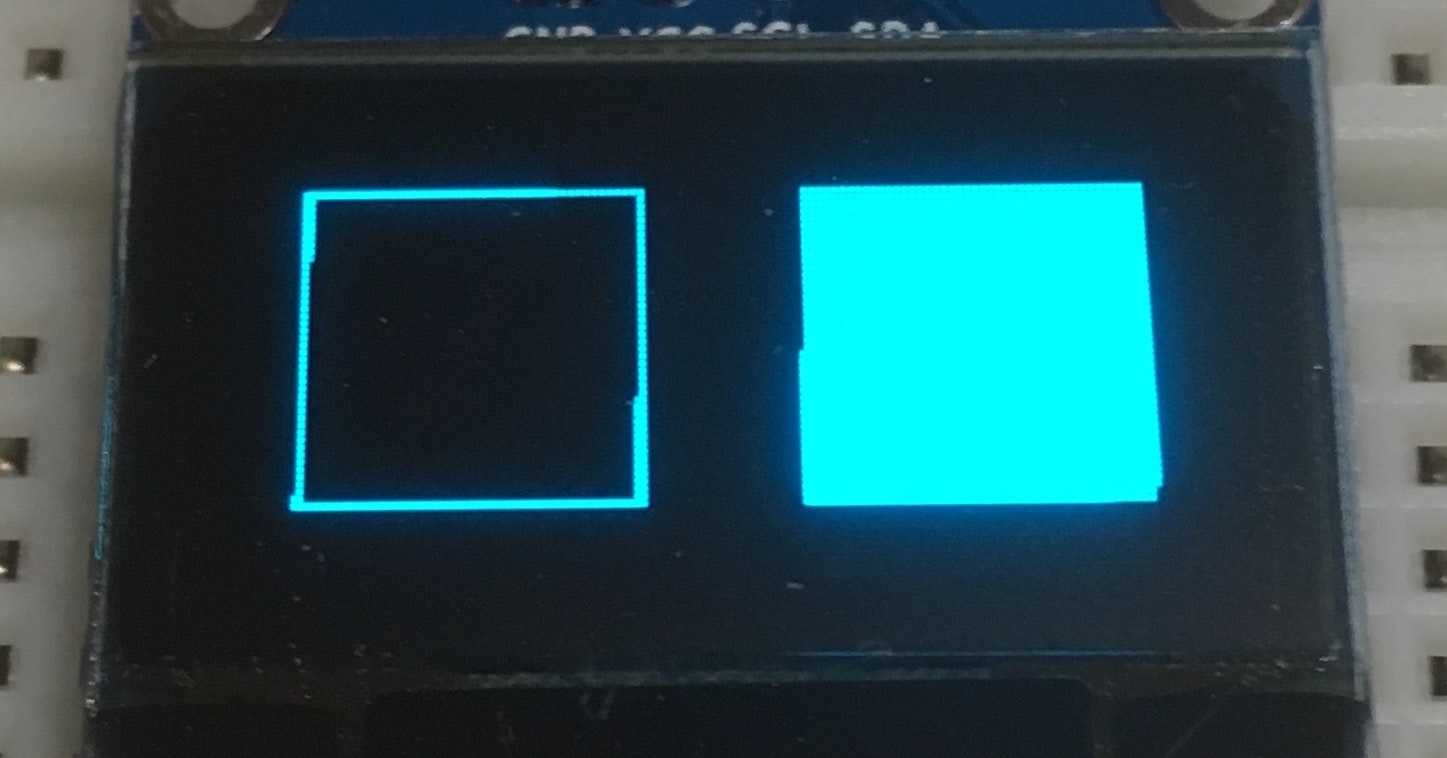
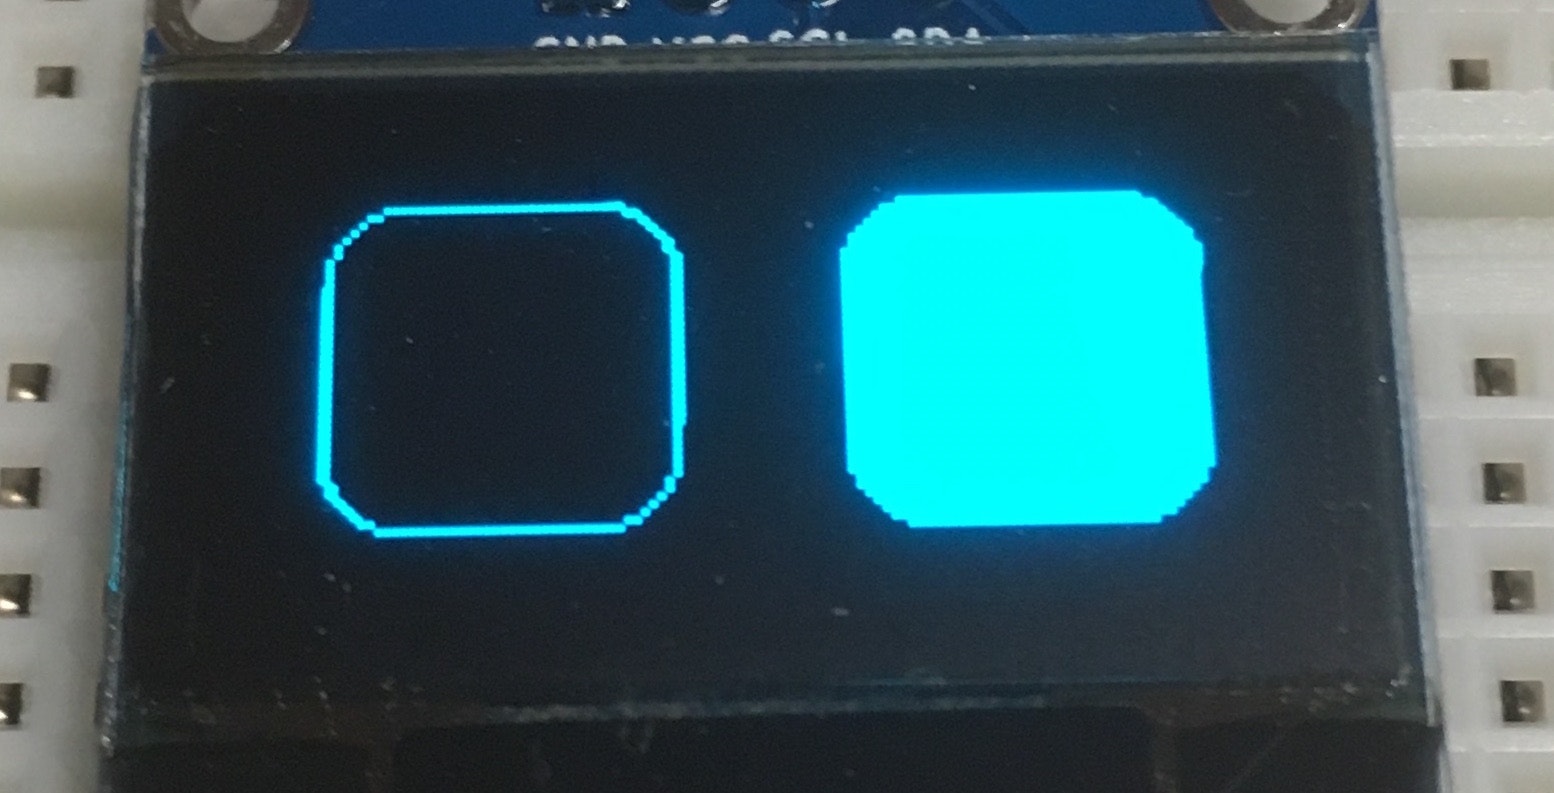
長方形を描画
DrawRect.ino
角丸の長方形を描画
DrawRoundRect.ino
# include <Wire.h>
# include <Adafruit_GFX.h>
# include <Adafruit_SSD1306.h>

// コンパイル時にヘッダーファイルが適切に編集されていない場合に
// "Height incorrect, please fix Adafruit_SSD1306.h!"
// というエラーを表示するための記述
# if (SSD1306_LCDHEIGHT != 64)
# error("Height incorrect, please fix Adafruit_SSD1306.h!");
# endif

// RSTピンがない互換品を使用するので-1を指定
Adafruit_SSD1306 display(-1);

void setup() {
  // I2Cアドレスは使用するディスプレイに合わせて変更する
  display.begin(SSD1306_SWITCHCAPVCC, 0x3C);
}

void loop() {
  // 画面表示をクリア
  display.clearDisplay();

  // 画面の左側に長方形(塗りつぶしなし)を描画
  // display.drawRect(左上x, 左上y, 幅, 高さ, 線の色)
  display.drawRect(10, 10, 44, 44, WHITE);

  // 画面の右側に長方形(塗りつぶしあり)を描画
  // display.fillRect(左上x, 左上y, 幅, 高さ, 線の色)
  display.fillRect(74, 10, 44, 44, WHITE);

  // 描画バッファの内容を画面に表示
  display.display();

  delay(1000);
}
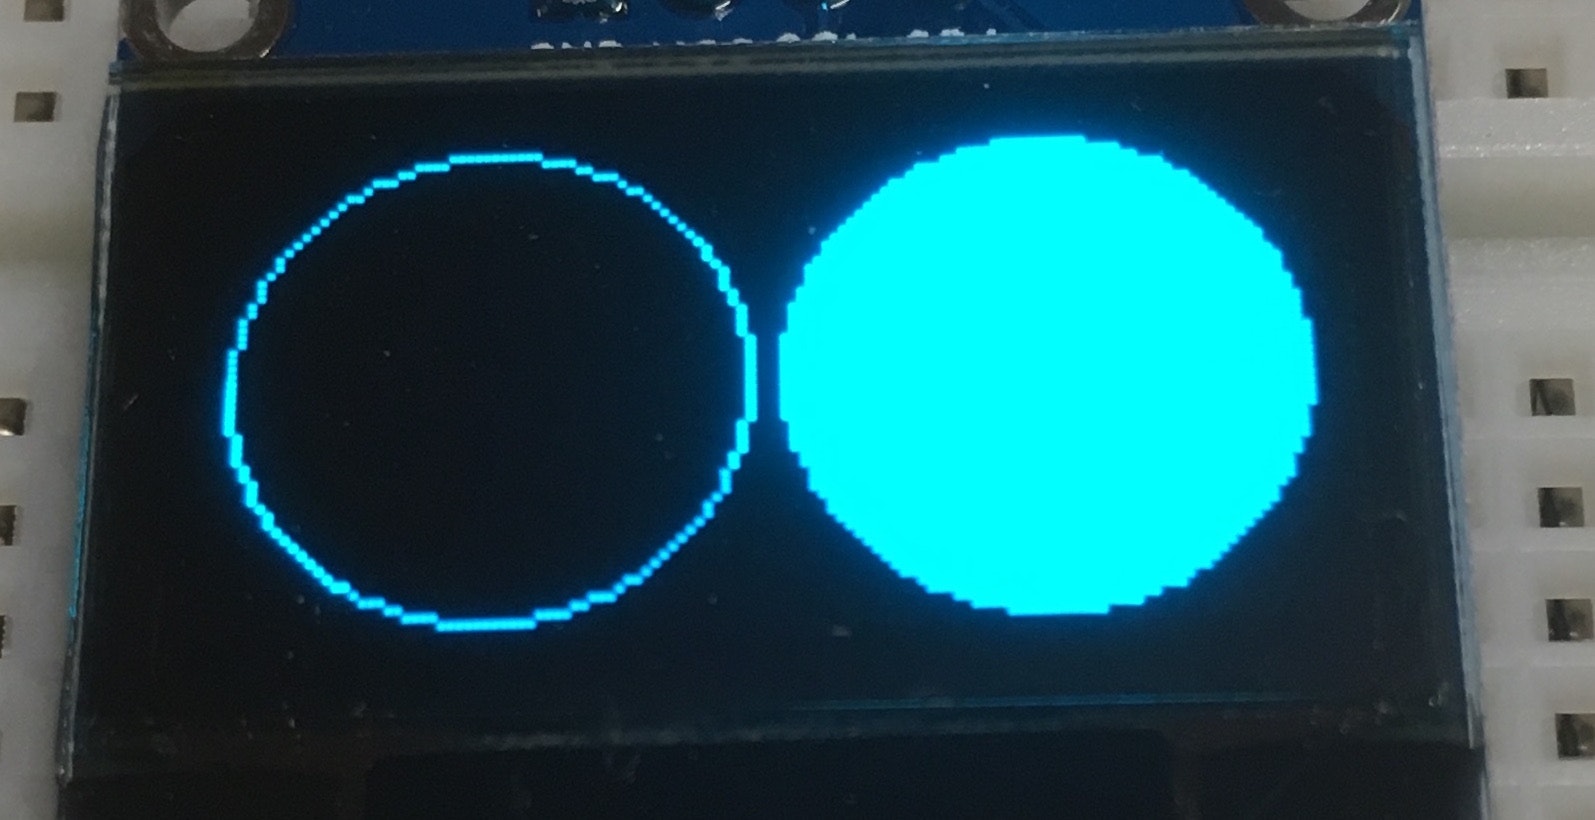
円を描画
DrawCircle.ino
# include <Wire.h>
# include <Adafruit_GFX.h>
# include <Adafruit_SSD1306.h>

// コンパイル時にヘッダーファイルが適切に編集されていない場合に
// "Height incorrect, please fix Adafruit_SSD1306.h!"
// というエラーを表示するための記述
# if (SSD1306_LCDHEIGHT != 64)
# error("Height incorrect, please fix Adafruit_SSD1306.h!");
# endif

// RSTピンがない互換品を使用するので-1を指定
Adafruit_SSD1306 display(-1);

void setup() {
  // I2Cアドレスは使用するディスプレイに合わせて変更する
  display.begin(SSD1306_SWITCHCAPVCC, 0x3C);
}

void loop() {
  // 画面表示をクリア
  display.clearDisplay();

  // 画面の左側に円(塗りつぶしなし)を描画
  // display.drawCircle(円の中心x, 円の中心y, 円の半径, 線の色)
  display.drawCircle(32, 32, 30, WHITE);

  // 画面の右側に円(塗りつぶしあり)を描画
  // display.fillCircle(円の中心x, 円の中心y, 円の半径, 線の色)
  display.fillCircle(96, 32, 30, WHITE);

  // 描画バッファの内容を画面に表示
  display.display();

  delay(1000);
}
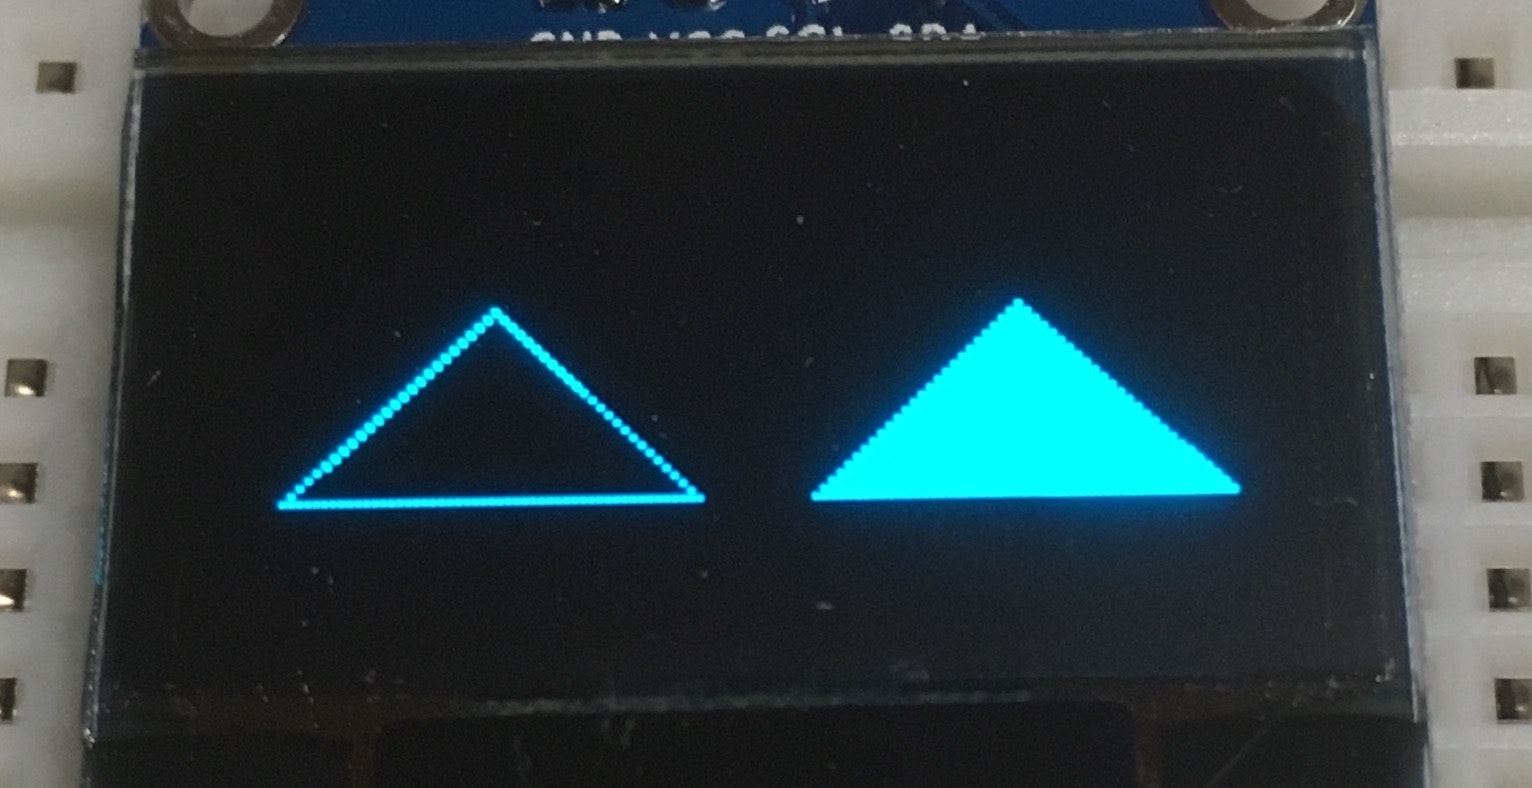
三角形を描画
DrawTriangle.ino
# include <Wire.h>
# include <Adafruit_GFX.h>
# include <Adafruit_SSD1306.h>

// コンパイル時にヘッダーファイルが適切に編集されていない場合に
// "Height incorrect, please fix Adafruit_SSD1306.h!"
// というエラーを表示するための記述
# if (SSD1306_LCDHEIGHT != 64)
# error("Height incorrect, please fix Adafruit_SSD1306.h!");
# endif

// RSTピンがない互換品を使用するので-1を指定
Adafruit_SSD1306 display(-1);

void setup() {
  // I2Cアドレスは使用するディスプレイに合わせて変更する
  display.begin(SSD1306_SWITCHCAPVCC, 0x3C);
}

void loop() {
  // 画面表示をクリア
  display.clearDisplay();

  // 画面の左側に三角形(塗りつぶしなし)を描画
  // display.drawTriangle(x0, y0, x1, y1, x2, y2, 線の色)
  display.drawTriangle(32, 25, 57, 50, 7, 50, WHITE);

  // 画面の右側に三角形(塗りつぶしあり)を描画
  // display.fillTriangle(x0, y0, x1, y1, x2, y2, 線の色)
  display.fillTriangle(96, 25, 121, 50, 71, 50, WHITE);

  // 描画バッファの内容を画面に表示
  display.display();

  delay(1000);
}
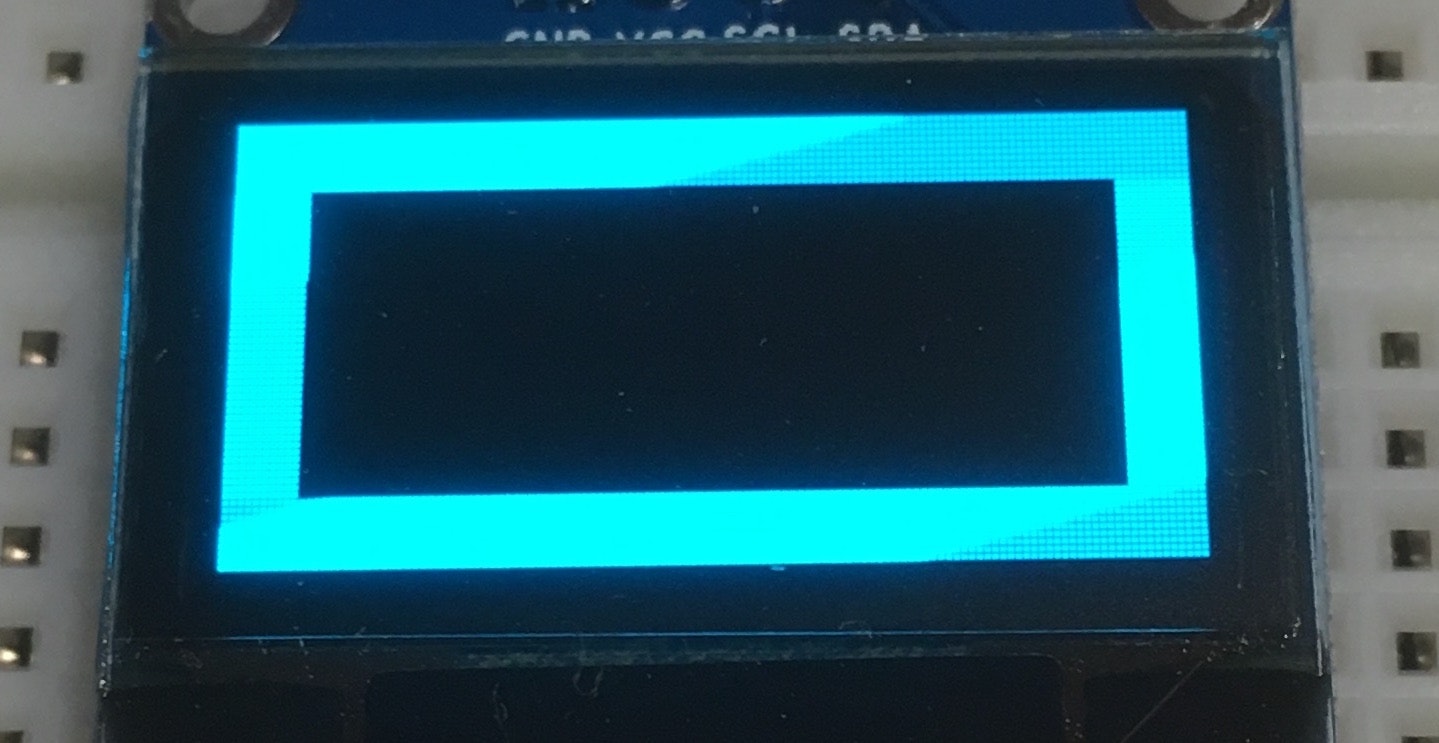
描画を反転
InvertDisplay.ino
# include <Wire.h>
# include <Adafruit_GFX.h>
# include <Adafruit_SSD1306.h>

// コンパイル時にヘッダーファイルが適切に編集されていない場合に
// "Height incorrect, please fix Adafruit_SSD1306.h!"
// というエラーを表示するための記述
# if (SSD1306_LCDHEIGHT != 64)
# error("Height incorrect, please fix Adafruit_SSD1306.h!");
# endif

// RSTピンがない互換品を使用するので-1を指定
Adafruit_SSD1306 display(-1);

void setup() {
  // I2Cアドレスは使用するディスプレイに合わせて変更する
  display.begin(SSD1306_SWITCHCAPVCC, 0x3C);
}

void loop() {
  // 画面表示をクリア
  display.clearDisplay();

  // 画面の中心に長方形(塗りつぶしあり)を描画
  display.fillRect(10, 10, 108, 44, WHITE);

  // 1秒間隔で画面全体を点滅させる
  for (int i = 0; i < 10; i++) {
    // 描画バッファを反転
    if (i % 2 == 0) {
       display.invertDisplay(true);
    } else {
       display.invertDisplay(false);
    }

    // 描画バッファの内容を画面に表示
    display.display();
    delay(1000);
  }

  delay(1000);
}
