参考文献
Laravelアプリをherokuで動かすチュートリアル
今回も上記のリンク先を参考にしてデプロイした。
PostgreSQLを導入する
heroku addons:create heroku-postgresql:hobby-dev
Creating heroku-postgresql:hobby-dev on ⬢ sholovelaravel... free
Database has been created and is available
 ! This database is empty. If upgrading, you can transfer
 ! data from another database with pg:copy
一応うまくいってる?
●参考文献
【Heroku Postgresql】アドオンを追加し、テーブル操作を行う
どうもここではHeroku Postgresアドオンが自分のHerokuページに載るらしい。
アドオンがあるからOKみたい!次は設定。
●参考文献
Laravel + Heroku + HerokuPostgres でDB設定をサクッと環境変数に突っ込む
これをみるとDBの設定も一瞬でできるらしい。
php -r 'preg_match("/^postgres:\/\/(.+?):(.+?)@(.+?):(.+?)\/(.*?)$/", `heroku config:get DATABASE_URL`, $matches); `heroku config:set DB_CONNECTION=pgsql DB_HOST=$matches[3] DB_PORT=$matches[4] DB_DATABASE=$matches[5] DB_USERNAME=$matches[1] DB_PASSWORD=$matches[2]`;'
Setting DB_CONNECTION, DB_HOST, DB_PORT, DB_DATABASE, DB_USERNAME, DB_PASSWORD and restarting sholovelaravel... done, v7
おっできた。何か適当にアプリを作ってマイグレーションしてみよう。
マイグレーションの作成
php artisan make:migration create_boards_table
まずローカルでマイグレーションファイルを作成して、
<?php

use Illuminate\Support\Facades\Schema;
use Illuminate\Database\Schema\Blueprint;
use Illuminate\Database\Migrations\Migration;

class CreateBoardsTable extends Migration
{
    /**
     * Run the migrations.
     *
     * @return void
     */
    public function up()
    {
        Schema::create('boards', function (Blueprint $table) {
            $table->increments('id');
            $table->integer('person_id');
            $table->string('title');
            $table->string('message');
            $table->timestamps();
        });
    }

    /**
     * Reverse the migrations.
     *
     * @return void
     */
    public function down()
    {
        Schema::dropIfExists('boards');
    }
}
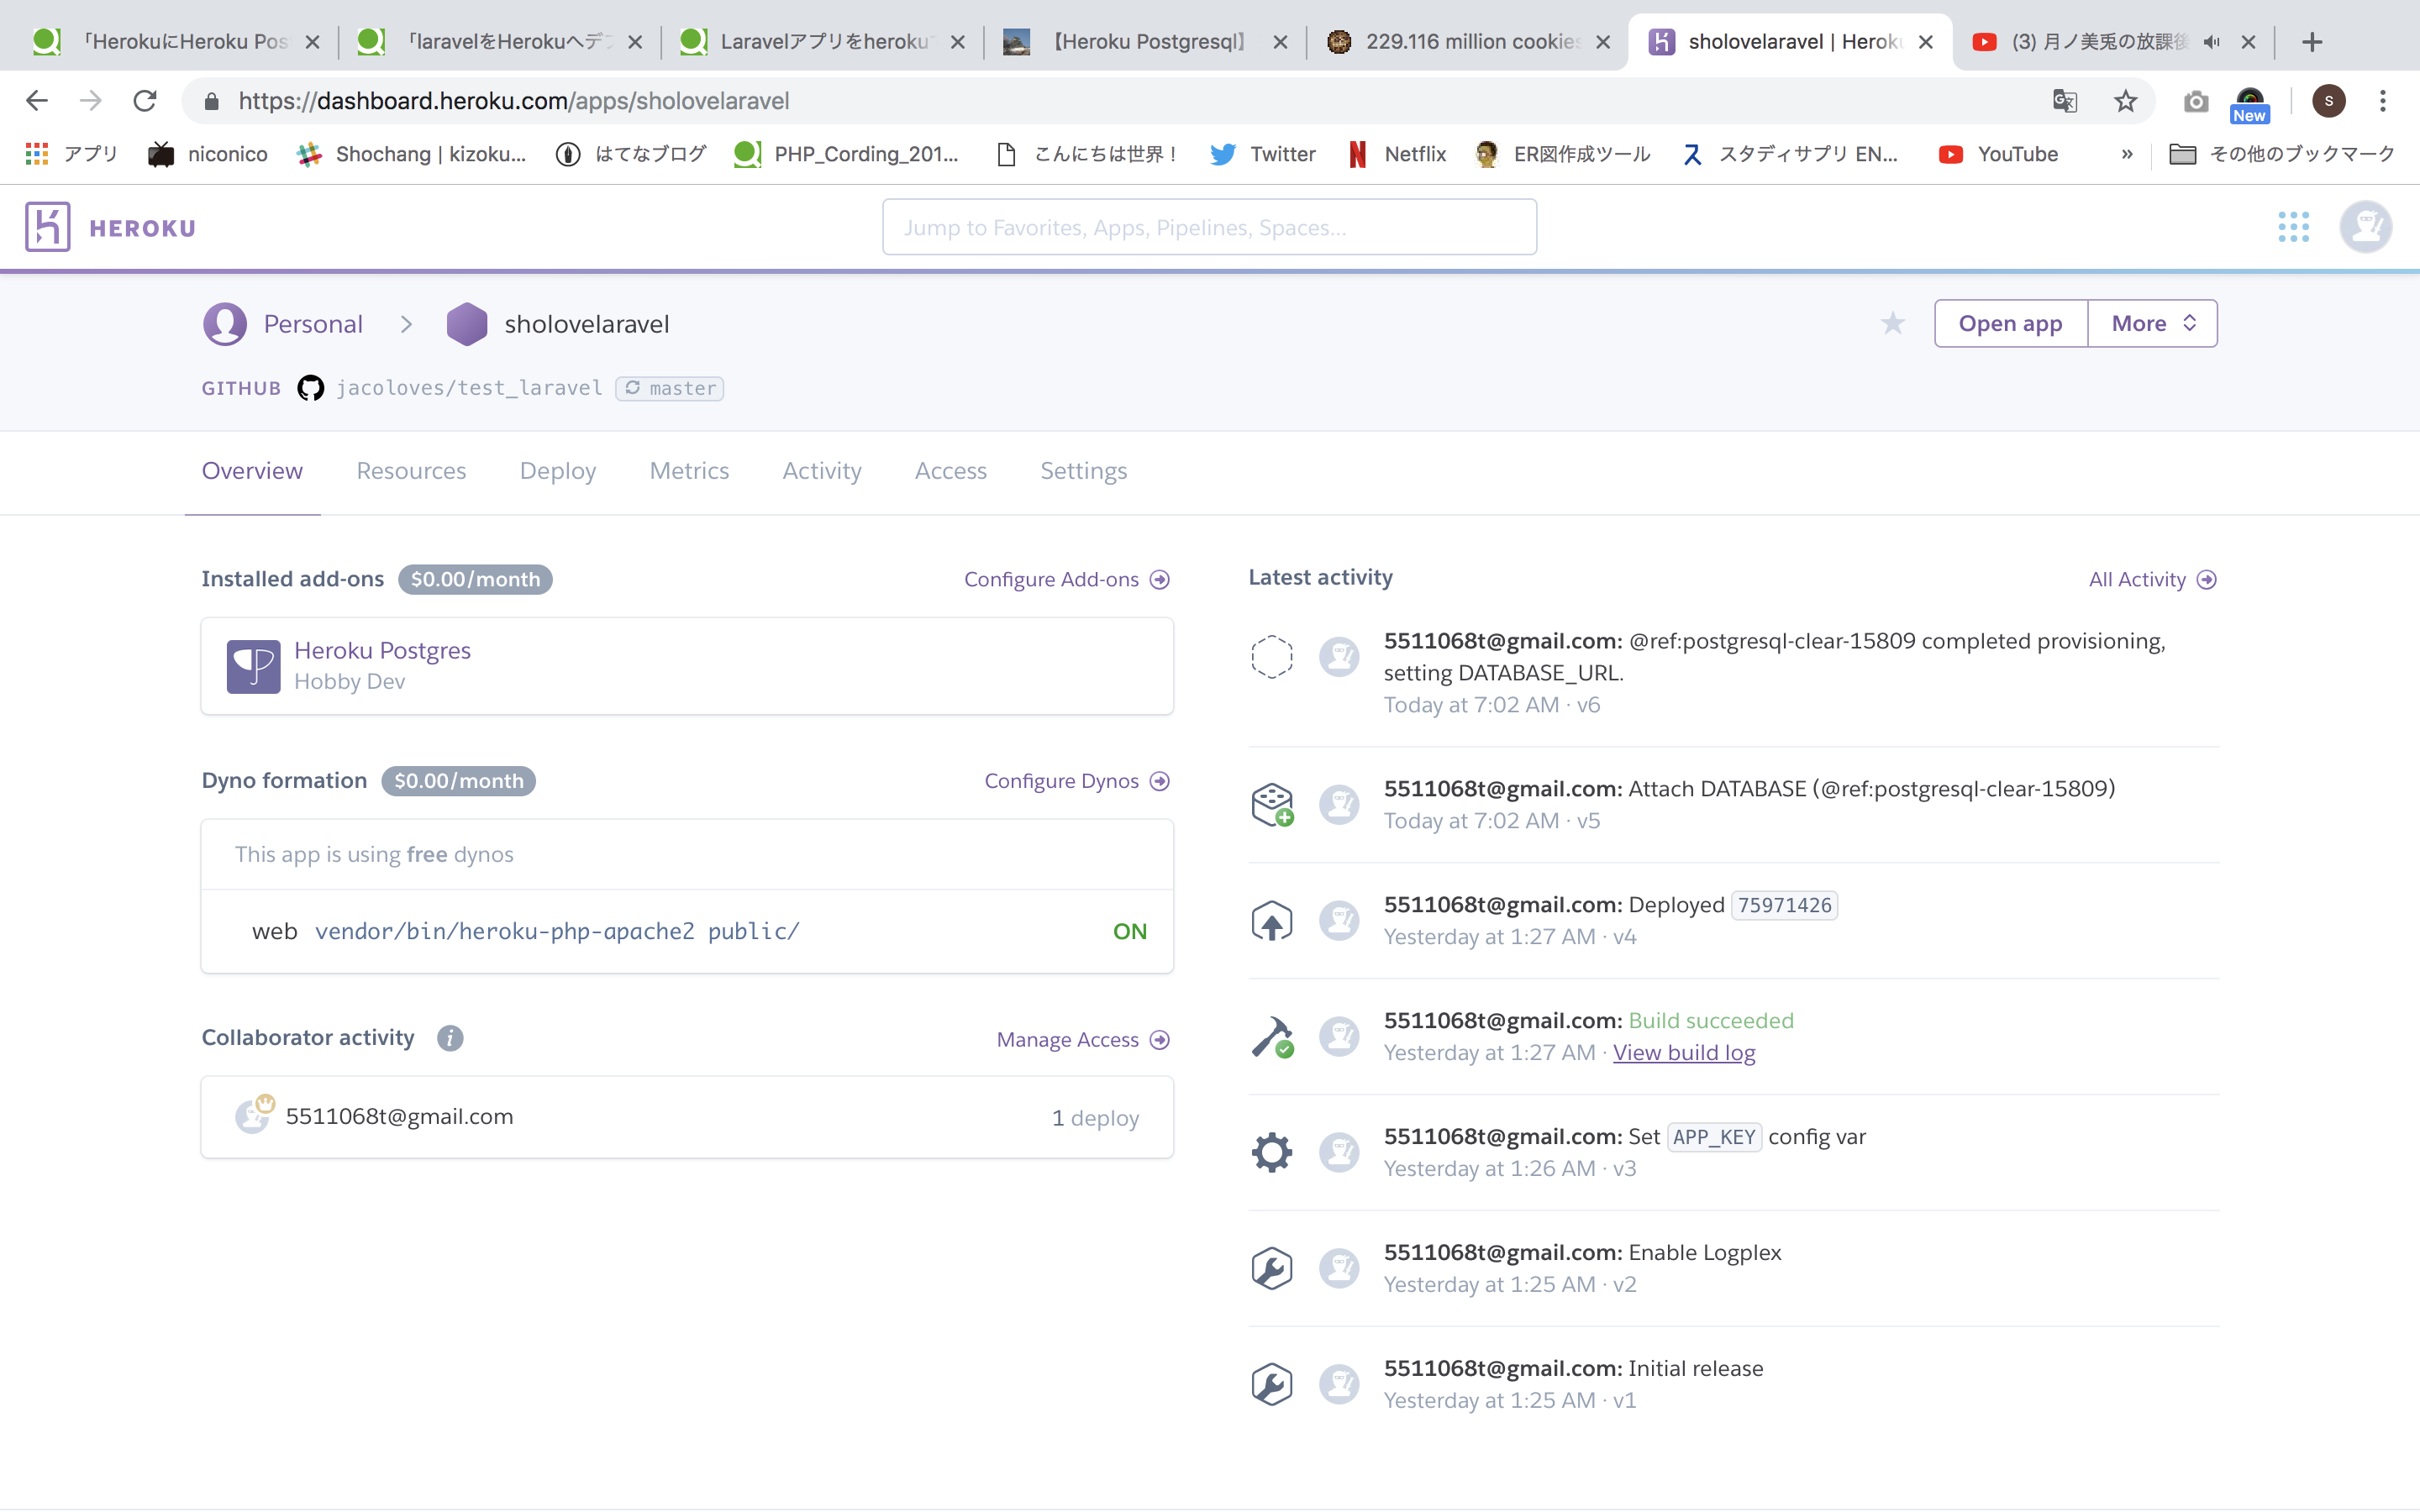
herokuへデプロイする。ちなみにgithubに連携するとgithubへpushすると同時にherokuにもpushするのでとても便利。
heroku run 'php artisan migrate'
Running php artisan migrate on ⬢ sholovelaravel... up, run.6720 (Free)
**************************************
*     Application In Production!     *
**************************************

 Do you really wish to run this command? (yes/no) [no]:
 > y

Migration table created successfully.
Migrating: 2014_10_12_000000_create_users_table
Migrated:  2014_10_12_000000_create_users_table
Migrating: 2014_10_12_100000_create_password_resets_table
Migrated:  2014_10_12_100000_create_password_resets_table
Migrating: 2018_10_10_223310_create_boards_table
Migrated:  2018_10_10_223310_create_boards_table
テーブルできたー!!
モデルの作成
php artisan make:model Board
コマンドプロンプトかターミナルで実行してBoardモデルを作成する。(Board.phpの名前で作成される)
モデル内は下記の内容に書き換える。
<?php

namespace App;

use Illuminate\Database\Eloquent\Model;

class Board extends Model
{
    protected $guarded = array('id');

    public static $rules = array(
        'person_id' => 'required',
        'title' => 'required',
        'message' => 'required'
    );

    public function getData()
    {
        return $this->id . ': ' . $this->title;
    }
}
BoardControllerの作成
php artisan make:controller BoardController
コマンドプロンプトかターミナルで実行してBoardコントローラーを作成する。(BoardController.phpの名前で作成される)
コントローラー内は下記の内容に書き換える。
<?php

namespace App\Http\Controllers;

use App\Board;
use Illuminate\Http\Request;

class BoardController extends Controller
{
    public function index(Request $request)
    {
        $item = Board::all();
        return view('board.index', ['items' => $items]);
    }

    public function add(Request $request)
    {
        return view('board.add');
    }

    public function create(Request $request)
    {
        $this->validate($request, Board::$rules);
        $board = new Board;
        $form = $request->all();
        unset($form['_token']);
        $board->fill($form)->save();
        return redirect('/board');
    }
}
テンプレートの作成
./resources/views/board内に「index.blade.php」を作成する。(boardディレクトリは各自作成する。)
@extends('layouts.helloapp')

@section('title', 'Board.index')

@section('menubar')
    @parent
    ボード・ページ
@endsection

@section('content')
    <table>
        <tr><th>Data</th></tr>
        @foreach ($items as $item)
            <tr>
                <td>{{$item->getData()}}</td>
            </tr>
        @endforeach
    </table>
@endsection

@section('footer')
copyright 2017 shochang
@endsection
ルート情報の記述
routesディレクトリ直下のweb.phpを更新する。
Route::get('board', 'BoardController@index');を追加する。
<?php

Route::get('board', 'BoardController@index');

Route::get('/', function () {
    return view('welcome');
});
これで「heroku open」でboardに接続すると。。。
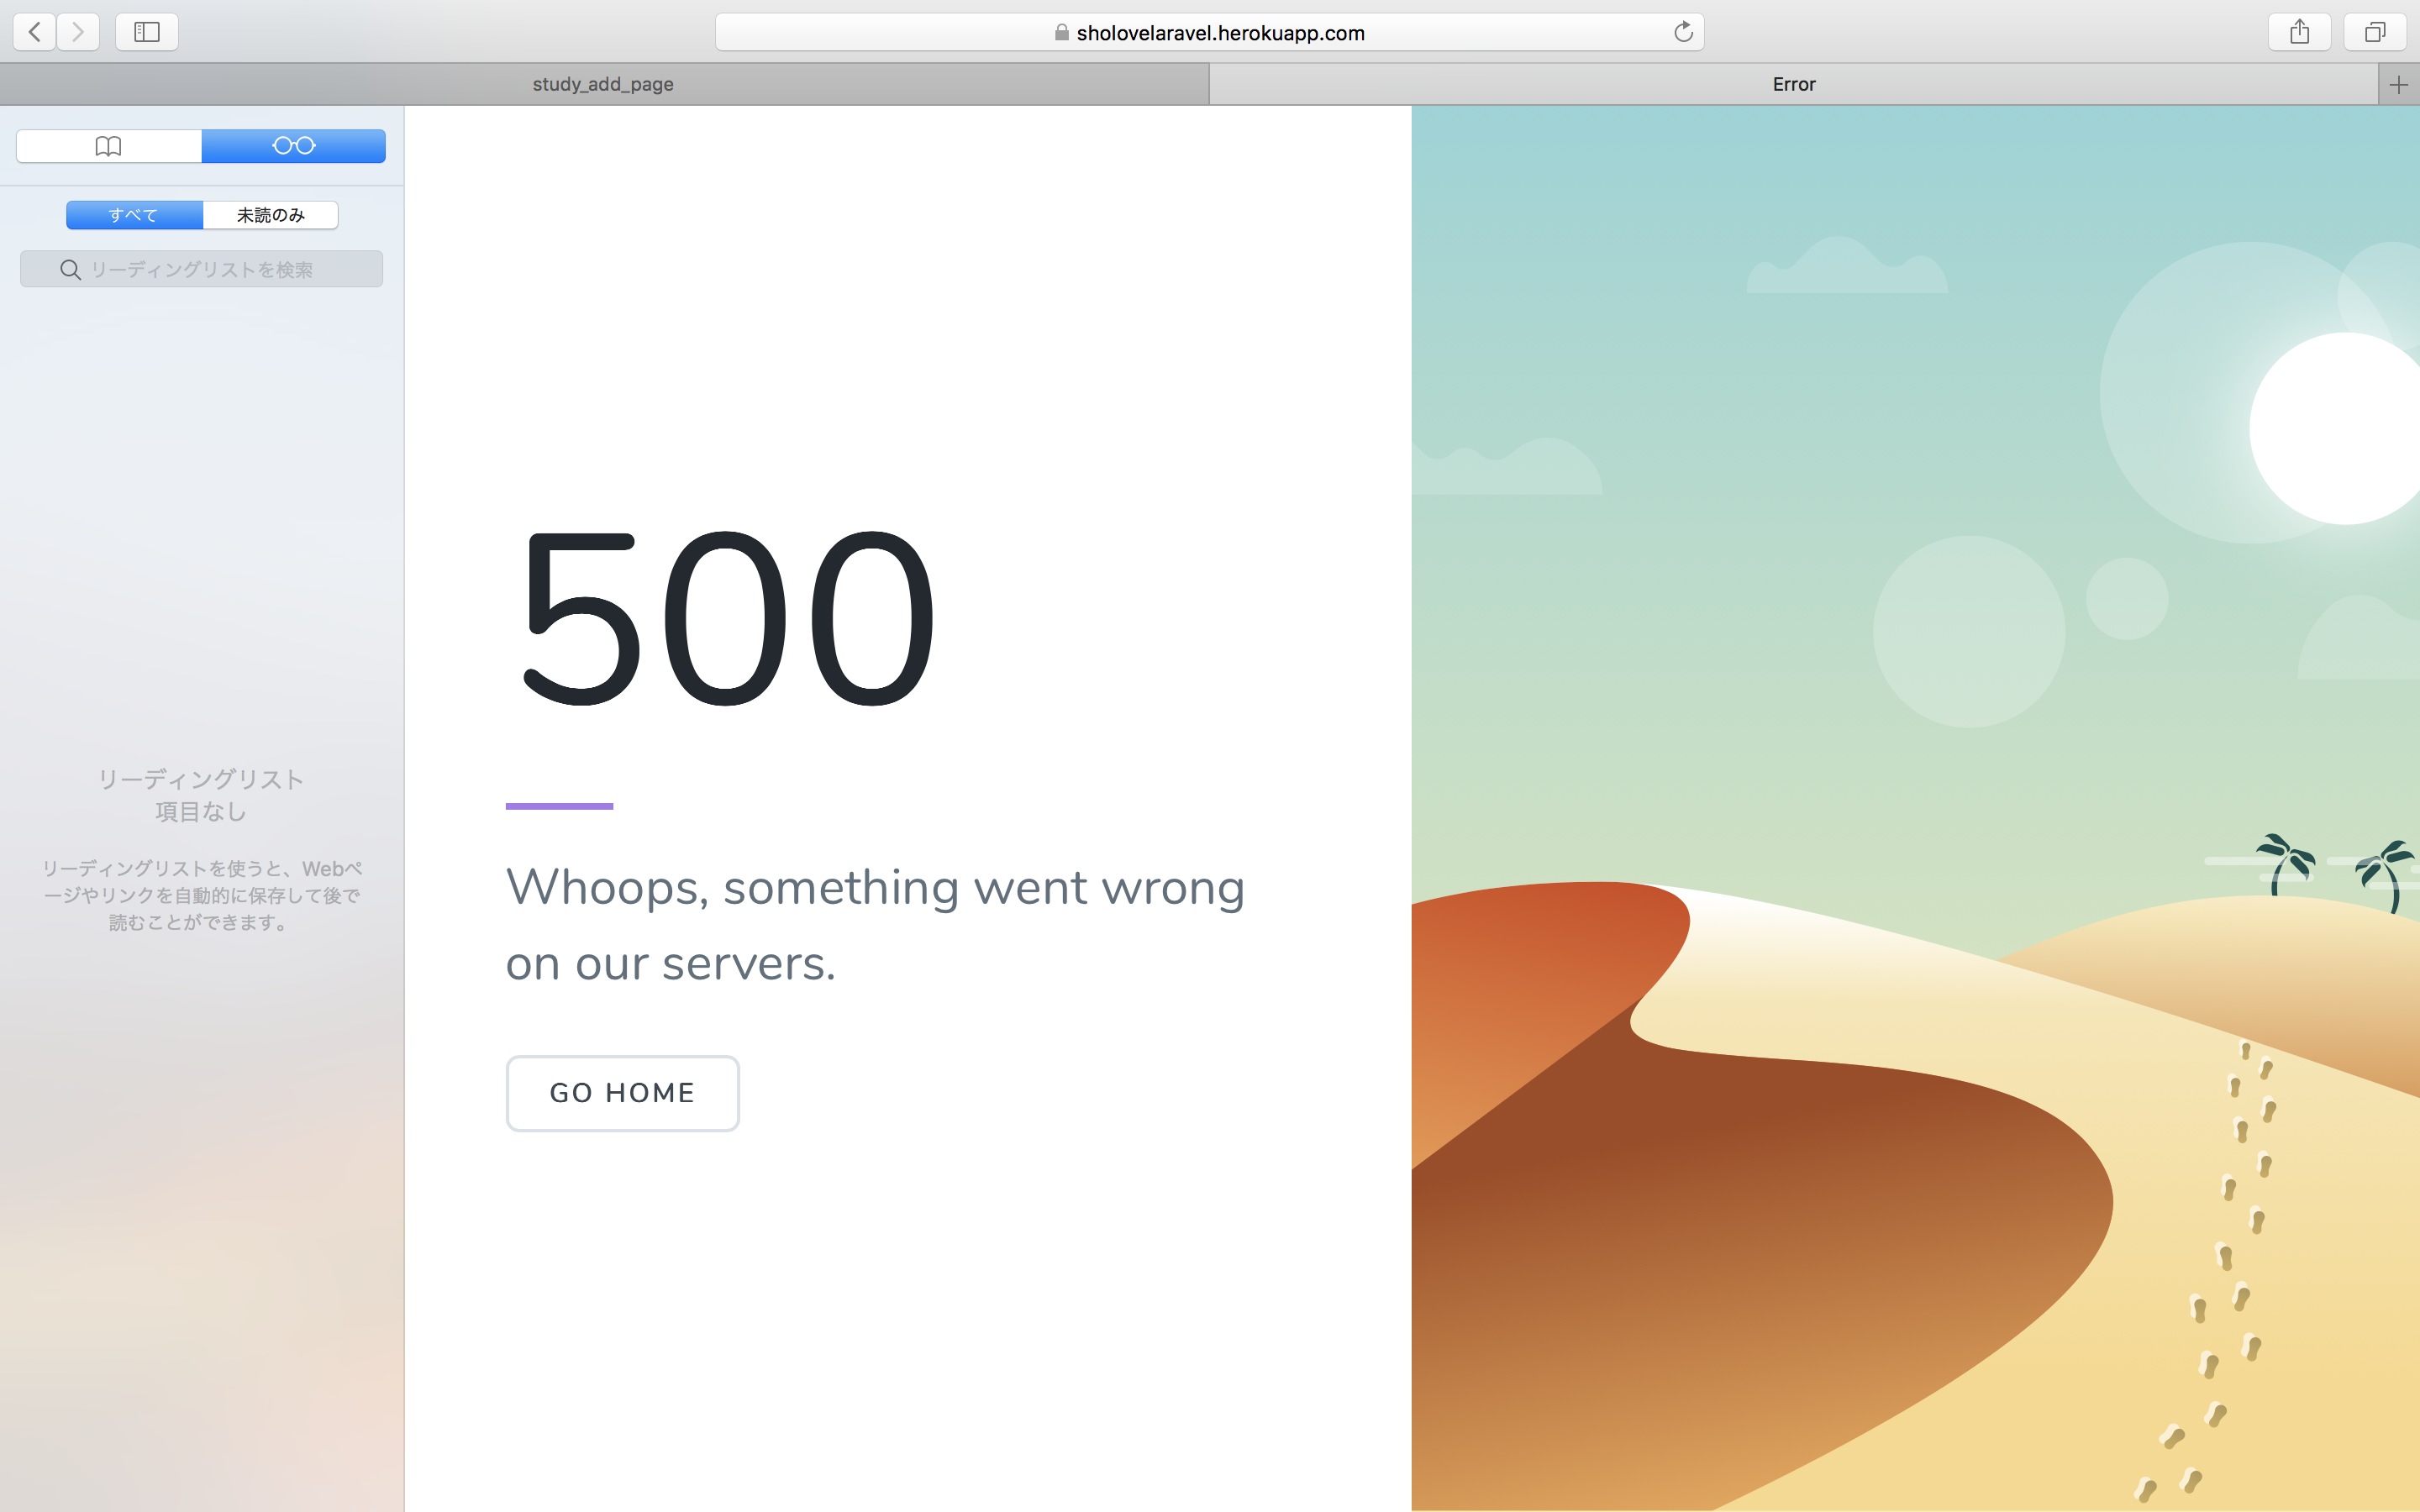
あれ出ない。。。
とっとりあえず長くなってきたので今日はここまで。次回はこの続きから