paginateメソッドの利用
ページ数が多い場合、ページ番号のリンクも表示できるようにするためHelloControllerのindexメソッドを修正する。
public function index(Request $request)
{
    $sort = $request->sort;
    $items = Person::orderBy($sort, 'asc')->paginate(5);
    $param = ['items' => $items, 'sort' => $sort];
    return view('hello.index', $param);
}
画像のようにページ番号のリンクが表示される。

ユーザー認証
データベースにAuthが利用するためのテーブルを作成する。
php artisan make:auth
Auth利用のためのマイグレーションファイルが作成されたらそのままマイグレーションを実行する。
```:command
php artisan migrate
実行してNothing to migrate.が出てきても、概にマイグレーションされているのでこのまま先に進む。
/database/migration内にxxxx_create_user_table.phpが作成されていればOK。
(初回のmigrationの際に何気なく作成してる人も多いかと)

HelloControllerクラスのindexメソッドに追記をしてログイン状態をチェックするようにする。

```php5:HelloController.php
use Illuminate\Support\Facades\Auth;

public function index(Request $request)
{
    $user = Auth::user();
    $sort = $request->sort;
    $items = Person::orderBy($sort, 'asc')->simplePaginate(5);
    $param = ['items' => $items, 'sort' => $sort, 'user' => $user];
    return view('hello.index', $param);
}
続いて/views/helloないのindex.blade.phpを追記する。
@section('content')
    @if (Auth::check())
        <p>USER: {{$user->name . ' (' . $user->email . ')'}}</p>
    @else
        <p>※※ログインしていません。(<a href="/login">ログイン</a> | <a href="/register">登録</a>)</p>
    @endif
    <table>
        <tr>
            <th><a href="/hello?sort=name">name</a></th>
            <th><a href="/hello?sort=mail">mail</a></th>
            <th><a href="/hello?sort=age">age</a></th>
        </tr>
    @foreach ($items as $item)
        <tr>
            <td>{{$item->name}}</td>
            <td>{{$item->mail}}</td>
            <td>{{$item->age}}</td>
        </tr>
    @endforeach
    </table>
    {{ $items->appends(['sort' => $sort])->links()}}
@endsection
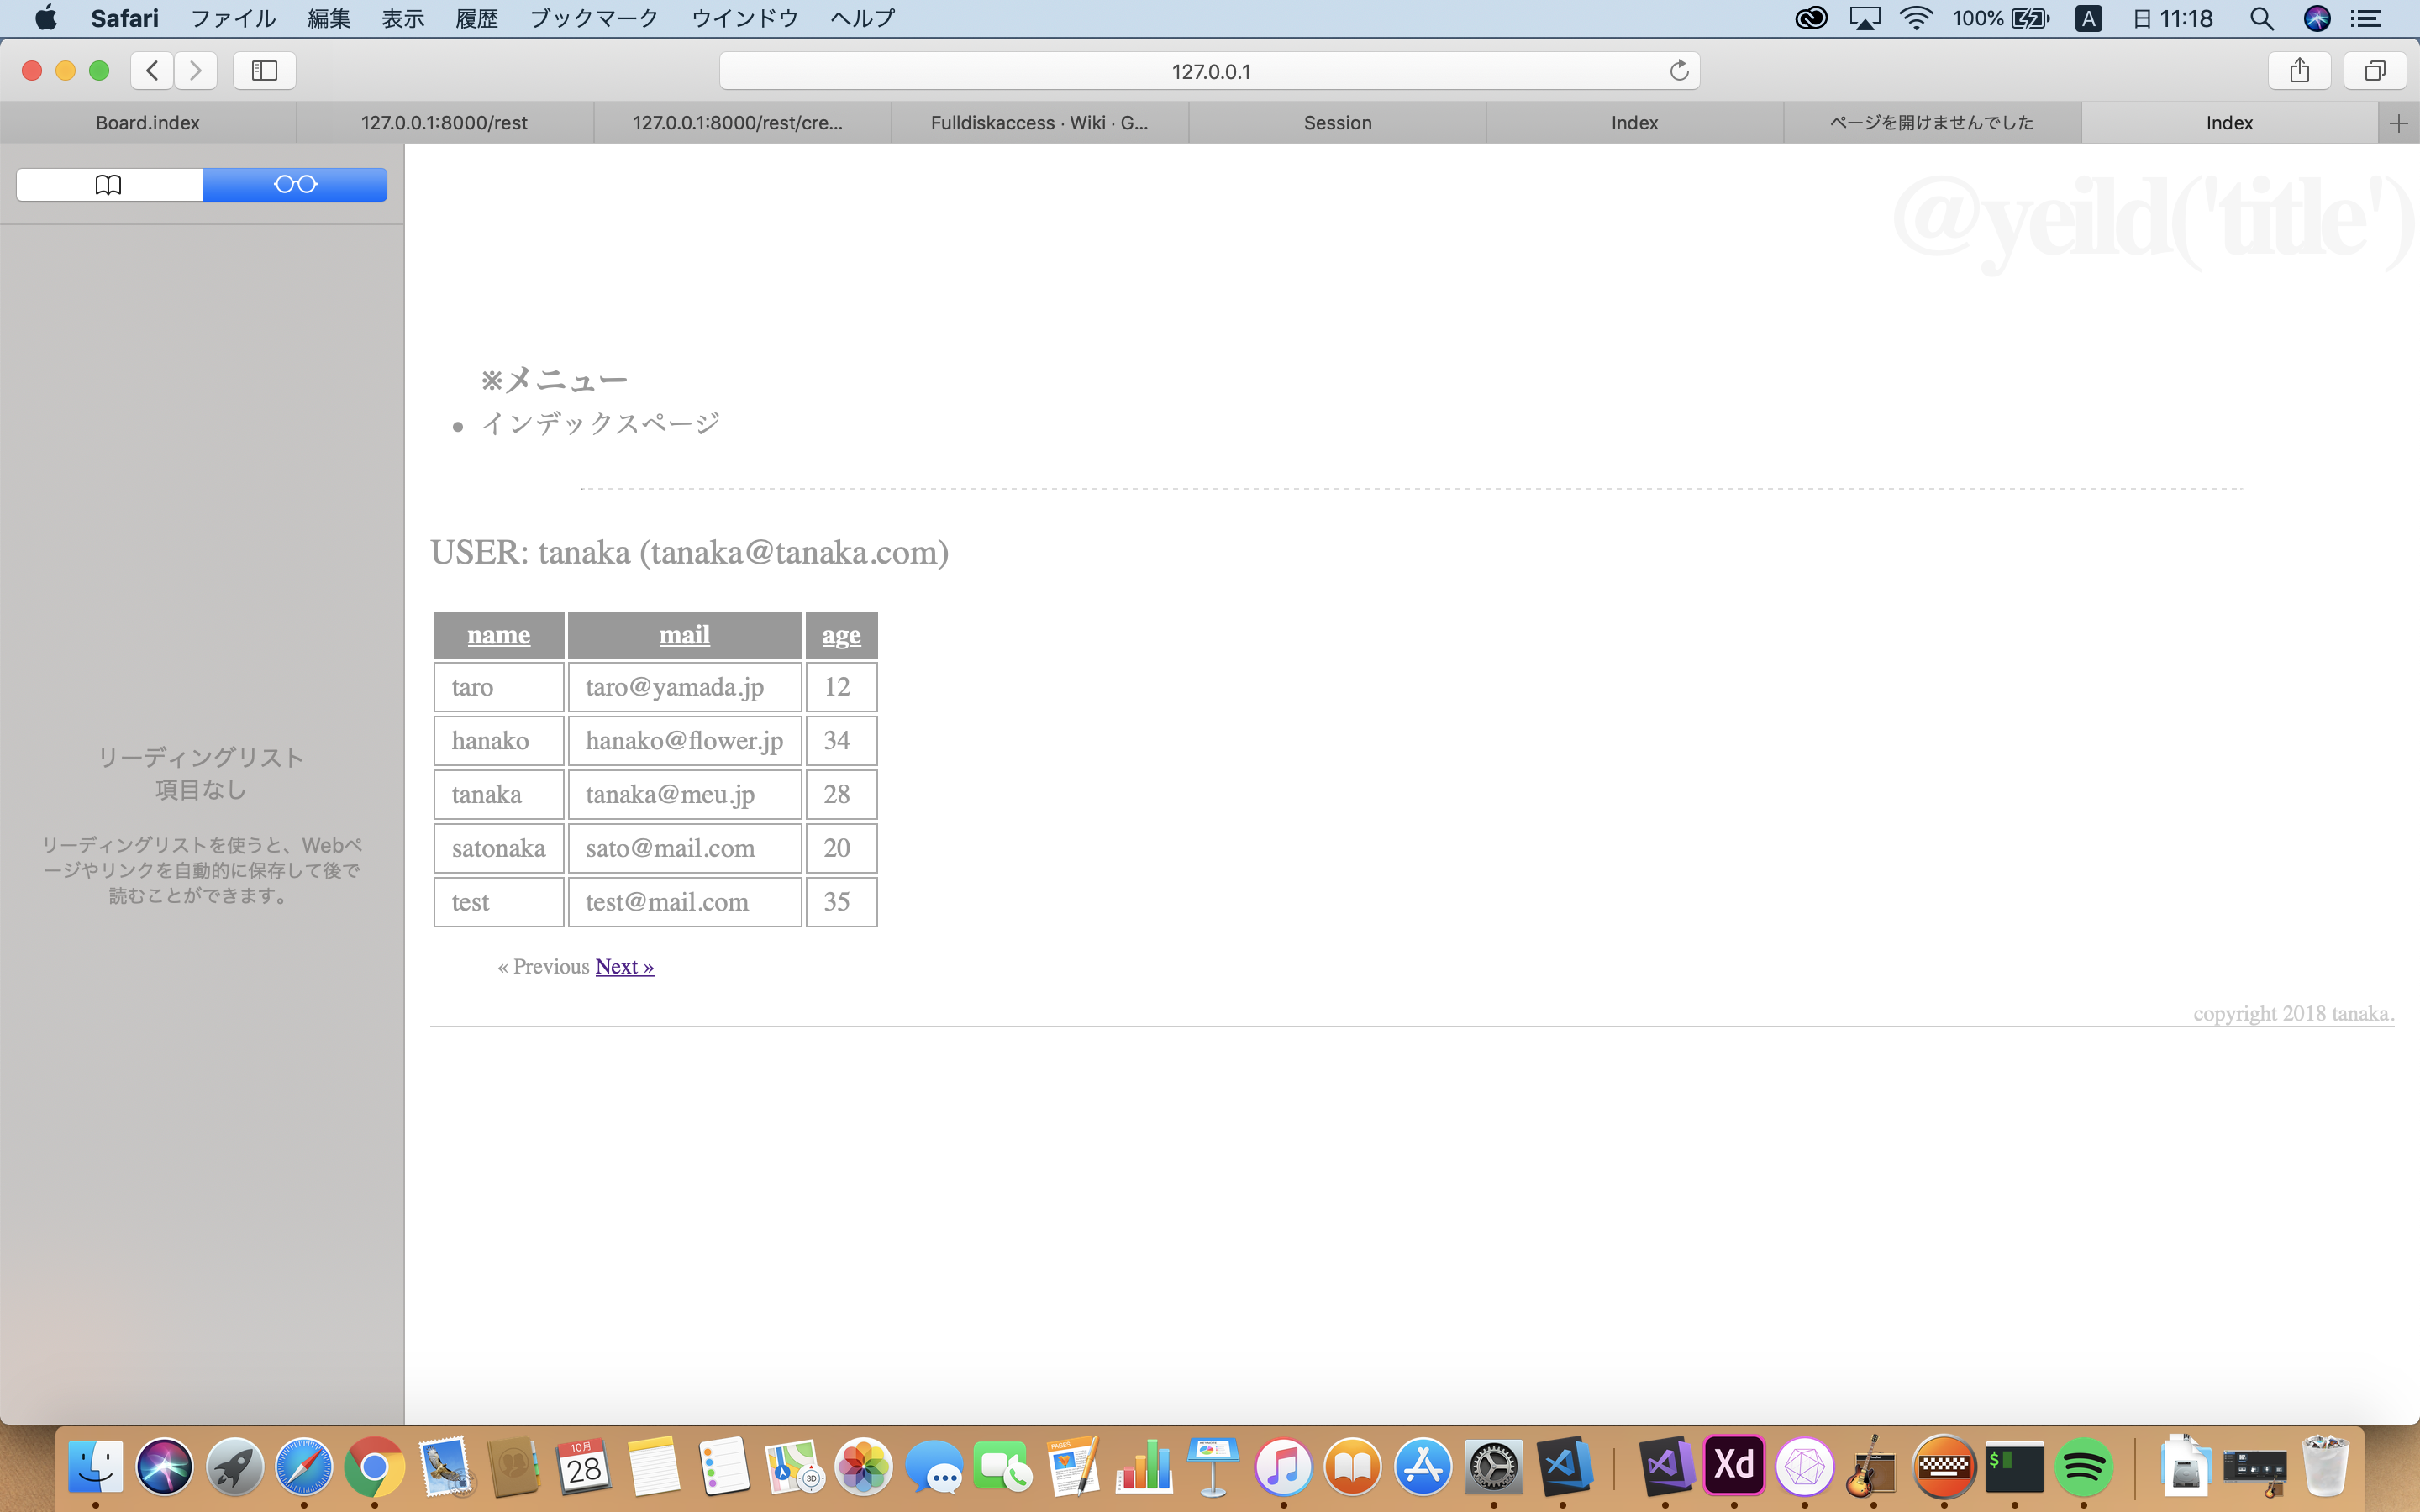
/helloにアクセスして下記画像のように表示されればOK!

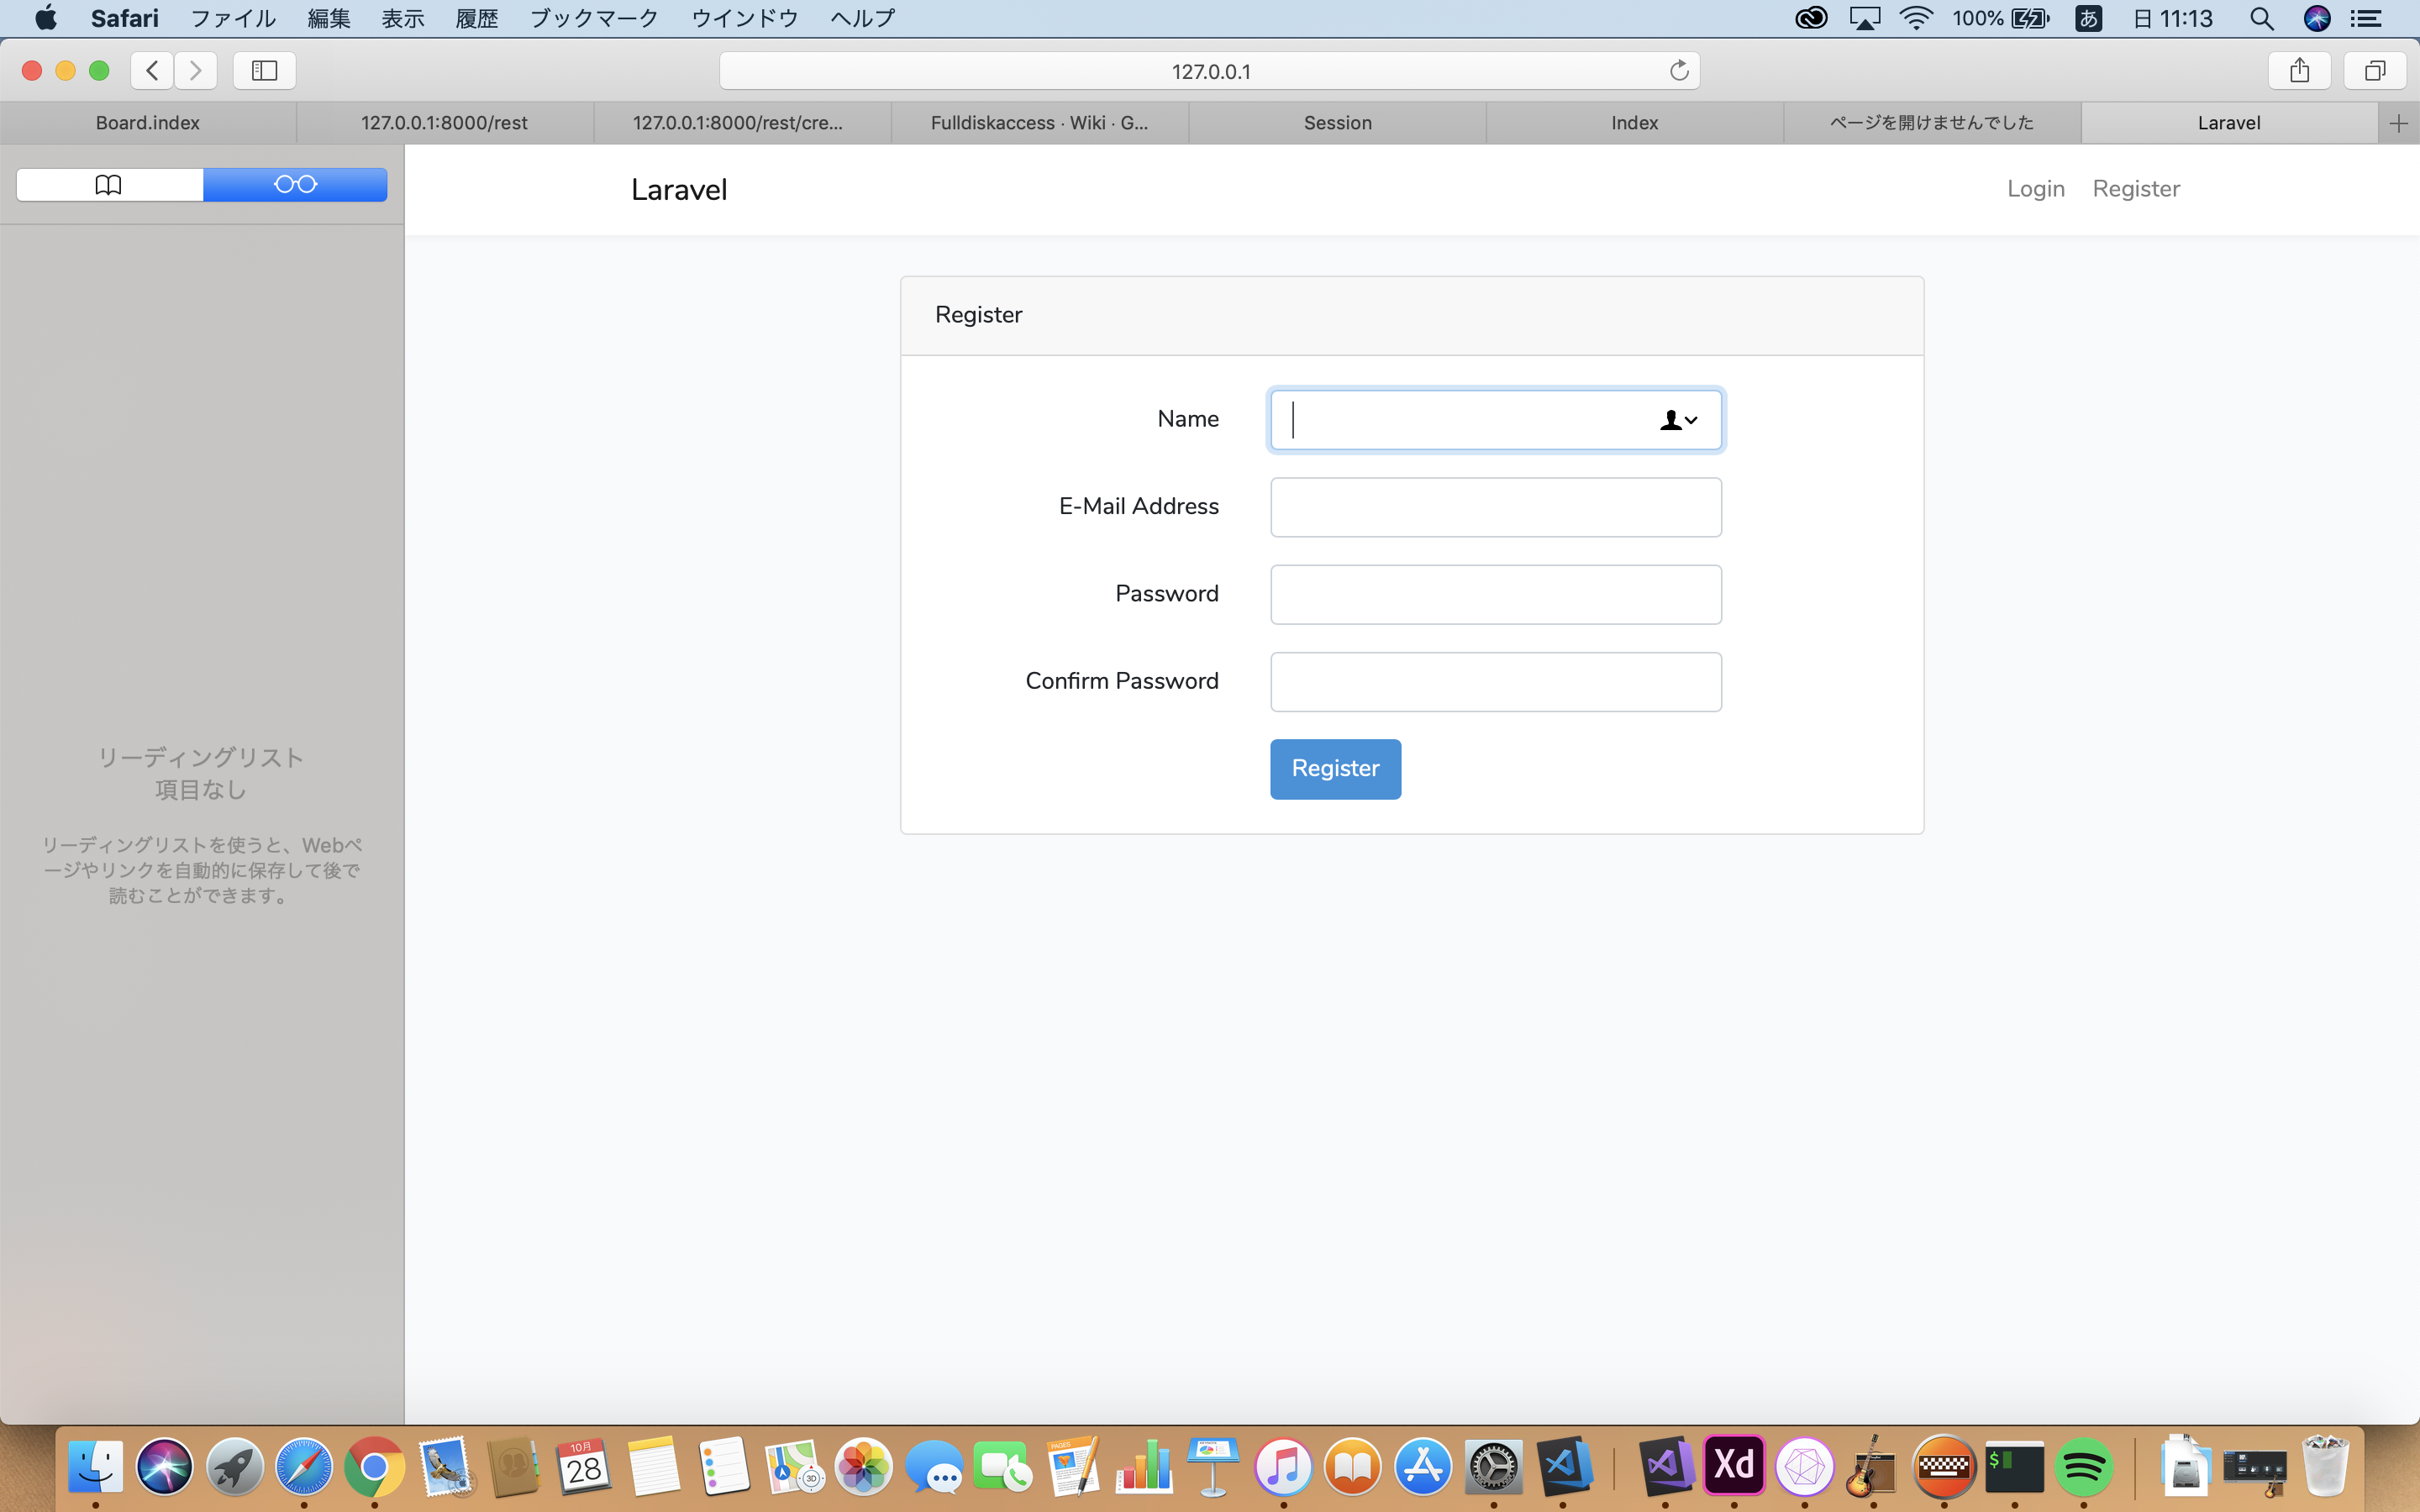
「登録」のリンク先を押すと下記画像のように表示される。
一度ログアウトして再度/helloにアクセスし、「ログイン」をクリックすると、
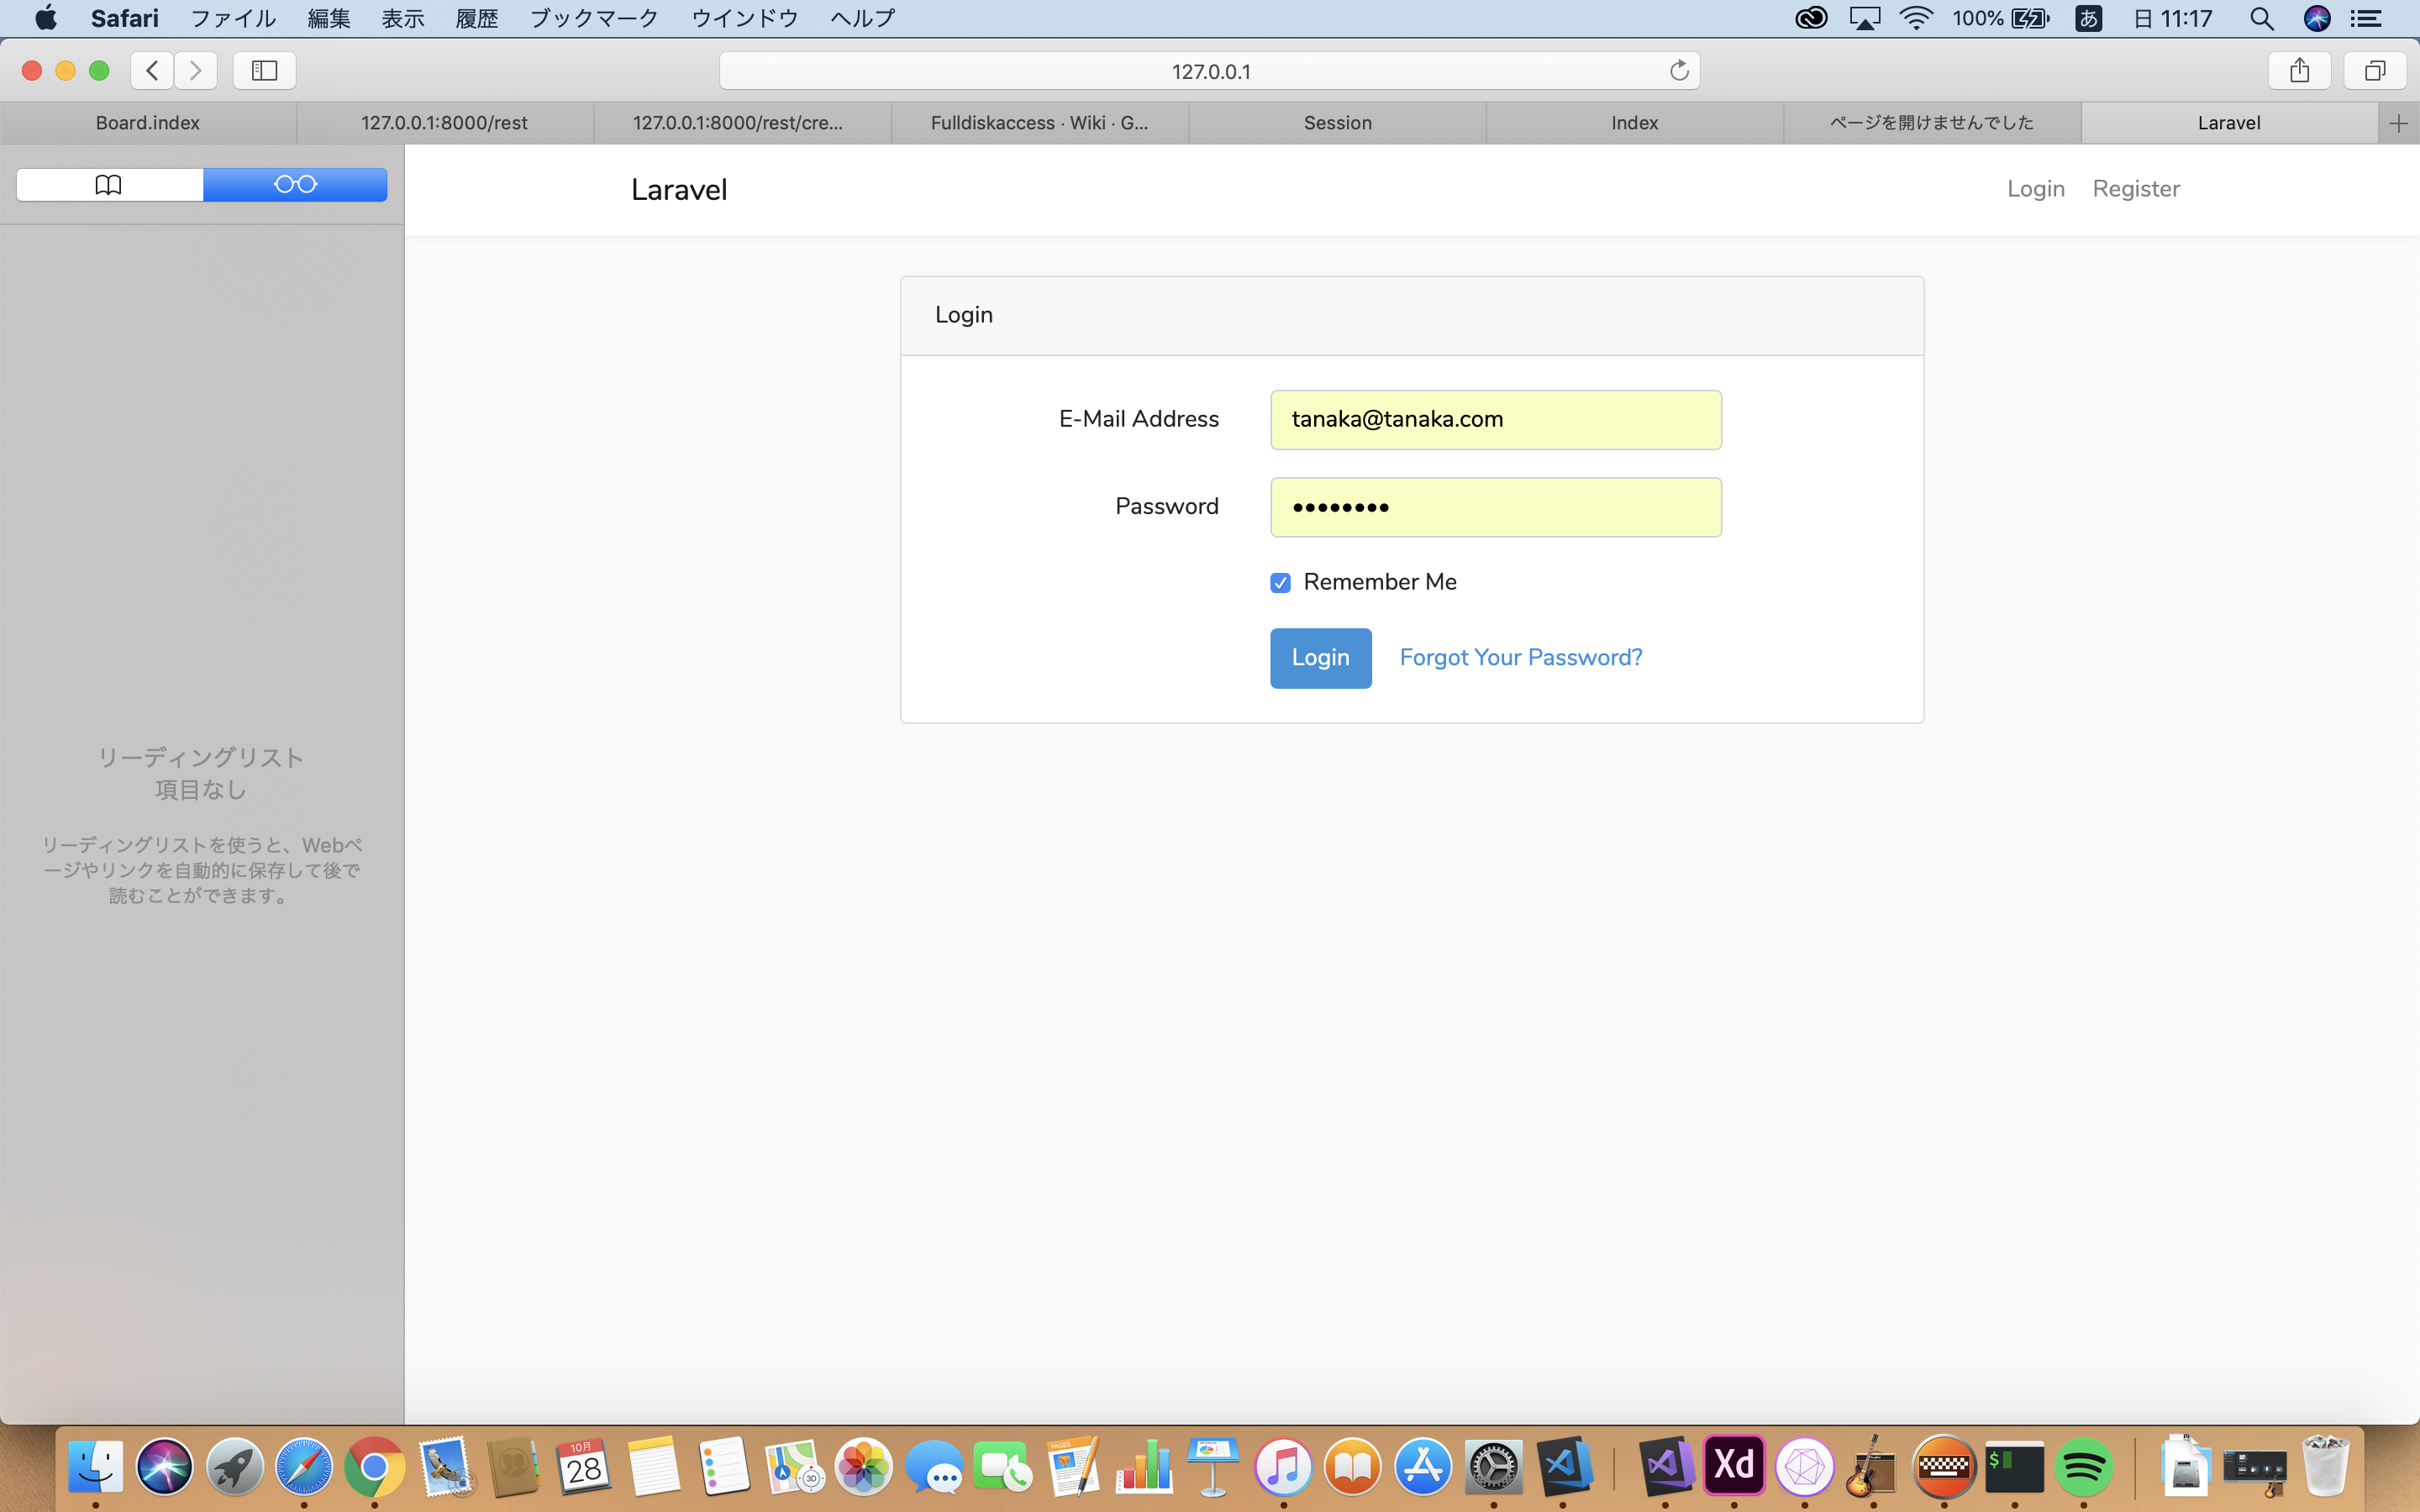
/hello画面にログインユーザーの名前とメールアドレスが表示される。
indexページの保護
web.phpのRoute::get('hello', 'HelloController@index');の記述を修正し、/helloへのアクションはログイン必須とする。
Route::get('hello', 'HelloController@index')->middleware('auth');
独自にログインページを作ってみる。
/views/hello内にauth.blade.phpを作成する。
@extends('layouts.helloapp')

@section('title', 'ユーザー認証')

@section('menubar')
    @parent
    ユーザー認証ページ
@endsection

@section('content')
    <p>{{$message}}</p>
    <table>
        <form action="/hello/auth" method="post">
            {{ csrf_field() }}
            <tr><th>mial: </th><td><input type="text" name="email"></td></tr>
            <tr><th>pass: </th><td><input type="password" name="password"></td></tr>
            <tr><th></th><td><input type="submit" value="send"></td></tr>
        </form>
    </table>
@endsection

@section('footer')
copyright 2018 tanaka.
@endsection
HelloControllerにアクションメソッドを追加する。
public function getAuth(Request $request)
{
    $param = ['message' => 'ログインしてください。'];
    return view('hello.auth', $param);
}

public function postAuth(Request $request)
{
    $email = $request->email;
    $password = $request->password;
    if (Auth::attempt(['email' => $email, 'password' => $password])) {
        $msg = 'ログインしました。(' . Auth::user()->name . ')';
    } else {
        $msg = 'ログインに失敗しました。';
    }

    return view('hello.auth', ['message' => $msg]);
}
web.phpにルート情報を追記する。
Route::get('hello/auth', 'HelloController@getAuth');
Route::post('hello/auth', 'HelloController@postAuth');
/hello/authにログインすると下記画像が表示される。
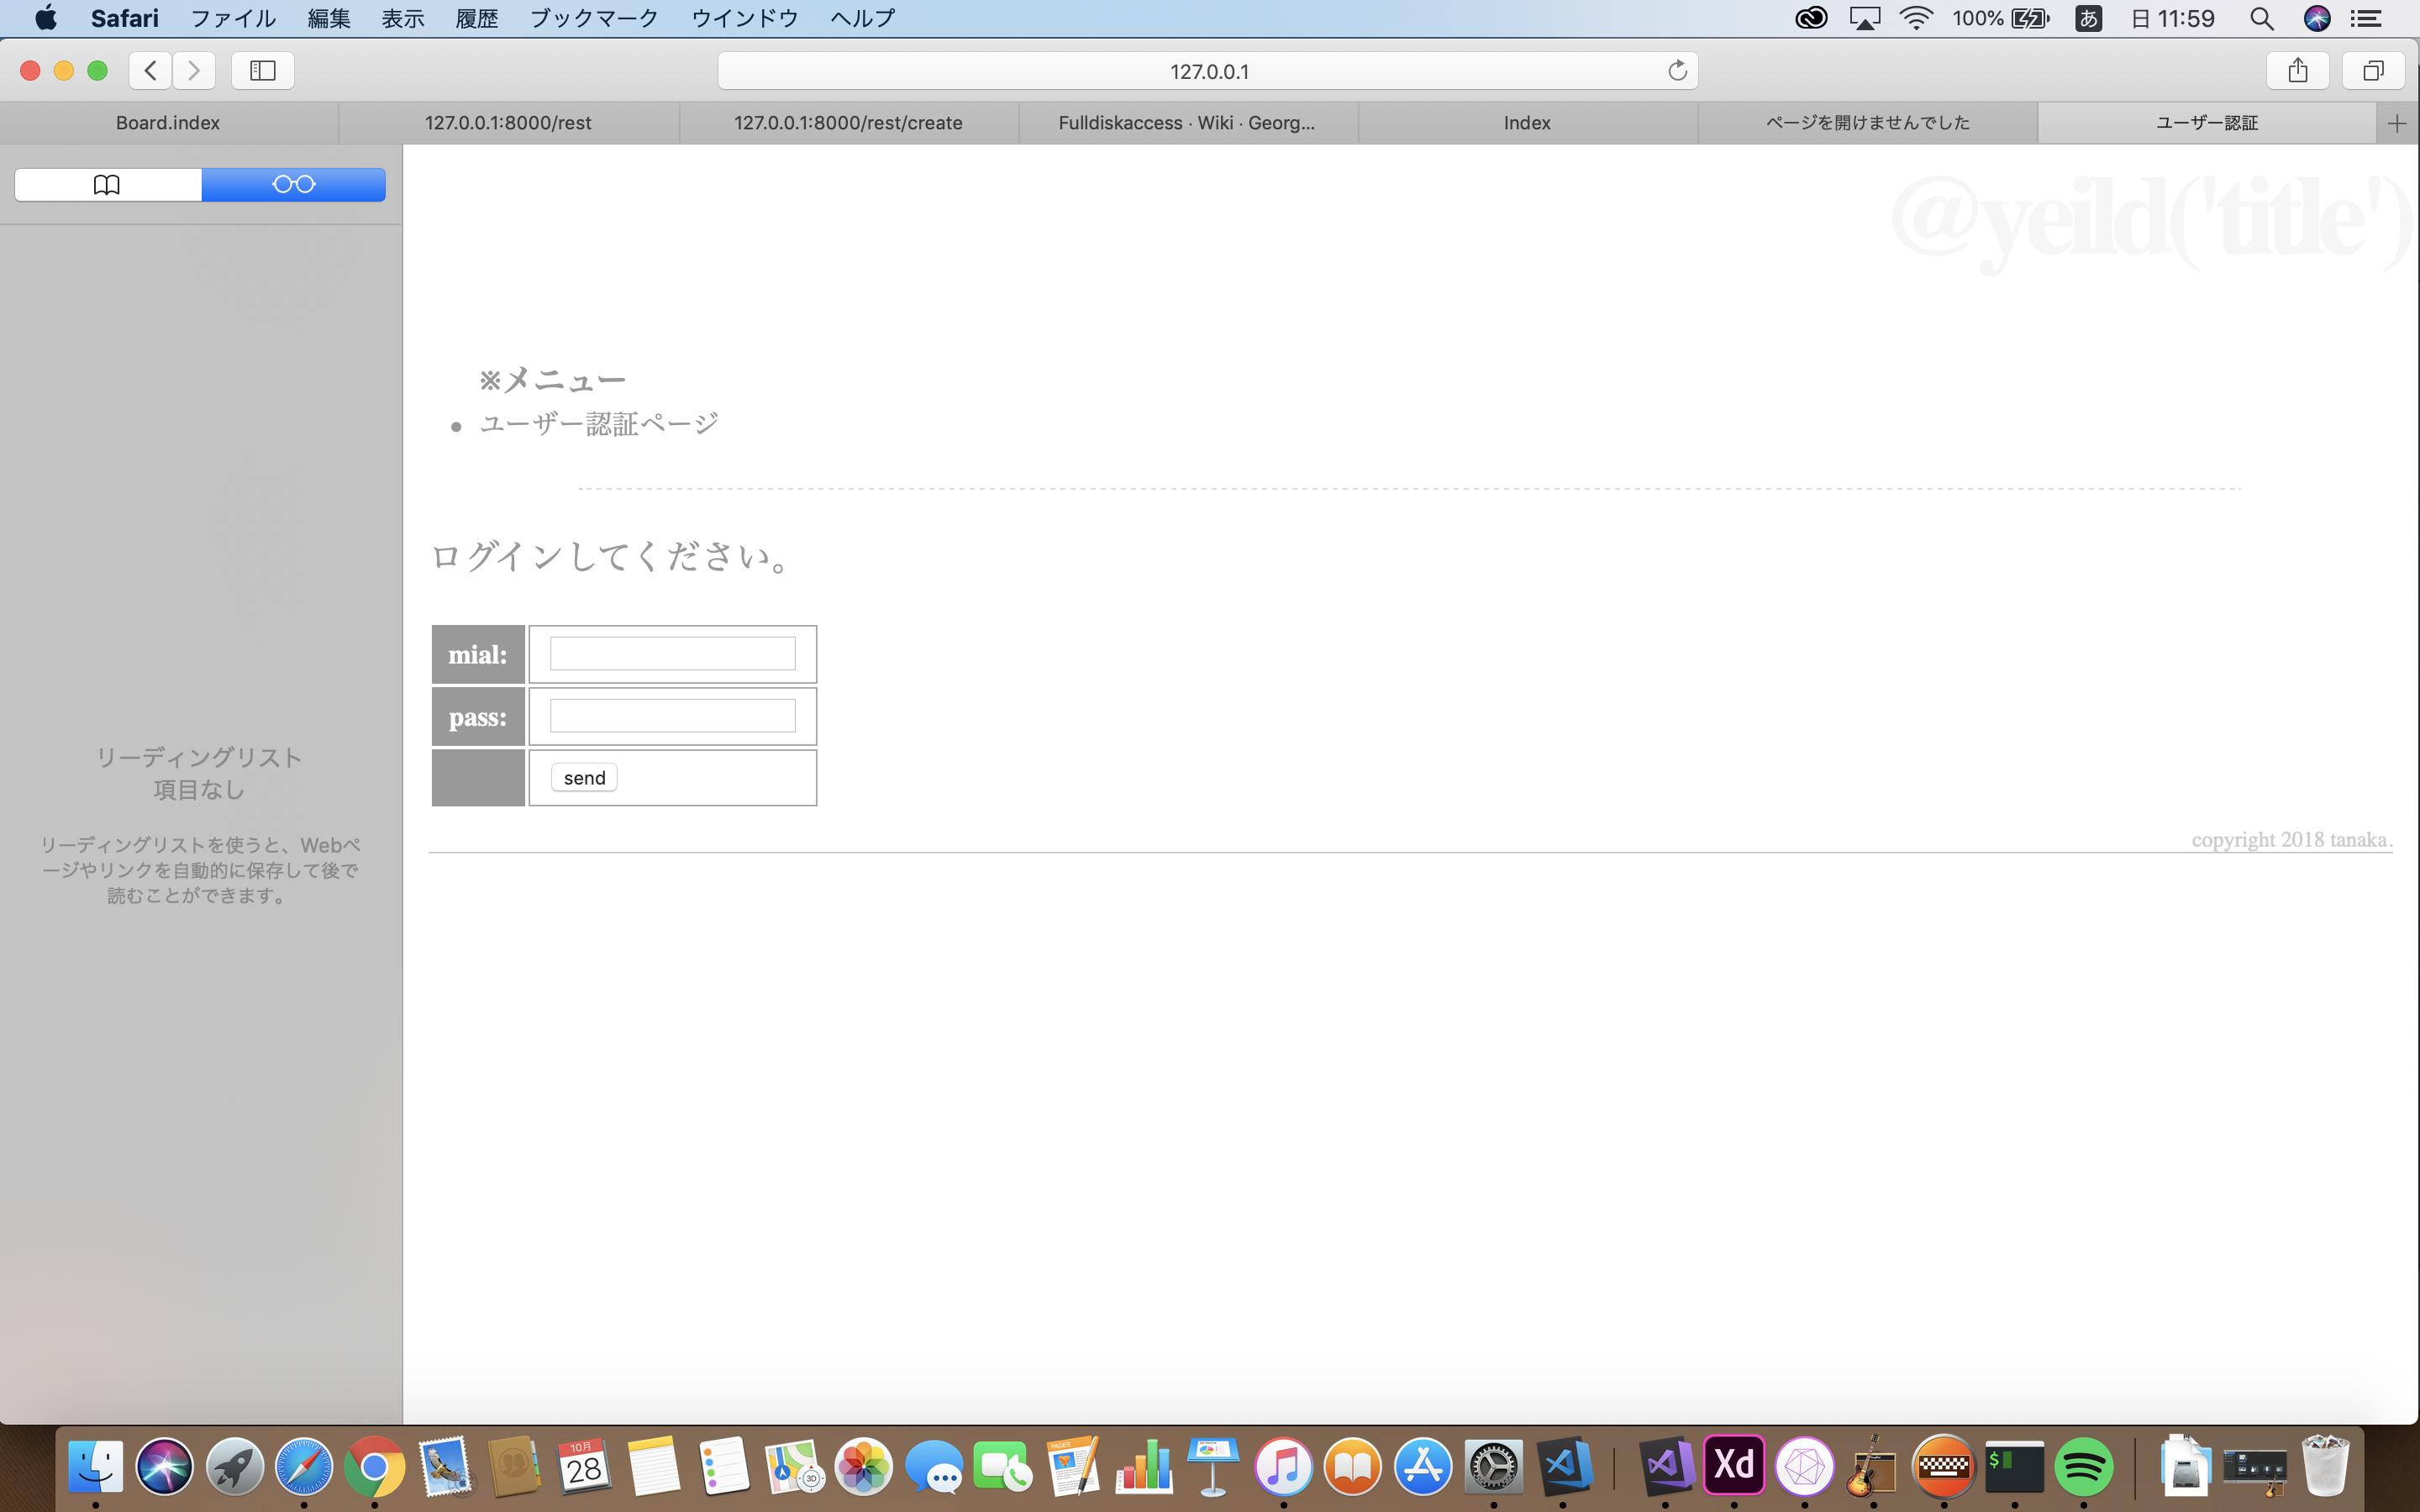
正しいメールアドレスとパスワードを入力すると「ログインしました。」と出力される。

ユニットテスト
Lravelには、PHP用のユニットテストプログラム「PHPUnit」が組み込まれていて、これを利用してユニットテストができる。
ユニットテストは「tests」フォルダの中にまとめられている。
テスト用のデータベースを作成する。
touch database/database_test.sqlite
プロジェクトフォルダ直下に「phpunit.xml」というファイルがあるので、そのファイルの中の<php>というタグの中に、
以下のタグを追加する。
<env name="DB_DATABASE" value="database\database_test.sqlite"/>
続いてダミーレコードを用意する。
/database/factories/UserFactory.phpに下記処理追加し、Personモデルを利用できるようにする。
$factory->define(App\Person::class, function (Faker $faker) {
    return [
        'name' => $faker->name,
        'mail' => $faker->safeEmail,
        'age' => random_int(1, 99),
    ];
});
ユニットテストのスクリプトを作成するため、下記コマンドを打鍵する。
php artisan make:test HelloTest
/tests/Feature内に作成されたHelloTest.phpを修正する。
<?php

namespace Tests\Feature;

use Tests\TestCase;
use Illuminate\Foundation\Testing\WithoutMiddleware;
use Illuminate\Foundation\Testing\DatabaseMigrations;
use Illuminate\Foundation\Testing\DatabaseTransactions;

class HelloTest extends TestCase
{
    /**
     * A basic test example.
     *
     * @return void
     */
    public function testHello()
    {
        $this->assertTrue(true);

        $arr = [];
        $this->assertEmpty($arr);

        $msg = "Hello";
        $this->assertEquals('Hello', $msg);

        $n = random_int(0, 100);
        $this->assertLessThan(100, $n);
    }
}
phpunitを実行する。
vendor/bin/phpunit
これで全てのチェックを正しくクリアできればOK。
私の場合はエラーがあるのでそこを修正しなくていけない。
指定アドレスにアクセスする
HelloTest.phpを以下のように修正する。
<?php

namespace Tests\Feature;

use Tests\TestCase;
use Illuminate\Foundation\Testing\WithoutMiddleware;
use Illuminate\Foundation\Testing\DatabaseMigrations;
use Illuminate\Foundation\Testing\DatabaseTransactions;
use App\User;

class HelloTest extends TestCase
{
    /**
     * A basic test example.
     *
     * @return void
     */

    use DatabaseMigrations;

    public function testHello()
    {
        $this->assertTrue(true);

        $response = $this->get('/');
        $response->assertStatus(200);

        $user = factory(User::class)->create();
        $response = $this->actingAs($user)->get('/hello');
        $response->assertStatus(200);

        $response = $this->get('/no_route');
        $response->assertStatus(404);
    }
}
再びphpunitコマンドを実行しテストを行いエラーなくテストを通過すればOK!
(僕はテストが通らないけど。。。)
データベースをテストする
HelloTest.phpを修正する。
<?php

namespace Tests\Feature;

use Tests\TestCase;
use Illuminate\Foundation\Testing\WithoutMiddleware;
use Illuminate\Foundation\Testing\DatabaseMigrations;
use Illuminate\Foundation\Testing\DatabaseTransactions;
use App\User;
use App\Person;

class HelloTest extends TestCase
{
    /**
     * A basic test example.
     *
     * @return void
     */

    use DatabaseMigrations;

    public function testHello()
    {
        factory(User::class)->create([
            'name' => 'AAA',
            'email' => 'BBB@CCC.COM',
            'password' => 'ABCABC',
        ]);
        factory(User::class, 10)->create();

        $this->assertDatabaseHas('users', [
            'name' => 'AAA',
            'email' => 'BBB@CCC.COM',
            'password' => 'ABCABC',
        ]);

        factory(Person::class)->create([
            'name' => 'XXX',
            'mail' => 'YYY@ZZZ.COM',
            'age' => 123,
        ]);
        factory(Person::class, 10)->create();

        $this->assertDatabaseHas('people', [
            'name' => 'XXX',
            'mail' => 'YYY@ZZZ.COM',
            'age' => 123,
        ]);
    }
}
再びphpunitを実行する。
問題なくテストを通過できればOK。
(僕のは。。。)
これで一通りLaravelの基礎部分は学習完了。自作アプリを作ろう。