Sign In with Appleとは?
今年のWWDCで発表された
Appleアカウントでアプリの
サインアップやサインインができる機能です。
対応必須
様々なニュースで下記のようなことが書かれており
https://japan.cnet.com/article/35138002/
レビューガイドラインを見る限り
サードパーティーのログイン連携をしているアプリは
Sign In with Appleの実装が必須になります。
弊社のアプリでもFacebookログインなどを使用しており
今後対応が必要になるだろうと思い
まずどういうものか知るために
サンプルコードとセッション動画の内容から
現状わかったことをまとめてみました。
公式のサイトはこちら
https://developer.apple.com/sign-in-with-apple/
Introducing Sign In with Apple(セッション動画)
https://developer.apple.com/videos/play/wwdc2019/706/
ドキュメント、サンプルコードはこちら
https://developer.apple.com/documentation/authenticationservices/implementing_user_authentication_with_sign_in_with_apple
※
使用しているものは
公開されているスライド、ドキュメントやサンプルコードを使用していますが
もし不適切な箇所がございましたら
ご指摘いただけますと幸いです![]()
2020/3/4更新
上記の対応に関して記載がされたレビューガイドラインが正式なものになりました。
https://developer.apple.com/news/?id=03042020a
https://developer.apple.com/app-store/review/guidelines/
下記のように記載されています。
4.8 Sign in with Apple
Apps that use a third-party or social login service
(such as Facebook Login, Google Sign-In, Sign in with Twitter, Sign In with LinkedIn, Login with Amazon, or WeChat Login)
to set up or authenticate the user’s primary account with the app
must also offer Sign in with Apple as an equivalent option.
A user’s primary account is the account they establish with your app
for the purposes of identifying themselves, signing in,
and accessing your features and associated services.
Sign in with Apple is not required if:
- Your app exclusively uses your company’s own account setup and sign-in systems.
- Your app is an education, enterprise, or business app that requires the user to sign in with an existing education or enterprise account.
- Your app uses a government or industry-backed citizen identification system or electronic ID to authenticate users.
- Your app is a client for a specific third-party service and users are required to sign in to their mail, social media, or other third-party account directly to access their content.
2020/3/27 更新
上記の対応の期限に関して
新型コロナウイルスの影響を受け
6月末まで期限が延びました。
To accommodate developers who may need additional time
to update their existing apps on the App Store,
the deadline for adhering to the requirements below
has been extended to June 30, 2020.

Apps that authenticate or set up user accounts
must support Sign in with Apple
if required by guideline 4.8 of the App Store Review Guidelines.
Sign In with Appleの特徴

早く、簡単にアプリへの
サインアップやサインインができるとのことです。
主な特徴として下記の5つの点が挙げられていました。
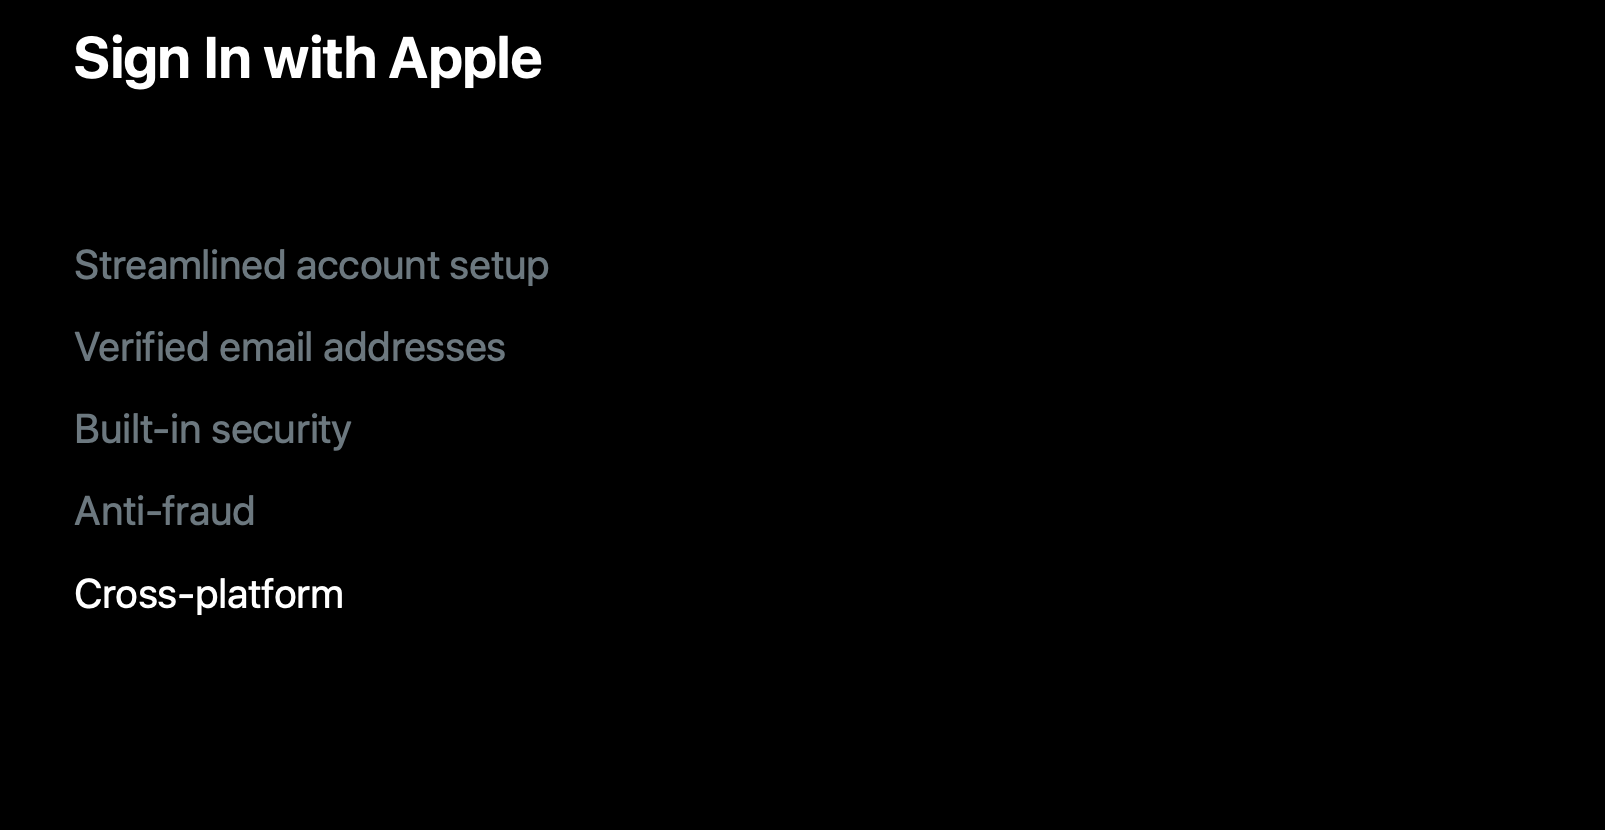
合理化されたアカウントセットアップ
すでにAppleのアカウントへは
ログイン状態にあることが多いので
タップだけでセットアップが完了できます。
また
デバイスをまたがって同じ認証情報が使用可能です。
認証されたメールアドレス
Appleがすでに認証しているので
メールを受け取って->リンクをタップする
などの余計な認証プロセスが必要になることはありません。
Hide My Email
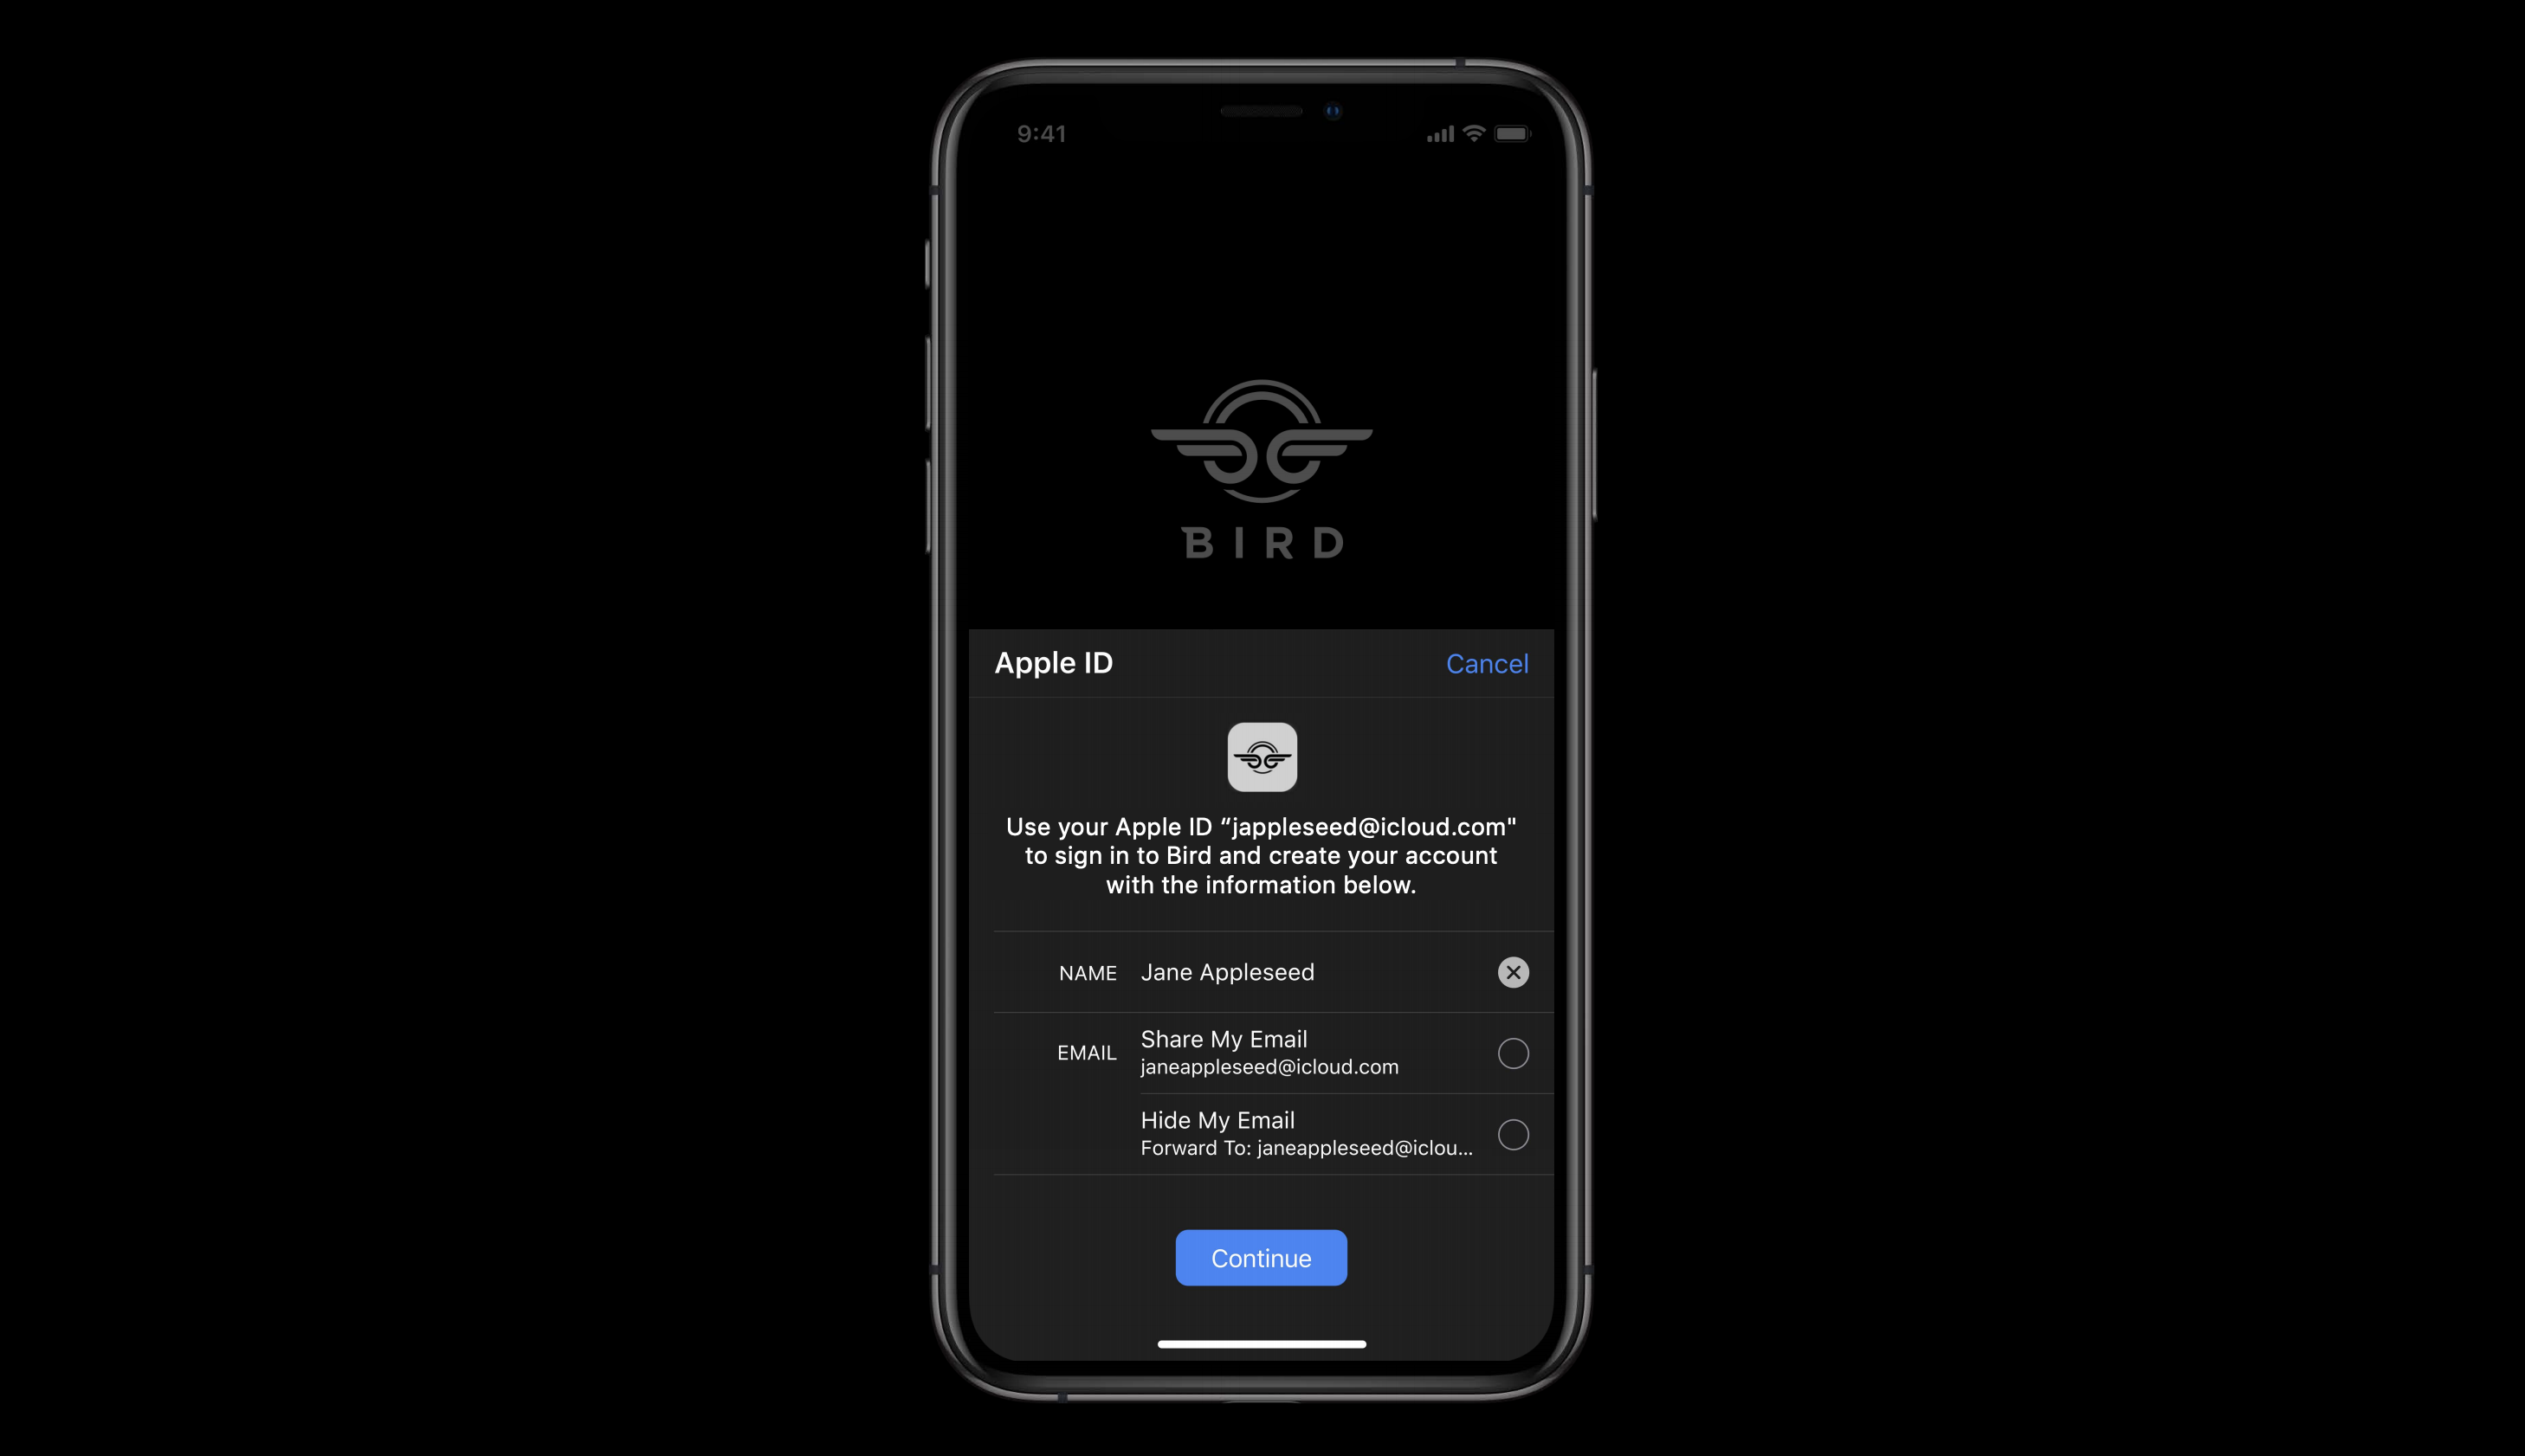

実際のメールアドレスとは異なる
下記のようなメールアドレスを使うことができ
アプリに個人情報を渡すことを避けることができます。
もちろん本物のメールアドレスと同じように使えます。
※ Appleがメール内容を保持するということはないとも言っていました。

ビルトインのセキュリティ
パスワードを忘れたとしても
Appleアカウントでは2段階認証を使っているため
追加のパスワード認証プロセスや入力が必要ありません。
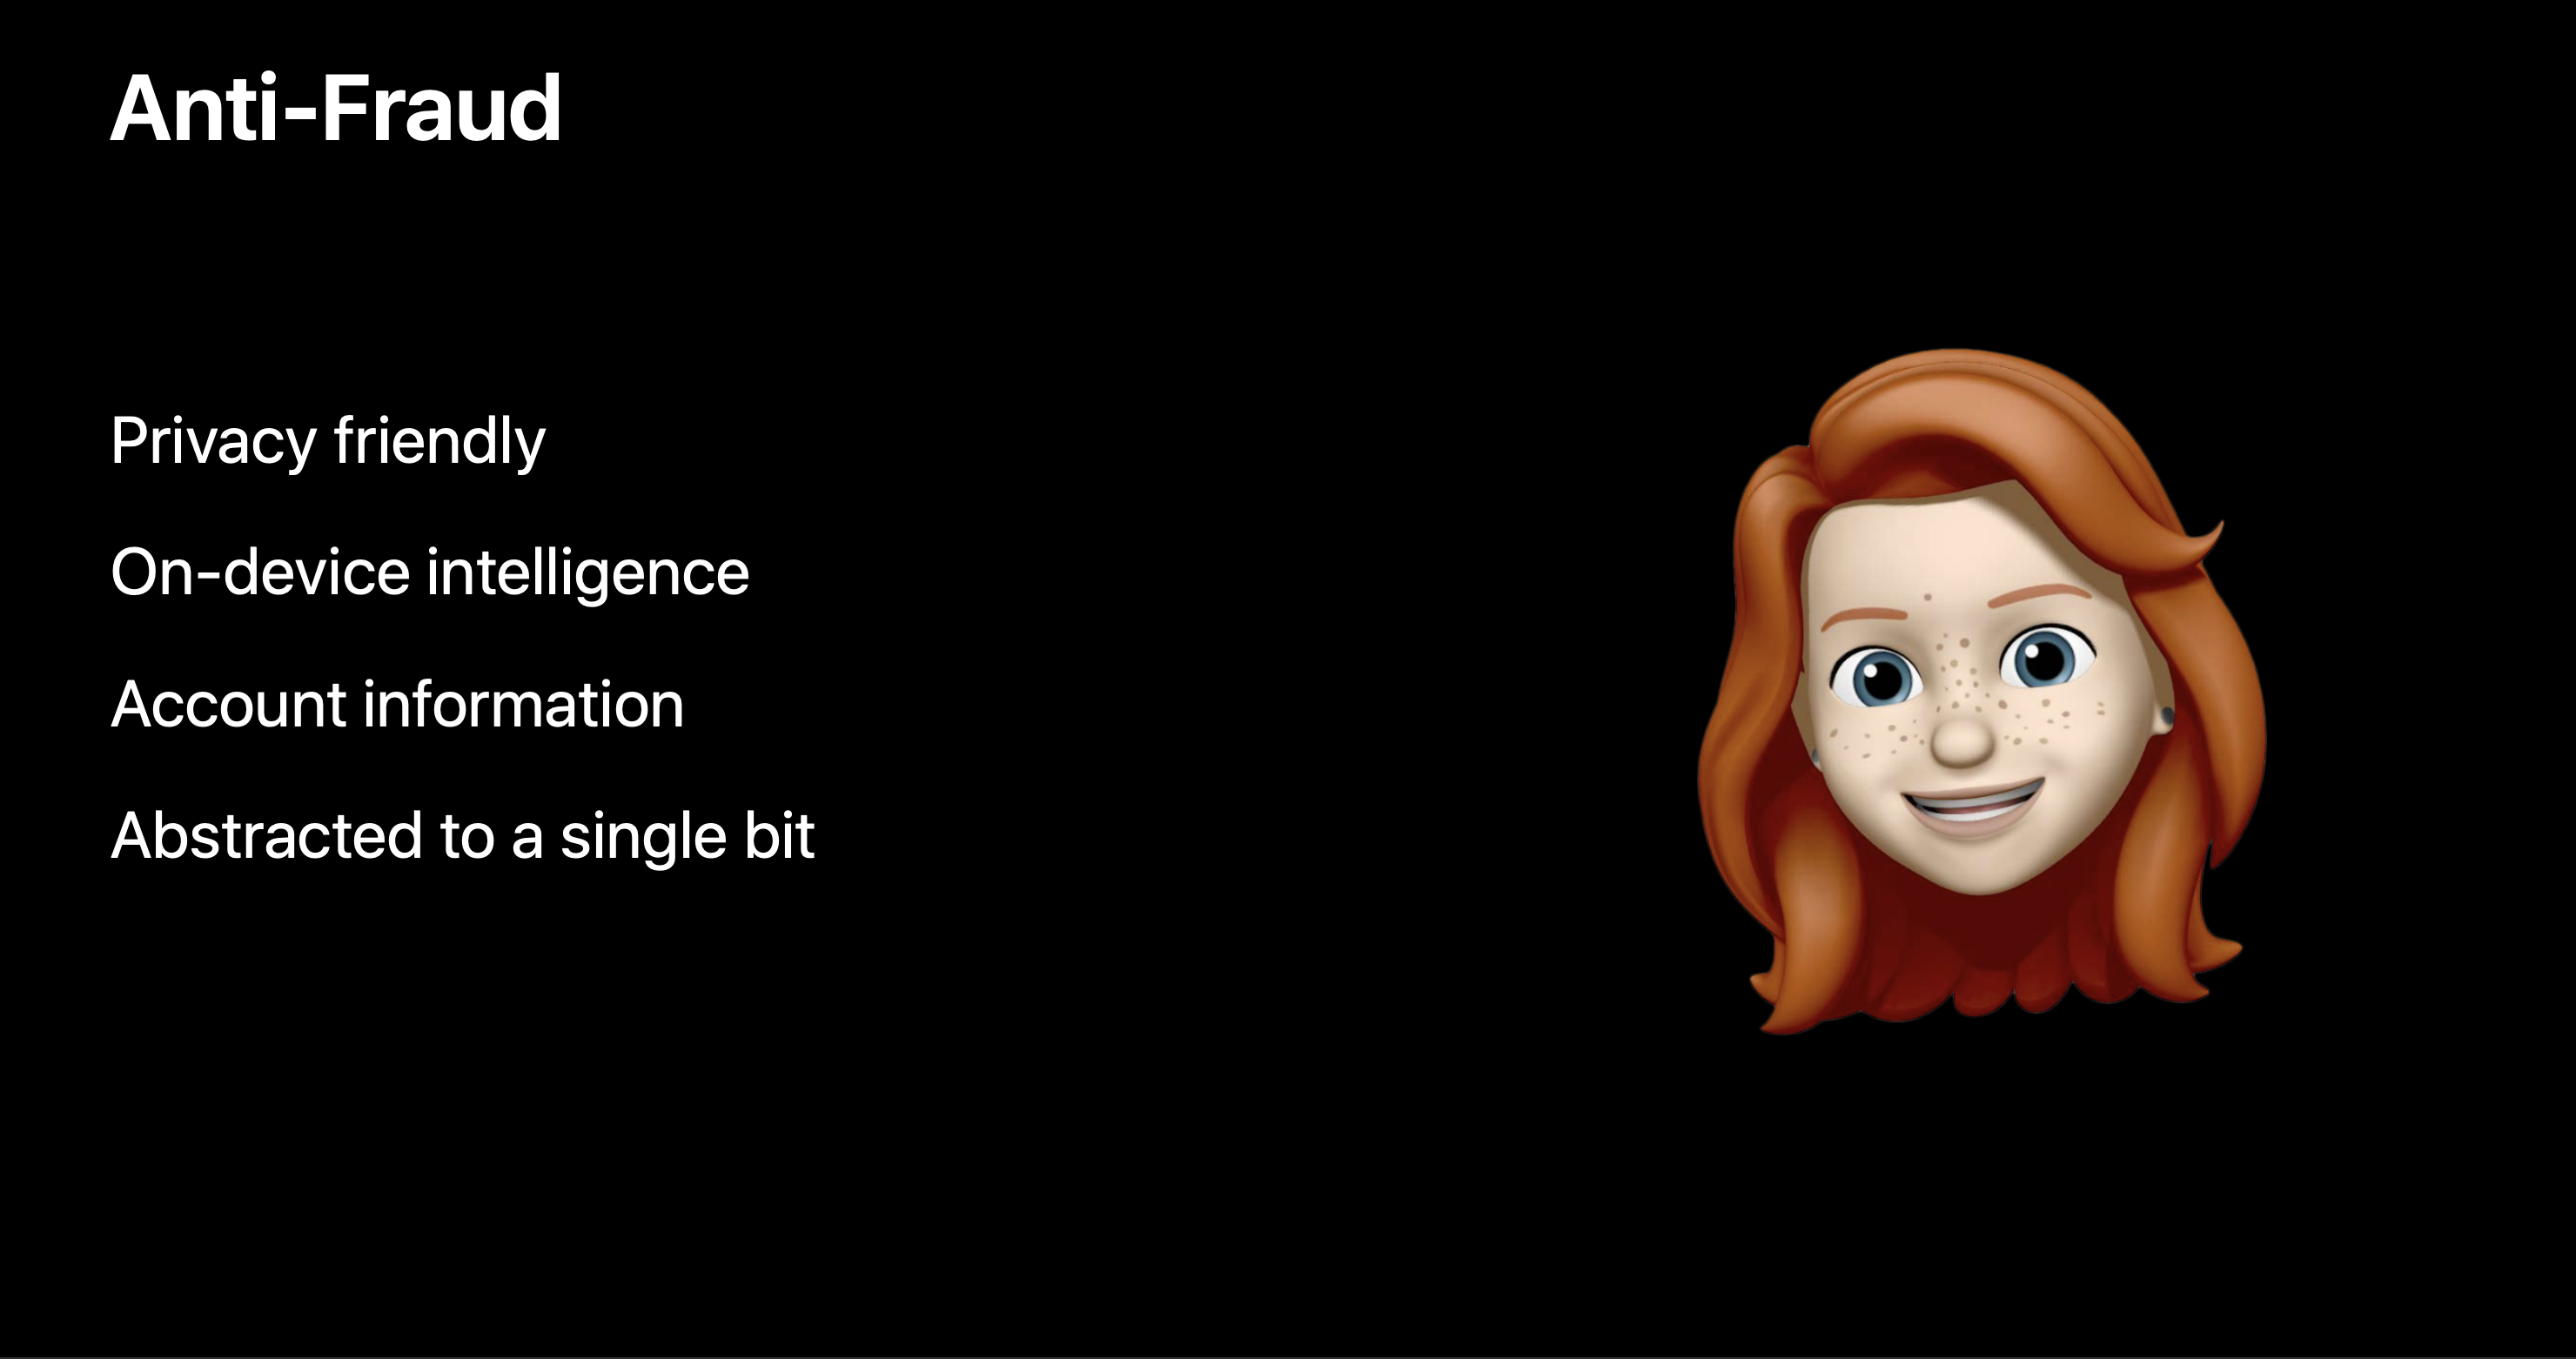
Anti-Fraud(詐欺対策)
ユーザが疑わしいかどうかをシステムがサポートしてくれます。
内部的な情報とアカウント情報を照らし合わせて判断しているようです。
マルチプラットフォーム
iOS macOS iPadOS watchOS Javascript
実装することが可能です。
処理の流れ
下記の様な手順で行っていきます。

具体的にどのような処理を行っていくか
ここからはサンプルのコードで見ていきたいと思います。
Sign in with Appleを使用するためには
AuthenticationServicesというフレームワークを用います。
これを使用することで
- AppleIDを用いてログインをすることができる
- サインインフローの中で保存しているパスワードを使用することができる
- OAuthのような仕組みを使用してWebブラウザとアプリ間でデータを共有することができる
- エンタープライズアプリではシングルサインオン(SSO)のような体験を提供できる
などが実現できます。
OAuthとは?
https://ja.wikipedia.org/wiki/OAuth
シングルサインオンとは?
https://ja.wikipedia.org/wiki/%E3%82%B7%E3%83%B3%E3%82%B0%E3%83%AB%E3%82%B5%E3%82%A4%E3%83%B3%E3%82%AA%E3%83%B3
では実際の中身に関してはサンプルのコードから見ていきたいと思います。
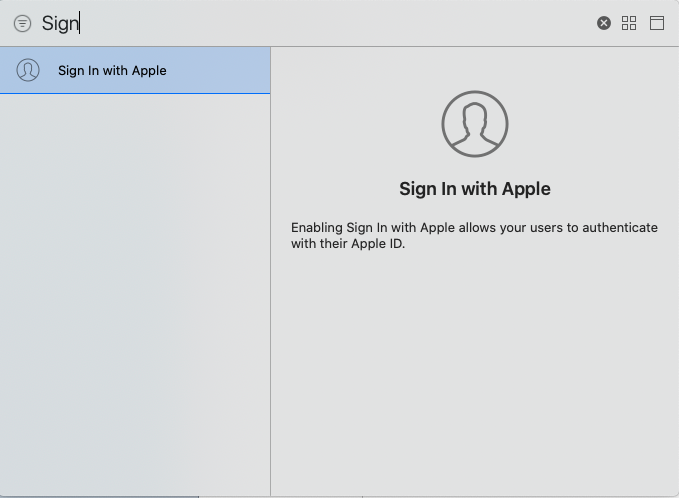
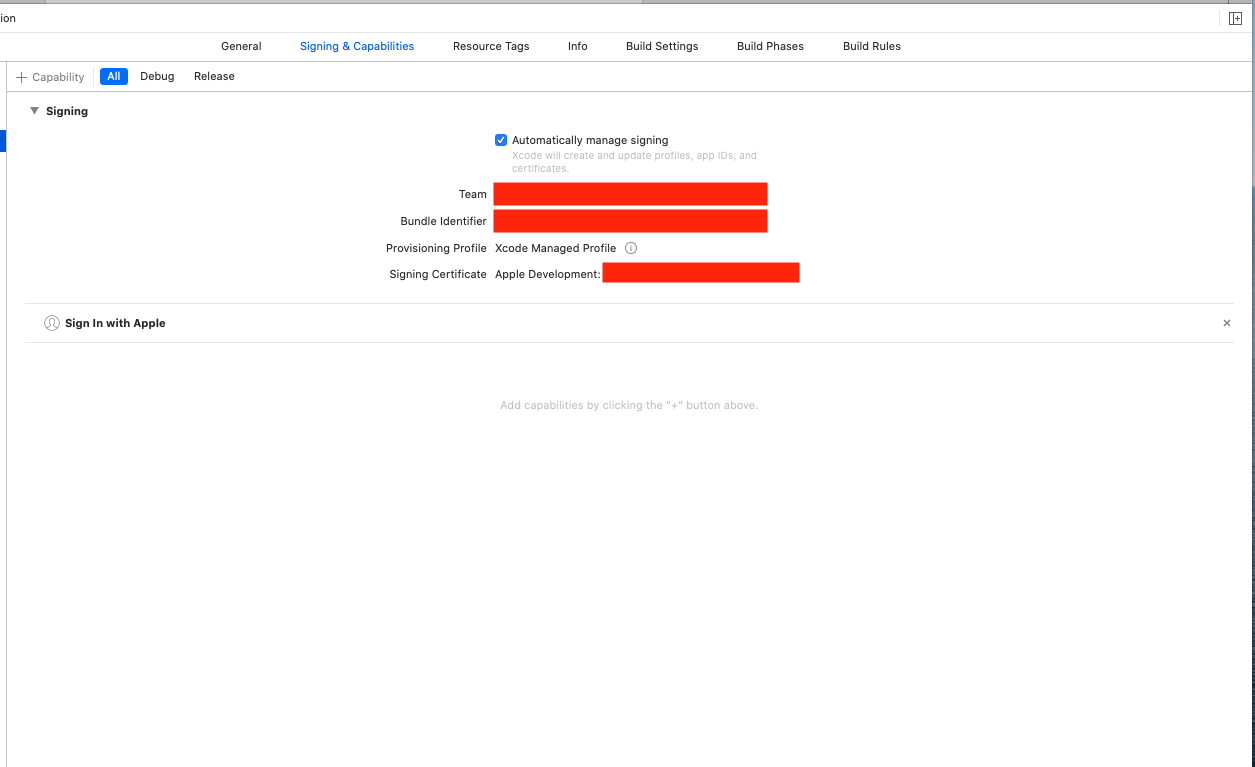
Xcodeの設定をする(Sign In with Apple Entitlementを用意する)
まずはXcodeの設定が必要です。
targetを選択しSigning&Capabilitiesの中から
Sing in With Appleを選択します。
サインアップボタンを用意する
ASAuthorizationAppleIDButtonを使用します。
標準のものをそのまま使用することも可能です。
カスタマイズも可能ですが、
その際にはデザインガイドラインに従う必要があります。
デザインガイドラインはこちら
https://developer.apple.com/design/human-interface-guidelines/sign-in-with-apple/overview/
ASAuthorizationAppleIDButton
https://developer.apple.com/documentation/authenticationservices/asauthorizationappleidbutton
Appleにユーザ情報を取得するためのリクエストを送る
次にユーザの情報を取得するために
Appleへリクエストを送ります。
ユーザにタップされた際の処理は下記のようになります。
@objc
func handleAuthorizationAppleIDButtonPress() {
    let appleIDProvider = ASAuthorizationAppleIDProvider()
    let request = appleIDProvider.createRequest()
    request.requestedScopes = [.fullName, .email]

    let authorizationController = ASAuthorizationController(authorizationRequests: [request])
    authorizationController.delegate = self
    authorizationController.presentationContextProvider = self
    authorizationController.performRequests()
}
ここで出てくるいくつかのクラスについて見ていきます。
ASAuthorizationAppleIDProvider
ASAuthorizationAppleIDProviderと
ASAuthorizationAppleIDRequestを用いて
ユーザのAppleIDを元に
アプリが認証済みかどうかのリクエストを作成します。
let appleIDProvider = ASAuthorizationAppleIDProvider()
let request = appleIDProvider.createRequest()
request.requestedScopes = [.fullName, .email]
fullNameとemailは取得したい情報を指定することができ
オプションで指定することができます。
ASAuthorizationAppleIDProvider
https://developer.apple.com/documentation/authenticationservices/asauthorizationappleidprovider
ASAuthorizationAppleIDRequest
https://developer.apple.com/documentation/authenticationservices/asauthorizationappleidrequest
ASAuthorizationController
次に上記で作成したリクエストを使って
ASAuthorizationControllerを初期化し
performRequestsでAppleへリクエストを送ります。
let controller = ASAuthorizationController(authorizationRequests: [request])
authorizationController.delegate = self
authorizationController.presentationContextProvider = self
authorizationController.performRequests()
ASAuthorizationController
https://developer.apple.com/documentation/authenticationservices/asauthorizationcontroller
performRequests
https://developer.apple.com/documentation/authenticationservices/asauthorizationcontroller/3153047-performrequests
ASAuthorizationControllerDelegate
上記の中で
authorizationController.delegate = self
とありますが
これはASAuthorizationControllerDelegateというプロトコルです。
ASAuthorizationControllerDelegate
https://developer.apple.com/documentation/authenticationservices/asauthorizationcontrollerdelegate
これを設定するとリクエストのレスポンスを下記のデリゲートで取得することができます。
extension LoginViewController: ASAuthorizationControllerDelegate {
    func authorizationController(controller: ASAuthorizationController, didCompleteWithAuthorization authorization: ASAuthorization) {

        // ASAuthorizationAppleIDCredentialの場合
        if let appleIDCredential = authorization.credential as? ASAuthorizationAppleIDCredential {

            // 取得できた情報
            let userIdentifier = appleIDCredential.user
            let fullName = appleIDCredential.fullName
            let email = appleIDCredential.email

            // 取得した情報を元にアカウントの作成などを行う

        // ASPasswordCredentialの場合(※あとで紹介します※)
        } else if let passwordCredential = authorization.credential as? ASPasswordCredential {
            // 既存のiCloud Keychainクレデンシャル情報
            let username = passwordCredential.user
            let password = passwordCredential.password

            // 取得した情報を元にアカウントの作成などを行う

        }
    }
}
ASAuthorizationAppleIDProviderのリクエストが成功した場合
取得できる情報はASAuthorizationAppleIDCredentialです。
ASAuthorizationAppleIDCredential
https://developer.apple.com/documentation/authenticationservices/asauthorization
この中の情報を使ってアカウントの作成などを行います。
authorizationController(controller:didCompleteWithAuthorization:)
https://developer.apple.com/documentation/authenticationservices/asauthorizationcontrollerdelegate/3153050-authorizationcontroller
注意点
Appleのサンプルでは出てきていませんが
fullNameやemailが取得できるのは
最初のリクエストのみで
それ以降はnilが返ってきます。
(ユーザーの連携が切られた場合は再度初回リクエストが返ってきます)
なので
今後もこれらの情報が必要な場合は
この時点で確実に保存しておく必要があります。
ちなみにこれは仕様のようです。
https://forums.developer.apple.com/thread/121496#379297
エラーの場合は下記のデリゲートメソッドが呼ばれます。
func authorizationController(controller: ASAuthorizationController, didCompleteWithError error: Error) {
    // Handle error.
}
authorizationController(controller:didCompleteWithError:)
https://developer.apple.com/documentation/authenticationservices/asauthorizationcontrollerdelegate/3153051-authorizationcontroller
ASPasswordCredentialについて
上記のデリゲートメソッドの中で
} else if let passwordCredential = authorization.credential as? ASPasswordCredential {
という分岐が出てきていますが
これはiCloud KeyChainのパスワード情報をリクエストした場合に
取得できる情報です。
ASPasswordCredential
https://developer.apple.com/documentation/authenticationservices/aspasswordcredential
実はサンプルコードの中では
ユーザのタップする場合以外にも
viewDidAppearの中でも
認証情報のリクエストを送っています。
func performExistingAccountSetupFlows() {
    // Prepare requests for both Apple ID and password providers.
    let requests = [ASAuthorizationAppleIDProvider().createRequest(),
                    ASAuthorizationPasswordProvider().createRequest()]

    // Create an authorization controller with the given requests.
    let authorizationController = ASAuthorizationController(authorizationRequests: requests)
    authorizationController.delegate = self
    authorizationController.presentationContextProvider = self
    authorizationController.performRequests()
}
注目点は下記で
let requests = [ASAuthorizationAppleIDProvider().createRequest(),
                ASAuthorizationPasswordProvider().createRequest()]
ASAuthorizationPasswordProviderを使っています。
ASAuthorizationPasswordProvider
https://developer.apple.com/documentation/authenticationservices/asauthorizationpasswordprovider
このリクエストを送ることで
iCloud Keychainのクレデンシャル情報を使って
アカウントの作成などが可能になります。
※複数設定した場合の優先順位などに関しては何も言及がありませんでしたので
これは今後調べたいと思います。
今回は割愛させていただきますが
シングルサインオン用の入り口もあります。
ASAuthorizationSingleSignOnProvider
https://developer.apple.com/documentation/authenticationservices/asauthorizationsinglesignonprovider
ASAuthorizationSingleSignOnCredential
https://developer.apple.com/documentation/authenticationservices/asauthorizationsinglesignoncredential
ASAuthorizationControllerPresentationContextProviding
リクエストを送る際に下記のコードがありました。
authorizationController.presentationContextProvider = self
これはASAuthorizationControllerPresentationContextProvidingプロトコルで
システムが認証プロセスをユーザに提供するためのUIWindowの指定をします。
いくつかのリクエストでは必須となっているようです。
ASAuthorizationControllerPresentationContextProviding
https://developer.apple.com/documentation/authenticationservices/asauthorizationcontrollerpresentationcontextproviding
サンプルコードでは
下記のようにアプリのUIWindowを設定しています。
extension LoginViewController: ASAuthorizationControllerPresentationContextProviding {
    func presentationAnchor(for controller: ASAuthorizationController) -> ASPresentationAnchor {
        return self.view.window!
    }
}
presentationAnchor(for:)
https://developer.apple.com/documentation/authenticationservices/asauthorizationcontrollerpresentationcontextproviding/3237228-presentationanchor
このようにしてユーザのアカウント作成ができます。
クレデンシャル情報の変更に対応する
例えば
- アプリでAppleIDの使用をやめた
- デバイスでサインアウトをした
などが起きた場合への対応も必要になります。
サンプルのAppDelegateを見ていきます。
func application(_ application: UIApplication, didFinishLaunchingWithOptions launchOptions: [UIApplication.LaunchOptionsKey: Any]?) -> Bool {
    let appleIDProvider = ASAuthorizationAppleIDProvider()
    appleIDProvider.getCredentialState(forUserID: KeychainItem.currentUserIdentifier) { (credentialState, error) in
        switch credentialState {
        case .authorized:
            // Apple IDクレデンシャルが妥当だった場合
            break
        case .revoked:
            // Apple IDクレデンシャルが無効だった場合
            break
        case .notFound:
            // Apple IDクレデンシャル情報がなかった場合

            // サインアップのフローを開始する

        default:
            break
        }
    }
    return true
}
発表のスライドとはやや異なりますが、
Keychainに保存しているcurrentUserIdentifierを
getCredentialState(forUserID:completion:)の引数として設定し
クレデンシャル情報を取得しています。
getCredentialState(forUserID:completion:)
https://developer.apple.com/documentation/authenticationservices/asauthorizationappleidprovider/3175423-getcredentialstate
ここで得られるcredentialStateが
ASAuthorizationAppleIDProvider.CredentialStateです。
enum CredentialState : Int {
    case authorized = 1
    case notFound = 2
    case revoked = 3
}
ASAuthorizationAppleIDProvider.CredentialState
https://developer.apple.com/documentation/authenticationservices/asauthorizationappleidprovider/credentialstate
このrevokedの際に対応していきます。
また発表スライドでは
通知を受け取ることもできるとあり
下記のような形で
クレデンシャル情報が無効になった時の処理ができます。
// Register for revocation notification
let center = NotificationCenter.default
let name = NSNotification.Name.ASAuthorizationAppleIDProviderCredentialRevoked
let observer = center.addObserver(forName: name, object: nil, queue: nil) { (Notification) in
 // サインアウトして、再度サインインフローを表示するなど
}
ASAuthorizationAppleIDProviderCredentialRevoked
https://developer.apple.com/documentation/foundation/nsnotification/name/3175424-asauthorizationappleidprovidercr
サインイン後はワンタップでサインインできる
サインアップのプロセスを見てきましたが
Appleアカウントでアプリの認証がされていることで
アプリ起動時に認証されているかどうかがわかり
即座にサインイン状態だと判定することが可能です。
※ 上記AppDelegateのメソッド内の分岐をご参照ください。
これはユーザにとっても
不要な手順が省かれ楽になり
個人情報を入力するリスクを避けられます。
Firebase Authenticationとの連携方法
Sign in with Appleと連携する場合は
Firebase側での登録やサインアウトの処理も行う必要があります。
この方法について記載されていた記事がありましたので
参考として掲載させていただきます。
https://medium.com/swlh/integrate-sign-in-with-apple-with-firebase-authentication-db0953b383c4
最後に
サンプルコードとセッションの情報から
まずまとめてみました。
まだまだ理解ができていない部分や知らないことは
多々あると思いますので
更新情報がありましたら追記したいと思います。