なんの記事?
- バックエンドを今までメインで触っていたのですが、実際にブラウザ上で動くWebアプリも作製したいと最近考えるようになりました。
- 実際にGCPのサービスを用いて、バックエンドにFastAPIを利用している簡単なサービスを勉強がてら作ってみました。
- どのサービスも(特にRoute53やGAEは)初めて利用するので、もし間違いなどあれば、指摘いただけると幸いです。
今回作るもの
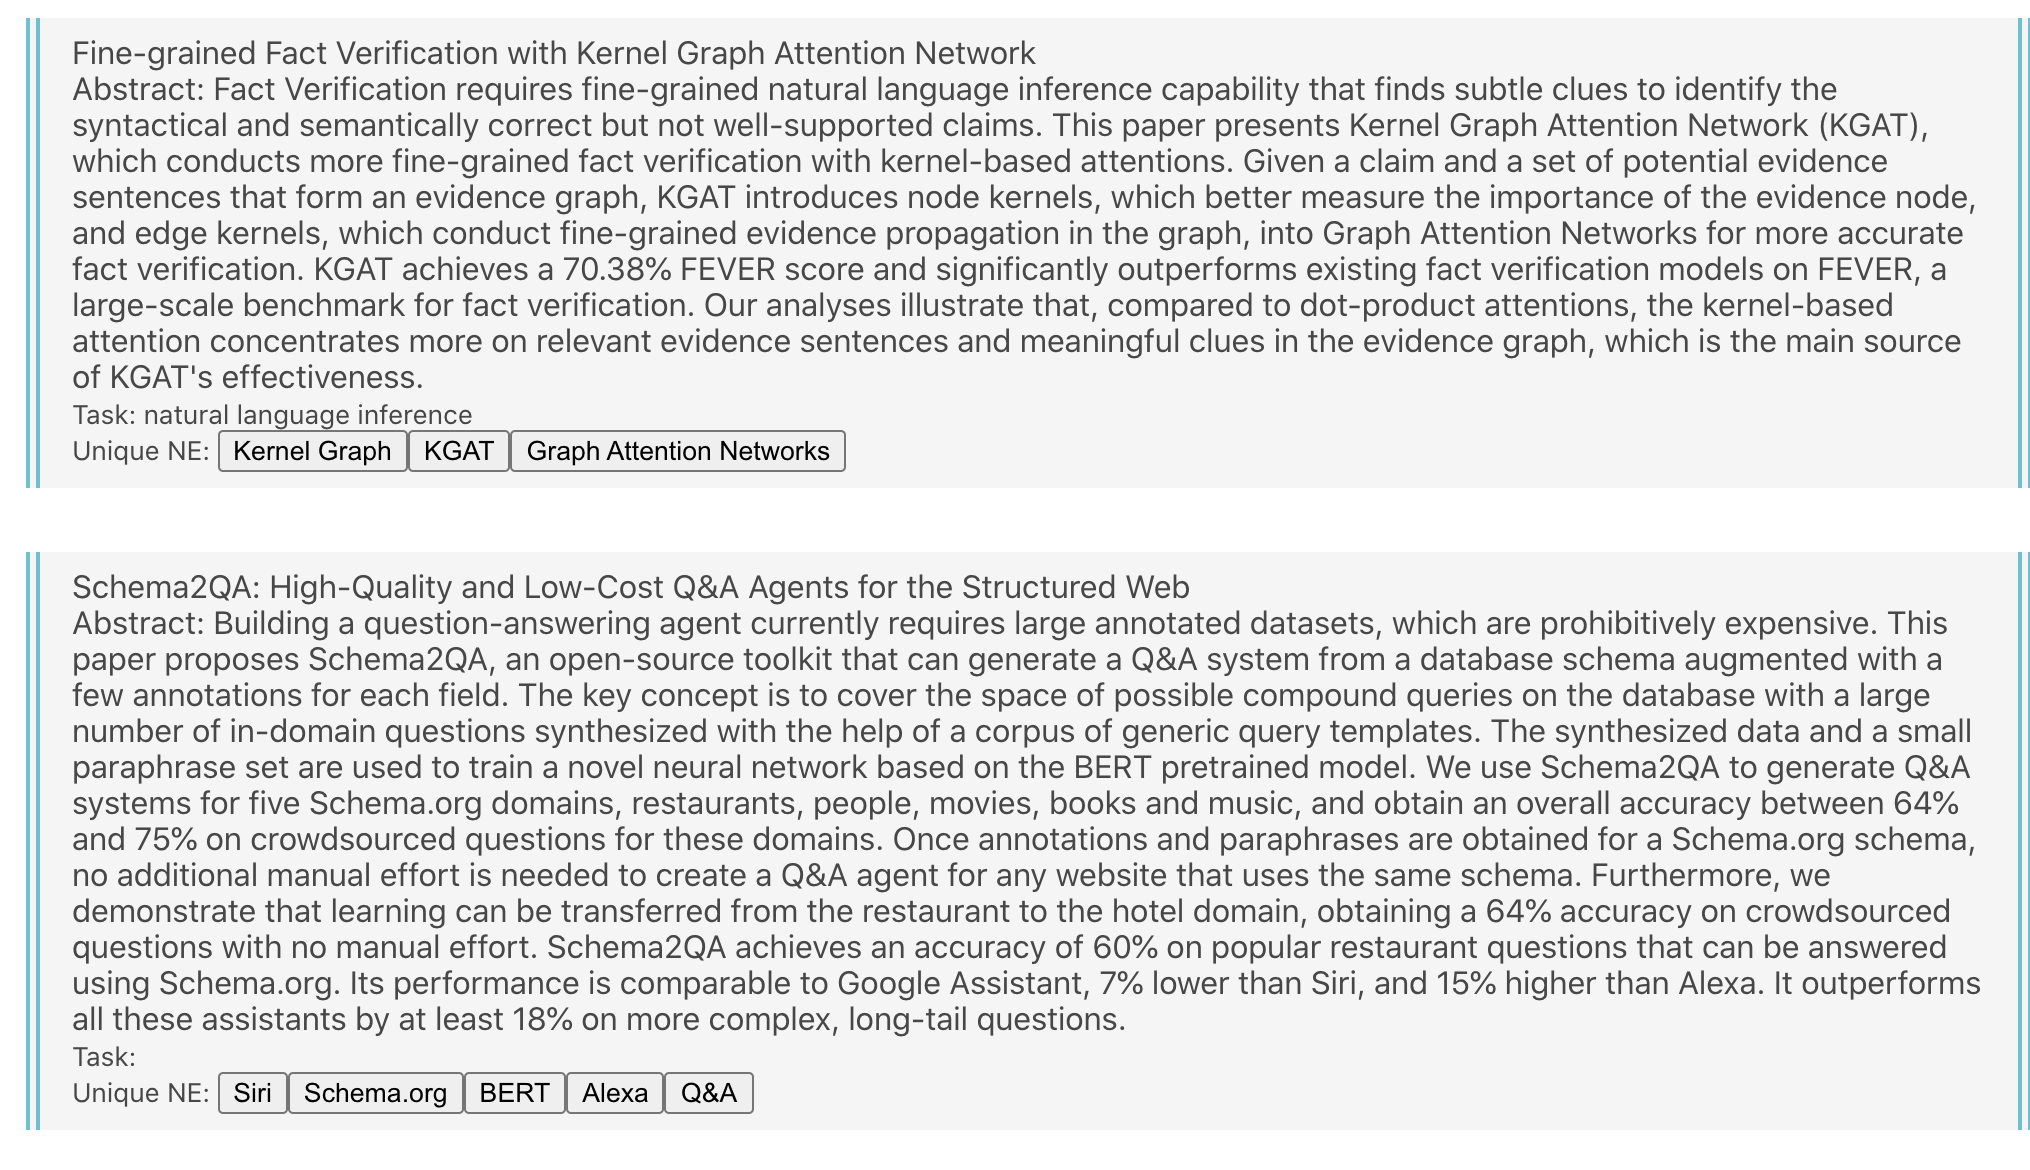
以下のように、arXivから論文を取得し、タグ付けしたものを一覧表示するWebアプリケーションを作成します。
手順
以下の手順で今回は作製しました。
- Route53を用いたDNS解決、アドレス取得
- バックエンド実装
- フロント実装
- 結合
- デプロイ
Route53によるDNS解決
早速進めていきたいと思います。まずは、Route53で先にドメインを購入・取得し、開発のモチベーションを上げましょう。
からRoute53のページに行き、ドメインを登録します。
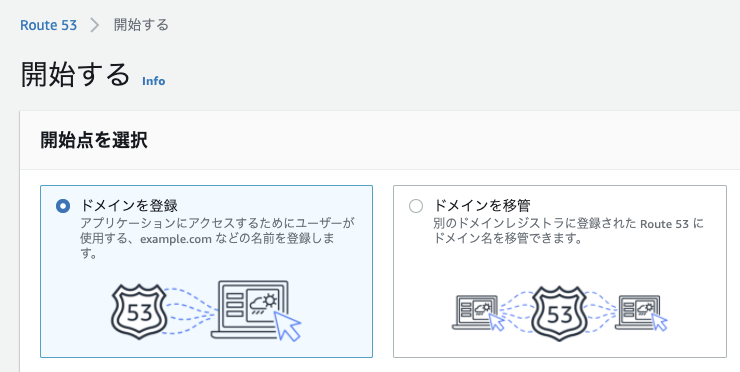
安いドメイン候補を今回は利用しました。

支払情報を登録した後、注文を完了します。

ドメイン登録が進行中の間に、他の作業を進めましょう。
バックエンド実装
今回はarXivのAPIを参照して得られた結果にタグ付をし、フロントへと渡す処理をバックエンドで書きたいと思います。
FastAPIを経由せずとも、フロントから直接叩く方法でも良かったのですが、今回はバックエンド+フロントエンドを分離する構成を学びたいというモチベーションもあり、この構成にします。リポジトリも今回は独立にします。
ではバックエンドを作成していきます。
Dockerfile作成
上記の公式リンクを参考にDockerfileを作成していきます。
FROM tiangolo/uvicorn-gunicorn-fastapi:python3.7

RUN apt-get -y update && apt install -y build-essential

ARG HOME='/root'
ARG project_dir=/projects/
RUN apt-get install -y git
RUN pip install --upgrade pip && pip install autopep8
ADD requirements.txt .
RUN pip install -r requirements.txt
COPY . $project_dir
CMD ["uvicorn", "app.main:app", "--host", "0.0.0.0", "--port", "8000", "--log-level", "trace"]
立ち上げ時のapp.pyも作成します。
import uvicorn
from typing import Optional
from fastapi import FastAPI

app = FastAPI()


@app.get("/")
def read_root():
    return {"Hello": "World"}


@app.get("/items/{item_id}")
def read_item(item_id: int, q: Optional[str] = None):
    return {"item_id": item_id, "q": q}


if __name__ == '__main__':
    uvicorn.run("app:app", host='0.0.0.0', port=8000,
                log_level="trace", debug=True)
ビルドしてコンテナを起動します。
$ docker build -t arxiv_checker:latest .
$ docker run -d --rm --name arxiv_checker_debug -it -v ${PWD}:/projects -p 8000:8000 arxiv_checker
$ docker ps -a
>> ff005de9d501   arxiv_checker      "uvicorn app:app --r…"   28 seconds ago   Up 27 seconds              80/tcp                                                 arxiv_checker_debug
ここまでで起動が確認できました。
実際に localhost:8000 において
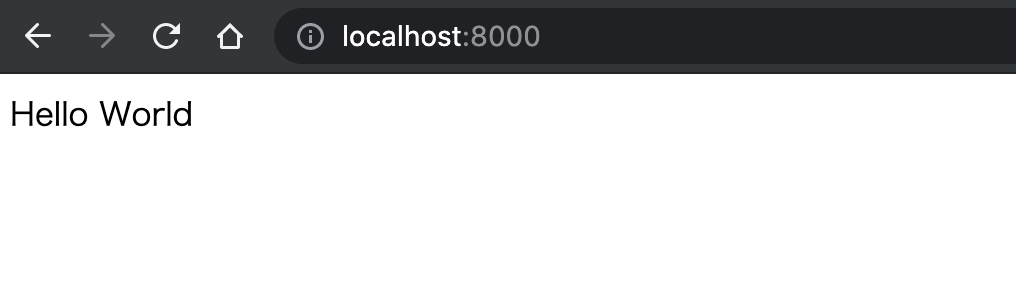
が確認できました。また、デバッグを行いやすくするため、uvicorn起動時に--reloadオプションを指定して自動起動を行わせ、かつ docker run 時にホストの開発コード部分のボリュームを ${PWD}:/projects でマウントしています。
arXivAPIを用いた論文取得
バックエンド側で今回この処理を書いていきます。
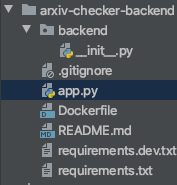
構成は今回、以下のようにすることで、バックエンドプロジェクトとAPIとを分離しました。
このように行うことで、バックエンドのロジックが複雑・多大となったとしても、切り分けが容易だと考えました。
では backend 下にロジックを書いていきます。が、今回はデプロイやフロントとの結合が学習のメインです。
ですので、バックエンドについては割愛します。書いたものを以下に用意しました。
バックエンド側では主に
- arXivAPIから、自然言語処理の関連論文の取得
- アブストを用いたタスク抽出
- アブストからの固有表現抽出
をspaCyを用いて行っています。
from typing import List
import spacy
from backend.config import NLP_TASKS

class Extractor:
    def __init__(self, spacy_model: str = 'en_core_web_sm'):
        self.nlp = spacy.load(spacy_model)

    def extract_ne(self, sentence: str) -> List[str]:
        doc = self.nlp(sentence)
        return list(set([X.text for X in doc.ents if X.label_ not in ["CARDINAL", "PERCENT"]]))

    def extract_task(self, sentence: str) -> List[str]:
        return list(set([task for task in NLP_TASKS if task in sentence]))
pytestを用いた、動く仕様書の作成
今回はpytestを使い、TDDをバックエンドでお試しで行いました。テストコードがそのまま仕様書となるように、test_{テストしたい機能や仕様}となるコードを作成しました。
# !/usr/bin/env python
# -*- coding: utf-8 -*-
import pytest
from backend.extractor import Extractor
import pdb

class TestExtractor:
    @pytest.fixture
    def extractor_class(self):
        extractor_class = Extractor()
        return extractor_class

    @pytest.fixture
    def sentence_example(self):
        sentence_example = 'We introduce a new language representation model called BERT, which stands ' \
                        'for Bidirectional Encoder Representations from Transformers. Unlike recent language ' \
                        'representation models, BERT is designed to pre-train deep bidirectional representations ' \
                        'from unlabeled text by jointly conditioning on both left and right context in all ' \
                        'layers. ' \
                        'As a result, the pre-trained BERT model can be fine-tuned with just one additional ' \
                        'output ' \
                        'layer to create state-of-the-art models for a wide range of tasks, such as question ' \
                        'answering and language inference, without substantial task-specific architecture ' \
                        'modifications. BERT is conceptually simple and empirically powerful. It obtains new ' \
                        'state-of-the-art results on eleven natural language processing tasks, including pushing ' \
                        'the GLUE score to 80.5% (7.7% point absolute improvement), MultiNLI accuracy to 86.7% ' \
                        '(4.6% absolute improvement), SQuAD v1.1 question answering Test F1 to 93.2 (1.5 ' \
                        'point absolute improvement) and SQuAD v2.0 Test F1 to 83.1 ' \
                        '(5.1 point absolute improvement).'

        return sentence_example

    class TestExtractNe:
        def test_nlp要素を含む複文からエンティティのリストを返却する(self, extractor_class, sentence_example):
            assert 'ELECTRA' in extractor_class.extract_ne(sentence_example)

    class TestExtractTasks:
        def test_nlpタスクを含む複文からnlpタスクのリストを返却する(self, extractor_class, sentence_example):
            assert 'question answering' in extractor_class.extract_task(sentence_example)
このように書くメリットとしては、
-
test_check_ne_extract_from_one_sentenceなど、テストのメソッド名について悩む可能性が低くなる - テストコードがそのまま仕様書となる。
- テストを走らせた時、以下のように、どの機能が現在仕様を満たしていないかがひと目で分かる。
などがあります。

API実装
バックエンドを作成したので、それらのクラスを組み合わせて、APIを実装します。
今回は、1より大きい整数をクエリパラメータとして受け取り、その分だけ関連する自然言語処理の論文を返却するようなAPIを作成します。
ただ返却するだけでは、arXivAPIと内容が重複するので
- 固有表現抽出を用いた、論文へのタグ付け
- 論文が扱うタスク抽出
を行った後、それらのデータをjsonに付与し、返却したいと思います。
import uvicorn
from fastapi import FastAPI
from backend.arxiv_api import ArxivApiClass
from backend.extractor import Extractor

app = FastAPI()
arxiv_api = ArxivApiClass()
extractor = Extractor()

@app.get("/")
def read_root():
    return {"Hello": "World"}


@app.get("/api/papers/")
def read_nlp_papers(num: int = 10):
    papers = arxiv_api.call_nlp_papers(max_results=num)
    papers = [arxiv_api.extract_title_and_summary_and_comment_from_paper(paper) for paper in papers]

    for paper in papers:
        paper.update({
            "task": extractor.extract_task(paper["summary"]),
            "ne": extractor.extract_ne(paper["summary"])
        })

    return {"papers": papers}


if __name__ == '__main__':
    uvicorn.run("app.main:app", host='0.0.0.0', port=8000,
                log_level="trace", debug=True)
curl localhost:8000/api/papers/?num=3 などでクエリパラメータを渡し、jsonの返却を確認しました。
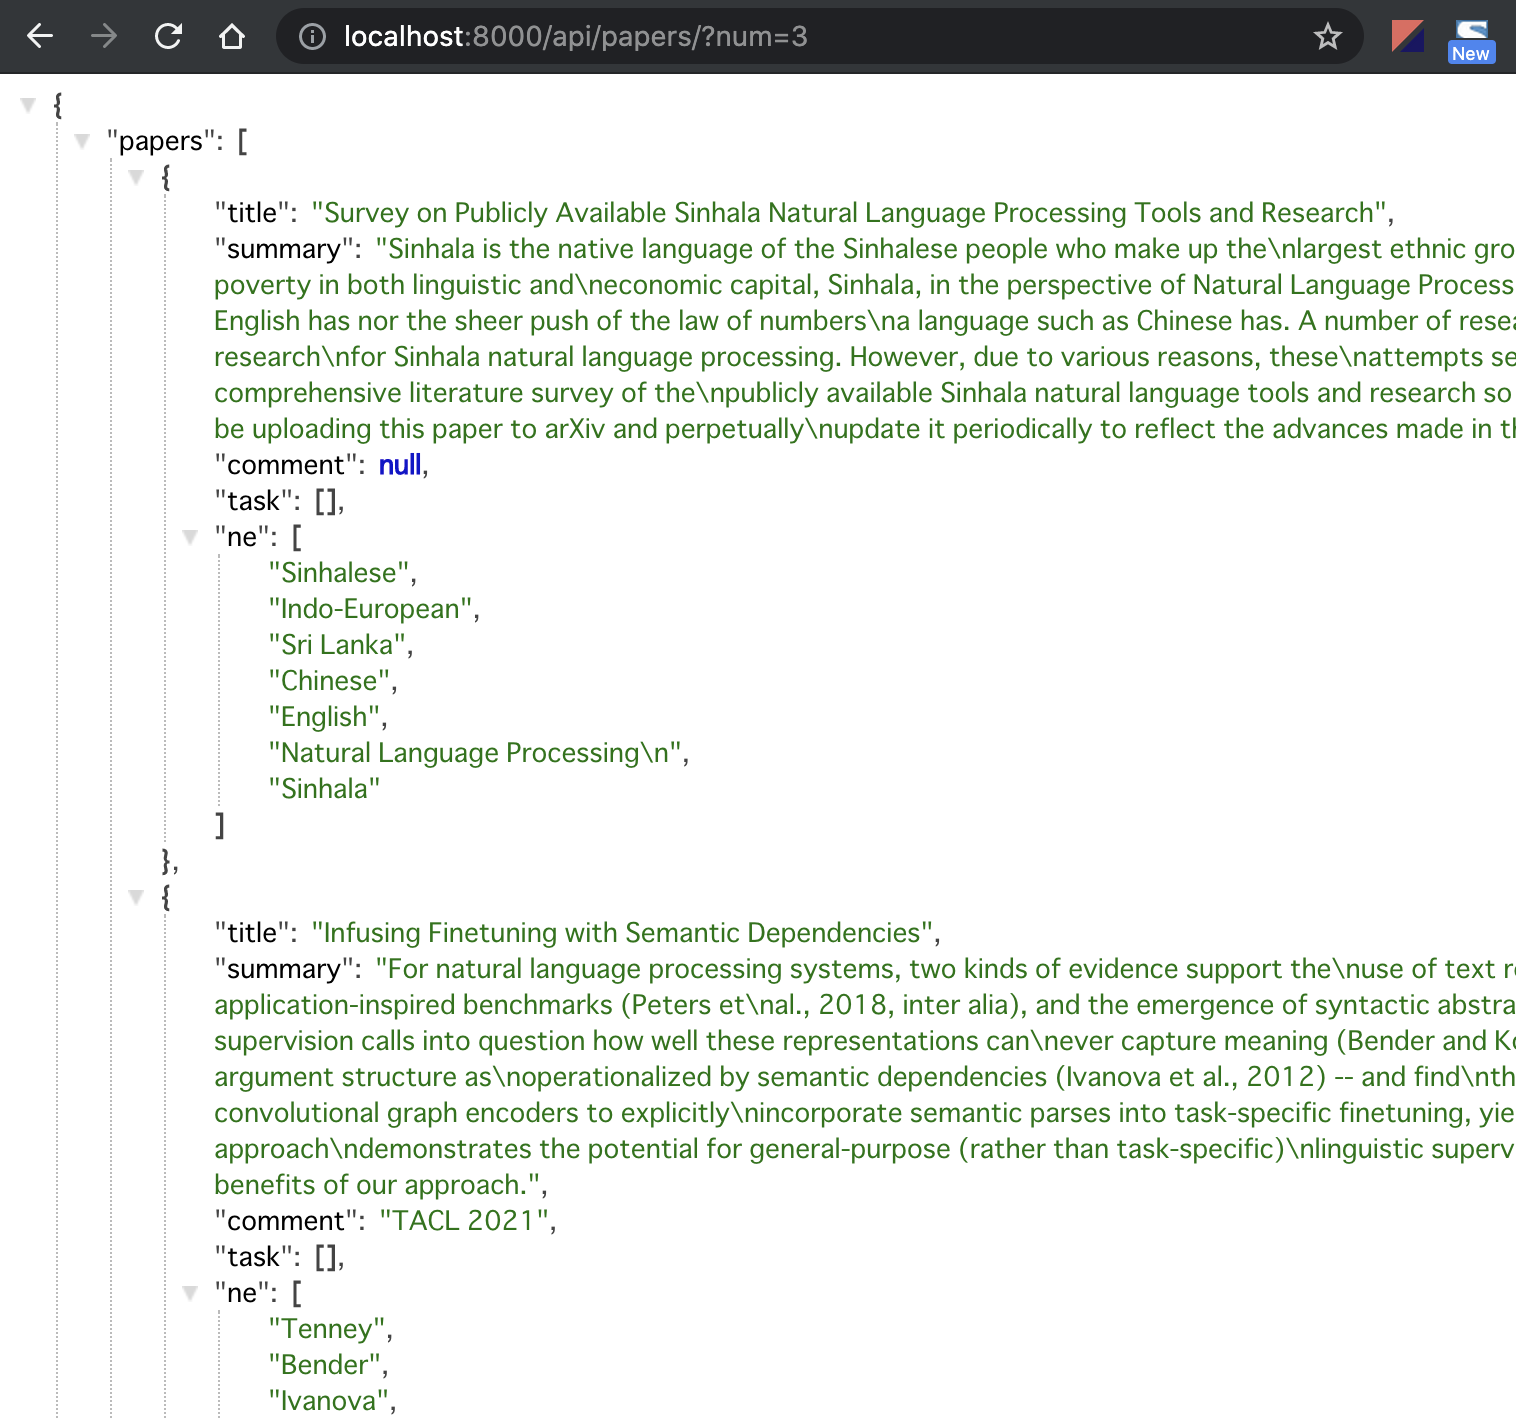
ここまででバックエンドの実装を完了しました。
次回は、フロントエンドの実装とデプロイになります。
リポジトリ
参考文献