Google Play StoreのコンソールからSettings->API Accessを開き、CREATE NEW PROJECTをクリックする。


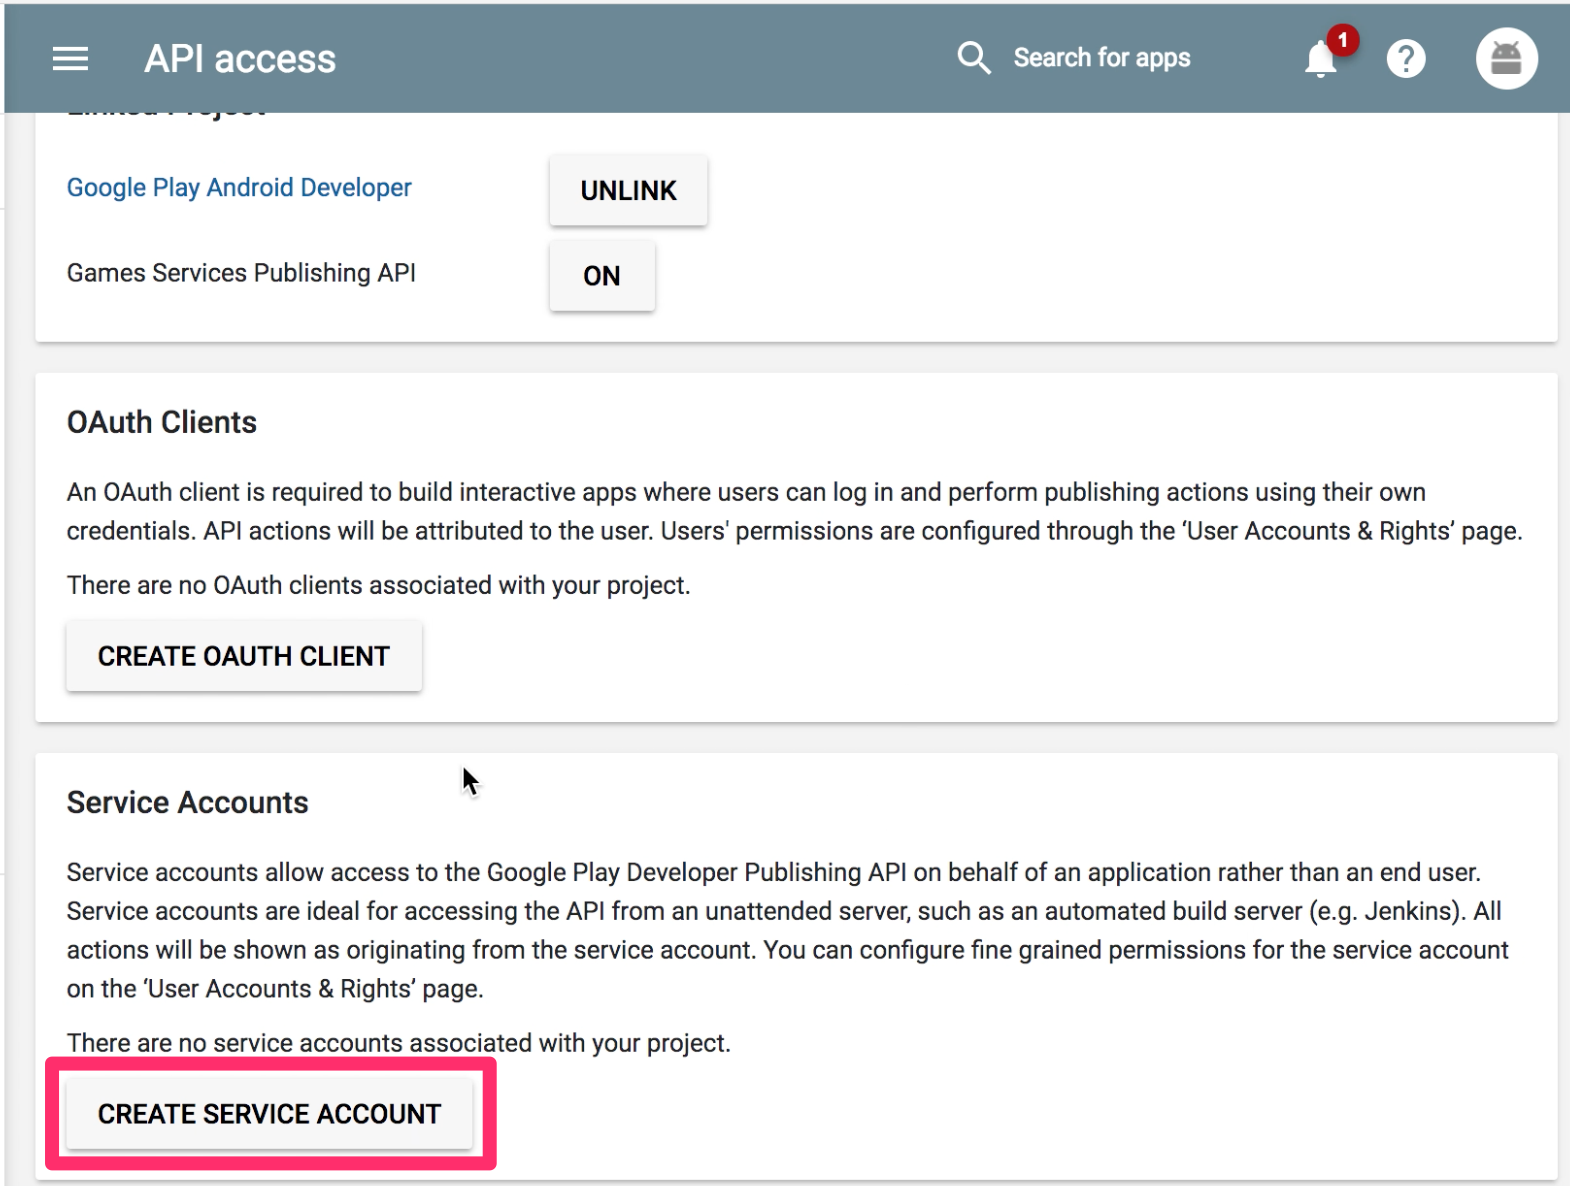
少し待つと以下のような画面が表示されるので、Service AccountのセクションにあるCREATE SERVICE ACCOUNTボタンをクリック。Create Service Accountダイアログが開く。
ダイアログ内のGoogle API Consoleへのリンクをクリックする。

Google API Consoleが別画面で開く。画面内のCreate service accountボタンをクリックする。

Service account作成ダイアログが表示される。
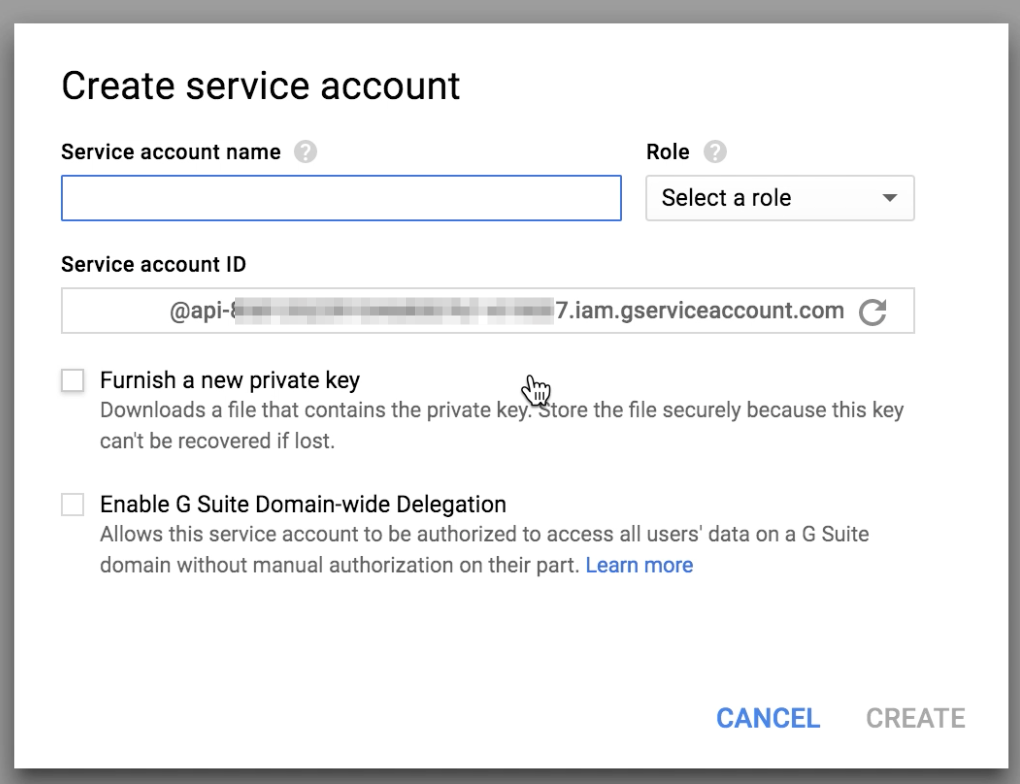
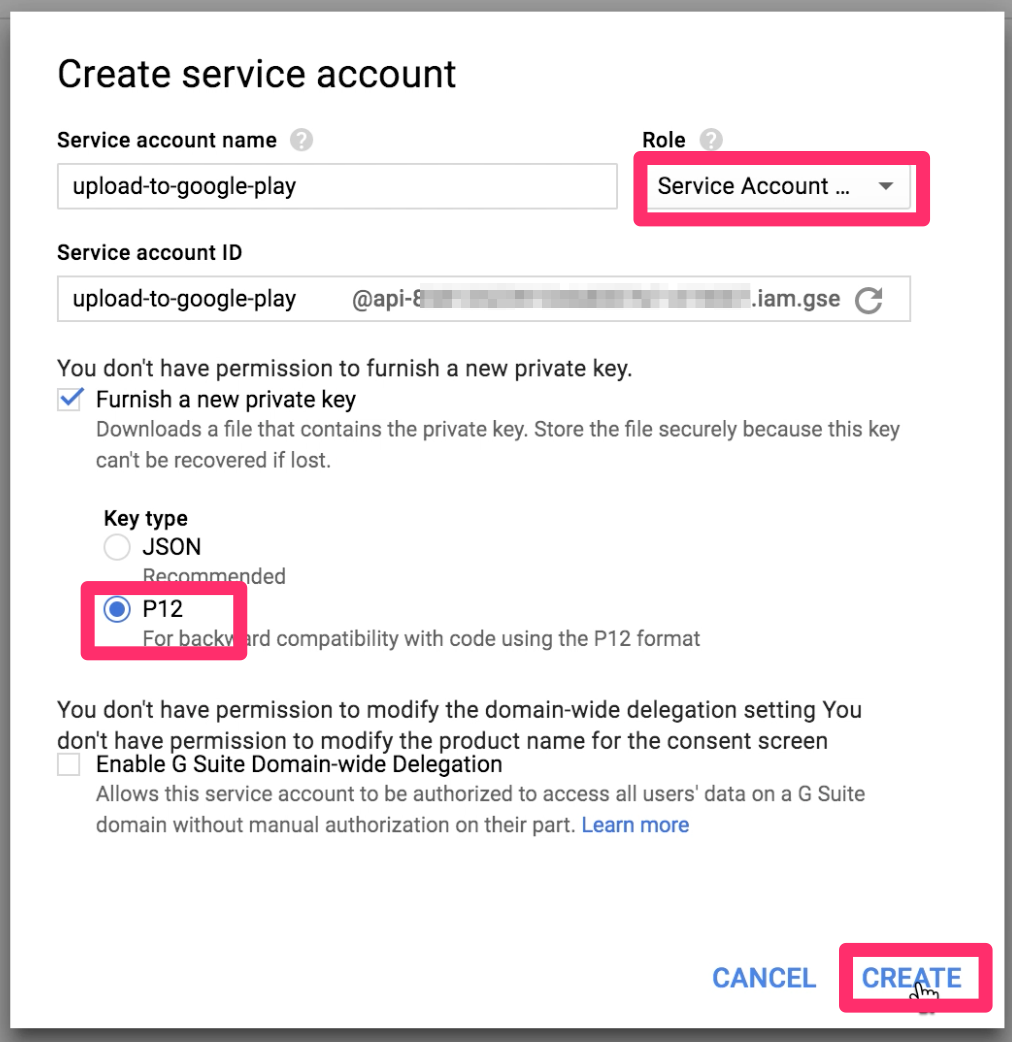
任意のアカウント名を入力し、RoleでService Accounts->Service Account Userを選択する。

Furnish a new private keyにチェックを入れ、Key typeはp12をチェック。
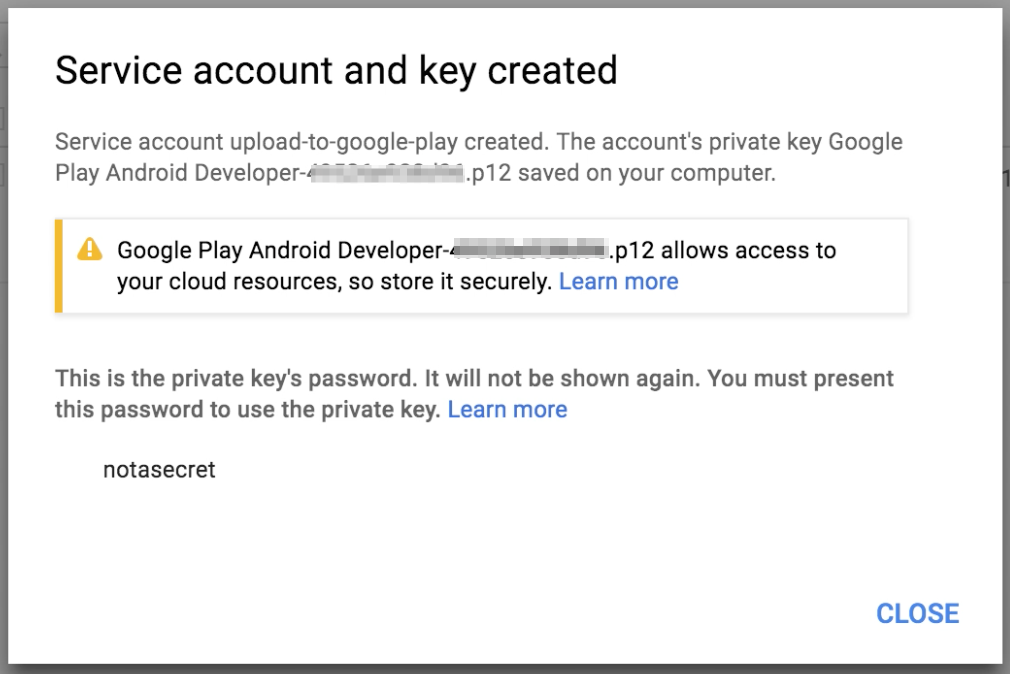
これでService accountが作成された。
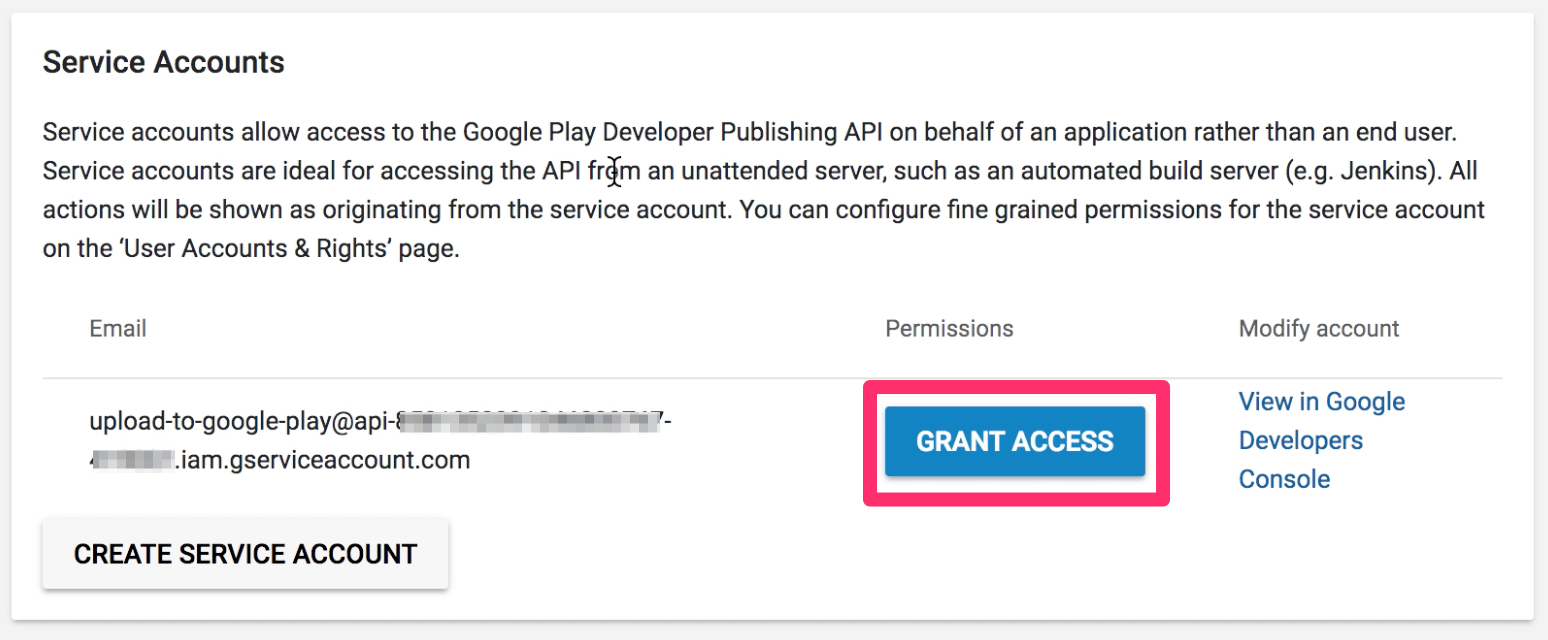
Google Play Consoleに戻るとService Accountのところに今作ったService Accountが表示されているので、このService AccountにPermissionを付加する。
Grant Accessボタンをクリック。
RoleはデフォルトでRelease managerになっていて、その他のpermissionもデフォルトでOK.Manage alpha & beta releasesなどにチェックが入っていることを確認し、ADD USERをクリック。


以下のように、Service AccountがDeveloper accountに追加される。

これでService AccountでGoogle Play Developer APIを使う準備は完了。