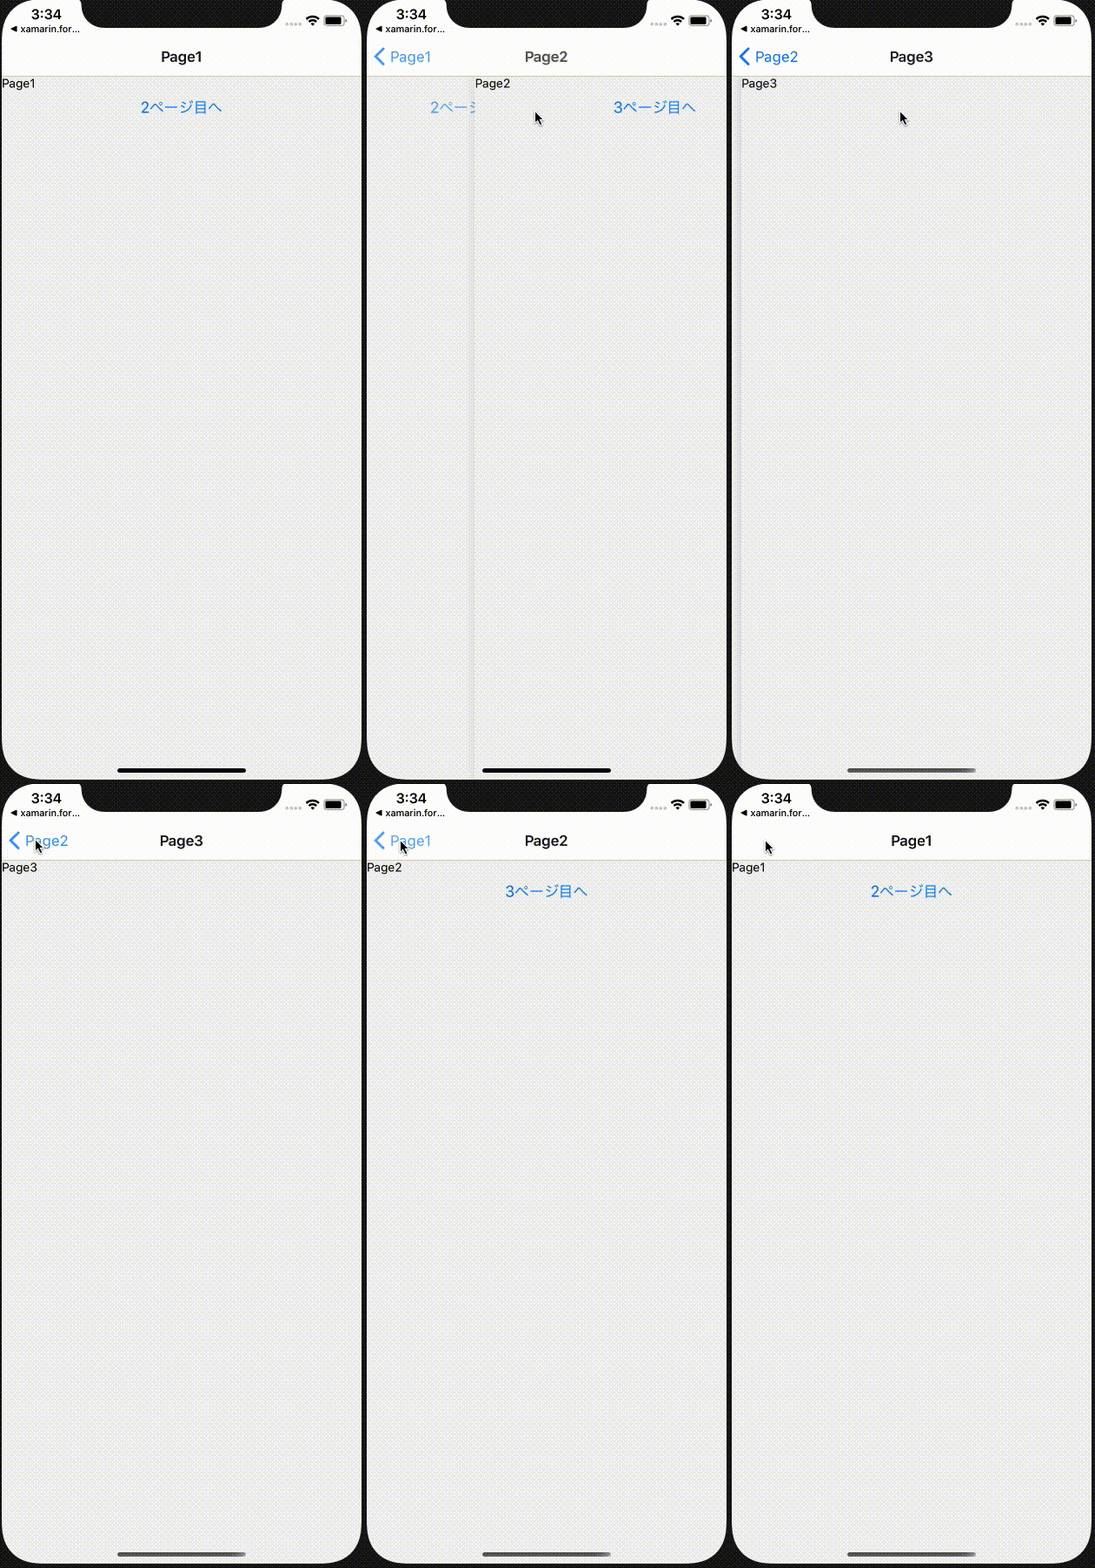
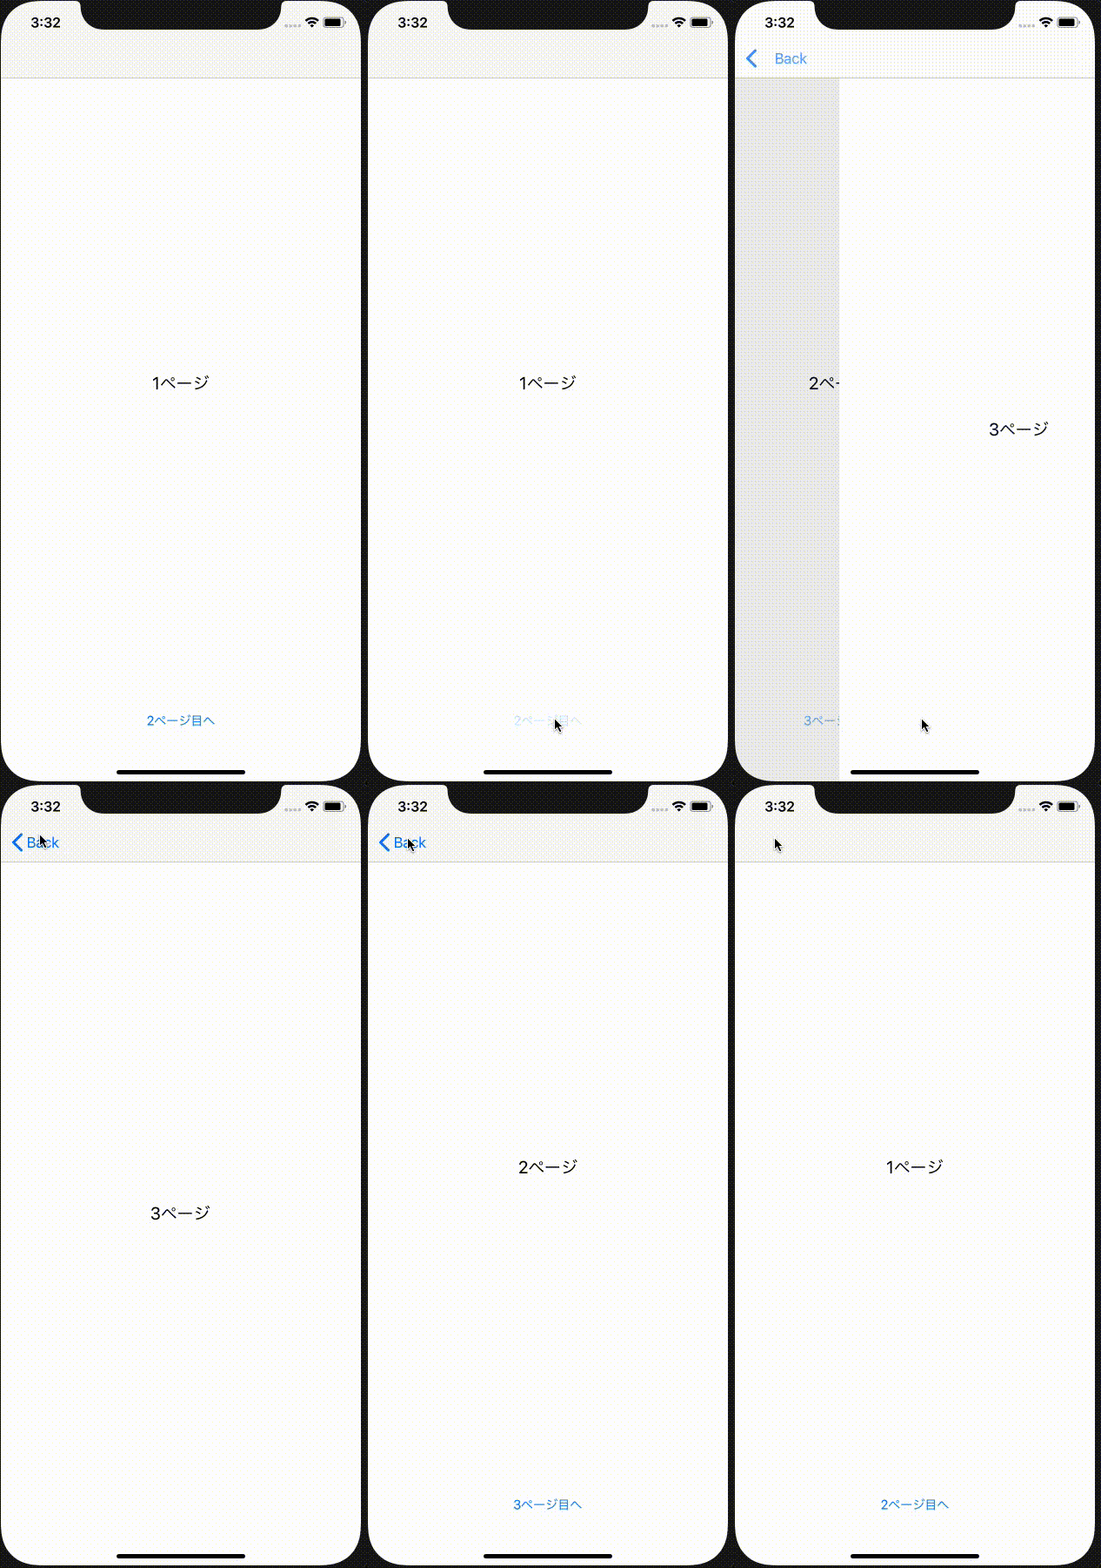
Flutter, React Native(Expo), Xamarin.Formsで、振る舞いが同じアプリを作っているんですが、その時にそれぞれのフレームワークで画面遷移する場合にはどのような実装になるのか調べました。今回は「ボタン押下で画面遷移して、前の画面に戻る」ところまでを実装しました。
また遷移する画面は3つです。これは画面が2つだと「遷移元であり遷移先である画面(2画面目)」を作るときに苦労したので__2つあるものは3つ、3つあるものは4つ__の精神で実装しました!!![]()
調べた時に「要点となる実装部分だけの記載」という記事が多くて、初心者にとっては実装する時に「このコードはどこに追加(置き換え)するんだろうか?」って思ったので、FlutterとReact Native(expo)はコピペで動作するように記載しました。Xamarin.Formsはコピペの後でnamespaceを書き換えてください。
留意事項
-
その1
- 「こう実装すればこう動く、ってことが分かればそれでOK!」を方針に実装を進めた個人開発の内容を記載しましたので、「なぜその実装が必要なのか?」や「なぜその実装で動くのか?」は分かってない部分多数です。。。

- 「こう実装すればこう動く、ってことが分かればそれでOK!」を方針に実装を進めた個人開発の内容を記載しましたので、「なぜその実装が必要なのか?」や「なぜその実装で動くのか?」は分かってない部分多数です。。。
-
その2
- 筆者は実戦経験が乏しい(というより、アプリ開発は個人開発を除いて、現場での開発が未経験。。)、なので、ご指摘は「ここは、こうした方が良いよ
 」くらいのノリでお願いします。


- 筆者は実戦経験が乏しい(というより、アプリ開発は個人開発を除いて、現場での開発が未経験。。)、なので、ご指摘は「ここは、こうした方が良いよ
-
その3
- 「HelloWorldはできたけど、他にはこんなことできたら嬉しいな〜」って思っていた時のことを思い出して書きました。そのため、強々エンジニアや超人エンジニアの方々はこのページを参考にしない方が良いと思います。


- 「HelloWorldはできたけど、他にはこんなことできたら嬉しいな〜」って思っていた時のことを思い出して書きました。そのため、強々エンジニアや超人エンジニアの方々はこのページを参考にしない方が良いと思います。
※iOSとAndroidのバージョン

フレームワークごとの相違点&要点
-
Flutter
- routesで遷移先Widgetの変数名を指定
-
React Native (Expo)
- react-navigationとreact-navigation-stackをインストール&import
- createStackNavigatorで指定&メインComponent(App.js)に定義
-
Xamarin.Forms
- コードビハインド(C#)でNavigation.PushAsyncを画面(ContentPage)ごとに実装
Flutter
以下の記事を参考に、Flutterで画面遷移する実装を行いました。
参照記事:https://nzigen.com/flutter-reference/2018-04-19-routes.html
概要
画面遷移する際に特にライブラリのインポートは不要で、Flutterの機能のみで画面遷移を実装できます。注意点はroutesに記述する遷移先の変数名(この表現であってるか自信ない、、)とボタン押下時の遷移先を一致させることです。
実装
import 'package:flutter/material.dart';

void main() => runApp(MyApp());

class MyApp extends StatelessWidget {
  @override
  Widget build(BuildContext context) {
    return MaterialApp(
      title: 'Flutter Demo',
      theme: ThemeData(
        primarySwatch: Colors.blue,
      ),
      home: MyHomePage(title: '1ページ目'),
      routes: {
        '/second': (BuildContext context) => MySecondPage(),
        '/third': (BuildContext context) => MyThirdPage(),
      },
    );
  }
}

class MyHomePage extends StatefulWidget {
  MyHomePage({Key key, this.title}) : super(key: key);

  final String title;

  @override
  _MyHomePageState createState() => _MyHomePageState();
}

class _MyHomePageState extends State<MyHomePage> {

  @override
  Widget build(BuildContext context) {
    return Scaffold(
      appBar: AppBar(
        title: Text(widget.title),
      ),
      body: Center(
        child: RaisedButton(
          onPressed: () => Navigator.of(context).pushNamed('/second'),
          child: Text('2ページ目に行く'),),
      ),

    );
  }
}

class MySecondPage extends StatelessWidget {

  @override
  Widget build(BuildContext context) {
    return Scaffold(
      appBar: AppBar(
        title: Text('2ページ目'),
      ),
      body: Center(
        child: RaisedButton(
          onPressed: () => Navigator.of(context).pushNamed('/third'),
          child: Text('3ページ目に行く'),),
      ),

    );
  }
}

class MyThirdPage extends StatelessWidget {

  @override
  Widget build(BuildContext context) {
    return Scaffold(
      appBar: AppBar(
        title: Text('3ページ目'),
      ),
      body: Center(
        child: Text('3ページ目'),
      ),
    );
  }
}
React Native(Expo)
以下の記事を参考に、React Native(Expo)で画面遷移する実装を行いました。
参照記事:https://swallow-incubate.com/archives/blog/20191220
概要
まず、react-navigationとreact-navigation-stackをプロジェクトにインストールします。
react-navigation-stackのcreateStackNavigatorで遷移先の変数を定義して、コンテナとしてApp.jsに実装します。(この表現が自信ない、間違ってたらご指摘ください。。)
プロジェクトフォルダの直下に「screen」フォルダを新規作成し、以下のファイルを「screen」フォルダに新規作成します。
- page1DetailScreen.js
- page1Screen.js
- page2Screen.js
実装

※react-navigationとreact-navigation-stackのバージョンは以下の通りです。
    "react-navigation": "^4.4.1",
    "react-navigation-stack": "^2.8.3",
import React, { Component } from 'react';
import { createAppContainer } from 'react-navigation';
import { createStackNavigator } from 'react-navigation-stack';
import page2Screen from './screens/page2Screen';
import Page1Screen from './screens/page1Screen';
import Page1DetailScreen from './screens/page1DetailScreen';

const MainStack = createStackNavigator(
  {
    Page1: Page1Screen,
    Page2: page2Screen,
    Page3: Page1DetailScreen,
  }
)

const AppContainer = createAppContainer(MainStack)

export default class App extends Component {

  render() {
    return (
      <AppContainer />
    );
  }
}
import React, { Component } from 'react';
import {
  Text,View,Button
} from 'react-native';

export default class Page1Screen extends Component {
  render() {
    return (
      <View>
        <Text>Page1</Text>
        <Button
          title="2ページ目へ"
          onPress={() => {
            this.props.navigation.navigate('Page2')
          }}
        />
      </View>
    );
  }
}
import React, { Component } from 'react';
import {
  Text,View,Button
} from 'react-native';

export default class page2Screen extends Component {
  render() {
    return (
      <View>
        <Text>Page2</Text>
        <Button
          title="3ページ目へ"
          onPress={() => {
            this.props.navigation.navigate('Page3')
          }}
        />
      </View>
    );
  }
}
import React, { Component } from 'react';
import {
  Text,View
} from 'react-native';

export default class Page1DetailScreen extends Component {
  render() {
    return (
      <View>
        <Text>Page3</Text>
      </View>
    );
  }
}
Xamarin.Forms
以下の記事を参考に、Xamarin.Formsで画面遷移する実装を行いました。
参照記事:https://rainbow-engine.com/xamarin-page-transition/
概要
画面遷移するには遷移元画面のコードビハインド(C#)で、Navigation.PushAsyncの引数に遷移先ContentPageのインスタンスを設定します。今回は3つの画面を作るので、遷移元である1画面目(MainPage)と2画面目(SecondPage)にこの実装を行います。
なお、SecondPageとThirdPageのContentPageをプロジェクト直下に新規作成しました。
実装
<?xml version="1.0" encoding="UTF-8"?>
<ContentPage
    xmlns="http://xamarin.com/schemas/2014/forms"
    xmlns:x="http://schemas.microsoft.com/winfx/2009/xaml"
    x:Class="xamarin.forms_project.MainPage">
    <StackLayout Margin="20">
        <Label  x:Name="label"
	            Text="1ページ"
                FontSize="20"
                HorizontalOptions="Center"
                VerticalOptions="CenterAndExpand" />
        <Button Text="2ページ目へ"
		        Clicked="Button_Clicked"
		        HeightRequest="100"
		        WidthRequest="200" />
    </StackLayout>
</ContentPage>
using System;
using Xamarin.Forms;

namespace xamarin.forms_project
{
    public partial class MainPage : ContentPage
    {
        public MainPage()
        {
            InitializeComponent();
        }

        private void Button_Clicked(object sender, EventArgs e)
        {
            Navigation.PushAsync(new SecondPage());
        }
    }
}
<?xml version="1.0" encoding="UTF-8"?>
<ContentPage
    xmlns="http://xamarin.com/schemas/2014/forms"
    xmlns:x="http://schemas.microsoft.com/winfx/2009/xaml"
    x:Class="xamarin.forms_project.SecondPage">
    <StackLayout Margin="20">
        <Label  x:Name="label"
	            Text="2ページ"
                FontSize="20"
                HorizontalOptions="Center"
                VerticalOptions="CenterAndExpand" />
        <Button Text="3ページ目へ"
		        Clicked="Button_Clicked"
		        HeightRequest="100"
		        WidthRequest="200" />
    </StackLayout>
</ContentPage>
using System;
using Xamarin.Forms;

namespace xamarin.forms_project
{
    public partial class SecondPage : ContentPage
    {
        public SecondPage()
        {
            InitializeComponent();
        }

        private void Button_Clicked(object sender, EventArgs e)
        {
            Navigation.PushAsync(new ThirdPage());
        }
    }
}
<?xml version="1.0" encoding="UTF-8"?>
<ContentPage
    xmlns="http://xamarin.com/schemas/2014/forms"
    xmlns:x="http://schemas.microsoft.com/winfx/2009/xaml"
    x:Class="xamarin.forms_project.ThirdPage">
    <StackLayout Margin="20">
        <Label  x:Name="label"
	            Text="3ページ"
                FontSize="20"
                HorizontalOptions="Center"
                VerticalOptions="CenterAndExpand" />
    </StackLayout>
</ContentPage>
using Xamarin.Forms;

namespace xamarin.forms_project
{
    public partial class ThirdPage : ContentPage
    {
        public ThirdPage()
        {
            InitializeComponent();
        }
    }
}
感想
個人的に、Xamarin.Formsは遷移先の指定を画面ごとに行うので、分かりやすかった!
ただ、これが仇になる場面が今後出てきそう、、![]()


