はじめに
AzureのDevOpsを体験してみたくてひとまず今回はAzure FunctionsとAzure Reposで開発環境構築を行ってみました。
今回はC#で開発を行いたいと思います。
環境
- Windows11
- Visual Studio Code
- Git v2.37.1
- Azure Functions Core Tools v4.0
- Microsoft Azure Storage Explorer
①Azure DevOpsでプロジェクト作成を行います
Azure DevOpsにサインアップします。
サインアップ後プロジェクトを作成します。
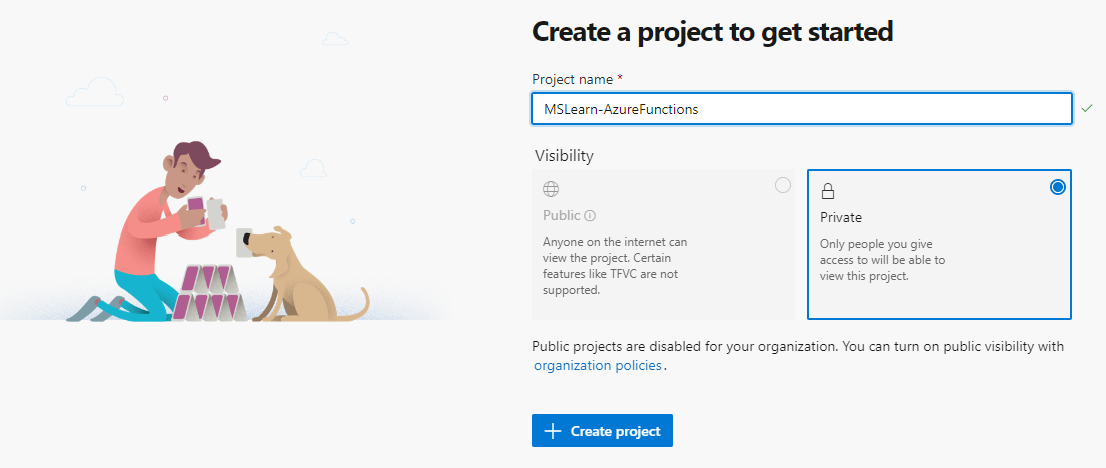
プロジェクト名を入力し、【Create project】をクリックします。
ここではプロジェクト名をMSLearn-AzureFunctionsとしました。(名前長い。。。)
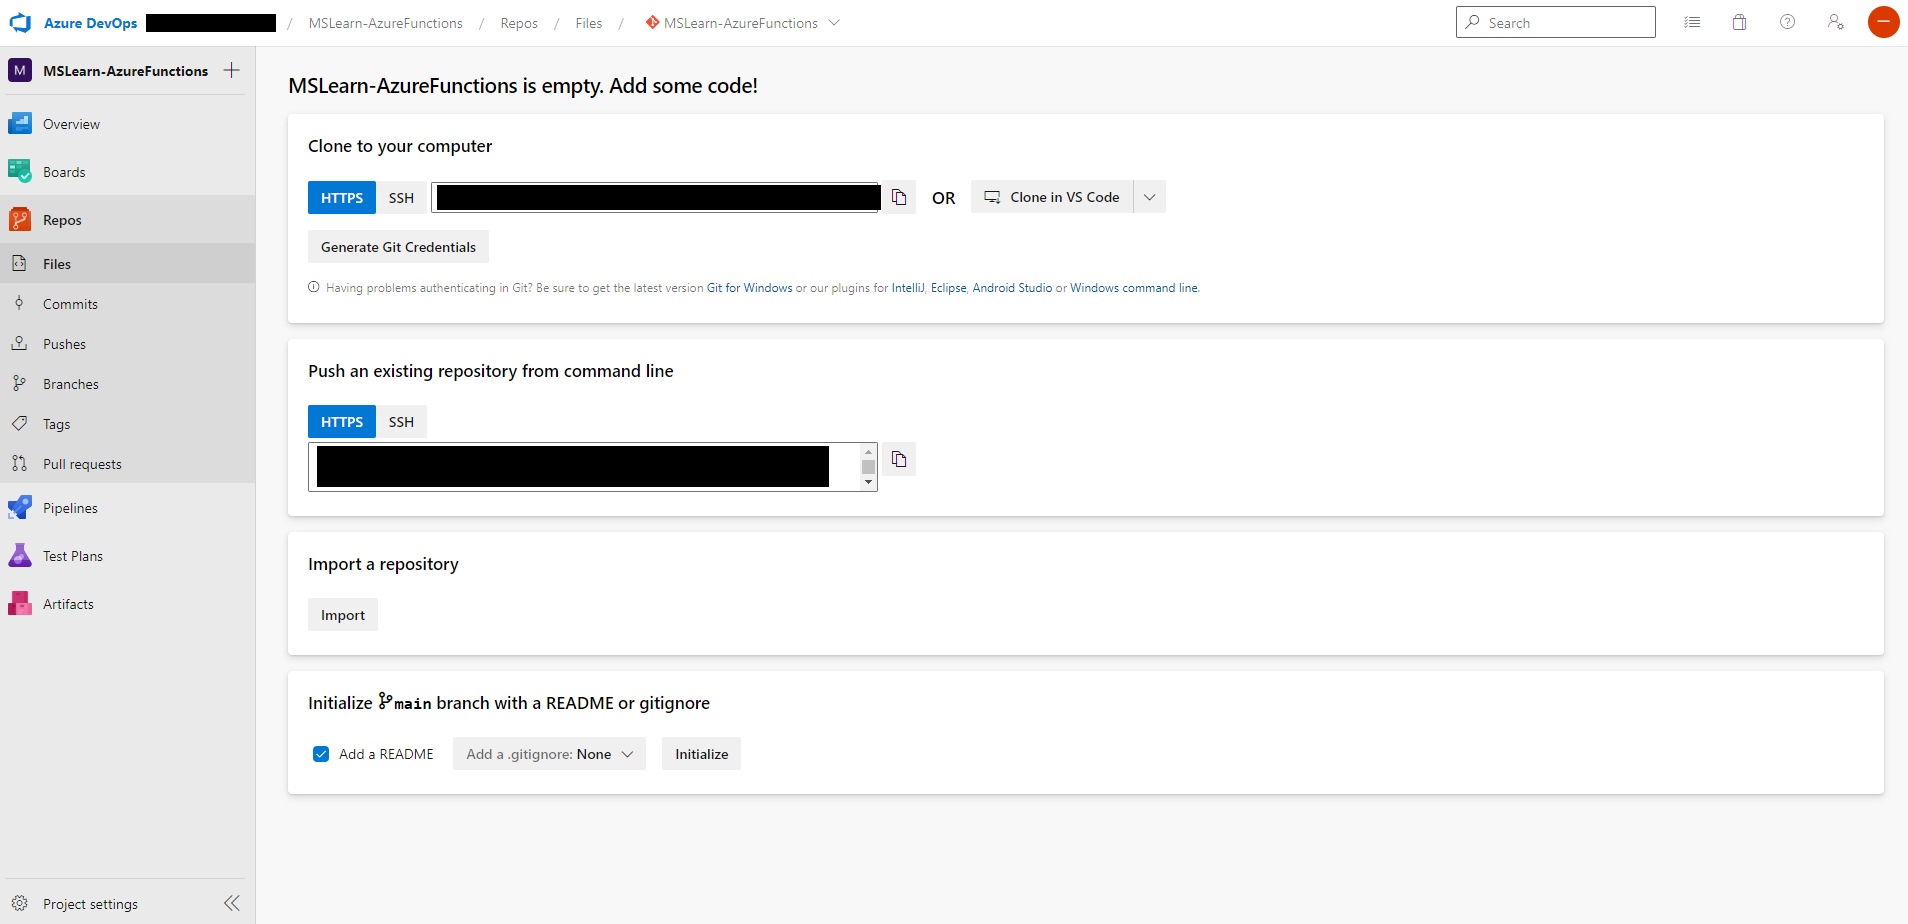
プロジェクト作成後、【Repos】の【Files】をクリックします。
その後、【Clone in VS Code】をクリックしてmasterブランチをローカルにクローンします。
②VSCode上でAzure Functionsの環境構築を行います
クローン後VSCodeが開かれると思います。
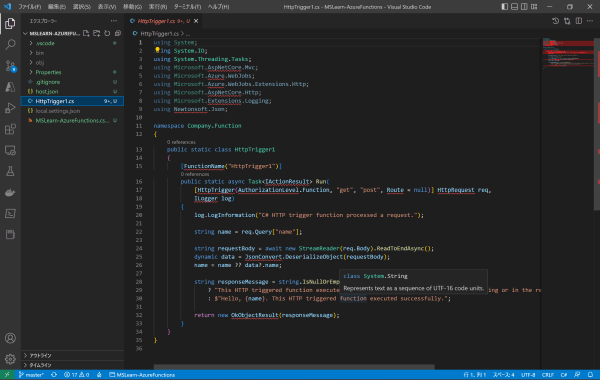
Azureマークをクリックしその後、WorkSpaceのFunctionマークをクリックします。
その後、以下の順にクリックしていきます。
- C#
- .Net6.0
- HTTP trigger
- HTTPTrigger(機能名、今回はデフォルトのままです)
- Company.Function(namespace、今回はデフォルトのままです)
- Function
その後、ターミナルを開き拡張機能をインストールします。
dotnet add package Microsoft.Azure.WebJobs.Extensions
その後、デバッグ実行し実行したアプリにAPIをリクエストするとStatus200が返ってくると思います。
# 参考APIリクエスト
Invoke-WebRequest -Uri "http://localhost:7071/api/機能名" -Method GET
※以下参考
※実行前にAzure Functions Core Toolsをインストールする必要があると思います。
③Reposに向けてPushしてみる
コミット前に.gitignoreファイルに追記を行います。
(特にリモートリポジトリにpushする必要がないものは.gitignoreに追記します)
# 以下を追加
# VSCode
.vscode/
その後コミットしVSCodeのGitの機能でPushします。
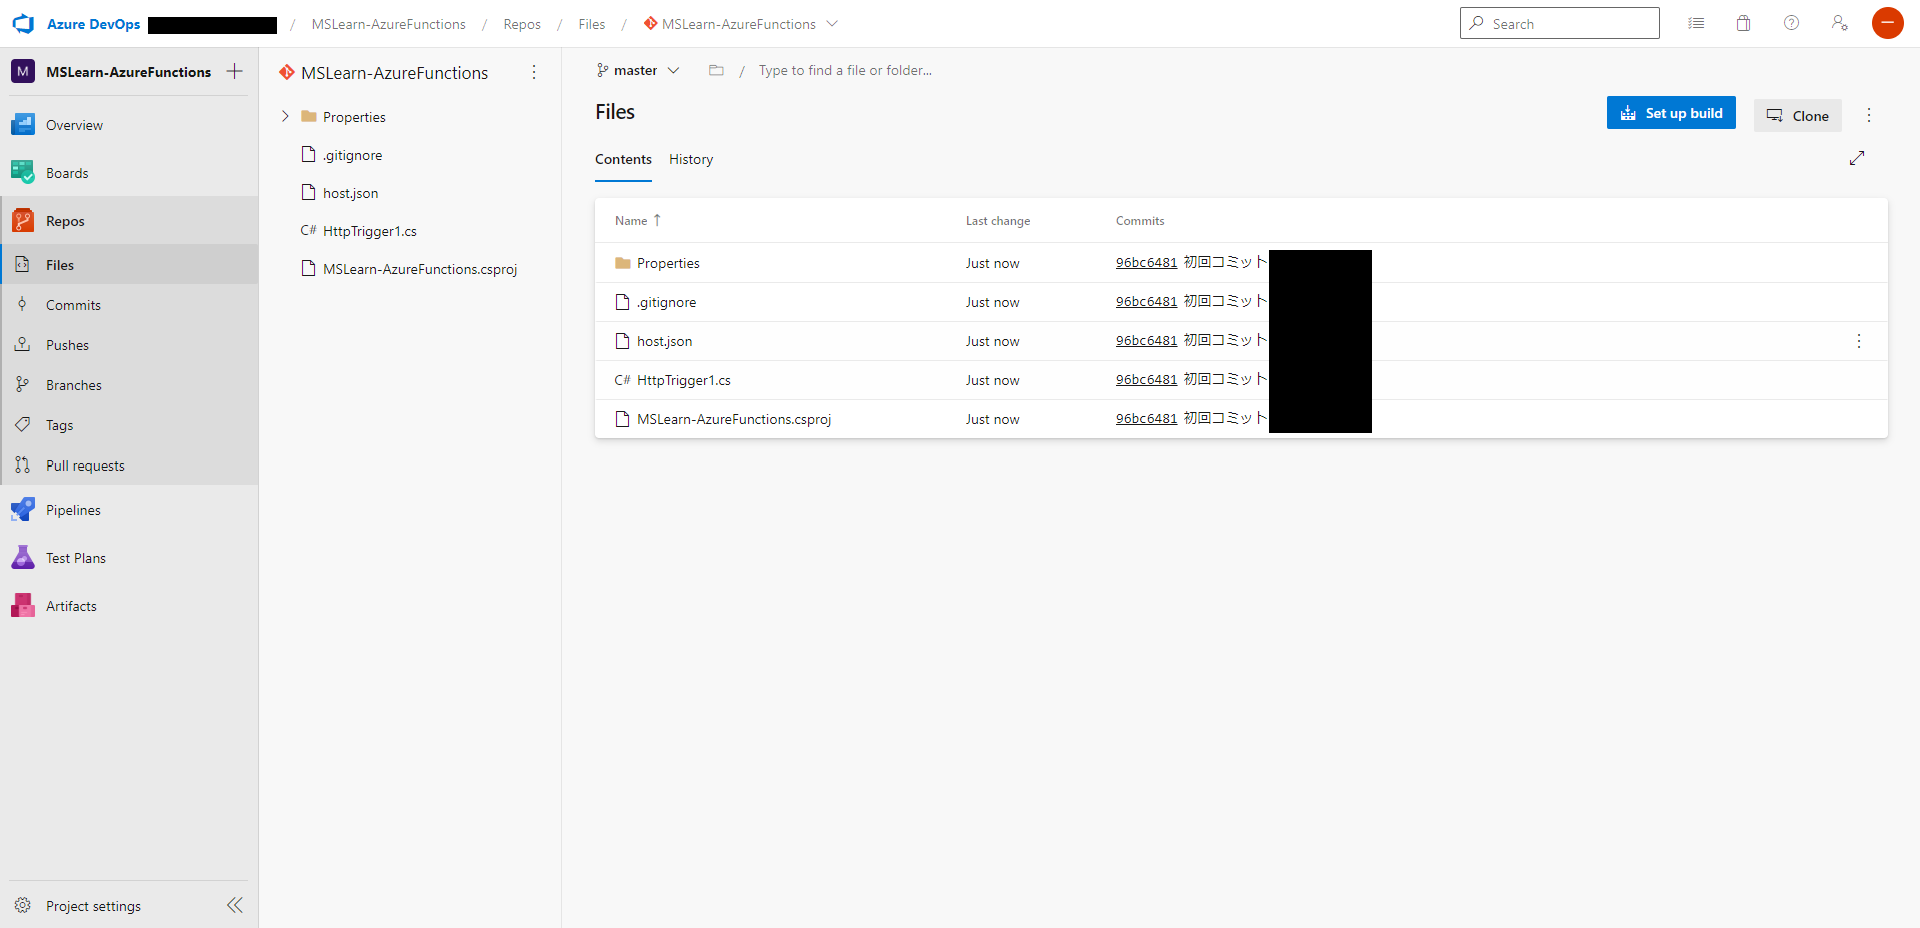
Push後にAzure Reposを見るとファイルが追加されていると思います。
【Repos】の【Branches】をクリックします。
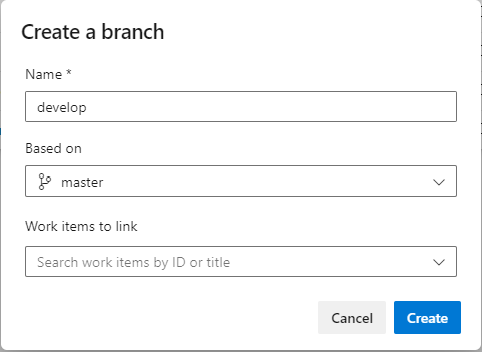
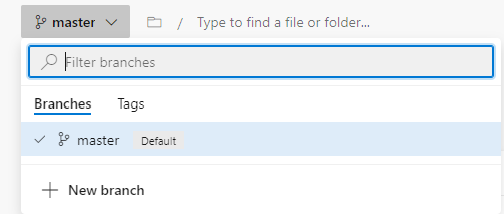
その後、【master】をクリックして【New brench】をクリックします。
新しいブランチ名をdevelopにしてブランチを作成します。
④新規ブランチを作成する
VSCodeのフッター部のブランチ名masterをクリックして③で作成したdevelopブランチに切り替えます。
その後、新規ブランチを「feature/azure-blob」として作成します。
※今回は、新規ブランチでAzuriteを使ってストレージエミュレータを動かす機能を作成したいと思います。
作成後、VSCodeの拡張機能でAzuriteをインストールします。
インストール後コマンドパレットでAzurite:StartをクリックしてAzuriteを起動します。
その後、Blobコンテナを作成するクラスを作成します。
※今回はUtilityというフォルダを作成し、その配下にAzureStorageClientUtility.csというファイルを作成しました。
※今回はBlobServiceClientで使用しているアカウントキーはAzuriteでのエミュレータ共有キー資格情報を設定しています。
Azure portalで作成したストレージと接続したい場合などは構成ファイルとかに設定を持たす等工夫が必要だと思います。
(今度記事を書こう。)
using System;
using System.Threading.Tasks;
using Azure;
using Azure.Storage.Blobs;

namespace Company.Function.Utility
{
    public class AzureStorageClientUtility
    {
        /// <summary>
        /// コンテナクライアント
        /// </summary>
        BlobServiceClient blobServiceClient = new BlobServiceClient("DefaultEndpointsProtocol=http;AccountName=devstoreaccount1;AccountKey=Eby8vdM02xNOcqFlqUwJPLlmEtlCDXJ1OUzFT50uSRZ6IFsuFq2UVErCz4I6tq/K1SZFPTOtr/KBHBeksoGMGw==;BlobEndpoint=http://127.0.0.1:10000/devstoreaccount1;");

        /// <summary>
        /// コンテナ作成
        /// </summary>
        /// <returns>コンテナ名</returns>
        public async Task<BlobContainerClient> CreateContainerAsync()
        {
            // Name the sample container based on new GUID to ensure uniqueness.
            // The container name must be lowercase.
            string containerName = "container-" + Guid.NewGuid();

            try
            {
                // Create the container
                BlobContainerClient container = await blobServiceClient.CreateBlobContainerAsync(containerName);

                if (await container.ExistsAsync())
                {
                    Console.WriteLine("Created container {0}", container.Name);
                    return container;
                }
            }
            catch (RequestFailedException e)
            {
                Console.WriteLine("HTTP error code {0}: {1}",
                                    e.Status, e.ErrorCode);
                Console.WriteLine(e.Message);
            }

            return null;
        }
    }
}
②で作成したHttpTrigger1.csというファイルを以下のようにします。
using System;
using System.IO;
using System.Threading.Tasks;
using Microsoft.AspNetCore.Mvc;
using Microsoft.Azure.WebJobs;
using Microsoft.Azure.WebJobs.Extensions.Http;
using Microsoft.AspNetCore.Http;
using Microsoft.Extensions.Logging;
using Newtonsoft.Json;
using Company.Function.Utility;

namespace Company.Function
{
    public static class HttpTrigger1
    {
        [FunctionName("HttpTrigger1")]
        public static async Task<IActionResult> Run(
            [HttpTrigger(AuthorizationLevel.Function, "get", "post", Route = null)] HttpRequest req,
            ILogger log)
        {
            log.LogInformation("C# HTTP trigger function processed a request.");

            string name = req.Query["name"];

            string requestBody = await new StreamReader(req.Body).ReadToEndAsync();
            dynamic data = JsonConvert.DeserializeObject(requestBody);
            name = name ?? data?.name;

            string responseMessage = string.IsNullOrEmpty(name)
                ? "This HTTP triggered function executed successfully. Pass a name in the query string or in the request body for a personalized response."
                : $"Hello, {name}. This HTTP triggered function executed successfully.";

            // 以下追加
            AzureStorageClientUtility azureUtility = new AzureStorageClientUtility();
            await azureUtility.CreateContainerAsync();
            return new OkObjectResult(responseMessage);
        }
    }
}
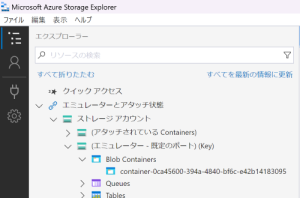
作成後デバッグ実行してAPIリクエストをするとストレージエクスプローラーのBlobに新しいBlobコンテナが作成されていると思います。
コミット前に.gitignoreファイルに追記を行います。
# 以下を追加
# Azurite
__azurite_*.json
コミット後Pushしてみます。
Push時に警告がかもしれませんが【OK】をクリックします。

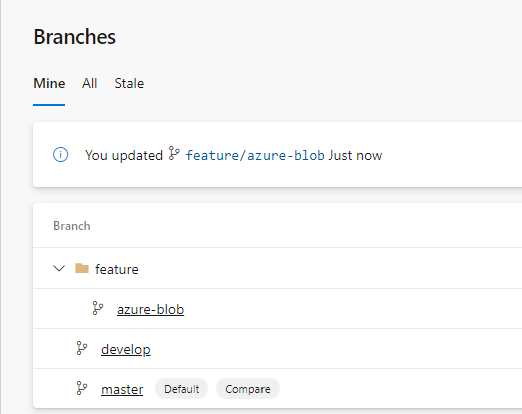
Pushに成功すると【Repos】の【Branches】にfeature/azure-blobブランチが作成されていると思います。
⑤Pull Requestしてみる
【Repos】の【Branches】の【Create a pull request】をクリックします。
マージ先をdevelopにして【Create】をクリックします。
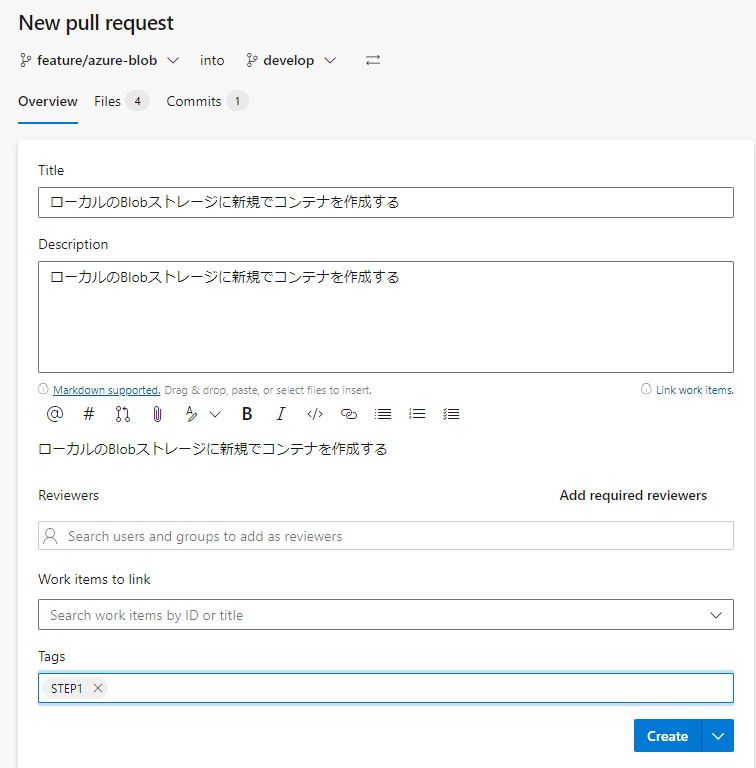
その後レビュー者が【approve】し、作成者が【Complete】をします。
Completeをするとdevelopブランチにソースがマージされfeature/azure-blobブランチは削除されていると思います。
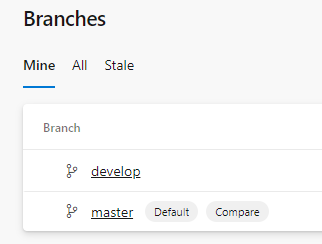
※以下参考
所感
AzureFunctionsとAzureReposを使って開発環境構築を行ってみました。
さらにBordsを使えばアジャイルぽく開発ができると思いました。
また機会があればこの開発にさらにPipelineを作成してCI/CDの環境構築にチャレンジしてみたいと思いました。
今後もいろいろチャレンジしてみたいと思います。

