こんにちは。
タイトルまんまです。Continuous Integration/Continuous Deploymentです。継続的インテグレーション/継続的デプロイです。
丁寧に書こうとしすぎて長くなっていますが、この話の**本質はここ**にあります。
お急ぎの方はどうぞ。
前提
バージョン6以上のnodeをインストール済み
Firebase
兎にも角にもCI/CDを回す対象となるFirebaseプロジェクトが必要です。
さくっとFirebaseのプロジェクトを用意しましょう。
※すでにFirebaseのプロジェクトがある場合はTravis CIの節までスキップしてください。
Firebase consoleでプロジェクトを作成する
Firebase consoleにログインし、プロジェクトを作成しましょう。
本当はfirebase-toolsでもプロジェクトを作成できますが、どっちにしろデフォルトロケーションの設定をするためにFirebase consoleに入る必要があるのでこの方が早いと思います。
「プロジェクトを追加」をクリックします。

プロジェクト名を入力します。

Google アナリティクスを利用するか聞かれます。
今回は不要なので「今は設定しない」を選択します。

少し待つとプロジェクトが作成されます。
これで完了と言いたいのですが、次のステップでfirebase initを実行するときに、デフォルトロケーションを設定していないと怒られるので、デフォルトロケーションの設定も今のうちに終わらせておきます。
プロジェクトの詳細画面に移動し「プロジェクトの設定」をクリック。

「Google Cloud Platform(GCP)リソース ロケーション」という項目が未設定となっていると思うので、右の編集ボタンをクリックしてロケーションを選択します。
今回は「asia-northeast1」を選択します。
asia-northeast1は東京、asia-northeast2は大阪らしいです。
他のロケーションについてはCloud Firestore のロケーションを参照してください。

Firestoreを使用する場合、予めデータベースを作成する必要があります。
「Database」に移動します。

お好きな方を選択して次へ。

Databaseを作成する場合は、ここでロケーションを設定しても良いです。

Firebaseプロジェクトの作成は以上です。
firebase-toolsをインストール
公式ドキュメントを参考に、firebase-toolsをインストールしましょう。
firebase-toolsとは、プロジェクトのボイラープレートを生成してくれたり、デプロイしたりするのにも使えますし、今回はあとでTravis CIに設定するためのトークンを取得するのにも使います。
npm install -g firebase-tools
インストールが完了したら以下のコマンドを実行してGoogleアカウントでFirebaseにログインします。
firebase login
firebase-toolsでプロジェクトを用意する
Firebaseプロジェクトを作成したいフォルダで、以下のコマンドを実行します。
firebase init
すると使用したいFirebaseの機能を聞かれるので、必要なものを選びます。
今回はDatabase以外のすべてを選択します。
選択したらEnterへ次へ。
? Which Firebase CLI features do you want to set up for this folder? Press Space to select features, then Enter to confirm your choices.
 ◯ Database: Deploy Firebase Realtime Database Rules
 ◉ Firestore: Deploy rules and create indexes for Firestore
 ◉ Functions: Configure and deploy Cloud Functions
 ◉ Hosting: Configure and deploy Firebase Hosting sites
❯◉ Storage: Deploy Cloud Storage security rules
続いてFirebaseプロジェクトについて聞かれます。
今回は作成済みなので Use an existing project を選びます。
? Please select an option: (Use arrow keys)
❯ Use an existing project
  Create a new project
  Add Firebase to an existing Google Cloud Platform project
  Don't set up a default project
プロジェクトを選びます。
? Select a default Firebase project for this directory: (Use arrow keys)
❯ fir-travis-ci-example-f33dd (firebase-travis-ci-example)
質問に答えていきます。
今回はFunctionsの設定だけ変更していますが、それ以外はデフォルトのままです。
=== Firestore Setup

Firestore Security Rules allow you to define how and when to allow
requests. You can keep these rules in your project directory
and publish them with firebase deploy.

? What file should be used for Firestore Rules? firestore.rules

Firestore indexes allow you to perform complex queries while
maintaining performance that scales with the size of the result
set. You can keep index definitions in your project directory
and publish them with firebase deploy.

? What file should be used for Firestore indexes? firestore.indexes.json

=== Functions Setup

A functions directory will be created in your project with a Node.js
package pre-configured. Functions can be deployed with firebase deploy.

? What language would you like to use to write Cloud Functions? TypeScript
? Do you want to use TSLint to catch probable bugs and enforce style? Yes
✔  Wrote functions/package.json
✔  Wrote functions/tslint.json
✔  Wrote functions/tsconfig.json
✔  Wrote functions/src/index.ts
✔  Wrote functions/.gitignore
? Do you want to install dependencies with npm now? Yes

=== Hosting Setup

Your public directory is the folder (relative to your project directory) that
will contain Hosting assets to be uploaded with firebase deploy. If you
have a build process for your assets, use your build's output directory.

? What do you want to use as your public directory? public
? Configure as a single-page app (rewrite all urls to /index.html)? No
✔  Wrote public/404.html
✔  Wrote public/index.html

=== Storage Setup

Firebase Storage Security Rules allow you to define how and when to allow
uploads and downloads. You can keep these rules in your project directory
and publish them with firebase deploy.

? What file should be used for Storage Rules? storage.rules

i  Writing configuration info to firebase.json...
i  Writing project information to .firebaserc...
i  Writing gitignore file to .gitignore...

✔  Firebase initialization complete!
このあとビルドで何も書いてないとエラーとなってしまうため、functions/index.ts内のソースをコメントアウトしておきます。
import * as functions from 'firebase-functions';

// // Start writing Firebase Functions
// // https://firebase.google.com/docs/functions/typescript
//
export const helloWorld = functions.https.onRequest((request, response) => {
 response.send("Hello from Firebase!");
});
またlintとbuildは後述の.travis.ymlに書くため、firebase.jsonのpredeployは消してしまいましょう。
{
  "firestore": {
    "rules": "firestore.rules",
    "indexes": "firestore.indexes.json"
  },
  "functions": {
  },
  "hosting": {
    "public": "public",
    "ignore": [
      "firebase.json",
      "**/.*",
      "**/node_modules/**"
    ]
  },
  "storage": {
    "rules": "storage.rules"
  }
}
以上でプロジェクトのセットアップは完了です。
このプロジェクトをGitHubの適当なリポジトリにPushしておいてください。
この時点では https://github.com/itigoore01/firebase-travis-ci-example/tree/276976b66b0cb025d9e441447473415b28f952d9 のようなファイル構成になっているはずです。
これでCI/CDを回す準備が整いました。
これからが本番です。
Travis CI
Travis CIの設定をしていきます。
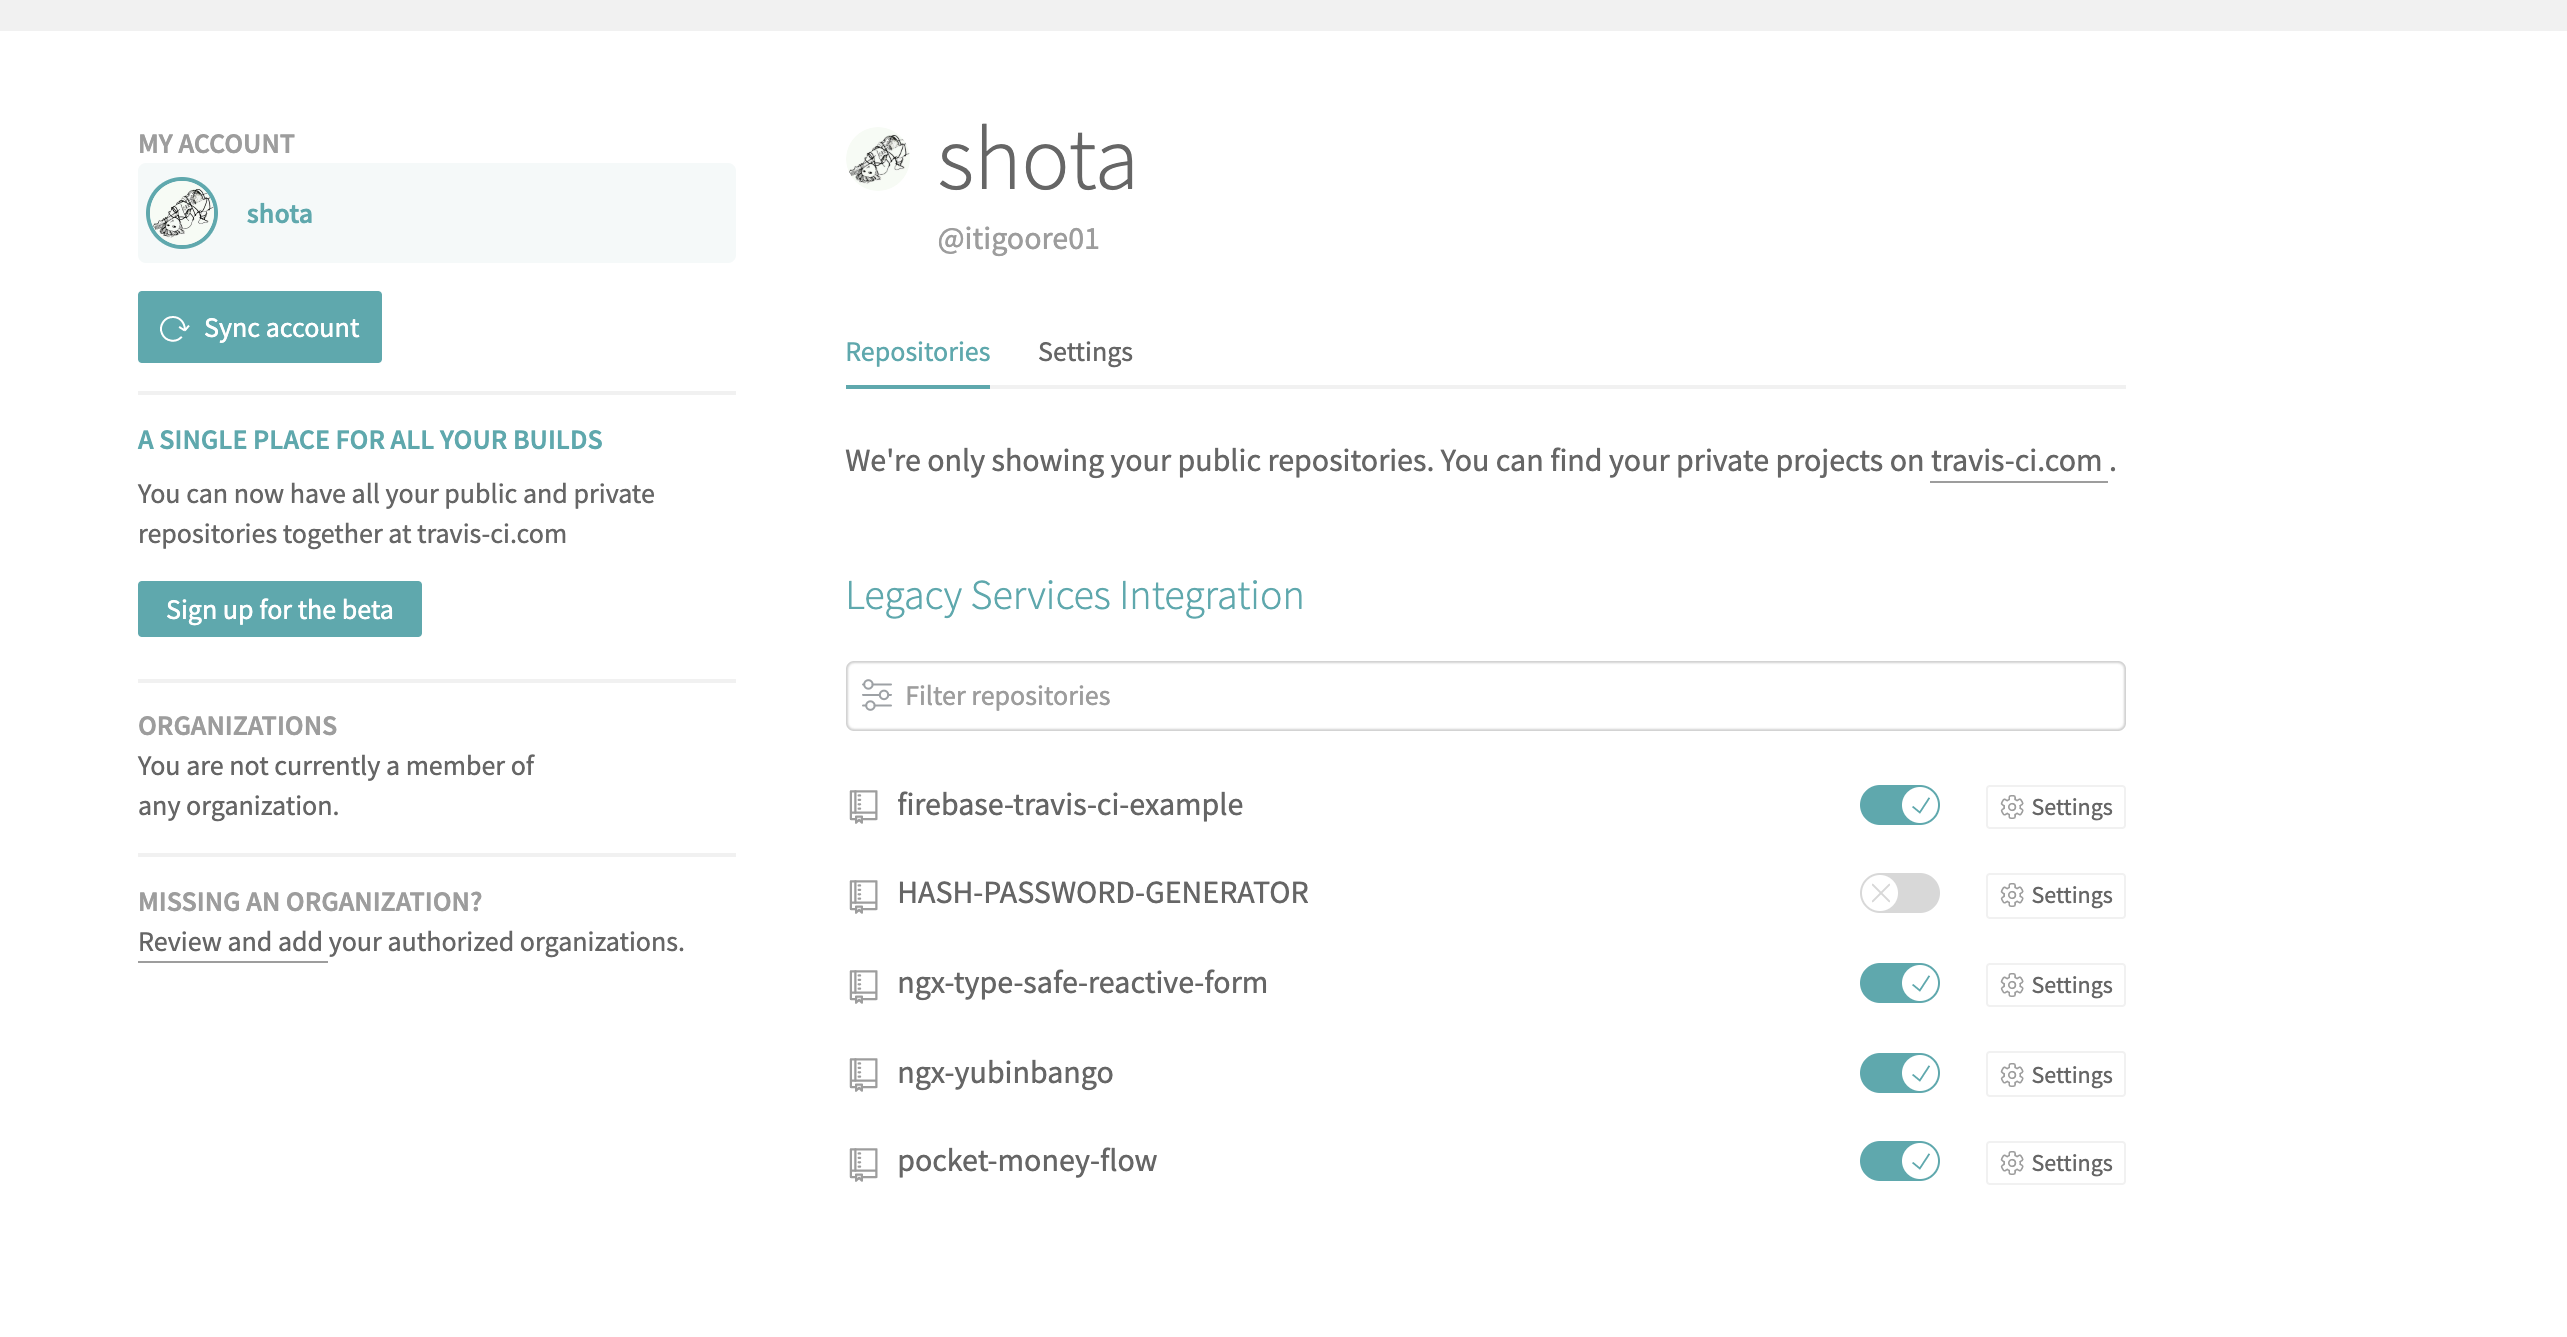
リポジトリのCIを有効化する
Travis CIにログインし、右上のアバター画像をクリックして設定画面を開きます。
設定画面にGitHubに作成したリポジトリの一覧が表示されているので、対象のリポジトリをONにします。
.travis.yml を書く
書いていきます。
language: node_js
node_js:
  - "10"
script:
  - npm --prefix "./functions" install
  - npm --prefix "./functions" run lint
  - npm --prefix "./functions" run build
deploy:
  provider: firebase
  skip_cleanup: true
  token:
    secure: $FIREBASE_TOKEN
以上です。
たまに firebase-tools をインストールして firebase deploy --token $FIREBASE_TOKEN を実行している例を見ますが、Travis CIにはFirebaseにデプロイするためのプロバイダーが用意されているので、本当はそれすら必要ありません。
ちなみに、scriptのところにある npm --prefix "./functions" installはfunctions内にあるpackage.jsonのパッケージをインストールするためのコマンド、そのあと同フォルダのlint、buildと続きます。
Functionsを使っていない場合は代わりに echo ""などのコマンドに置き換えてください。
(置き換える必要あるのか?と思われるかもしれませんが、今回の例ではnpm testを勝手に実行されてエラーとなってしまうため置き換える必要があります。)
Travis CIにFirebaseのTokenを設定する。
.travis.ymlに$FIREBASE_TOKENというものが登場しましたが、これは当然勝手に入るものではないので自分で設定してあげる必要があります。
まずシェルで以下のコマンドをたたき、Travis CIに設定するためのトークンを取得します。
firebase login:ci
ブラウザが立ち上がるので、ログインするとシェルに以下のようなトークンが出力されているはずなので、これをクリップボードにコピーします。
✔  Success! Use this token to login on a CI server:

1/detaRAmEnatokundesUcbfT2-EYYrkAFU5fiM-N6bdB
Travis CIの設定画面に移り、対象のリポジトリの「Settings」ボタンをクリック。

「Envrionment Variables」の項目を入力し、「ADD」ボタンで追加します。
NAME: FIREBASE_TOKEN (ドルマークは不要です)
VALUE: 先の手順で取得したトークン

以上で設定完了です。
git commit & git pushしてちゃんとデプロイされているかチェックしてみましょう。
Buildが走り出すとこんな感じになります。

成功するとこうなります。
ちなみにビルド番号が変わっているのは、記事を書く途中全然うまいこといかなかったからです。無念。。。

確認
まずはGitHubとのCI連携を確認します。
適当にプルリクエストを作成してテストしてみます。
エラーが出るのがわかりきっている悪意溢れるプルリクエストを作成してみましょう。
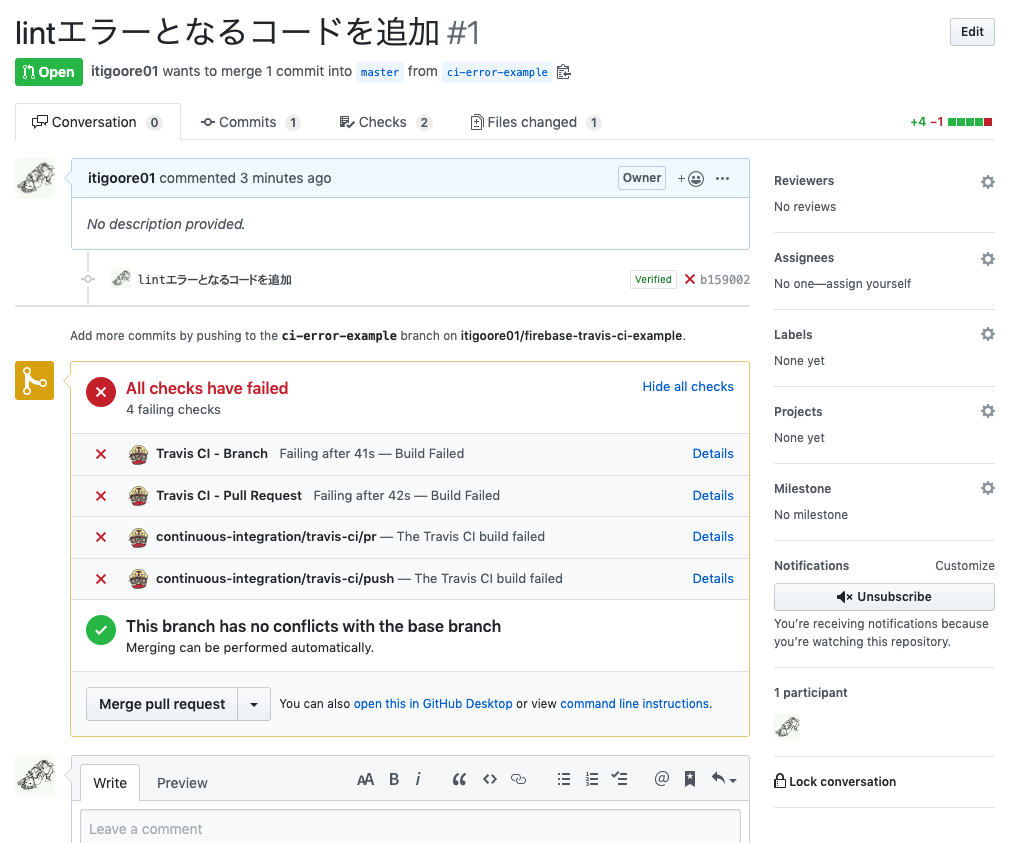
ちゃんと反映されていますね。
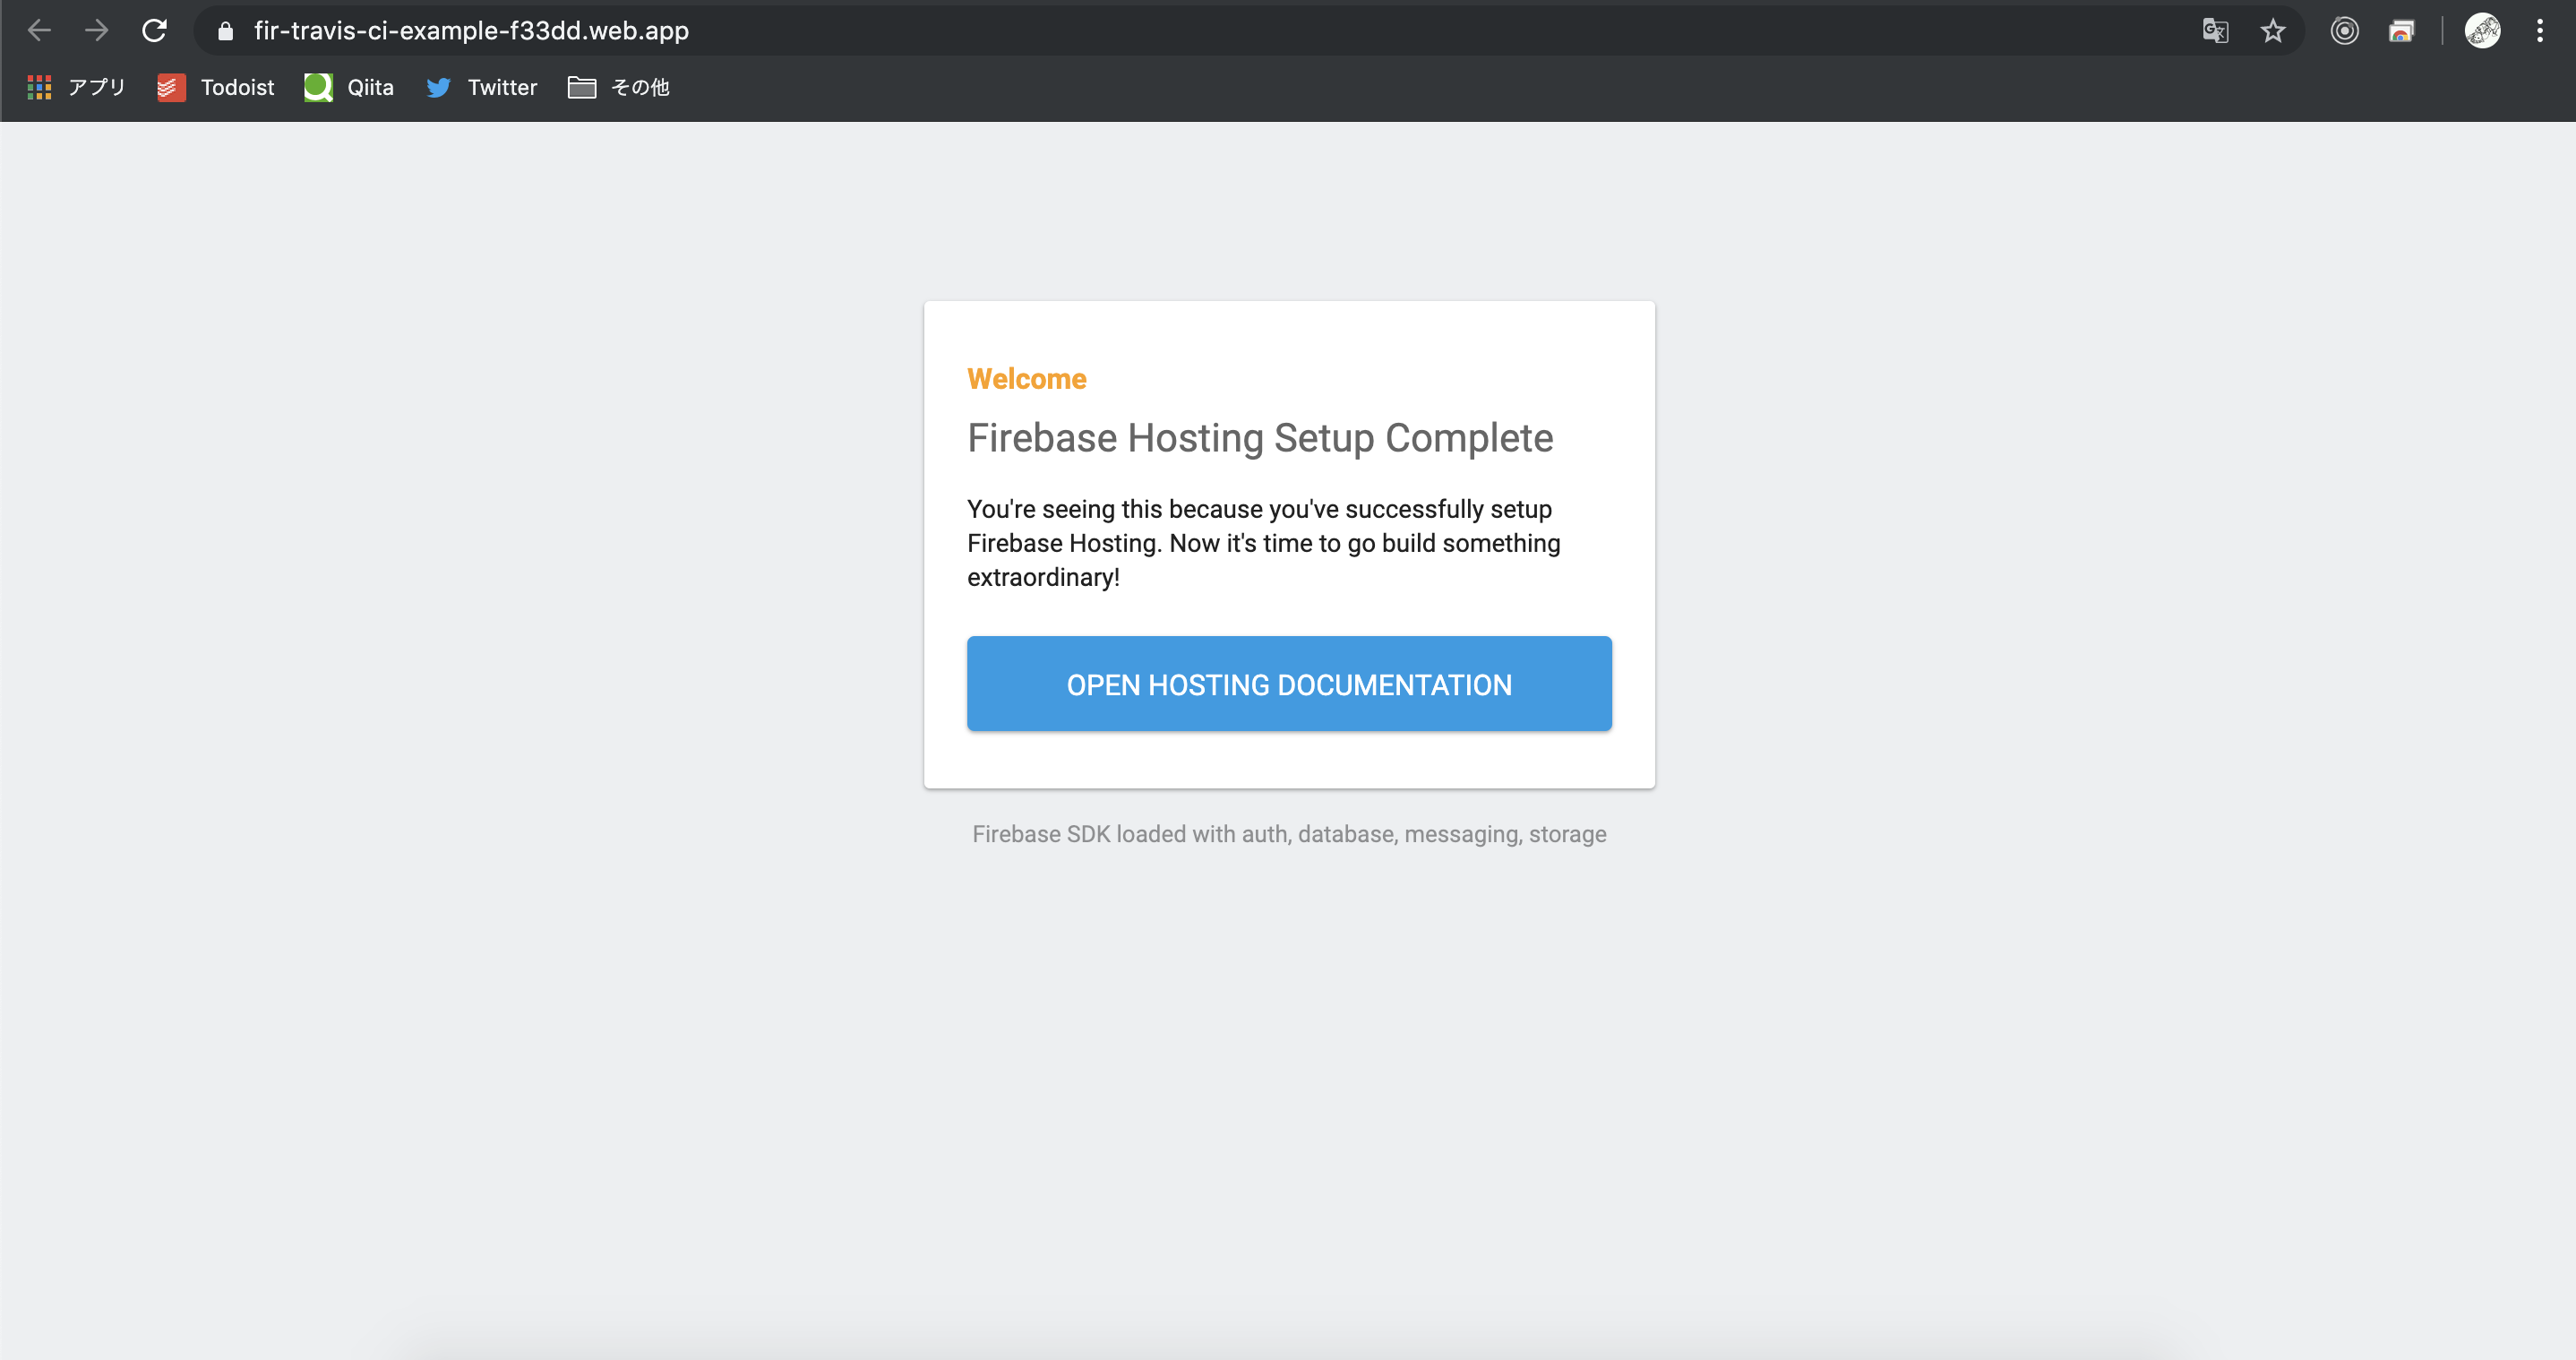
Firebaseも見ていきます。
Functionsに関数が増えています。

Hostingもちゃんと出来てますね。
さいごに
今回の例のソースコードは以下にありますので参考まで。