Laravel6.xでLINEログインしてみた時のメモ。
環境
Mac
Laravel Framework 6.9.0
環境構築
以下を参考にしました。わかりやすかったです。ありがとうございます。
参考サイト:初心者でもLaradockでLaravelの環境構築をエラーなしで行おう!(Mac ver)
https://qiita.com/mukae_tech/items/24709085948a6d707da3
実装
Laravelのプロジェクトを作成したので、実装していきます。
以下のLINEドキュメントを参考にしています。
参考サイト:ウェブアプリにLINEログインを組み込む
https://developers.line.biz/ja/docs/line-login/web/integrate-line-login/
LINEドキュメントにある通り、LINEコンソールでチャネルを作成しないといけないです。
Git
ソース抜粋
ルーティング
Route::get('/', function () {
    return view('welcome');
});

Route::get('/home', 'HomeController@index')->name('home');

Route::get('/line_login', 'LineLoginController@index')->name('line_login');
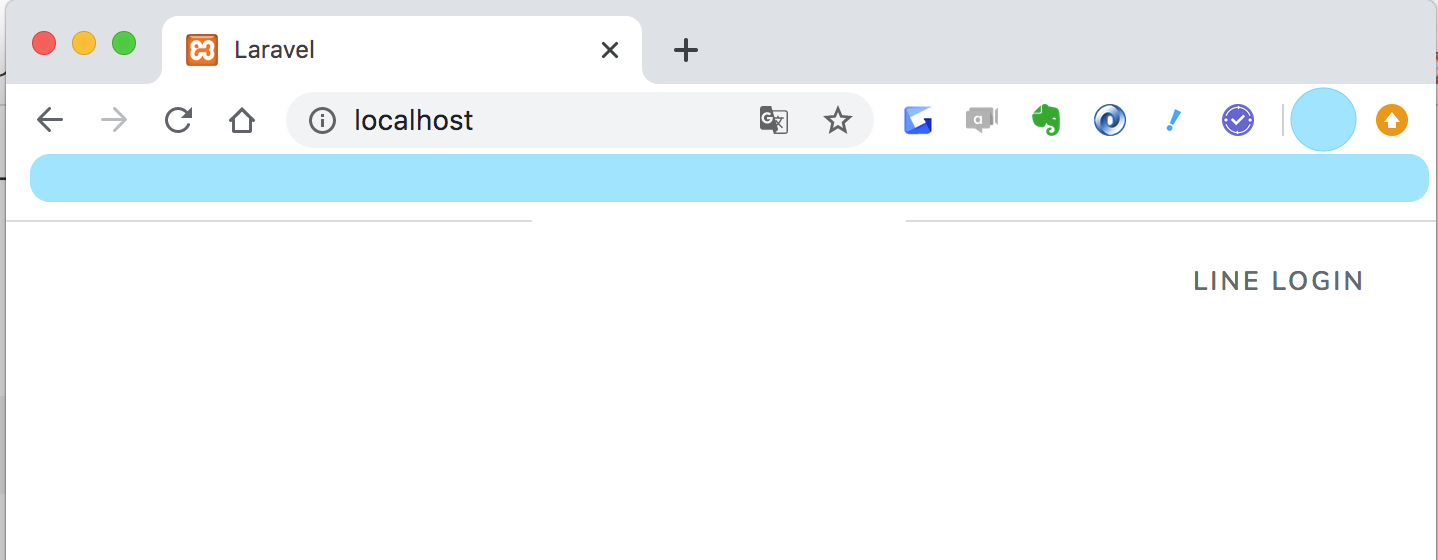
初期表示画面
ヘッダー部やスタイル部は省略しています。
<body>
        <div class="flex-center position-ref full-height">
            <div class="top-right links">
                <a href="/line_login">LINE LOGIN</a>
            </div>
        </div>

        <!-- エラーメッセージがある場合-->
        @if (session('flash_message'))
            <div class="content top-center flex-center flash_message bg-success text-center py-3 my-0">
                {{ session('flash_message') }}
            </div>
        @endif
    </body>
LINEログインコントローラ
<?php

namespace App\Http\Controllers;

use Illuminate\Http\Request;
use App\Task;
use Illuminate\Support\Str;

class LineLoginController extends Controller
{


    public function index()
    {
        // state生成
        $state = Str::random(40);
        \Cookie::queue('state', $state,100);

        // nonce生成
        $nonce  = Str::random(40);
        \Cookie::queue('nonce', $nonce,100);

        // LINE認証
        $uri ="https://access.line.me/oauth2/v2.1/authorize?response_type=code";
        $client_id_uri = "&client_id=".env('CLIENT_ID', false);
        $redirect_uri ="&redirect_uri=http://localhost/home";
        $state_uri = "&state=".$state;
        $scope_uri="&scope=openid%20profile";
        $prompt_uri = "&prompt=consent";
        $nonce_uri = "&nonce=";

        return redirect($uri.$client_id_uri.$redirect_uri.$state_uri.$scope_uri.$prompt_uri.$nonce_uri);

    }
}
ホームコントローラ
CLIENT_IDとCHANNEL_SECRETの値はLINEコンソールの値を設定します。
私は.envに書いたものを呼び出しています。
(定数ファイルとかも作った方が良いですね。。とりあえずgit ignoreされているファイルに書いてみました)
<?php

namespace App\Http\Controllers;

use Illuminate\Http\Request;
use App\Task;
use GuzzleHttp\Client;

class HomeController extends Controller
{

    /**
     * Show the application dashboard.
     *
     * @return \Illuminate\Contracts\Support\Renderable
     */
    public function index(Request $request)
    {
        // state検証
        $state_line = $request->input('state');
        $state_cookie = \Cookie::get('state');

        // stateが異なる場合
        if($state_line !== $state_cookie){
            \Session::flash('flash_message', 'state検証エラー');
            return redirect('/');
        }

        // エラーレスポンスが返って来た場合はエラーを返却
        $error_description = $request->input('error_description');
        if($error_description != ""){
                \Session::flash('flash_message', '権限が拒否されました');
                return redirect('/');
        }

        // アクセストークンを発行する
        $code = $request->input('code');
        $this->basic_request($code);


        $tasks = Task::orderBy('created_at','asc')->get();

        return view('tasks',[
            'tasks' => $tasks
        ]);
    }

    // アクセストークン発行
    // 参考 https://yaba-blog.com/laravel-call-api/
    public function basic_request(String $code) {

        $client = new Client();
        $response = $client->request('POST', 'https://api.line.me/oauth2/v2.1/token', array(
            "headers" => array(
                "Content-Type" => "application/x-www-form-urlencoded",
            ),
            "form_params" => array(
                "grant_type" => "authorization_code",
                "code" => $code,
                "redirect_uri" => "http://localhost/home",
                "client_id" => env('CLIENT_ID', false),
                "client_secret" => env('CHANNEL_SECRET')
            )
        ));

        $post = $response->getBody();
        $post = json_decode($post, true);
        //レスポンスから新規記事のURLを取得
        $access_token = $post['access_token'];

        $this-> verify_access_token($access_token);
    }


    // アクセストークン検証
    public function verify_access_token(String $access_token){

        $url = "https://api.line.me/oauth2/v2.1/verify?access_token=" . $access_token ;
        $method = "GET";
        //接続
        $client = new Client();
        $response = $client->request($method, $url);
        $posts = $response->getBody();
        $posts = json_decode($posts, true);
    }
}
ホーム画面(メイン側)
ナビゲーター(タイトルっぽい部分)のタイトル名だけ変更したのでそこだけ載せておきます
<nav class="navbar navbar-default">
    <div class="container">
        <div class="navbar-header">
            <!-- Branding Image -->
            <a class="navbar-brand" href="{{ url('/') }}">
                ホーム
            </a>
        </div>
    </div>
</nav>
ホーム画面(サブ側)
@extends('layouts.app')

@section('content')
<div class="container">
    <div class="row justify-content-center">
        <div class="col-md-8">
            <div class="card">
                <div class="card-header">Dashboard</div>

                <div class="card-body">
                    @if (session('status'))
                        <div class="alert alert-success" role="alert">
                            {{ session('status') }}
                        </div>
                    @endif

                    You are logged in!
                </div>
            </div>
        </div>
    </div>
</div>
@endsection
実際の画面
初期表示画面
ここからスタート

LINEログイン画面(LINEにリクエストを送ったらリダイレクトされる)
LINE権限許可画面(LINEログイン後、リダイレクトされる)
ホーム画面
まとめ
冬休みにやっていたことまとめ。
LINEのユーザ情報を取得できたりもしますが、水色編集が増えて大変なので(そこ?)、
ログインのところまでまとめました。
API呼び出しの書き方とかレスポンスの項目取得の書き方とか
とにかく書き方がわからなくてもどかしかったです。
もっと勉強したいです。
初めての投稿で緊張します。
えい(ぽち)


