HanamiでGoogle OAuthを使った認証を実装しましょう。大丈夫、超かんたんです。
完成品はこちらで見ることができます。
1. プロジェクトの作成
まずはプロジェクトを作成していきましょう。
$ gem install hanami
$ hanami new hanami_ominioauth_sample --test=rspec --template=slim
$ cd hanami_ominioauth_sample
$ bundle install
2. Userモデルの作成
次にUserモデルを作成します。
$ bundle exec hanami g model user
      create  lib/hanami_ominioauth_sample/entities/user.rb
      create  lib/hanami_ominioauth_sample/repositories/user_repository.rb
      create  db/migrations/20180102151137_create_users.rb
      create  spec/hanami_ominioauth_sample/entities/user_spec.rb
      create  spec/hanami_ominioauth_sample/repositories/user_repository_spec.rb
Hanami::Model.migration do
  change do
    create_table :users do
      primary_key :id

      column :provider  , String , null: false
      column :uid       , String , null: false
      column :name      , String , null: false
      column :email     , String , null: false
      column :image_path, String , null: true

      column :created_at, DateTime, null: false
      column :updated_at, DateTime, null: false

      index [:provider, :uid], unique: true
      index [:email]         , unique: true
    end
  end
end
$ bundle exec hanami db prepare
[hanami] [INFO] (0.000842s) PRAGMA foreign_keys = 1
[hanami] [INFO] (0.000041s) PRAGMA case_sensitive_like = 1
[hanami] [INFO] (0.000900s) SELECT sqlite_version()
[hanami] [ERROR] SQLite3::SQLException: no such table: schema_migrations: SELECT NULL AS 'nil' FROM `schema_migrations` LIMIT 1
[hanami] [INFO] (0.002738s) CREATE TABLE `schema_migrations` (`filename` varchar(255) NOT NULL PRIMARY KEY)
[hanami] [ERROR] SQLite3::SQLException: no such table: schema_info: SELECT NULL AS 'nil' FROM `schema_info` LIMIT 1
[hanami] [INFO] (0.000211s) SELECT `filename` FROM `schema_migrations` ORDER BY `filename`
[hanami] [INFO] Begin applying migration 20180102151137_create_users.rb, direction: up
[hanami] [INFO] (0.001833s) CREATE TABLE `users` (`id` integer NOT NULL PRIMARY KEY AUTOINCREMENT, `provider` varchar(255) NOT NULL, `uid` varchar(255) NOT NULL, `name` varchar(255) NOT NULL, `email` varchar(255) NOT NULL, `image_path` varchar(255) NULL, `created_at` timestamp NOT NULL, `updated_at` timestamp NOT NULL)
[hanami] [INFO] (0.001225s) CREATE UNIQUE INDEX `users_provider_uid_index` ON `users` (`provider`, `uid`)
[hanami] [INFO] (0.001379s) CREATE UNIQUE INDEX `users_email_index` ON `users` (`email`)
[hanami] [INFO] (0.001321s) INSERT INTO `schema_migrations` (`filename`) VALUES ('20180102151137_create_users.rb')
[hanami] [INFO] Finished applying migration 20180102151137_create_users.rb, direction: up, took 0.007446 seconds
ひとまずこれでUserモデルができました。
3. Homeページの作成
ログインボタンを置くHomeページを作成します。
$ bundle exec hanami g action web page#home
      create  apps/web/controllers/page/home.rb
      create  apps/web/views/page/home.rb
      create  apps/web/templates/page/home.html.slim
      create  spec/web/controllers/page/home_spec.rb
      create  spec/web/views/page/home_spec.rb
      insert  apps/web/config/routes.rb
root                             to: 'page#home'
get  '/home'                   , to: 'page#home'
h1 Home
$ bundle exec hanami s
localhost:2300 を開いて「Home」と表示されていればOKです。
4. 認証の実装
A. クライアントIDの取得
まず、次のURLを開いてください。
https://console.developers.google.com
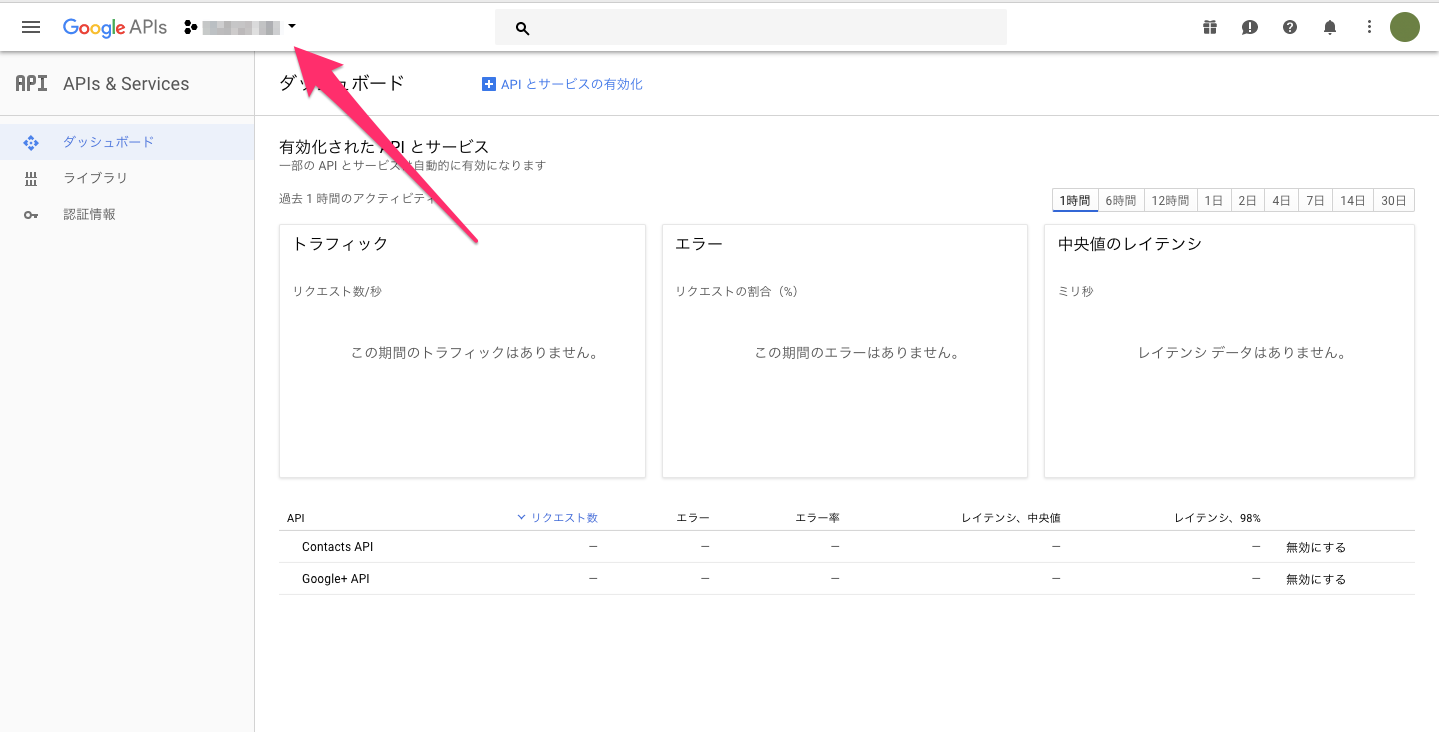
上のメニューからプロジェクト名を「Hanami Ominioauth Sample」にして作成します。作成には30秒ほどかかります。作成できたら、「Hanami Ominioauth Sample」を開きましよう。
左側に「ライブラリ」というメニューがあるのでクリックします。
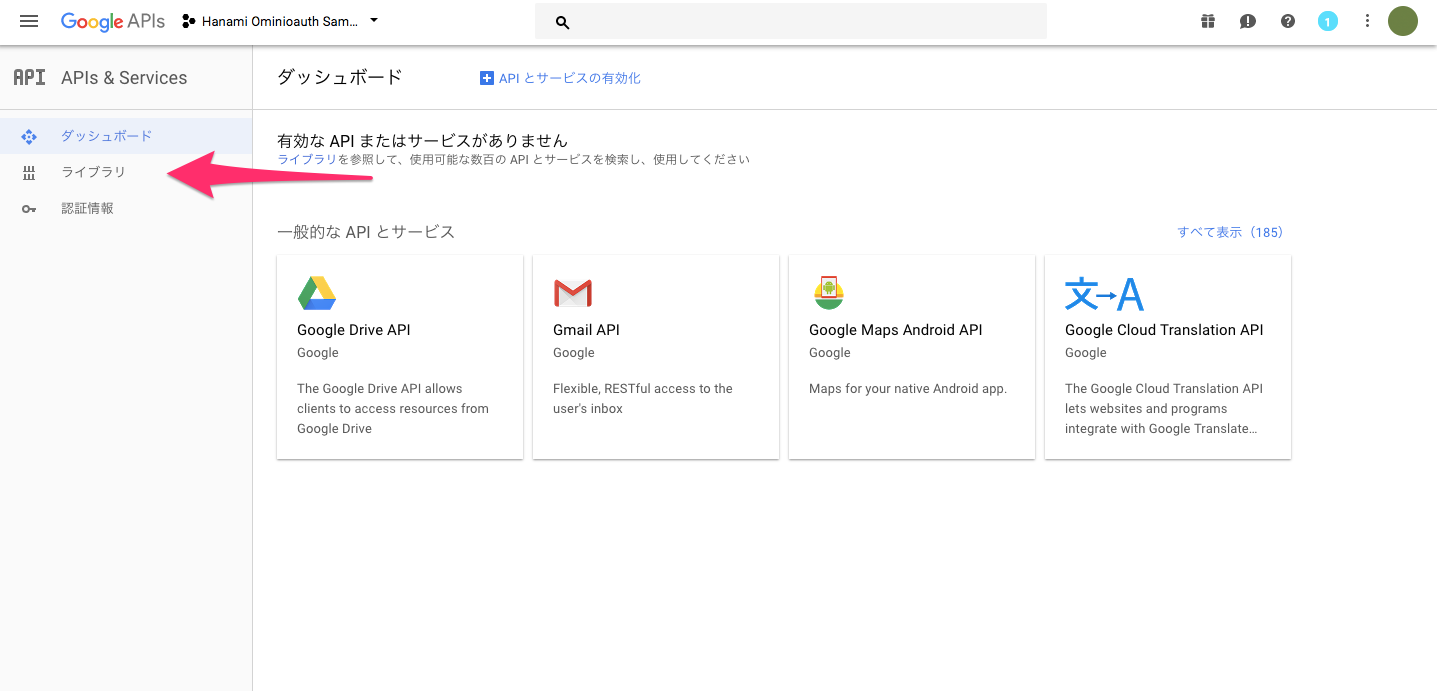
ここで以下の2つを有効にしてください。
- Contacts API
- Google+ API
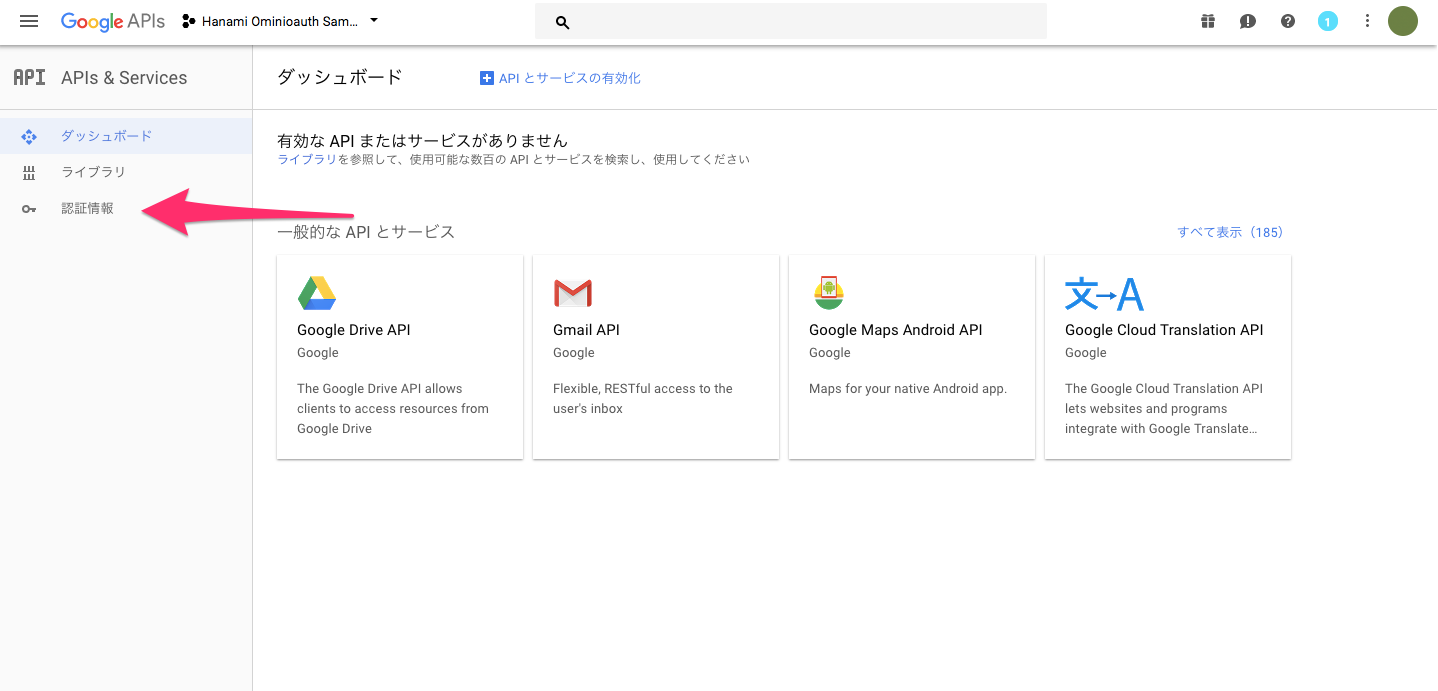
次に認証情報を作成しましす。「認証情報」をクリックしてください。
タブから「OAuth 同意画面」を選択します。
- メールアドレス: 初期値
- ユーザーに表示するサービス名: 「Hanami Ominioauth Sample」
- ホームページの URL: ブランク
- サービスロゴの URL: ブランク
- プライバシー ポリシーの URL: ブランク
- 利用規約の URL: ブランク
「認証情報を作成」 -> 「OAuth クライアントID」を選択します。
以下の内容を入力して「作成」を2回クリックします。
- アプリケーションの種類: ウェブ アプリケーション
- 名前: 「Brower」(なんでもいい)
- 承認済みの JavaScript 生成元: ブランク
- 承認済みのリダイレクト URI: 「http://localhost:2300/auth/google_oauth2/callback」
「クライアントID」と「クライアントシークレット」が表示されるのでこれを控えておきます。
B. (option) direnv の導入
先程入手した「クライアントID」と「クライアントシークレット」を管理するのにdirenvを使うと便利です。
macの場合はHomebrewでインストールできます。
$ brew install direnv
そして.ernvrcを作成します。
export GOOGLE_CLIENT_ID=[クライアントID]
export GOOGLE_CLIENT_SECRET=[クライアントシークレット]
あとはこれを適用してあげればOKです。
$ direnv allow
gitを使う場合は.gitignoreに入れておきましょう。
+ .envrc
C.ominiauthを使う準備
いよいよ認証部分を実装していきます。omniauth-google-oauth2というgemを使っていきます。
+ gem 'omniauth-google-oauth2'
$ bundle install
application.rb を書き換えてセッションを有効にし、さらにomniauthを使うように設定します。
      # Enable sessions
      # Argument: Symbol the Rack session adapter
      #           A Hash with options
      #
      # See: http://www.rubydoc.info/gems/rack/Rack/Session/Cookie
      #
-     # sessions :cookie, secret: ENV['WEB_SESSIONS_SECRET']
+     sessions :cookie, secret: ENV['WEB_SESSIONS_SECRET']

...

      # Configure Rack middleware for this application
      #
-     # middleware.use Rack::Protection
+     middleware.use OmniAuth::Builder do
+       provider :google_oauth2, ENV['GOOGLE_CLIENT_ID'], ENV['GOOGLE_CLIENT_SECRET']
+     end
D. sessionコントローラーの作成
sessionコントローラーを作成します。
$ bundle exec hanami g action web session#create
      create  apps/web/controllers/session/create.rb
      create  apps/web/views/session/create.rb
      create  apps/web/templates/session/create.html.slim
      create  spec/web/controllers/session/create_spec.rb
      create  spec/web/views/session/create_spec.rb
      insert  apps/web/config/routes.rb
自動生成されたコードのうちroutes.rbをとりあえず書き換えます。
- post '/session', to: 'session#create'
+ post '/auth/:provider/callback', to: 'session#create'
+ get  '/auth/:provider/callback', to: 'session#create'
E. インタラクタの作成とコントローラの実装
認証部分の実装をコントローラに書いていくことも可能ですが、コントローラにはあまりロジックを書きたくないので、今回はインタラクタを使います。インタラクタとはいわゆるサービスです。くわしくはHanamiのサービス(インタラクタ)層についてを読んでいただけると幸いです。
$ mkdir lib/hanami_ominioauth_sample/interactors
require 'hanami/interactor'

class FindOrCreateUserForAuth
  include Hanami::Interactor

  expose :user

  def initialize repository: UserRepository.new
    @repository = repository
  end

  def call auth
    @user = @repository.find_by_provider_and_uid(auth.provider, auth.uid) || @repository.register(auth)
  end
end
#find_by_provider_and_uidメソッドと#registerメソッドを使うコードを書いたのでこれをUserRepositoryに実装します。
class UserRepository < Hanami::Repository
  def find_by_provider_and_uid provider, uid
    users.where(provider: provider, uid: uid).one
  end

  def register auth
    create(
      provider:   auth.provider,
      uid:        auth.uid,
      name:       auth.info.name,
      email:      auth.info.email,
      image_path: auth.info.image,
    )
  end
end
あとはコントローラ側でリポジトリを使うように実装していきます。
module Web::Controllers::Session
  class Create
    include Web::Action

    def call _params
      auth = request.env['omniauth.auth']
      result = FindOrCreateUserForAuth.new(repository: UserRepository.new).call(auth)
      if result.success?
        flash[:success] = "Login seccessed"
      else
        flash[:error] = "Login failed"
      end
      redirect_to routes.root_path
    end
  end
end
最後にtemplateを更新します。
  h1 Home

+ p = flash[:success]
+ p = flash[:error]

+ a(href="/auth/google_oauth2") Login
Hanamiサーバーを起動して localhost:2300 を開きLogin ボタンをクリックしてみましょう。Googleの認証画面が開き、アカウント選択後、元の画面に戻って「Login seccessed」と表示されていればOKです。
念のためデータができているかも確認してみましょう。
$ bundle exec hanami c
irb(main):001:0> UserRepository.new.all
[hanami_ominioauth_sample] [INFO] [2018-01-03 01:20:49 +0900] (0.008787s) SELECT `id`, `provider`, `uid`, `name`, `email`, `image_path`, `created_at`, `updated_at` FROM `users` ORDER BY `users`.`id`
=> [#<User:0x00007fcbce94f560 @attributes={:id=>1, :provider=>"google_oauth2", :uid=>"dummy", :name=>"Isuke FUJIYAMA", :email=>"isuke_dummy@gmail.com", :image_path=>"https://dummy/photo.jpg", :created_at=>2018-01-02 16:15:45 UTC, :updated_at=>2018-01-02 16:15:45 UTC}>]
5. セッション管理の実装
さて、ユーザーに毎回ログインさせるのは忍びないので、セッションでログイン情報を管理しましょう。
    def call _params
      auth = request.env['omniauth.auth']
      result = FindOrCreateUserForAuth.new(repository: UserRepository.new).call(auth)
      if result.success?
+       session[:provider] = result.user.provider
+       session[:uid]      = result.user.uid

        flash[:success] = "Login seccessed"
      else
        flash[:error] = "Login failed"
      end
      redirect_to routes.root_path
    end
セッションを扱う各コントローラに共通の部分を実装していきます。apps/web/controllers/authentication.rbというファイルを新規で作成して、以下のようにします。。
module Web
  module Authentication
    def self.included action
      action.class_eval do
        before :current_user
        before :authenticate!
        expose :current_user
      end
    end

  private

    def authenticate!
      halt 401 unless authenticated?
    end

    def authenticated?
      !current_user.nil?
    end

    def current_user
      @current_user ||= UserRepository.new.find_by_provider_and_uid(session[:provider], session[:uid])
    end
  end
end
さて、これをすべてのコントローラでincludeする必要がありますが、毎回書くのはだるいです。application.rbに記述することで対応しましょう。
      # Configure the code that will yield each time Web::Action is included
      # This is useful for sharing common functionality
      #
      # See: http://www.rubydoc.info/gems/hanami-controller#Configuration
      controller.prepare do
-       # include MyAuthentication # included in all the actions
-       # before :authenticate!    # run an authentication before callback
+       include Web::Authentication
      end
これで各コントローラでauthentication.rbで定義した内容が使えるようになったので、画面に反映させてみましょう。
  h1 Home

  p = flash[:success]
  p = flash[:error]

+ - if current_user.nil?
    a(href="/auth/google_oauth2") Login
+ - else
+   image(src=current_user.image_path)
これでログイン済みの状態のときに、ログインユーザのアイコンが表示されていればOKです。
さて、現状だとすべてのページがログイン必須になっているのでログインボタンがあるHomeページすらログインしないと開けません(!)。Homeページは認証をスキップするようにしましょう。と、いってもHanamiにはRailsと違ってskip_before_actionのようなものはないのでoverrideするだけです。
  module Web::Controllers::Page
    class Home
      include Web::Action

      def call(params)
      end

+   private

+     def authenticate!
+       # no-op
+     end
    end
  end
module Web::Controllers::Session
    class Create
      include Web::Action

      def call _params
        ...
      end

+   private

+     def authenticate!
+       # no-op
+     end
+   end
  end
以上で終わりです。お疲れ様でした。