Akamai's cloud computing servicesのリージョンについて
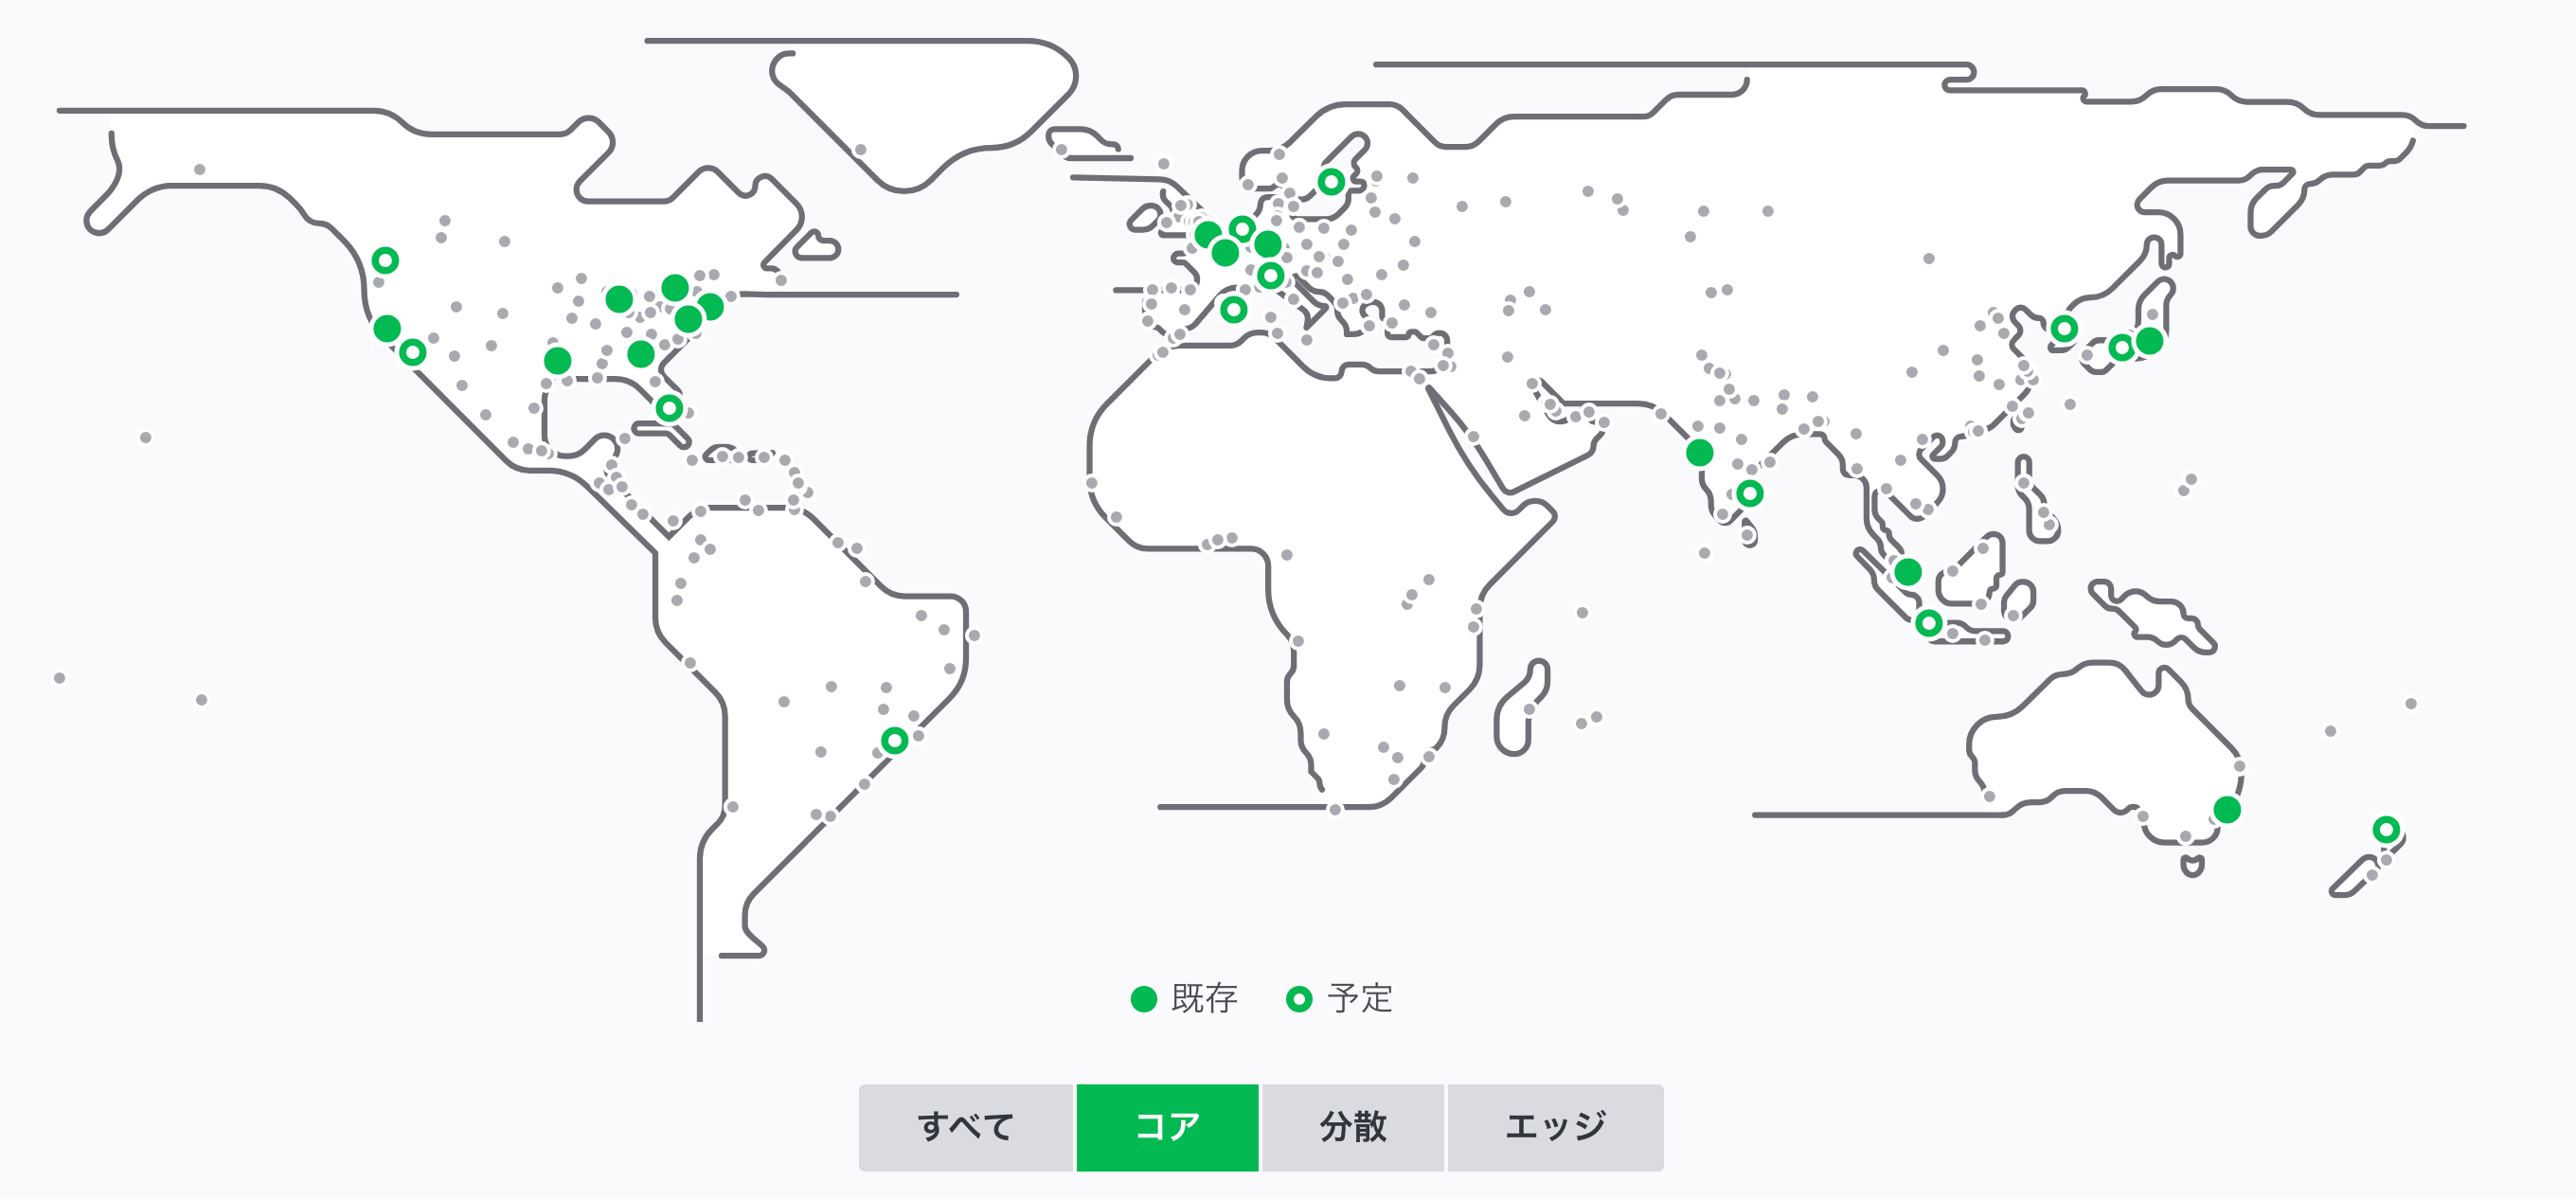
Akamai's cloud computing servicesのリージョンは世界中に分散しており、執筆時点で14リージョンに展開しています。
リージョンについては拡張していく予定があり、大阪リージョンについての展開計画もあります。
リージョン間の通信はAkamai Cloud Global Networkを利用して行われますが、一部はインターネット経由となります。
そのため、暗号化して通信を行いたいユースケースがあった際には、以下の記事の方法などでVPN経由にする必要があります。
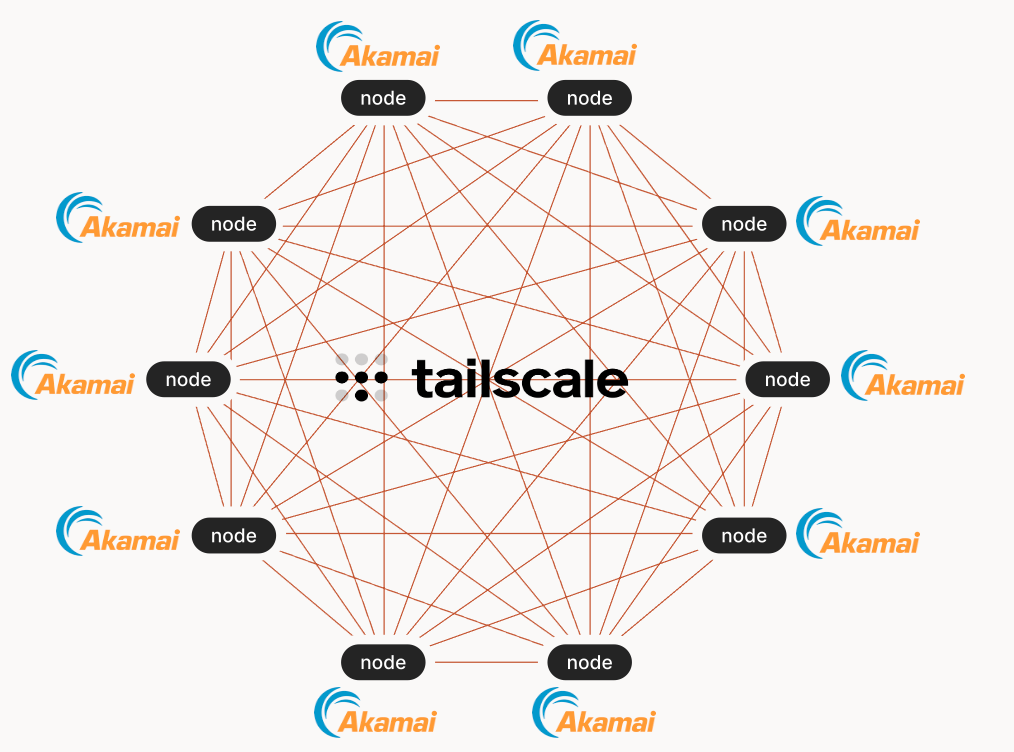
今回はリージョン間のVPN構築をTailscaleというサービスを利用してフルメッシュのVPNを構築する方法を紹介します。
Tailscaleとは
Tailscaleは、非常に使いやすくセキュアなクラウド型VPNサービスです。Linuxカーネルにも組み込まれている「Wireguard」をベースに設計されており、ユーザーはアカウントを作成し、端末にクライアントプログラムをインストールするだけでVPNを構築することができます。
TailscaleはHub-and-spokeやMesh networkのVPN構成も取ることができ、様々なユースケースにて利用することができます。
インスタンスの構築とTailscaleエージェントのインストール
今回はTailscaleを利用してAkamai's cloud computing services全リージョンにインスタンスを構築、フルメッシュVPNを接続する構成となります。
インスタンスの構築はTerraformで行い、TailscaleのエージェントもTerraformでインストールします。Tailscaleはエージェントをインストールするだけで、インストールされたインスタンス同士で自動的にVPNが構築されます。
インスタンスはLinode 32GBで構築しています。
インストール時にはAuthKeyの設定が必要となるため、管理画面から発行します。
https://login.tailscale.com/admin/settings/keys
resource "linode_instance" "vpn" {
  count =  length(var.regions)
  label = "tailscale-multi-${element(var.regions, count.index % length(var.regions))}"
  image = var.vpn.image
  region = element(var.regions, count.index % length(var.regions))
  type = var.vpn.type
  authorized_keys = ["${chomp(file(var.public_ssh_key))}"]

  group = var.vpn.group
  swap_size = 256
  root_pass = random_string.password.result
  private_ip = false

  tags = [ "tailscale" ]

  provisioner "remote-exec" {
    inline = [
      "apt-get update",
      "hostnamectl set-hostname tailscale-multi-${element(var.regions, count.index % length(var.regions))}",
      "curl -fsSL https://tailscale.com/install.sh | sh",
      "tailscale up --authkey ${var.tailscale_auth_key} --hostname=tailscale-multi-${element(var.regions, count.index % length(var.regions))} --ssh",
      "sudo apt-get install -y iperf3"
    ]

    connection {
      type = "ssh"
      user = "root"
      password = random_string.password.result
      host = self.ip_address
    }
  }
}
variable "tailscale_auth_key" {}

variable "linode_token" {}

variable "node_count" {
  default = 1
}

variable "regions" {
  type    = list(string)
  default = [
    "ap-west",
    "ca-central",
    "ap-southeast",
    "us-iad",
    "us-ord",
    "fr-par",
    "us-central",
    "us-west",
    "us-southeast",
    "us-east",
    "eu-west",
    "ap-south",
    "eu-central",
    "ap-northeast"
  ]
}

variable "vpn" {
  default = {
    image = "linode/ubuntu22.04"
    type = "g6-standard-8"
    group = "vpn"
  }
}

variable "public_ssh_key" {
  default     = "~/.ssh/linode/xxxxxxxxxx.pub"
}

resource "random_string" "password" {
  length = 32
  special = true
  upper = true
  lower = true
  numeric = true
}
terraform {
  required_providers {
    linode = {
      source  = "linode/linode"
    }
  }
}

provider "linode" {
  token = "${var.linode_token}"
}
設定ファイルの記載が完了したら、TerraformをApplyします。
terraform init
terraform apply
以上で構築は完了です。
Tailscaleの接続確認
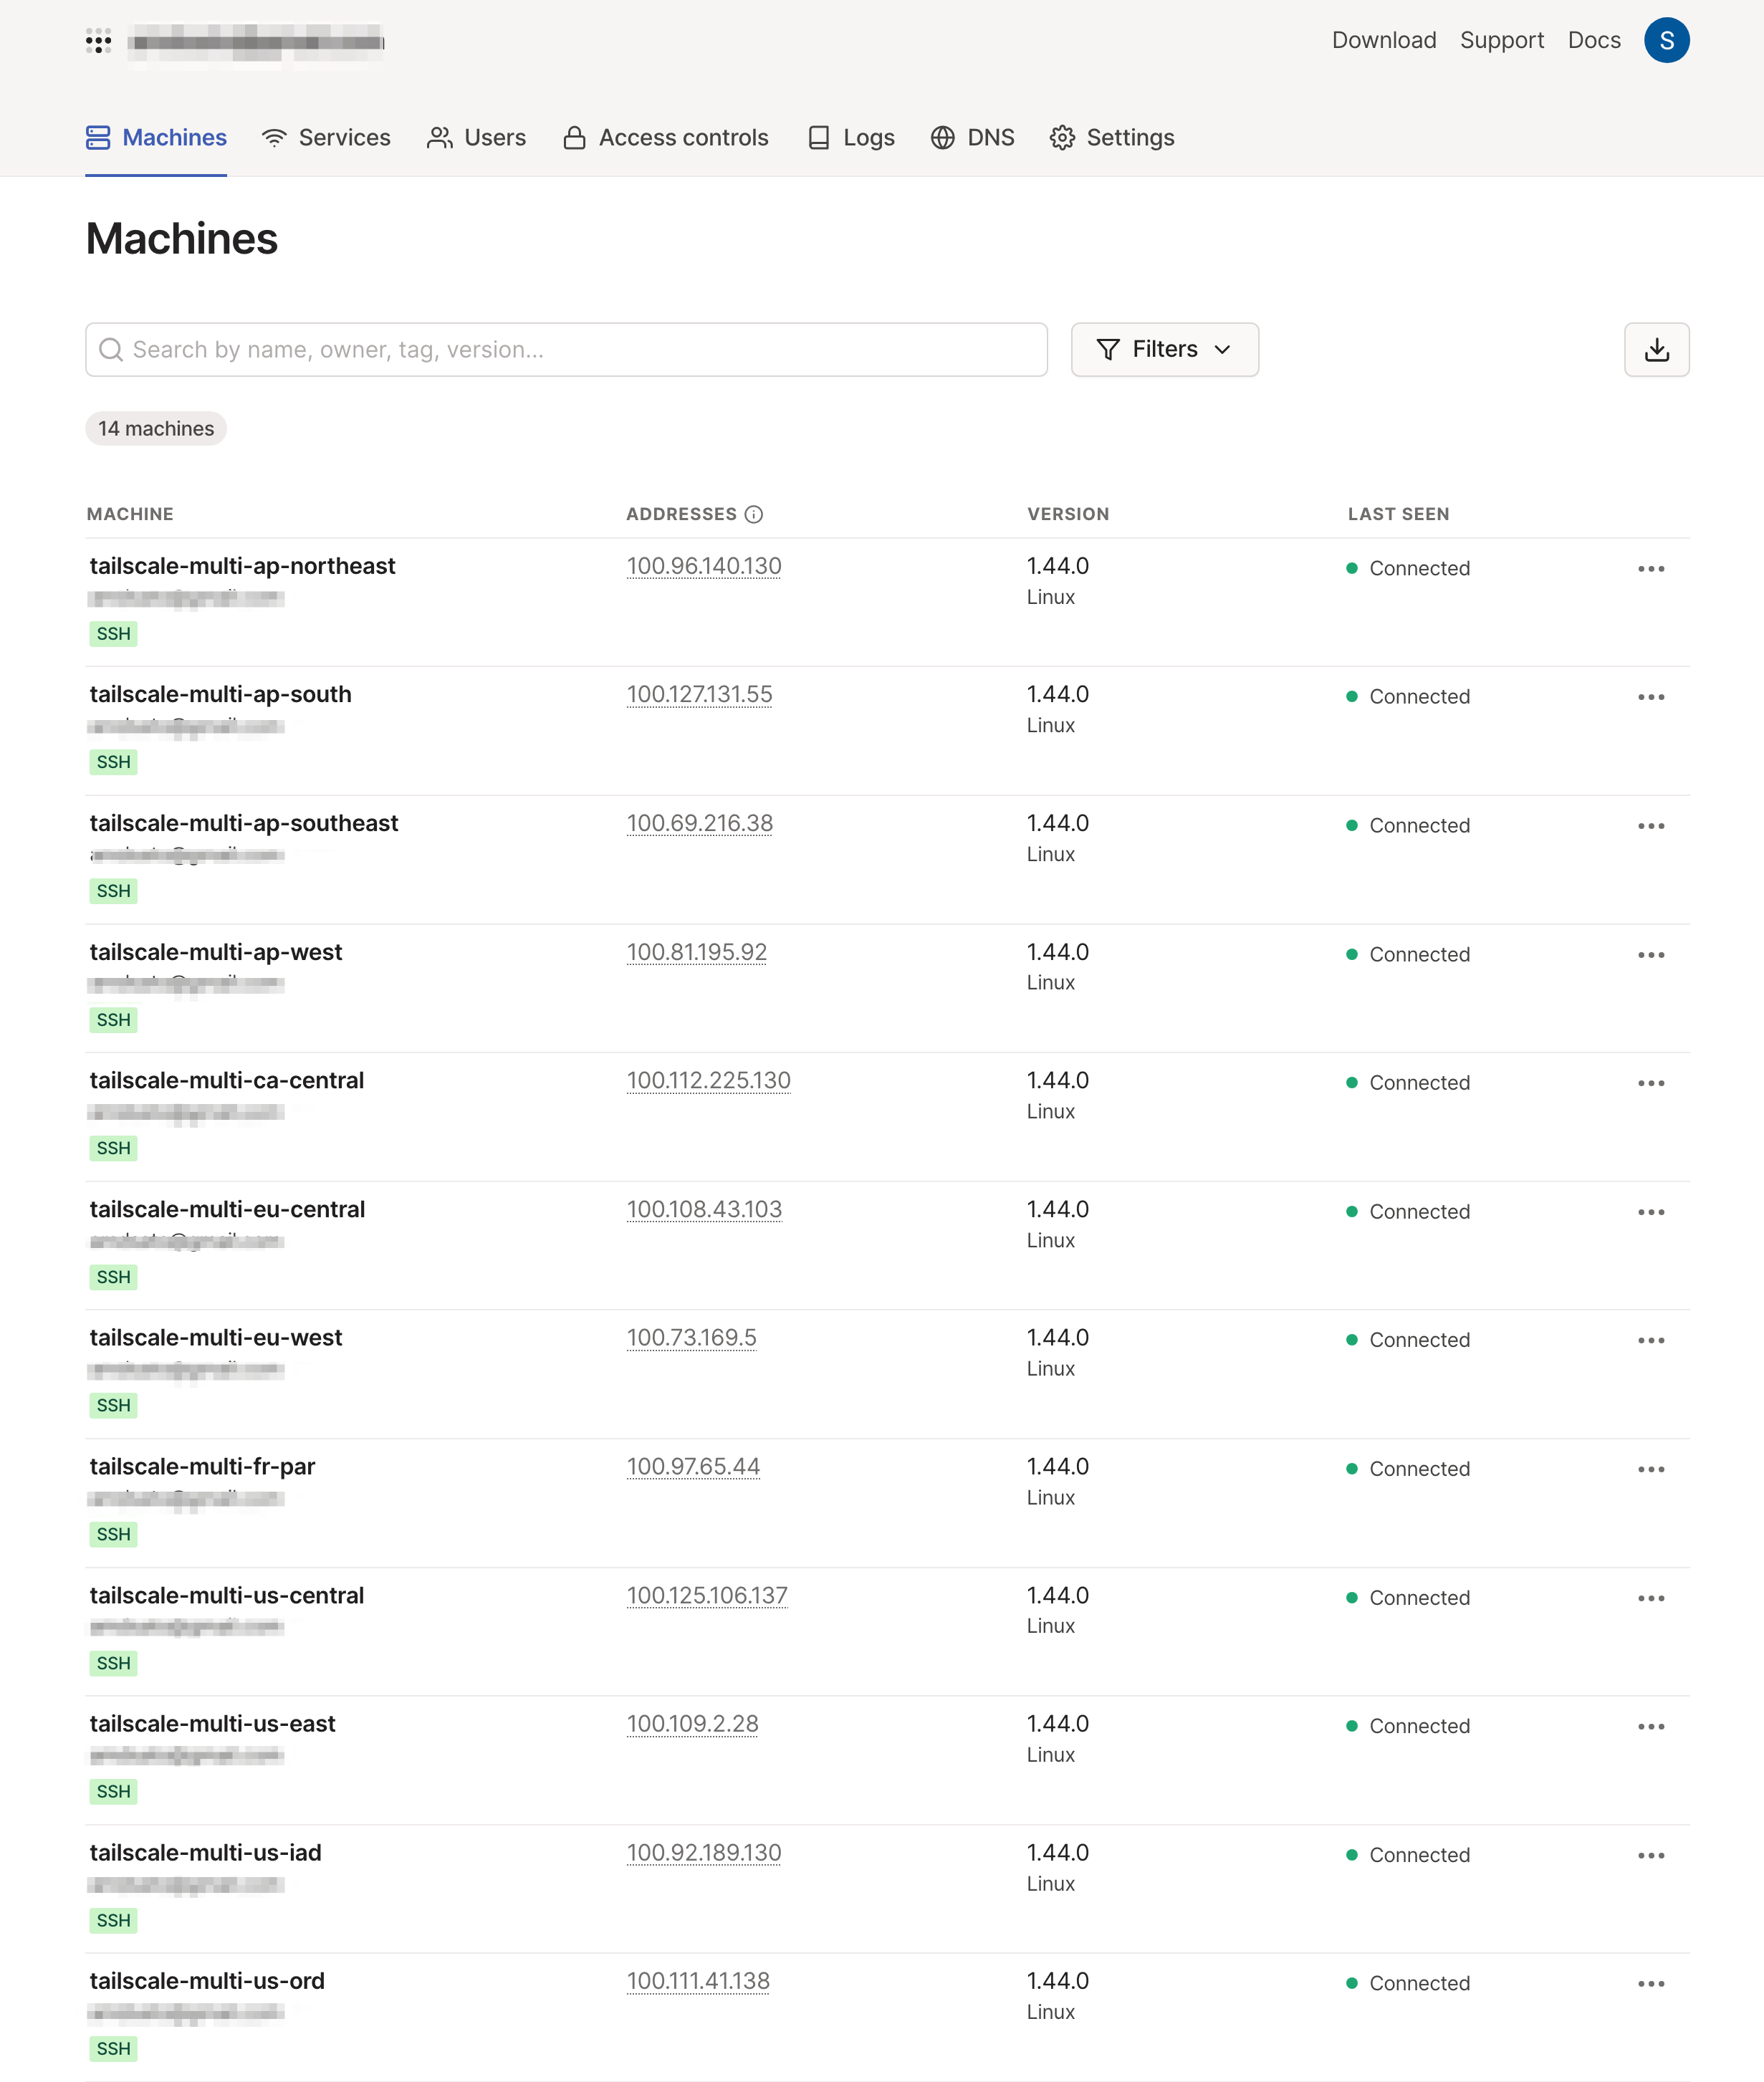
エージェントをインストールするとVPN用のIPが自動的に割り当てられ、デフォルトでは同じTailscaleのテナント内のインスタンス間のVPNがフルメッシュで接続されています。
管理画面ではエージェントの状況を確認することができます。
各インスタンスにログインし、statusコマンドを利用することで接続先のIPを確認することもできます。
~# tailscale status
100.96.140.130 tailscale-multi-ap-northeast tenant-id@ linux -
100.127.131.55 tailscale-multi-ap-south tenant-id@ linux idle, tx 436156580 rx 6863116
100.69.216.38 tailscale-multi-ap-southeast tenant-id@ linux idle, tx 635586188 rx 8568644
100.81.195.92 tailscale-multi-ap-west tenant-id@ linux idle, tx 106984948 rx 1747932
100.112.225.130 tailscale-multi-ca-central tenant-id@ linux idle, tx 160458356 rx 2487868
100.108.43.103 tailscale-multi-eu-central tenant-id@ linux idle, tx 121129796 rx 1940716
100.73.169.5 tailscale-multi-eu-west tenant-id@ linux idle, tx 118070468 rx 1119244
100.97.65.44 tailscale-multi-fr-par tenant-id@ linux idle, tx 121937732 rx 2443308
100.125.106.137 tailscale-multi-us-central tenant-id@ linux idle, tx 226397300 rx 3480700
100.109.2.28 tailscale-multi-us-east tenant-id@ linux idle, tx 183259588 rx 2670812
100.92.189.130 tailscale-multi-us-iad tenant-id@ linux idle, tx 185877188 rx 3139132
100.111.41.138 tailscale-multi-us-ord tenant-id@ linux idle, tx 222174772 rx 3116396
100.75.148.69 tailscale-multi-us-southeast tenant-id@ linux idle, tx 199727540 rx 3287516
100.121.93.101 tailscale-multi-us-west tenant-id@ linux idle, tx 296428020 rx 5450572
試しにPingを実行してみると、疎通が取れていることが確認できます。
root@tailscale-multi-ap-northeast:~# ping -c 1 100.69.216.38
PING 100.69.216.38 (100.69.216.38) 56(84) bytes of data.
64 bytes from 100.69.216.38: icmp_seq=1 ttl=64 time=100 ms

--- 100.69.216.38 ping statistics ---
1 packets transmitted, 1 received, 0% packet loss, time 0ms
rtt min/avg/max/mdev = 100.262/100.262/100.262/0.000 ms
このようにTailscaleはインストールするだけで、VPNを簡単に構築することができます。
通信速度の測定
TailscaleのVPN経由でTokyoリージョンから各リージョンにPingとiperf3の測定を行いました。
以下はその結果となり、結果の良い順に並べてあります。
現状Tokyoリージョンから一番近く、速度が早いリージョンはMumbaiであることがわかります。
| Label | City | IP | Ping (ms) | Bandwidth (Mbits/sec) |
|---|---|---|---|---|
| ap-northeast | Tokyo | 100.96.140.130 | 0.065 ms | 23637 Mbits/sec |
| ap-south | Mumbai | 100.127.131.55 | 76.260 ms | 324 Mbits/sec |
| us-west | San Francisco | 100.121.93.101 | 110.622 ms | 218 Mbits/sec |
| ap-southeast | Singapore | 100.69.216.38 | 109.671 ms | 220 Mbits/sec |
| us-central | Dallas | 100.125.106.137 | 142.021 ms | 166 Mbits/sec |
| us-ord | Chicago | 100.111.41.138 | 143.918 ms | 164 Mbits/sec |
| ap-west | Fremont | 100.81.195.92 | 142.604 ms | 77 Mbits/sec |
| us-southeast | Miami | 100.75.148.69 | 159.697 ms | 147 Mbits/sec |
| us-iad | Washington D.C. | 100.92.189.130 | 168.810 ms | 136 Mbits/sec |
| us-east | Newark | 100.109.2.28 | 172.316 ms | 134 Mbits/sec |
| ca-central | Montreal | 100.112.225.130 | 192.720 ms | 117 Mbits/sec |
| eu-central | Frankfurt | 100.108.43.103 | 245.050 ms | 88 Mbits/sec |
| fr-par | Paris | 100.97.65.44 | 245.196 ms | 88 Mbits/sec |
| eu-west | London | 100.73.169.5 | 247.916 ms | 86 Mbits/sec |
執筆時点での測定結果であり、通信速度を保証するものではありません。
各リージョンともにVPNを利用した接続で、安定した速度がでることがわかりました。
まとめ
Akamai's cloud computing servicesは複数のリージョンを提供しておりますが、リージョン間の通信をインターネット経由で行う際には暗号化が必要になるケースがあります。
その際に、Tailscaleなどのサービスを利用することで簡単にVPNが構築することができ、安全なリージョン間の通信を実現することができます。
関連記事
アカマイ・テクノロジーズ合同会社はQiitaでAkamai's cloud computing services関連など開発者向けの記事を掲載しております。


