Googleフォームの回答のメールアドレスに名前とかを紐付けるやつ
ほぼ自分用
いろんな職場を巡回していると、よく話題になるのがメールアドレスから名前や組・番号とかをという話。
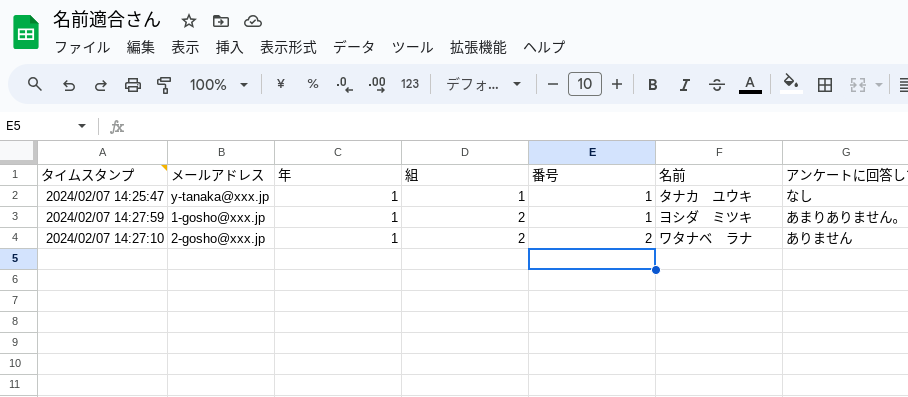
例えばGoogleフォームの回答で、「メールアドレスを収集」にすると必ずB列にメールアドレスがだ〜って収集されますよね。
別にVlookupとかの数式をオートフィルで入れればよいだけなんだけど、新しい回答があとからあると列の挿入扱いになるので、またやるの面倒だなあっていつも思う。
なのでARRAYFORMULAとかで一気に最終行まで参照したかったのでまとめてみた。
もっとシンプルでスマートなやり方があるんだろうけど、思いついたやつの備忘録。
動画はこちらから
使い方
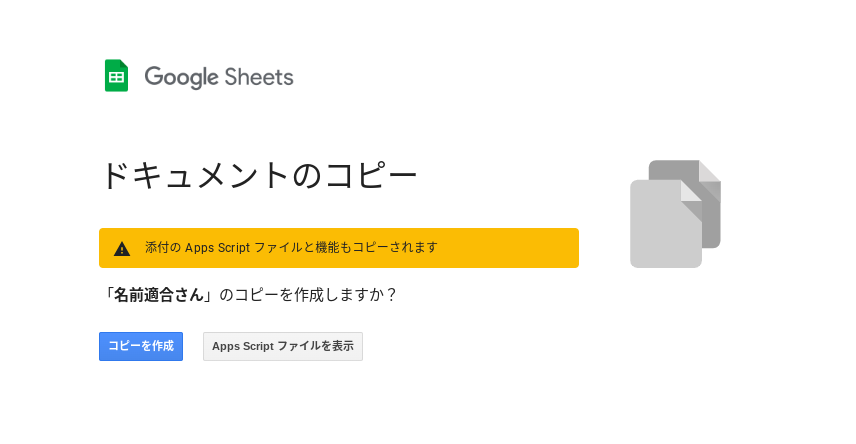
①このスプレッドシートをコピー作成する。
https://docs.google.com/spreadsheets/d/18cTgKXmcQsE_8CQGucKxexECXFS8upjmm0qmbgDk0No/copy
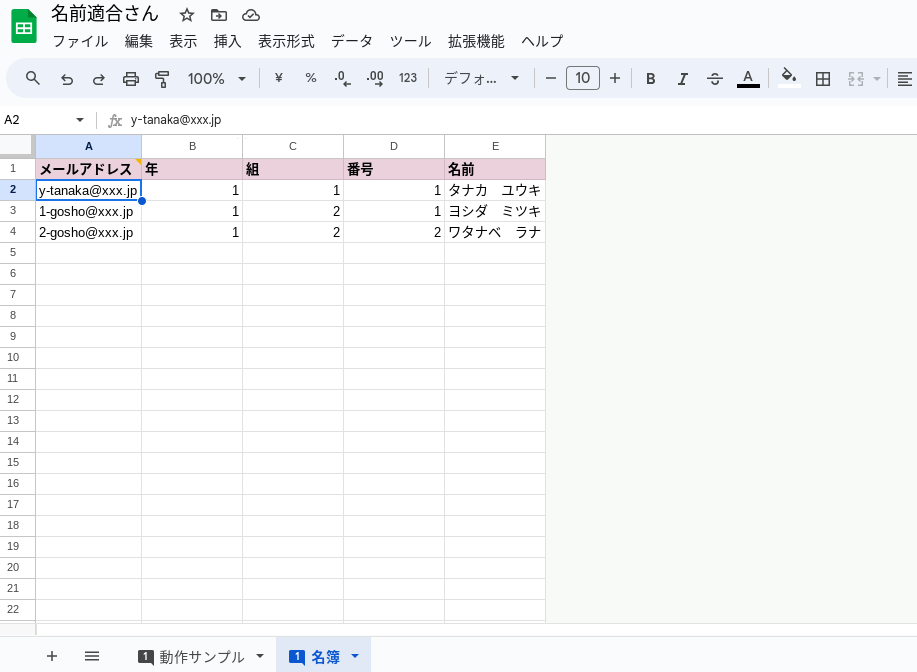
②「名簿」と書かれてるシートにメールアドレス・名前・番号などいろんな情報を入れる
※もし項目が無い場合は空白でOK ※メールアドレスとか名前のみは必須
③自分が作ったフォーム画面にいき、
「回答」タブ>「スプレッドシートにリンク」を押す
※もしすでに違うスプレッドシートにリンクしている場合は一度解除してください。

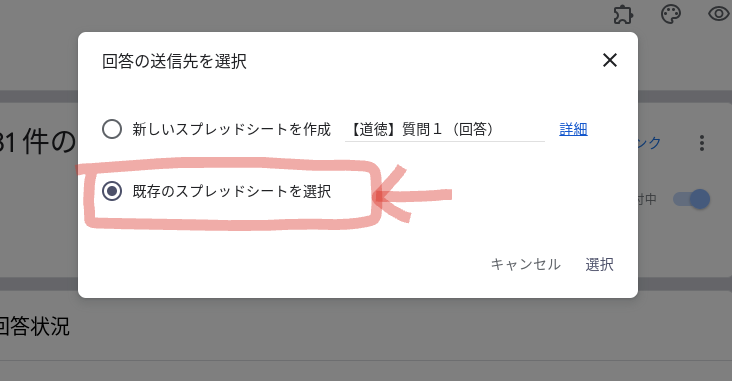
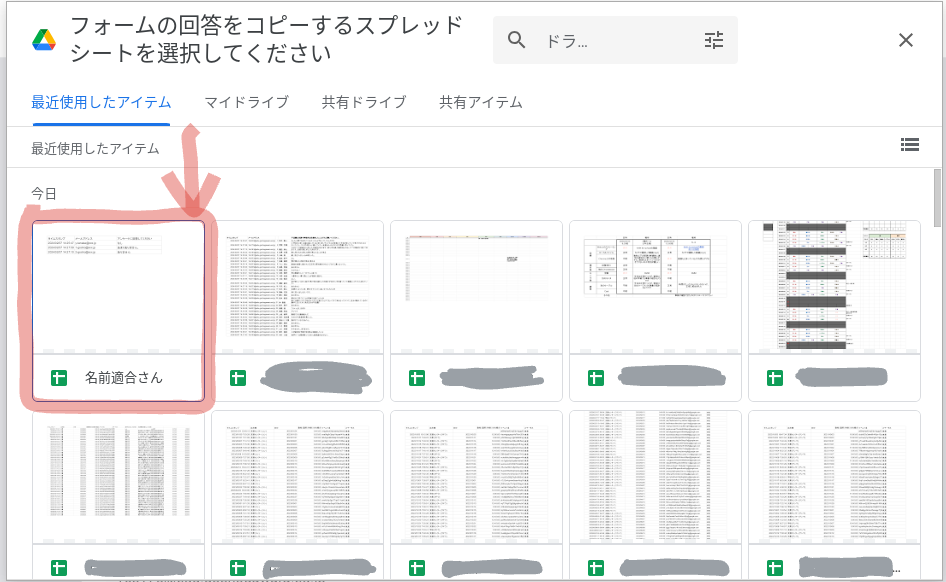
④「既存のスプレッドシートを選択」からこのファイルを選んでね。
※回答途中であっても大丈夫です。
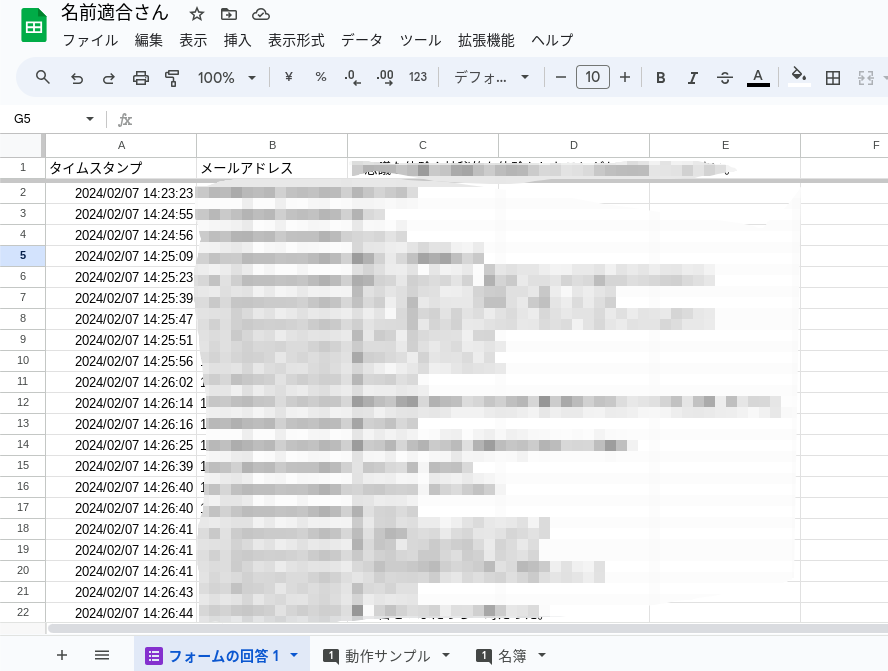
⑤「フォームの回答〜」というシートができます。
※名前を変えてもOK
⑥マクロを起動します。
【拡張機能】>【マクロ】>【nametekigo】を実行
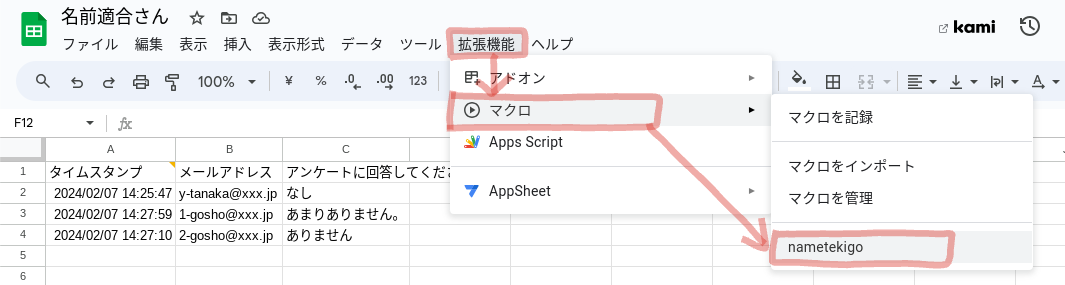
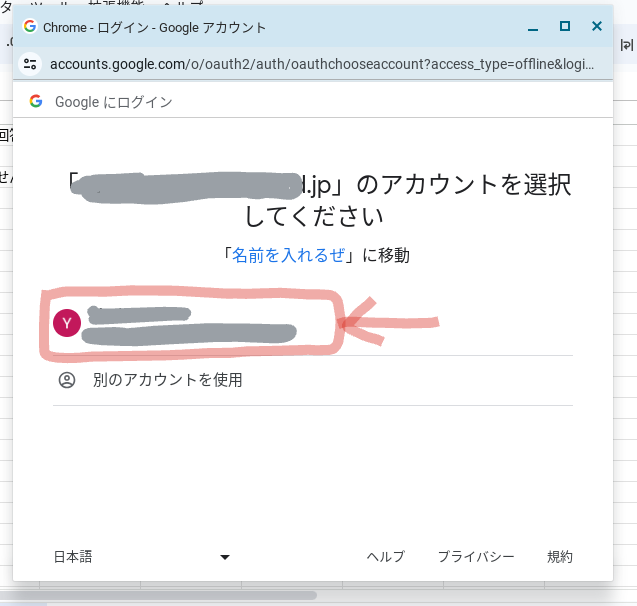
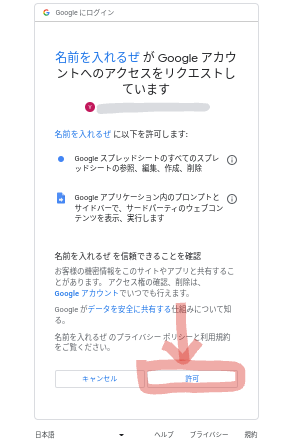
※初回はマクロ使用の許可をしてください。

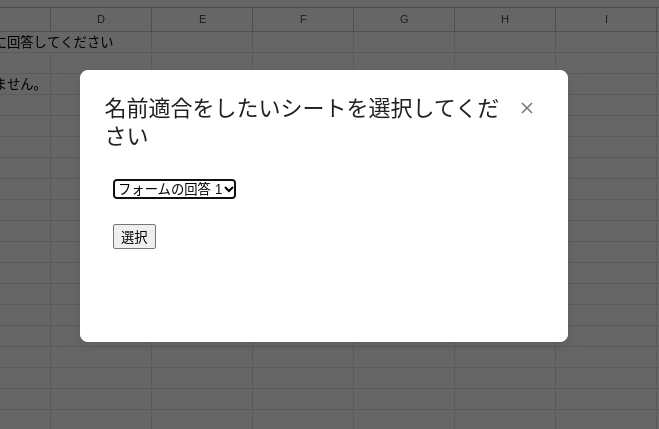
⑦ダイアログボックスがでてどのシートで紐付けするか聞かれるので、回答のシート名をプルダウンで選んでください。
⑧名簿に記載された列が挿入されます。
※違うシートにいた場合は当該シートに切り替わります。

いらない列は消しても動作に問題ありませんです。
読まなくてもいい中身
GSとHTMLの2つのコードで作られています。
処理するシートを誤らないようにダイアログ&プルダウンで選択
コードは以下
function nametekigo() {
  var spreadsheet = SpreadsheetApp.getActiveSpreadsheet();
  var sheetNames = spreadsheet.getSheets().map(function(sheet) {
    return sheet.getName();
  });

  var html = HtmlService.createHtmlOutput(
    '<select id="sheetSelect">' +
      sheetNames.map(function(sheetName) {
        return '<option>' + sheetName + '</option>';
      }).join('') +
    '</select>' +
    '<br><br>' +
    '<button id="selectButton" onclick="selectSheet()">選択</button>' +
    '<script>' +
      'function selectSheet() {' +
        'var sheetSelect = document.getElementById("sheetSelect");' +
        'var selectedSheet = sheetSelect.options[sheetSelect.selectedIndex].text;' +
        'google.script.run.moveToSelectedSheet(selectedSheet);' +
        // ボタンを無効化する
        'document.getElementById("selectButton").disabled = true;' +
      '}' +
    '</script>'
  )
    .setWidth(300)
    .setHeight(150);
  SpreadsheetApp.getUi().showModalDialog(html, '名前適合をしたいシートを選択してください');
}

function moveToSelectedSheet(sheetName) {
  var spreadsheet = SpreadsheetApp.getActiveSpreadsheet();
  var sheet = spreadsheet.getSheetByName(sheetName);

  if (sheet) {
    spreadsheet.setActiveSheet(sheet);
    processSelectedSheet(sheetName); // 選択されたシートに処理を実行する
    SpreadsheetApp.getActiveSpreadsheet().toast(sheetName + 'に移動しました', '情報', 3);
  } else {
    SpreadsheetApp.getActiveSpreadsheet().toast(sheetName + 'という名前のシートが見つかりません', 'エラー', -1);
  }
}

function processSelectedSheet(sheetName) {
  var spreadsheet = SpreadsheetApp.getActiveSpreadsheet();
  var sheet = spreadsheet.getSheetByName(sheetName);

  // 列の挿入
  sheet.insertColumnsBefore(3, 4);

  // 数式の設定
  var range = sheet.getRange('C1:F1');
  var formula = '=iferror(ARRAYFORMULA(VLOOKUP($B:$B,\'名簿\'!$A:$E,COLUMN()-1,false)),"")';
  range.setFormula(formula);

  // ユーザーに通知
  SpreadsheetApp.getUi().alert('処理が完了しました');
}
<!DOCTYPE html>
<html>
  <head>
    <base target="_top">
  </head>
  <body>
    <!-- シートを選択するドロップダウンメニュー -->
    <select id="sheetSelect">
      <?!= getSheetOptions(); ?> <!-- シート名のオプションを取得 -->
    </select>
    <br><br>
    <!-- 選択ボタン -->
    <button onclick="selectSheet()">選択</button>

    <script>
      // 選択ボタンがクリックされたときの処理
      function selectSheet() {
        var sheetSelect = document.getElementById("sheetSelect");
        var selectedSheet = sheetSelect.options[sheetSelect.selectedIndex].text; // 選択されたシート名を取得
        google.script.run.processSelectedSheet(selectedSheet); // Google Apps Script の関数を呼び出して処理を実行
        google.script.host.close(); // ダイアログを閉じる
      }

      // シート名のオプションを取得する関数
      function getSheetOptions() {
        var spreadsheet = SpreadsheetApp.getActiveSpreadsheet();
        var sheetNames = spreadsheet.getSheets().map(function(sheet) {
          return sheet.getName();
        });

        var options = '';
        for (var i = 0; i < sheetNames.length; i++) {
          options += '<option>' + sheetNames[i] + '</option>'; // オプションのHTMLを生成
        }
        return options;
      }
    </script>
  </body>
</html>
関数
ARRAYFORMULA
配列数式から返された値を複数行または複数列に表示したり、非配列関数で配列を使用したりすることができます。
例えば上記コードにもある
ARRAYFORMULA(VLOOKUP($B:$B,\'名簿\'!$A:$E,COLUMN()-1,false))
対象はB列のメールアドレスすべてで、途中で行が挿入されようが一番したまでVlookupの処理を続けるぜ。というやつ。
ただのVlookupで書いてもいいけどGoogleフォームの新しい回答があると、行の挿入扱いになるから数式が途中で切れちゃう。そんな時に便利で気に入って使っている。
あんまり行が多いとシート開くの遅くなるけど(ボソ)
ダイアログボックス
ほぼ私の勝手に好きでいつもつけているけど、処理するシートを選択させるにあたって一番間違いないかなと思う。最初はそのページでマクロを起動してやっていたけど、処理するシートを間違うと「あああああ〜」ってなる。だからプルダウンとかボタンとかで使う人が使ってくれればいいのかなと考えるようになった。
何気にこの一行が大切で、
'document.getElementById("selectButton").disabled = true;' +
処理が遅いとボタンが押せてないかもと思い「あれ?あれ?」と連打してしまうから何回もスクリプトが走ってしまう。それの防止策。(待てない私)
以上でした。