はじめに
Cloud Vision API を使うのに、プログラミング言語や SDK、GCP とか用意せずサクッと使ってみます。
REST API なので、 curl で。
やってみる
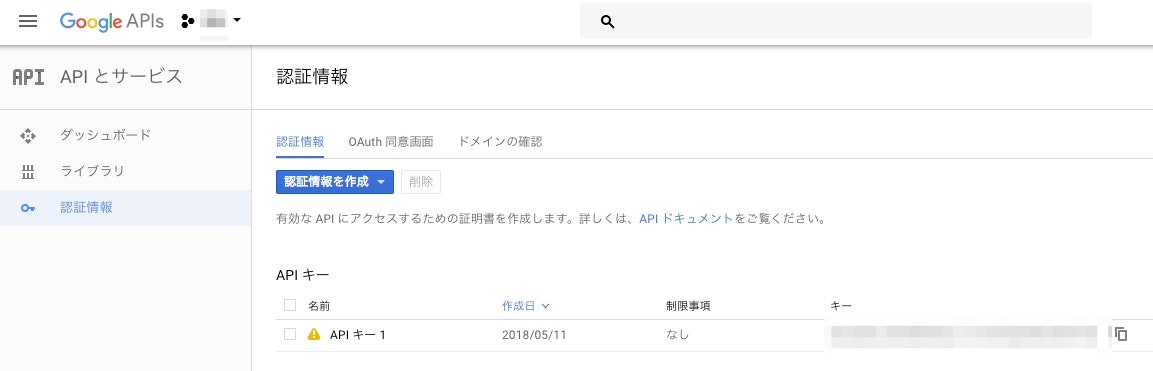
Google の Developer Console で API の キーを発行します。↓下図
キーはあとでつかうのでコピーしておきます。
適当な Project がなければプロジェクト作成からやります。
また、請求アカウントも必要なので請求設定もしておく必要があるみたいです。
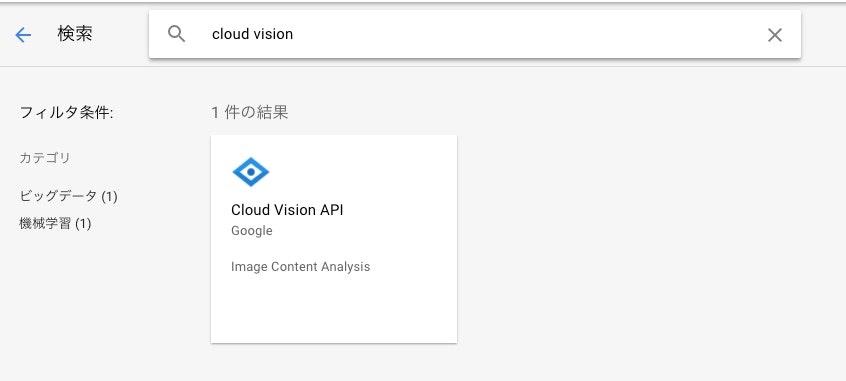
つぎにライブラリから Cloud Vision API を有効にします。これで Console での設定は完了です。
あとは curl で REST をたたきます。
ドキュメントはここ。
Cloud Vision API | Cloud Vision API | Google Cloud
POST メソッド、リクエストボディで json をリクエストします。
JSON はこんなかんじです。
requests.json
{
  "requests": [
    {
      "image": {
        "source": {
          "imageUri": "https://photo.isann.info/wp-content/uploads/2018/03/R0005430.jpg"
        }
      },
      "features": [
        {
          "type": 4,
          "maxResults": 10,
          "model": "builtin/stable"
        }
      ],
      "imageContext": {
        "languageHints": []
      }
    }
  ]
}
curl でリクエストします。
さきの API キーをここで指定します。
URI のパラメータに key=XXXXXX とします。
curl.sh
curl -H 'Content-Type:application/json' -d '{"requests":[{"image":{"source":{"imageUri":"https://photo.isann.info/wp-content/uploads/2018/03/R0005430.jpg"}},"features":[{"type":4,"maxResults":10,"model":"builtin/stable"}],"imageContext":{"languageHints":[]}}]}' https://vision.googleapis.com/v1/images:annotate?key=XXXXXX
レスポンス。
response.json
{
  "responses": [
    {
      "labelAnnotations": [
        {
          "mid": "/m/05s2s",
          "description": "plant",
          "score": 0.96519613,
          "topicality": 0.96519613
        },
        {
          "mid": "/m/01bqvp",
          "description": "sky",
          "score": 0.96242195,
          "topicality": 0.96242195
        },
        {
          "mid": "/m/0c9ph5",
          "description": "flower",
          "score": 0.94601613,
          "topicality": 0.94601613
        },
        {
          "mid": "/m/05_5t0l",
          "description": "landmark",
          "score": 0.8860888,
          "topicality": 0.8860888
        },
        {
          "mid": "/m/07j7r",
          "description": "tree",
          "score": 0.86065704,
          "topicality": 0.86065704
        },
        {
          "mid": "/m/01txr2",
          "description": "spring",
          "score": 0.82022524,
          "topicality": 0.82022524
        },
        {
          "mid": "/m/01wh_8",
          "description": "cherry blossom",
          "score": 0.7742194,
          "topicality": 0.7742194
        },
        {
          "mid": "/m/0j7ty",
          "description": "blossom",
          "score": 0.7610226,
          "topicality": 0.7610226
        },
        {
          "mid": "/m/0b5gs",
          "description": "branch",
          "score": 0.72045267,
          "topicality": 0.72045267
        },
        {
          "mid": "/m/03jm5",
          "description": "house",
          "score": 0.6560867,
          "topicality": 0.6560867
        }
      ]
    }
  ]
}
カンタンです。
Production で使うには、API キーのアクセス制限をちゃんと設定したり、
Cloud Vision API の他の機能、OCR など各種パラメータを調整してください。
実装する際の取っ掛かりにでもなれば幸いです。
おわり。