概要
markbates/goth を使って Typetalk で OAuth2 認証をやってみた!というやつです。最近、 Typetalk もサポートしてもらうよう PR を送ったので認証情報を取得するサンプルを手順を紹介します。
前提知識
Typetalk って何?という方は こちら
OAuth 2.0 って何?という方は こちら
markbates/goth とは
Package goth provides a simple, clean, and idiomatic way to write authentication packages for Go web applications.
markbates という方が作ったライブラリで、ominiauth の Go 言語バージョンみたいな感じでしょうか。色々なサービスに対応する Provider が実装されておりますが、PR 送って Typetalk もサポートしてもらいました。
https://github.com/markbates/goth/blob/master/README.md
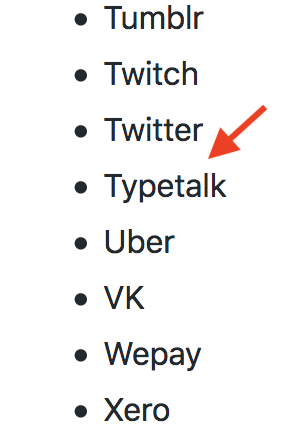
サポートしているサービスの一覧は README でみれます
手順
- Typetalk でアプリケーションを登録します。
https://typetalk.com/my/develop/applications/register

| 入力項目 | 値 |
|---|---|
| アプリケーション名 | goth test |
| Grant Type | Authorization Code |
| ホームページ URL | http://localhost:3000 |
| リダイレクト URI | http://localhost:3000/auth/typetalk/callback |
登録すると、IDなどが発行されます。
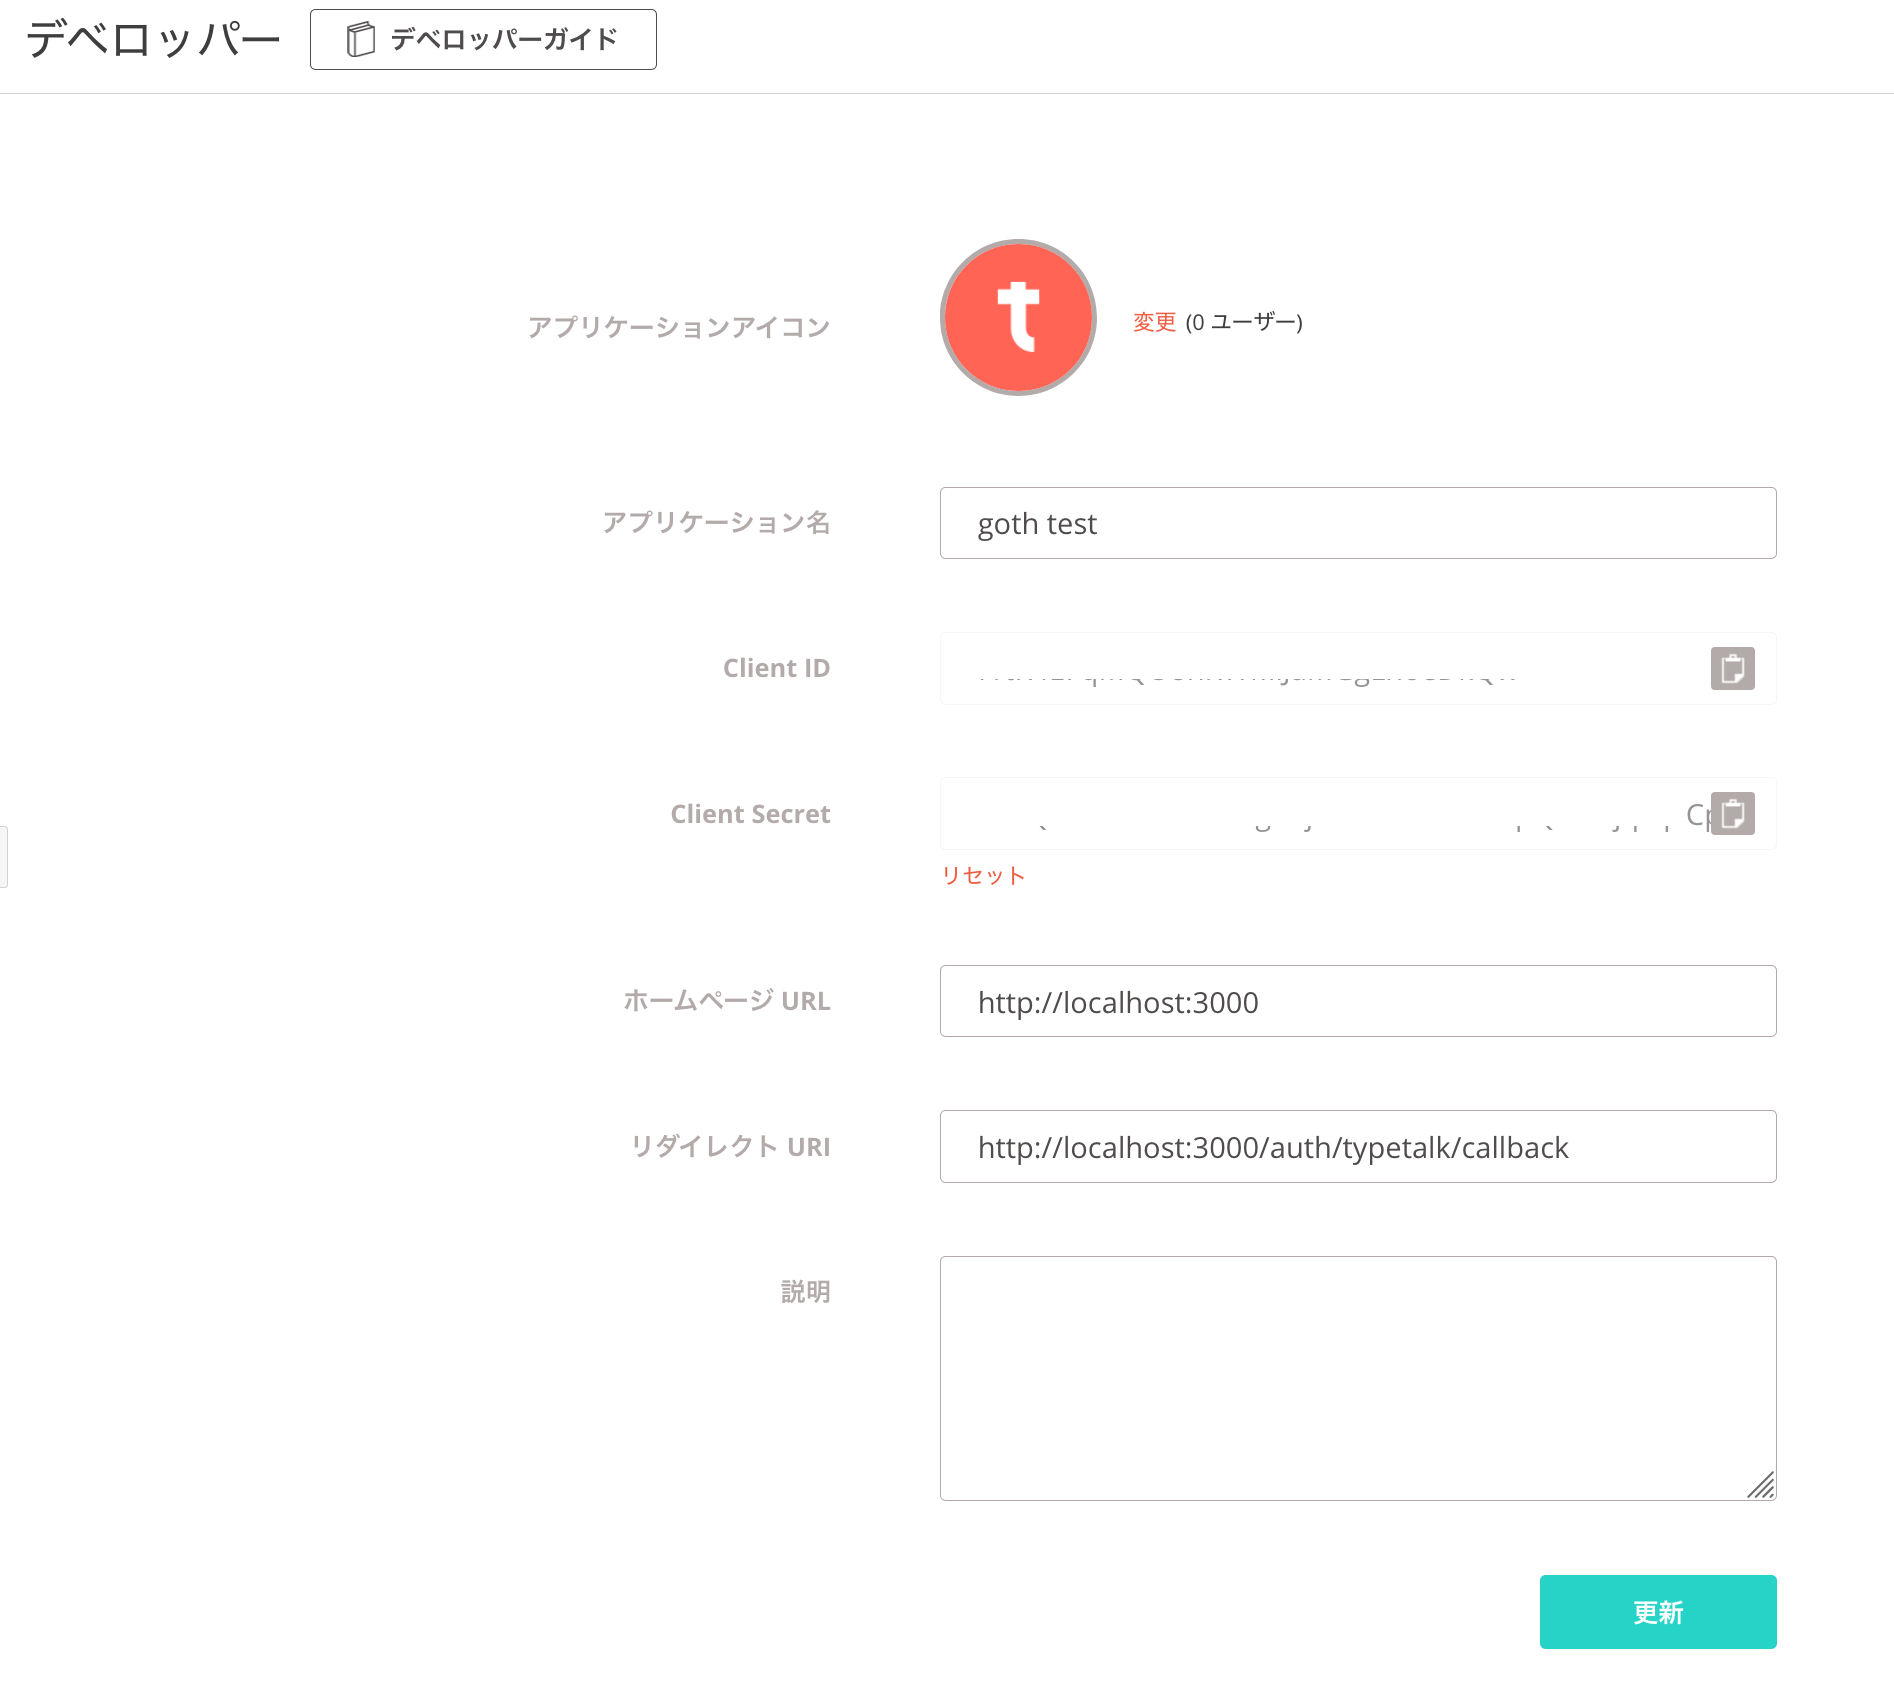 *スクリーンショットでは削ってますが、実際は "Client ID" と "Client Secret" のところに値が入ります。*
- 環境変数を設定します。
$ export SESSION_SECRET=typetalk-goth-test # 本番で使う際は良い感じの値にしてください
$ export TYPETALK_KEY=XXXXXXXXXXX # Client ID の値を使ってください
$ export TYPETALK_SECRET=XXXXXXXXXXX # Client Secret の値を使ってください
- サンプル用のサーバを実装します。
サンプルコード
package main

import (
	"fmt"
	"html/template"
	"net/http"
	"os"

	"log"

	"github.com/gorilla/pat"
	"github.com/markbates/goth"
	"github.com/markbates/goth/gothic"
	"github.com/markbates/goth/providers/typetalk"
)

func main() {
	goth.UseProviders(
		typetalk.New(os.Getenv("TYPETALK_KEY"), os.Getenv("TYPETALK_SECRET"), "http://localhost:3000/auth/typetalk/callback"),
	)

	p := pat.New()
	p.Get("/auth/{provider}/callback", func(res http.ResponseWriter, req *http.Request) {
		user, err := gothic.CompleteUserAuth(res, req)
		if err != nil {
			fmt.Fprintln(res, err)
			return
		}
		t, _ := template.New("foo").Parse(userTemplate)
		t.Execute(res, user)
	})

	p.Get("/logout/{provider}", func(res http.ResponseWriter, req *http.Request) {
		gothic.Logout(res, req)
		res.Header().Set("Location", "/")
		res.WriteHeader(http.StatusTemporaryRedirect)
	})

	p.Get("/auth/{provider}", func(res http.ResponseWriter, req *http.Request) {
		// try to get the user without re-authenticating
		if gothUser, err := gothic.CompleteUserAuth(res, req); err == nil {
			t, _ := template.New("foo").Parse(userTemplate)
			t.Execute(res, gothUser)
		} else {
			gothic.BeginAuthHandler(res, req)
		}
	})

	p.Get("/", func(res http.ResponseWriter, req *http.Request) {
		t, _ := template.New("foo").Parse(indexTemplate)
		t.Execute(res, nil)
	})
	log.Fatal(http.ListenAndServe(":3000", p))
}

var indexTemplate = `<p><a href="/auth/typetalk">Log in with Typetalk</a></p>`

var userTemplate = `
<p><a href="/logout/{{.Provider}}">logout</a></p>
<p>Name: {{.Name}} </p>
<p>Email: {{.Email}}</p>
<p>NickName: {{.NickName}}</p>
<p>AvatarURL: {{.AvatarURL}}</p>
<p>UserID: {{.UserID}}</p>
<p>AccessToken: {{.AccessToken}}</p>
<p>ExpiresAt: {{.ExpiresAt}}</p>
<p>RefreshToken: {{.RefreshToken}}</p>
`
- サーバを起動します。
$ go run main.go
- ブラウザを起動して、アクセスします。
http://localhost:3000/

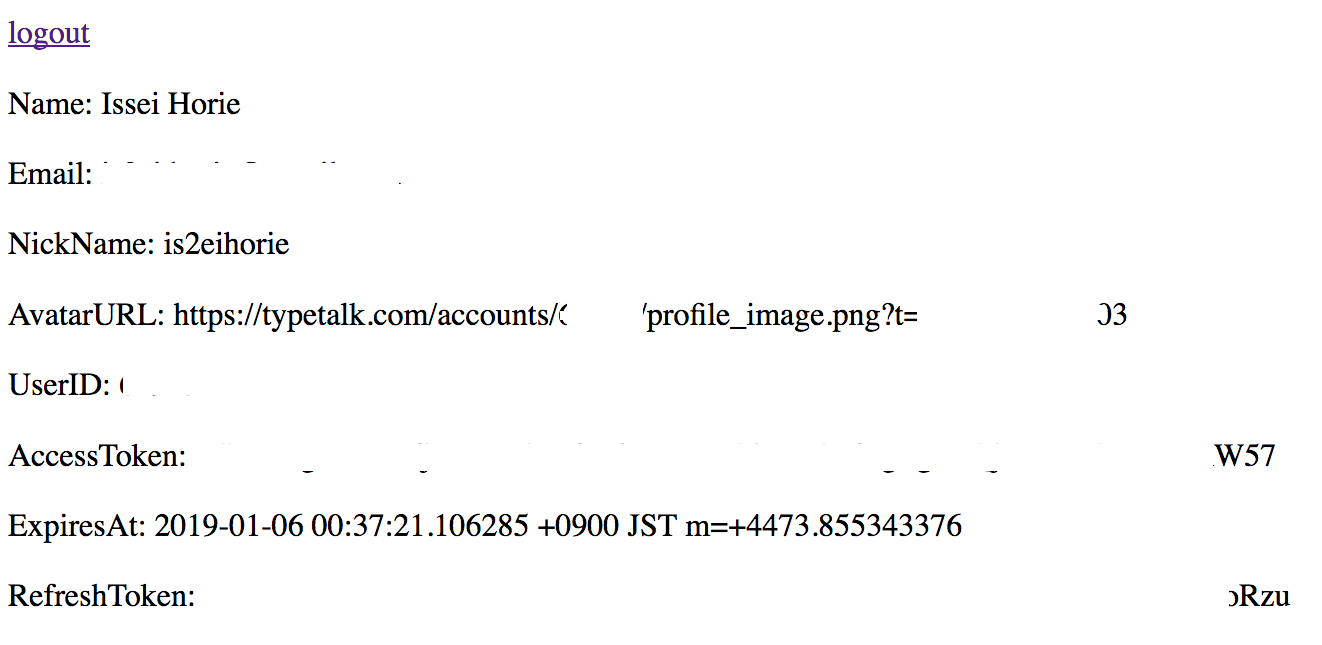
- "Log in with Typetalk" をクリックし、Typetalk の認証画面に遷移します。

- "許可" をクリックし、認証情報を取得します。
スクリーンショットではトークンの値とか削ってますが、実際には表示されます
以上、認証情報を取得するまでのサンプルでした!フィードバック歓迎です ![]()
備考
scope の値は New メソッドの最後の引数として指定できます。省略すると "my" がデフォルトで入ります。
例:topic.read を指定
typetalk.New(os.Getenv("TYPETALK_KEY"), os.Getenv("TYPETALK_SECRET"), "http://localhost:3000/auth/typetalk/callback", "topic.read"),
複数指定するときは引数にそのまま複数渡してください。
例:my と topic.read を指定
typetalk.New(os.Getenv("TYPETALK_KEY"), os.Getenv("TYPETALK_SECRET"), "http://localhost:3000/auth/typetalk/callback", "my", "topic.read"),
変更履歴
2019/01/19 Typetalk がスペース区切りのスコープ指定に対応したので修正しました。