やりたかったこと
GKEのIngress (GCLB)でサービスエンドポイントを提供する際に、アクセスを許可するIPをホワイトリストで制御したい
やったこと(結論)
Cloud ArmorとGKE IngressをkubernetesカスタムリソースであるBackendConfigを使って紐付けることで実現します
2021-10-31 追記
この記事で紹介している apiVersion: cloud.google.com/v1beta1 を使用すると、特定バージョンの GKE において Service からアクティブな Google Cloud Armor セキュリティ ポリシーが削除されるという既知の問題があります。該当する GKE バージョンの場合は、 apiVersion: cloud.google.com/v1 を使うようにしましょう。
影響する GKE バージョンは以下のとおりです。
- 1.18.19-gke.1400~1.18.20-gke.5099
- 1.19.10-gke.700~1.19.14-gke.299
- 1.20.6-gke.700~1.20.9-gke.899
Ref. 基地の問題 - Google Cloud Armor セキュリティ ポリシー フィールドが BackendConfig から削除されました
やったことリスト
- Cloud ArmorでIPホワイトリストルールを作成する
- GKE Ingress用の静的IPアドレスを確保する
- k8sクラスタにサンプルアプリケーションをデプロイする
- k8sクラスタにBackendConfigをデプロイする
- k8sクラスタにアプリケーションのサービスリソースをデプロイする
- k8sクラスタにIngressリソースをデプロイする
構築ポイント
- 作成したCloud Armorのポリシー名を、
BackendConfigというカスタムリソースのspecセクションで指定する - Serviceリソースの
annotationsセクションで、beta.cloud.google.com/backend-configを使って、サービスポートとBackendConfigを紐づけする
前置き
Cloud Armorって??
GoogleCloudPlatformで提供されるGoogle Cloud Load Balancing(GCLB)へのアクセス制御と防御を実現するネットワークセキュリティサービスです。Cloud Armorについては以下の公式ブログがとても参考になります。

Cloud Armor : インターネットに接続されたサービスを DDoS 攻撃から防御
GKE IngressもバックエンドはGCLBのため、Cloud ArmorのネットワークポリシーをGKE Ingressリソースに紐付けることでGKE Ingressで構築したサービスエンドポイントへのアクセスを制御できます。
参考:Nginx Ingress Controllerの場合のIP制限
Nginx Ingress Controllerでは、以下のようなアノテーションがあるので簡単にIP制限を設定できるかも(やったことない)
https://kubernetes.github.io/ingress-nginx/user-guide/nginx-configuration/annotations/#whitelist-source-range
You can specify allowed client IP source ranges through the nginx.ingress.kubernetes.io/whitelist-source-range annotation. The value is a comma separated list of CIDRs, e.g. 10.0.0.0/24,172.10.0.1.
やってみる
GKE IngressとCloud Armorの設定方法
以下の公式ドキュメントの通りに設定すればOK
https://cloud.google.com/kubernetes-engine/docs/how-to/cloud-armor-backendconfig
簡単に言うと、1.10.5-gke.3以降のkubernetesクラスタで提供されるBackendConfigと呼ばれるカスタムリソースで設定を行うことで、サービスポートにロードバランサーの構成を追加し、Cloud Armorのネットワークと紐づけます。
なお、この記事の公開時(2019/1/2)ではBackendConfigはベータ版での提供となっています。
また、ネットワークルールはIPのホワイトリスト/ブラックリストの2つが提供されています。
この記事ではIPホワイトリストでのアクセス許可設定を行っています。
Cloud ArmorでIPホワイトリストルールを作成する
$ gcloud beta compute security-policies create ingress-ip-whitelist --description "sample"
gcloud beta compute security-policies createコマンドだとデフォルトルールがallowになってしまうので、ホワイトリストIPルールにするためにgcloud compute security-policies rules updateコマンドでデフォルトルールをdeny-403に変更。(2147483647はデフォルトルールのPRIORITY)
また、PRIORITY=10000で許可IPアドレスのルールを作っておきます。
$ gcloud compute security-policies rules update 2147483647 \
    --security-policy ingress-ip-whitelist \
    --action "deny-403"

$ gcloud compute security-policies rules create 10000 \
    --security-policy ingress-ip-whitelist \
    --description "allow traffic from 192.0.2.0/24,172.16.3.0/24" \
    --src-ip-ranges "192.0.2.0/24,172.16.3.0/24" \
    --action "allow"
--src-ip-rangesは,区切りで複数のネットワークアドレスを記載できますが、1ルールにつき5つまでという制約があります。5つより多くのネットワークアドレスを指定したい場合は別途新しいルールを作りましょう。
なお--actionにはallow deny-403 deny-404 deny-502を指定することができます。
参考:https://cloud.google.com/sdk/gcloud/reference/beta/compute/security-policies/
GKE Ingress用の静的IPアドレスを確保する
アプリケーションエンドポイントのIPアドレスを固定するための静的IPアドレスを確保します。
gcloud compute addresses create sample-app-endpoint --global
k8sクラスタにサンプルアプリケーションをデプロイする
apiVersion: apps/v1
kind: Deployment
metadata:
  namespace: default
  name: sample-app
spec:
  selector:
    matchLabels:
      app: hello-app
  replicas: 2
  template:
    metadata:
      labels:
        app: hello-app
    spec:
      containers:
      - name: hello-app-container
        image: gcr.io/google-samples/hello-app:1.0
        ports:
        - containerPort: 8080
$ kubectl apply -f app-deployment.yaml
k8sクラスタにBackendConfigをデプロイする
ポイント1: 作成したCloud Armorのポリシーingress-ip-whitelistを、BackendConfigのspecセクションで指定します。
apiVersion: cloud.google.com/v1
kind: BackendConfig
metadata:
  namespace: default
  name: default-backend-config
spec:
  securityPolicy:
    name: "ingress-ip-whitelist"
$ kubectl apply -f backend-config.yaml
k8sクラスタにサンプルアプリケーションのサービスリソースをデプロイする
ポイント2:Serviceリソースのannotationセクションで、beta.cloud.google.com/backend-configを使ってサービスポートとBackendConfigを紐づけます。
apiVersion: v1
kind: Service
metadata:
  namespace: default
  name: sample-app-service
  labels:
    app: hello-app
  annotations:
    beta.cloud.google.com/backend-config: '{"ports": {"80":"default-backend-config"}}'
spec:
  type: NodePort
  selector:
    app: hello-app
  ports:
  - port: 80
    protocol: TCP
    targetPort: 8080
$ kubectl apply -f app-service.yaml
k8sクラスタにIngressリソースをデプロイする
ポイント3: Ingressリソースのannotationsセクションで、kubernetes.io/ingress.global-static-ip-nameを使ってアプリケーションエンドポイント用に確保した静的IPアドレス名sample-app-endpointを設定します。
apiVersion: extensions/v1beta1
kind: Ingress
metadata:
  namespace: default
  name: sample-app-ingress
  annotations:
    kubernetes.io/ingress.global-static-ip-name: "sample-app-endpoint"
spec:
  backend:
    serviceName: sample-app-service
    servicePort: 80
$ kubectl apply -f app-ingress.yaml
やってみた結果
設定後
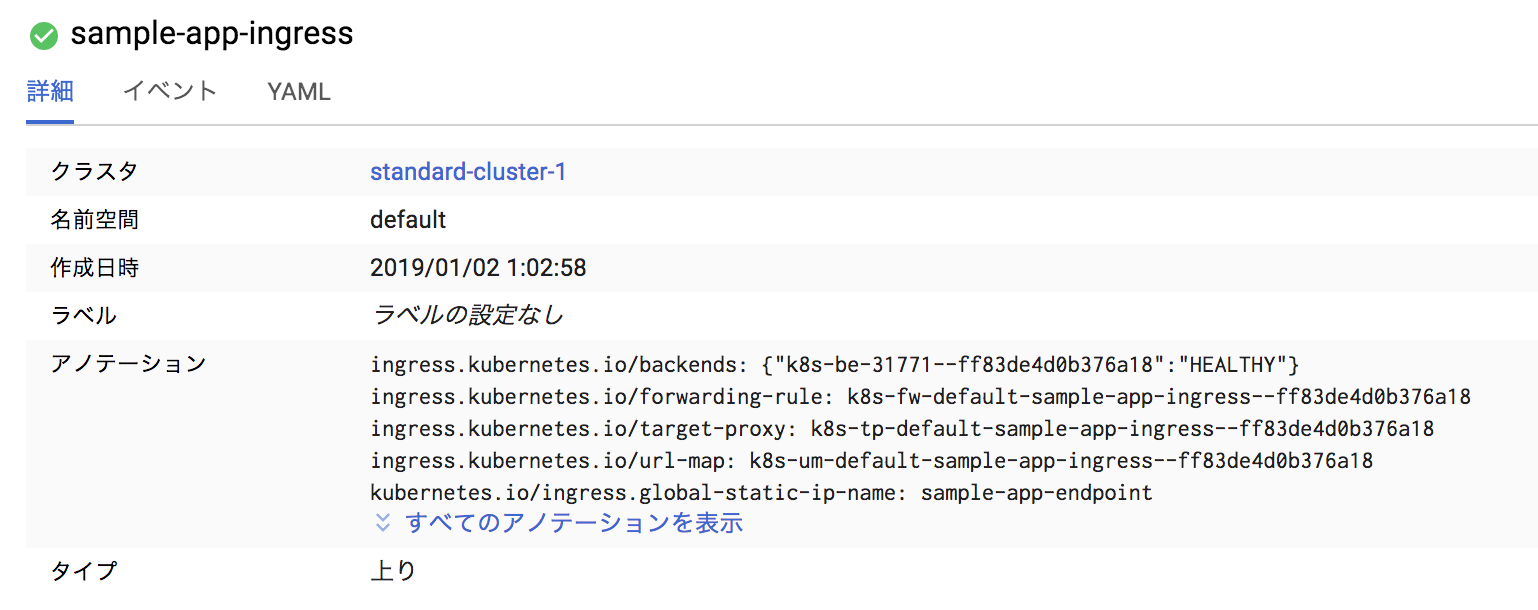
以下のようにIngress/Service/Cloud Armorが設定されました。
Ingress
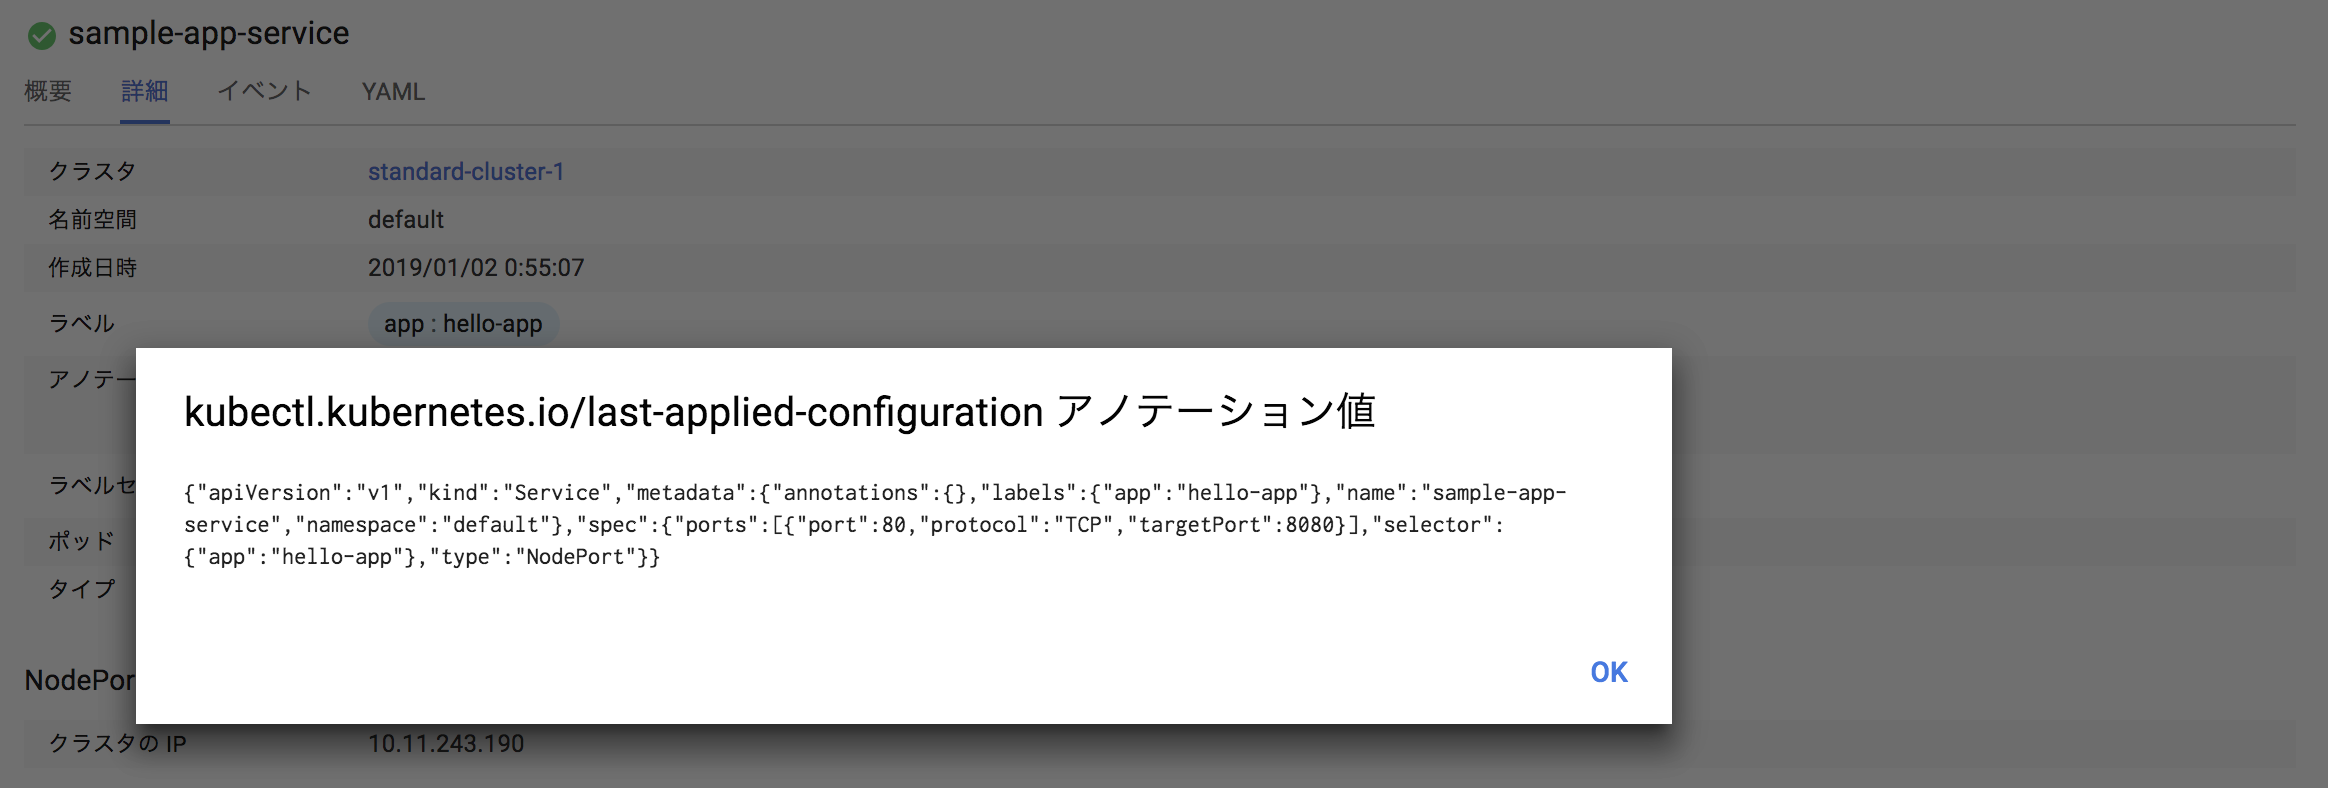
Service
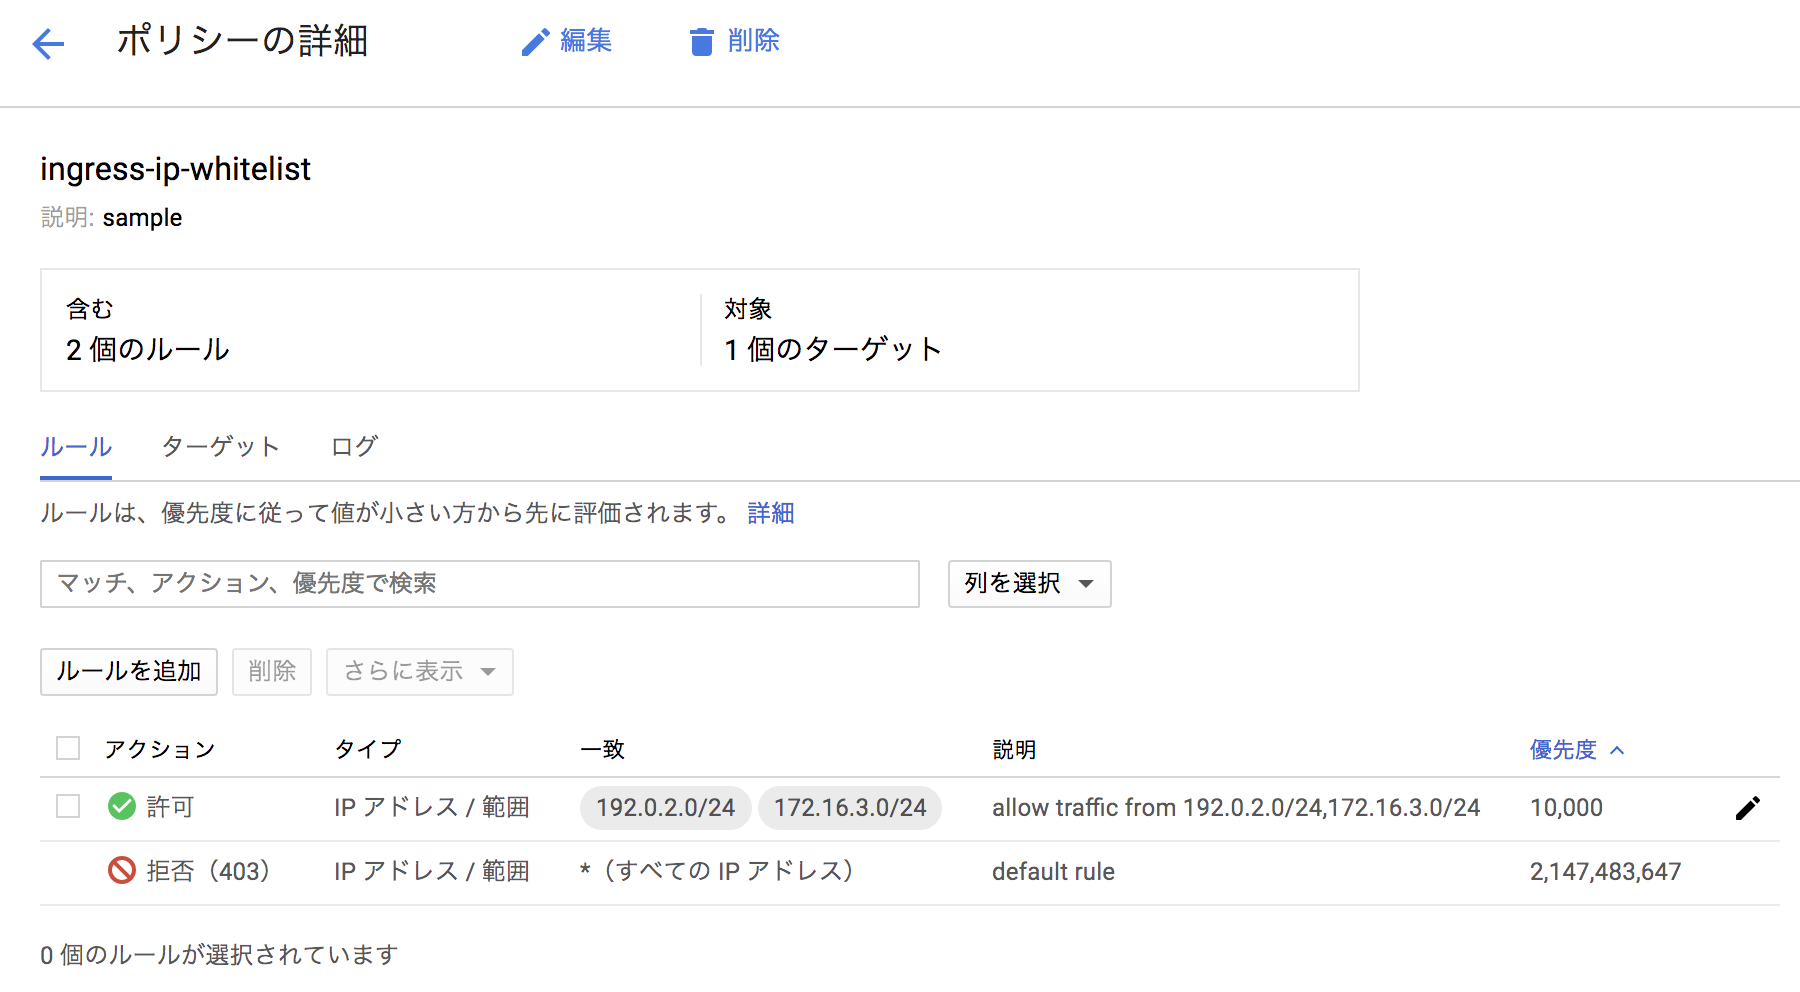
Cloud Armor(Rule)
Cloud Armor(Target)
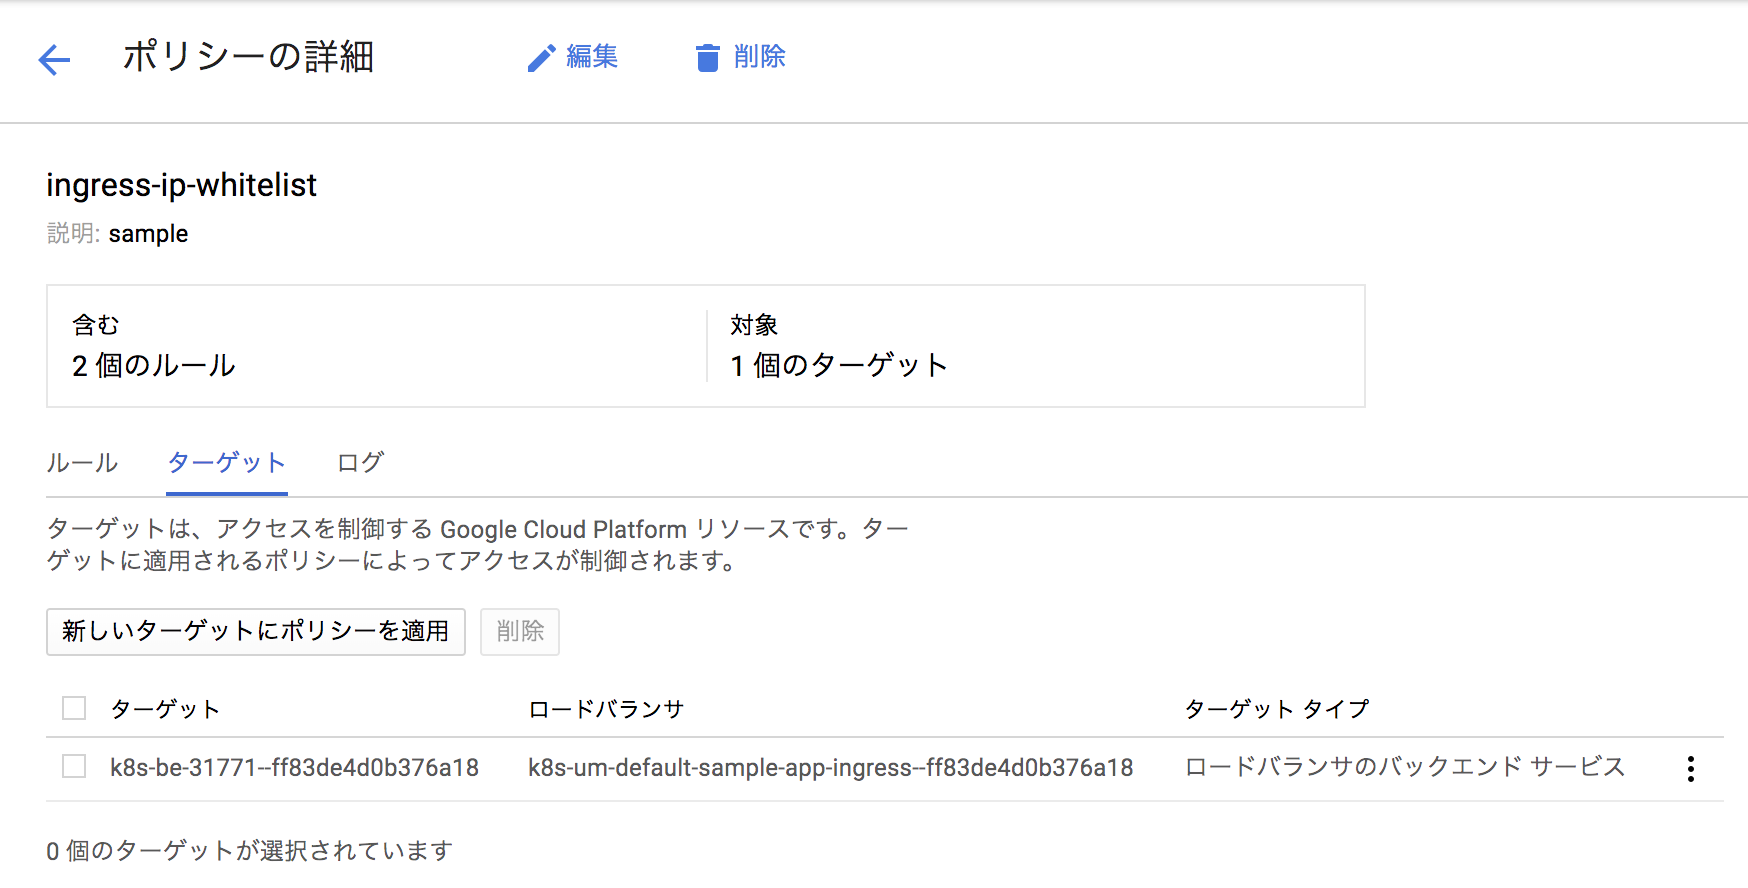
なんとなくネットワークポリシーがロードバランサに紐付いていることがわかります。
アクセス制御の挙動
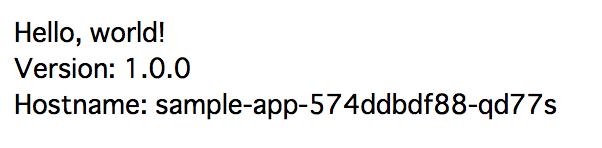
許可されたIPアドレスからは想定通りアプリケーションの画面が表示されました。
許可していないIPアドレスでアプリケーションにアクセスすると、とってもシンプルな画面でアクセスが拒否されました。
試してないですが、他の拒否ルールである404 502も、とってもシンプルな画面でアクセスが拒否されるはず。
アクセスが拒否されたアクセスログはStackdriver Loggingで確認することができました。
とっても簡単でした。