モダンなデータサイエンスト環境(2024)
データサイエンストの環境構築として以下を構築します。本環境はWindows OS環境をフロントエンドとして、バックエンドのLinuxを操作するというイメージです。
1) Dell XPSのWindowsOSに簡単なPythonやR環境を構築し、レポートやブログを書く環境
2) 自作サーバのUbuntuOSにGPUを構築し、より本格的なプロトタイプを実行する環境
3) 有料クラウドサービスを利用した環境
今回は、1)のWindowsOS用の環境を構築します。次回は、2)のUbunutuOSへ接続して、シームレスに連携させる予定です。
今回インストールするPC環境
- Windows 11 Pro (23H2)
- Intel Core i9 32 GB
- WSL - Ubuntu 24.04.1 LTS
今回、Ubuntuのシェル環境は、AutoSuggestion等が利用できるZshの利用を前提にしています。但し、今後はFishに変更する予定です。
Windows側の環境構築
Windows Terminal
Windows Terminalをインストール
https://apps.microsoft.com/detail/9n0dx20hk701?rtc=1&hl=en-us&gl=US

立ち上げは、Win+RショートカットでRunコマンドから、wtを実行
PowerShell 7
winget install --id Microsoft.Powershell --source winget
winget install --id Microsoft.Powershell.Preview --source winget
ConsoleHost_history.txtへの書き込みエラーが出れば、以下を実行してください。
icacls "C:\Users\<your name>\AppData\Roaming\Microsoft\Windows\PowerShell\PSReadLine\ConsoleHost_history.txt" /grant kiwat:F
仮想環境の有効化とWSLのインストール
Win+RショートカットでRunコマンドを立ち上げ、実行
optionalfeatures.exe
- Linux用Windowsサブシステム(WSL)
- 仮想マシン プラットフォーム
をチェックし、OKをクリックし終了。
Powershell TerminalからVersion 2の確認
# Powershell Terminal
wsl -l -v
Windows 11 Pro (23H2)の場合、既存にVersion2に設定されているはずです。Windows10の場合は、Google/ChatGPTしてください。
Ubuntuのインストール
Linuxのディストリビューション名を表示
wsl --list --online
wsl --install -D ubuntu
もし以下のようなエラーがでれば、
#Failed to attach disk #'C:\Users\Liu.D.H\AppData\Local\Packages\KaliLinux.54290C8133FEE_ey8k8hqnwqnmg\LocalState\ext4.#vhdx' to WSL2: The system cannot find the file specified.
#Error code: Wsl/Service/CreateInstance/MountVhd/ERROR_FILE_NOT_FOUND
#Press any key to continue...
--unregister及び、--uninstallを実行し、再度Ubuntuをインストールしてください。
# wsl -l
# wsl --unregister <distribution name>
# (e.g.) wsl --unregister Ubuntu
# wsl --uninstall Ubuntu
# wsl --install -d Ubuntu
# (Reboot)
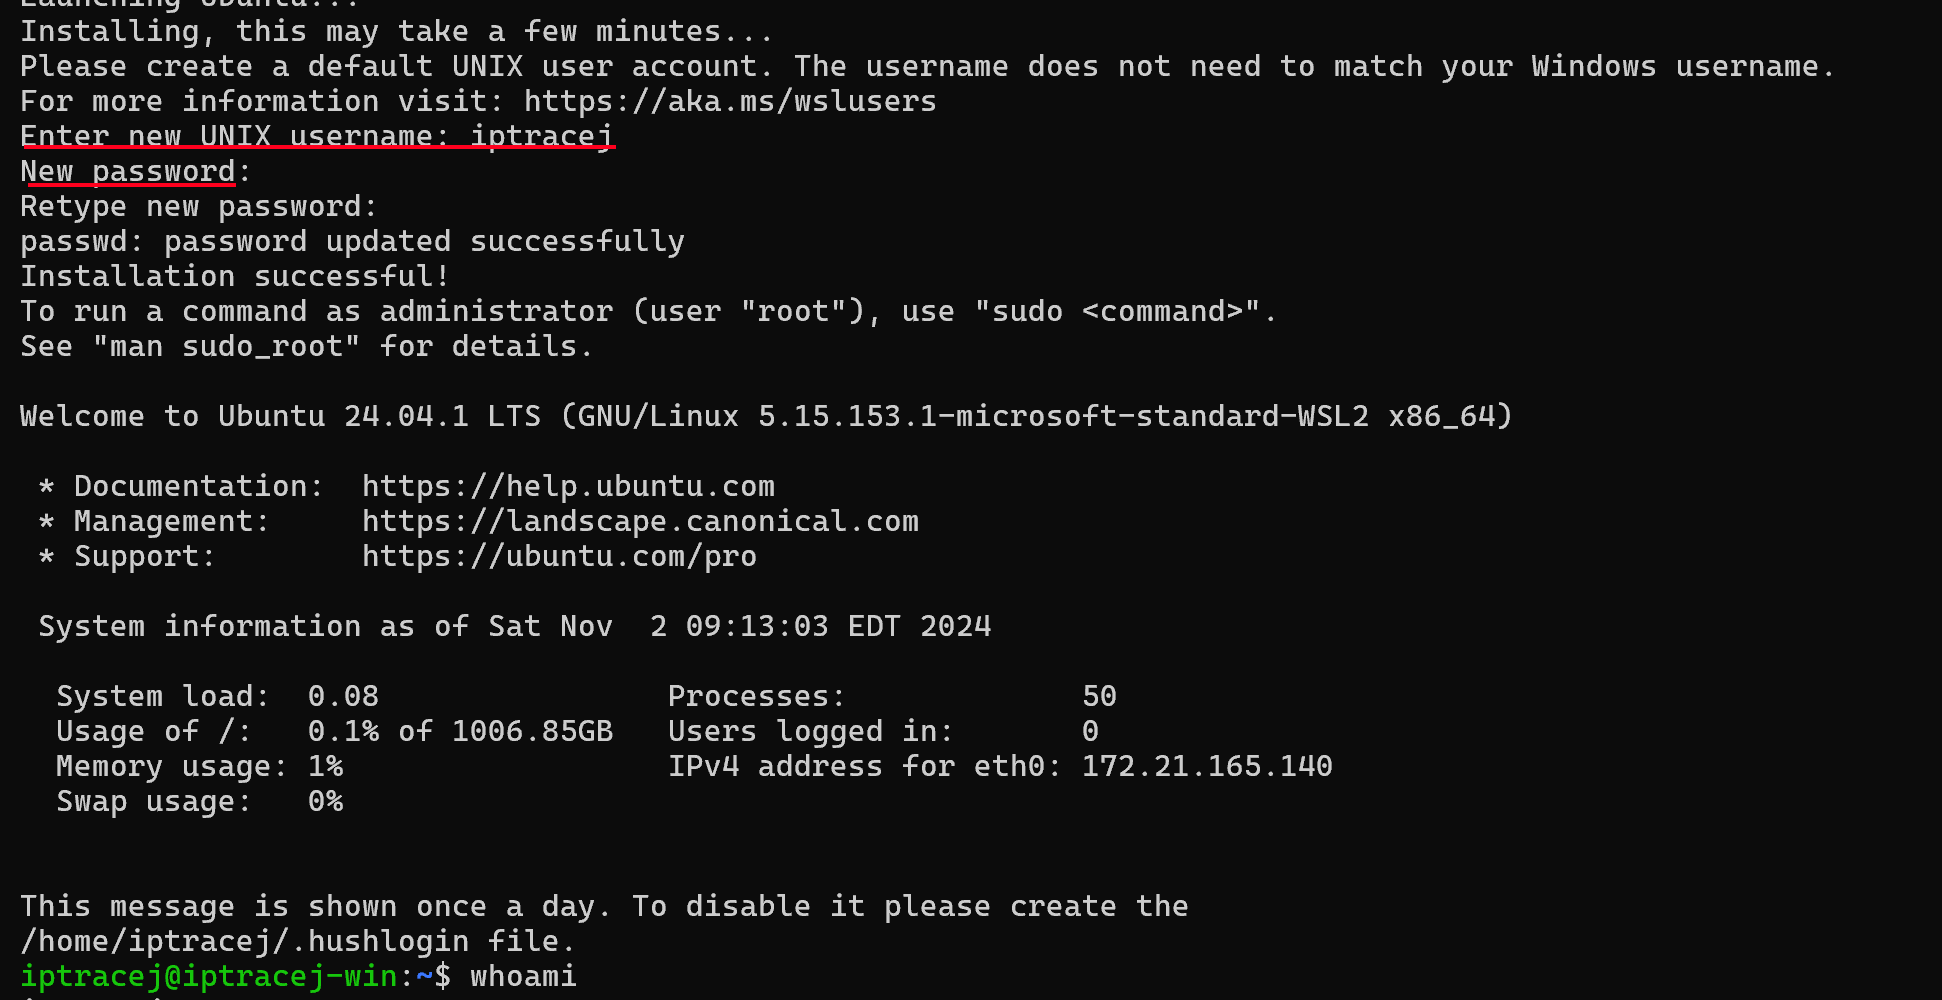
インストール時にユーザ名とパスワードが聞かれます。
WSLコマンドの復習
WSLのコマンドを復習しておきましょう。ExitコマンドをWSL Ubuntu上で叩いて、Powershellに戻り、wslコマンドを叩いてみてください。
wsl -t ubuntu   # Terminate ubunutu
wsl -l          # list OS
wsl -d ubuntu   # Ubuntu OSの立ち上げ
wsl --help      # Help コマンド
Windows TerminalでUbuntuを立ち上げると、以下のような画面となります。

Ubunutu環境の構築
1) パッケージのアップデイト
Windows TerminalからUbuntuを立ち上げ、以下を実行し、すべてYESと答えます。
sudo apt update && sudo apt upgrade
2) Zshのインストール
sudo apt-get install zsh
sh -c "$(curl -fsSL https://raw.github.com/ohmyzsh/ohmyzsh/master/tools/install.sh)"
Autosuggestionsのプラグインインストールし、.zshに設定追加
https://github.com/zsh-users/zsh-autosuggestions
git clone https://github.com/zsh-users/zsh-autosuggestions ${ZSH_CUSTOM:-~/.oh-my-zsh/custom}/plugins/zsh-autosuggestions

# Add the following word into the plugins section in .zsh
#plugins=(
#    # other plugins...
#    zsh-autosuggestions
#)
新しいターミナルを立ち上げて、以前にタイプしたコマンドを叩くと、以下を表示します。

GItHub SSH接続の設定
鍵の設定
ssh-keygen -t ed25519 -C "your_email@example.com"
ユーザ名とEmailの登録
git config --global user.name "Your Name"
git config --global user.email "your_email@example.com"
Git Personal access tokensの設定
今回はクラッシックで生成

安全な場所に保存しておいてください。
cd ~/.ssh
echo 'yourtoken' > .gittoken
chmod 700 .gittoken
Mambaのインストール
condaより高速なクロスプラットフォームのパッケージ管理
既存設定のままインストール完了まで実行
wget "https://github.com/conda-forge/miniforge/releases/latest/download/Miniforge3-$(uname)-$(uname -m).sh"
bash Miniforge3-$(uname)-$(uname -m).sh
インストール場所をPATHに入れておいてください。
mambaでの仮想環境
# Check the current mamba enviornment
mamba info -e

# Check the channel. By default, conda-forge is set to the channel
conda config --show channels
# Add a new channel if required.
# conda config --add channels bioconda

# Create a manba enviornment
mamba create -n myjlabenv jupyterlab -c conda-forge

# Activate the environment
manba init
ここで、.bashrcへ記述されたmambaの設定シェルを.zshrcへコピーします。
# >>> conda initialize >>>
# !! Contents within this block are managed by 'conda init' !!
__conda_setup="$('/home/iptracej/miniforge3/bin/conda' 'shell.bash' 'hook' 2> /dev/null)"
if [ $? -eq 0 ]; then
    eval "$__conda_setup"
else
    if [ -f "/home/iptracej/miniforge3/etc/profile.d/conda.sh" ]; then
        . "/home/iptracej/miniforge3/etc/profile.d/conda.sh"
    else
        export PATH="/home/iptracej/miniforge3/bin:$PATH"
    fi
fi
unset __conda_setup

if [ -f "/home/iptracej/miniforge3/etc/profile.d/mamba.sh" ]; then
    . "/home/iptracej/miniforge3/etc/profile.d/mamba.sh"
fi
# <<< conda initialize <<<
そして、mamba activateを実行
mamba activate myjlabenv             # Activate the environment
(myjlabenv) jupyter lab              # Run a command under the environment
そうすると、Jupyter Labアクセス用のURLが表示されます。

mambaコマンドの復習
(myjlabenv) python --version          # Check Python version
(myjlabenv)> python test.py           # Run a Python Script
(myjlabenv)> mamba install numpy      # Install a new library
(myjlab)> manba deactivate            # Deactivate the environment
mamba remove -all -n myjlabenv        # Remove all files on myjlabenv
mamba create -n py3.11 python=3.11    # Create a specific version environment
VSCode(又はCursor)のインストール
定番のエディターです。
又は、Cursorをお勧めします。まずはVS Codeで開発し、LLM機能がもっと利用したいのであれば、Cursorをどうぞ。
CursorはVS CodeのFolkなので、移行している人が多くいます。
https://docs.cursor.com/get-started/migrate-from-vscode
VSCode Extentionインストール
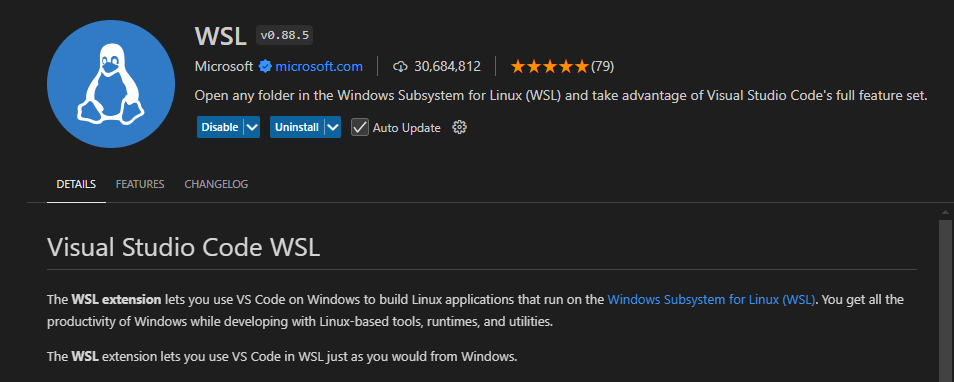
WSL Connected VS Code
ローカルのVS Codeを立ち上げながら、以下をWindows TerminalのUbuntuから実行してください。
cd <your project>
. code
新しいVS Code が立ち上がり、WSL: Ubuntuへの接続が表示されます。

ちなみに、ローカルのWindowsへ戻りたければ、Ctrl + Shift + Pで、Remote-WSL: Reopen Folder in Windowsを選べば、新しいVS Codeが開き、ローカルのアクセスになっているはずです。
これで以上になります。


