前回、Kong AI Gatewayを用意されているスクリプトで構築して使ってみたが、実運用だとこのようなスクリプトを使って構築・設定するよりはdeckコマンドを使って設定する方が現実的だと思われる。
今回は構築済みのKong環境にどのような手順でAI Gatewayの設定を入れていくかをdeckコマンドで設定して確認する。
なお、今回の検証の前提は以下となる。
- Kong Gatewayは構築済み(v3.6以降)
-
deckコマンドを導入済み - 対象LLMは
Cohereとし、APIキーは取得済み
検証用のKong Gatewayがない場合は、以前紹介したこちらの方法で構築するとよい。
Kongとdeckの前提を満たしているかを確認するには、deck gateway pingで疎通確認出来ればOK。
$ deck gateway ping --kong-addr http://localhost:8001
Successfully connected to Kong!
Kong version:  3.6.1.1
deckの前提知識
deckコマンドを使うとKong Gatewayの様々な操作がCLIから実施できる。
また、Kong Gatewayの設定値はYAMLで定義・管理することが出来る。
これを利用し、
-
deck gateway dumpで既存の設定を吸い出し、 -
deck gateway syncでYAMLを継ぎ接ぎして設定を追加していく
といったことを実施する。
なお、今回はコンポーネントごとにYAMLを作成する手順で進めているが、個々のYAMLで管理するのが嫌な場合はdeck file mergeでマージできる。
また、deck gateway syncをいきなり実行するのが怖い場合はdeck gateway diffでdry-run的なことが出来るので覚えておくとよい。
AI Proxy Pluginの追加
以下の流れで設定を行う
- 現状の設定の取得
- Serviceの作成
- Routeの作成
- Pluginの設定
最初に現状の設定をファイルに出力する。
deck gateway dump -o kong-base.yaml
これにAI Proxy Pluginを使ってLLMのエンドポイントを叩くための設定を足していく。
最初にAPIキーを環境変数に入れておき、YAML作成時などに容易に使えるようにしておく。
cat <<EOF > ./env.sh
export COHERE_API_KEY=qIzGBRK7Vxxxxx
EOF
. ./env.sh
Gateway Serviceの定義を作成する。既存のものがある場合は作成しなくてもOK。
export SERVICE_NAME=my-service
cat <<EOF > ./service.yaml
services:
- name: $SERVICE_NAME
  host: localhost
  port: 8000
EOF
定義を元にGateway Serviceを作成する。
deck gateway sync kong-base.yaml service.yaml
次にRouteを作成する。作成するにあたり、Routeに紐づけるServiceのUUIDを事前に取得する。
SERVICE_UUID=$(http localhost:8001/services | jq '.data[] | select(.name == "'"$SERVICE_NAME"'")'.id)
echo $SERVICE_UUID
Routeの定義を作成する。
cat <<EOF > ./cohere-route.yaml
routes:
- name: cohere-api_cohere-chat
  service:
    id: $SERVICE_UUID
  paths:
  - "~/cohere-chat\$"
  methods:
  - POST
EOF
Routeを作成する。
deck gateway sync kong-base.yaml service.yaml cohere-route.yaml
Serviceと同じようにPluginに紐づけるRouteのUUIDを取得する。
ROUTE_UUID=$(http localhost:8001/routes | jq '.data[] | select(.name == "cohere-api_cohere-chat")'.id)
echo $ROUTE_UUID
Cohere用の設定を生成する。(参考:AI Proxy Pluginの仕様)
cat <<EOF > ./cohere-ai-proxy.yaml
plugins:
- name: ai-proxy
  route: $ROUTE_UUID
  config:
    route_type: "llm/v1/chat"
    auth:
      header_name: "Authorization"
      header_value: "Bearer $COHERE_API_KEY"
    model:
      provider: "cohere"
      name: "command"
      options:
        max_tokens: 512
        temperature: 1.0
EOF
設定を適用し、Pluginを有効化する。
deck gateway sync kong-base.yaml service.yaml cohere-route.yaml cohere-ai-proxy.yaml
以上で設定は終わりとなる。
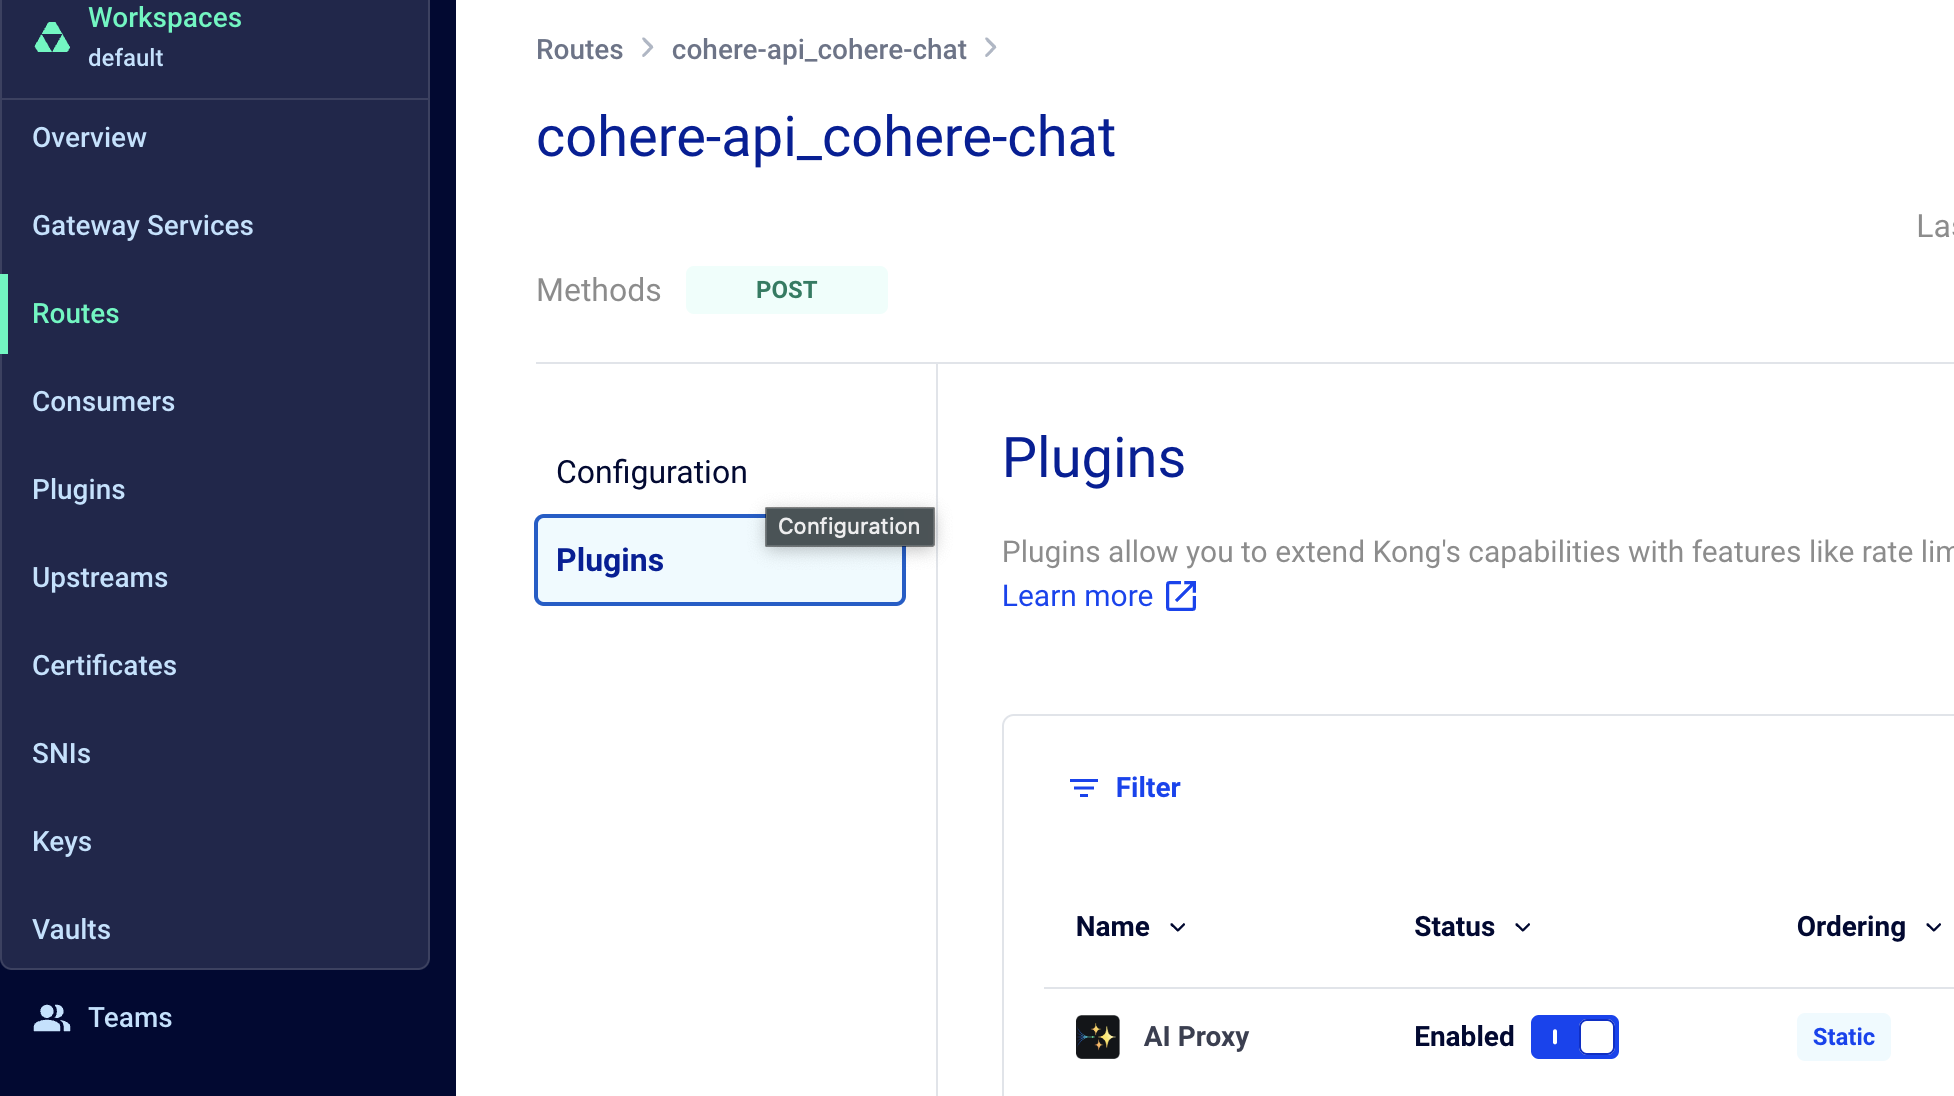
設定が上手く行っていれば、Kong ManagerのUIから確認できる。
実機確認
/cohere-chatでRouteを作成したので、ローカルPCにDockerでKong Gatewayを立てているならデフォルトでlocalhost:8000/cohere-chatにリクエストを飛ばせばCohereに転送される。
適当に問い合わせてみる。
curl -s -X POST localhost:8000/cohere-chat \
  -H "Content-Type: application/json" --data-raw '{
    "messages": [{
    "role": "user",
    "content": "Where is the capital of Japan?"
  }] }'
返ってきた返答はこちら。
{"choices":[{"index":0,"finish_reason":"stop","message":{"role":"assistant","content":"The capital of Japan is Tokyo, which is Japan's economic and political center. It is the most populous city in Japan and one of the most populous cities in the world, with a population of over 37 million people. \n\nTokyo has a rich history and culture, with various attractions like the Meiji Shrine, the Tokyo Skytree, and colourful neighborhoods like Shinjuku and Akihabara. It also hosts the Emperor of Japan and is home to many businesses, organizations, and government offices. \n\nIt is also one of the most innovative cities, known for its technological advancements and modern urban culture. Tokyo hosts the Tokyo Stock Exchange, one of the largest in the world, and is a major global city, establishing itself as an important hub in various fields like finance, business, technology, and entertainment."}}],"object":"chat.completion","model":"command","id":"ebe5e660-6615-4d66-8cbf-8177c4f64d8c","usage":{"completion_tokens":162,"prompt_tokens":69,"total_tokens":231}}
問題なさそうだ。
なお、日本語の問い合わせも可能だが、表示が変だったのでここでは英語で問い合わせている。(Cohere自体は日本は普通に使えるので、APIアクセスが原因なのかその他の要因なのかは不明)
今回はCohereをベースに設定手順を確認したが、OpenAIでもLocalLLMでも基本的な設定の流れは変わらないので、他のLLMを使いたい場合は同じような手順で設定していけば良さそうだ。