本記事は「Kong Advent Calendar 2024」の13日目のエントリとして、Kong Gateway OperatorをKonnect向けに使う方法について解説する。
今年の9月にあったAPI SummitでKong KonnectをKubernetesのCRDで管理する、というネタが発表された。
発表時点ではリリースされていなかったものの、Kong Gateway Operatorのv1.4.0リリースでKonnectが正式に対応となった。
今回はこれを使ってみる。
Kong Gateway Operatorとは
そもそもKong Gateway Operator(KGO)自体の知名度が低いので、これの説明を少しだけ。
Kong Ingress Controller(KIC)ではIngress経由でKong Gatewayを操作し、Pluginなどもカスタムリソースとして扱うことが出来るが、KGOはそれよりも広くControl PlaneやData Planeなどもカスタムリソースとして定義して扱うことが出来る。
またAI周りの機能はkind: AIGatewayというリソースで個別に力を入れていたりする。
kind: AIGatewayを使ったケースについては以前「Kong Gateway Operatorのkind: AIGatewayを試す」で取り上げたので興味があれば見て欲しい。
記事執筆時のKGOのバージョンは1.4.1が最新版だが、Referenceを見ると以下の43個のカスタムリソースが提供されているようである。多すぎ。
KongConsumerKongPluginKongClusterPluginKongIngressRouteKongPluginKongCACertificateKongCertificateKongCredentialACLKongCredentialAPIKeyKongCredentialBasicAuthKongCredentialHMACKongCredentialJWTKongDataPlaneClientCertificateKongKeyKongKeySetKongLicenseKongPluginBindingKongRouteKongSNIKongServiceKongTargetKongUpstreamKongVaultKongCACertificateSpecKongCertificateSpecKongDataPlaneClientCertificateSpecKongKeySetSpecKongKeySpecKongPluginBindingSpecKongRouteSpecKongServiceSpecKongUpstreamSpecKongVaultSpecKongConsumerGroupAIGatewayDataPlaneMetricsExtensionKongPluginInstallationKonnectExtensionControlPlaneDataPlaneGatewayConfigurationKonnectAPIAuthConfigurationKonnectGatewayControlPlane
なお、カスタムリソースの説明はリソース内に実装されているようなので、困ったらkubectl explain kongservices.specのようにkubectl explainを使って掘り下げていけばどういう設定が出来るかは把握出来ると思う。
検証
以下の流れで実施する。
- KGOのインストール
- Control Planeの作成
- Data Planeの作成
- 動作確認
なお、今回は以下の方針で検証する。
- CRDが用意されているものはなるべく使う
- ない場合でもAPIでKonnectを設定し、GUIは極力使わない
- ただし、確認系は分かりやすさを優先してGUIを使う
KGOのインストール
今回はEKS上にKGOを入れて動作確認する。
インストールのページに従ってKGOをインストールする。
最初にリポジトリを追加する。
helm repo add kong https://charts.konghq.com
helm repo update kong
helmコマンドを使ってインストールする。
values.yamlについてはこちらを参考にすることでいくつか設定が出来そうだが、ここではお試しということでドキュメントのコマンドそのままでインストールする。
helm upgrade --install kgo kong/gateway-operator -n kong-system --create-namespace --set image.tag=1.4 \
 --set kubernetes-configuration-crds.enabled=true \
 --set env.ENABLE_CONTROLLER_KONNECT=true
Control Planeの作成
最初にKubernetesクラスタからKonnectを操作するために、Konnectのトークンを登録する。
Konnectのトークンを環境変数に設定する。
KONNECT_TOKEN=kpat_xxxx
トークンを登録する。トークンの管理はSecretではなくKonnectAPIAuthConfigurationという専用のカスタムリソースを利用する。(仕様的にはSecretも参照できると思う)
cat <<EOF > ./auth.yaml
kind: KonnectAPIAuthConfiguration
apiVersion: konnect.konghq.com/v1alpha1
metadata:
  name: konnect-api-auth
  namespace: default
spec:
  type: token
  token: $KONNECT_TOKEN
  serverURL: us.api.konghq.com
EOF
kubectl apply -f ./auth.yaml
なお、作成後、作成したリソースを確認するとトークンが有効かどうか確認できる。
$ kubectl get konnectapiauthconfigurations.konnect.konghq.com konnect-api-auth
NAME               VALID   ORGID                                  SERVERURL
konnect-api-auth   True    bbe3ced9-475c-4b55-8ea6-07018dxxxxxx   https://us.api.konghq.com
次にKonnect上にControl Planeを作成する。
cat <<EOF > ./cp.yaml
kind: KonnectGatewayControlPlane
apiVersion: konnect.konghq.com/v1alpha1
metadata:
  name: gateway-control-plane
  namespace: default
spec:
  name: konnect-cp-crd
  konnect:
    authRef:
      name: konnect-api-auth
EOF
kubectl apply -f ./cp.yaml
ポイントとしてはspec.konnect.authRef.nameに先ほど作ったAPIのAuthのリソース名を指定するのと、扱うリソースは全てNamespace単位で必要なリソースでありNamespaceを跨がない点は注意。
Applyするとkubectlから確認できる。
$ kubectl get konnectgatewaycontrolplanes
NAME                    PROGRAMMED   ID                                     ORGID
gateway-control-plane   True         707452a2-955d-4c1e-8c6c-52517b9117c2   bbe3ced9-475c-4b55-8ea6-07018dxxxxxx
APIを使って操作する人的にはIDが分かるのは結構便利。
KonnectのUIからも確認できる。

Data Planeの作成
Control PlaneとData Planeの通信に利用するための自己署名証明書を作成する。
openssl genrsa -out ca.key 2048
openssl req -x509 -new -nodes -key ca.key -sha256 -days 365 \
  -out ca.crt \
  -subj "/C=US/ST=State/L=City/O=Organization/OU=Department/CN=Kong-CA"
openssl genrsa -out dp.key 2048
openssl req -new -key dp.key -out dp.csr \
  -subj "/C=US/ST=State/L=City/O=Organization/OU=Department/CN=data-plane.kong.local"
openssl x509 -req -in dp.csr -CA ca.crt -CAkey ca.key -CAcreateserial \
  -out dp.crt -days 365 -sha256
Control Planeが管理するData Planeの証明書に作成した証明書を追加する。
cat <<EOF > dpcert.yaml
kind: KongDataPlaneClientCertificate
apiVersion: configuration.konghq.com/v1alpha1
metadata:
  name: dp-cert
  namespace: default
spec:
  controlPlaneRef:
    type: konnectNamespacedRef
    konnectNamespacedRef:
      name: konnect-cp-crd
  cert: |
$(sed 's/^/    /' dp.crt)
EOF
kubectl apply -f ./dpcert.yaml
spec.controlPlaneRef.konnectNamespacedRef.nameにはControl Planeの名前ではなくkind: KonnectGatewayControlPlaneで作成したリソース名を指定する。
問題なければ状態取得するとPROGRAMMEDがTrueとなる。
$ kubectl get konnectgatewaycontrolplanes.konnect.konghq.com
NAME                    PROGRAMMED   ID                                     ORGID
gateway-control-plane   True         707452a2-955d-4c1e-8c6c-52517b9117c2   bbe3ced9-475c-4b55-8ea6-07018dxxxxxx
KonnectのWeb画面で確認する場合、Overview->Actions->Data Plane Certificatesから確認できる。

証明書はData Plane側が参照する場合はSecretで利用するため、Secretとしても登録する。
kubectl create secret tls konnect-client-tls --cert=./dp.crt --key=./dp.key
次にData Planeの設定ファイルを作成する。
Konnect向けData Planeの設定はkind: KonnectExtensionで設定できるので、これを作成する。
CP_ID=$(kubectl get konnectgatewaycontrolplanes gateway-control-plane -o jsonpath={.status.id})
CP_ENDPOINT_ID=$(curl -s -H "Authorization: Bearer ${KONNECT_TOKEN}" -XGET https://us.api.konghq.com/v2/control-planes/$CP_ID | jq -r '.config.control_plane_endpoint' | sed -E 's|https://([^.]+).*|\1|')
9e7f0b8993
cat <<EOF > ./dp-extension.yaml
 kind: KonnectExtension
 apiVersion: gateway-operator.konghq.com/v1alpha1
 metadata:
   name: konnect-config
   namespace: default
 spec:
   controlPlaneRef:
     type: konnectID
     konnectID: $CP_ENDPOINT_ID
   controlPlaneRegion: us
   serverHostname: konghq.com
   konnectControlPlaneAPIAuthConfiguration:
     clusterCertificateSecretRef:
       name: konnect-client-tls
EOF
kubectl apply -f ./dp-extension.yaml
設定内容としては以下となる。
-
controlPlaneRefでControl Planeを指定 -
controlPlaneRegion、serverHostnameで接続先を指定 -
clusterCertificateSecretRefで証明書のSecretを指定
ControlPlaneの指定が特殊なので少し補足する。
環境変数CP_IDは先程作成したKonnectGatewayControlPlanesからControl PlaneのIDを引っ張ってきている。
この後のCP_ENDPOINT_IDが曲者で、Control Plane固有のエンドポイントに含まれるIDをYAMLに書く必要があるのだが、これをWebUIからは取得できない。
(正確には取れなくはないのだが、Data Planeをデプロイ直前まで進めないと取得できない。)
なので、これはAPIで取得する。
https://<リージョン>.api.konghq.com/v2/control-planes/<CP_ID>にアクセスすると以下のような感じで取得できるので、このcontrol_plane_endpointからID的な部分をsedで抽出して設定したのがCP_ENDPOINT_IDとなる。
:(省略)
  "config": {
    "control_plane_endpoint": "https://b89939e7f0.us.cp0.konghq.com",
    "telemetry_endpoint": "https://b89939e7f0.us.tp0.konghq.com",
    "cluster_type": "CLUSTER_TYPE_CONTROL_PLANE",
    "auth_type": "pinned_client_certs",
    "cloud_gateway": false,
    "proxy_urls": []
  },
:(省略)
あとcontrolPlaneRefはKonnectGatewayControlPlaneが指定できても良さそうだが、現時点では対応していないため、上記のような手順が必要となる。
※'25/6/12追記:今だとKonnectGatewayControlPlaneが指定でき、エンドポイントの指定も不要となった
次にData Planeをデプロイする。
cat <<EOF > ./dp.yaml
 apiVersion: gateway-operator.konghq.com/v1beta1
 kind: DataPlane
 metadata:
   name: dataplane-example
   namespace: default
 spec:
   extensions:
   - kind: KonnectExtension
     name: konnect-config
     group: gateway-operator.konghq.com
   deployment:
     podTemplateSpec:
       spec:
         containers:
         - name: proxy
           image: kong/kong-gateway:3.8.1.0
           env:
           - name: KONG_LOG_LEVEL
             value: debug
EOF
kubectl apply -f dp.yaml
先ほど作成したKonnectExtensionはspec.extensionsに作成したリソース名を指定して渡す。
リソース作成後、kubectl get dataplaneで適用されたことは確認できるが、Konnectと接続できていなくてもここのREADYはTrueとなる。
なのでここはKonnectのUIから確認するのが手っ取り早い。
以下のような感じでData Planeが見えれば問題なくデプロイできている。

動作確認
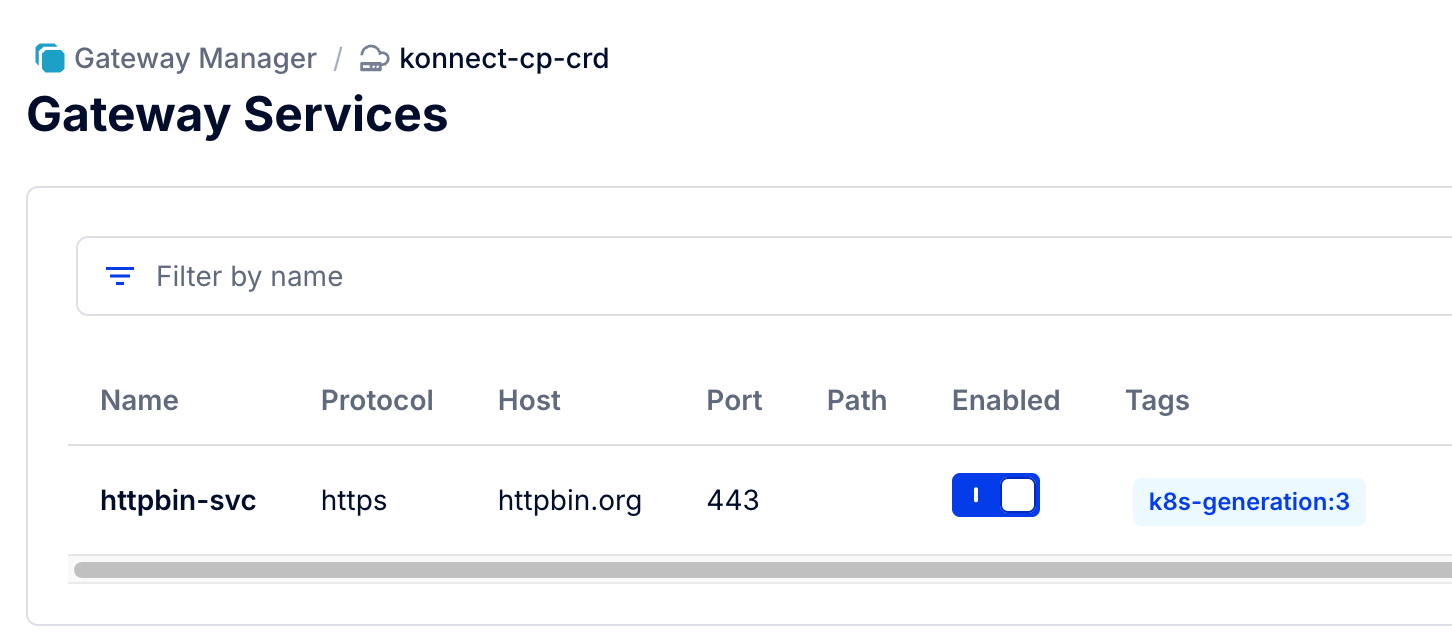
Kong Gateway内にServiceとRouteを作成してData Plane経由でアクセスし、問題なく動作するか確認する。
なお、ServiceとRouteは以下の内容で作成する。
- Service:
- 宛先:
https://httpbin.org
- 宛先:
- Route:
- パス:
/httpbin
- パス:
なお、ServiceとRouteはKong Ingress Controllerで作成せず、kind: KongServiceとkind: KongRouteを使って作成する。
最初にKongServiceを作成する。
cat <<EOF > ./kong-svc.yaml
kind: KongService
apiVersion: configuration.konghq.com/v1alpha1
metadata:
  name: httpbin-svc
  namespace: default
spec:
  name: httpbin-svc
  host: httpbin.org
  protocol: https
  port: 443
  controlPlaneRef:
    type: konnectNamespacedRef
    konnectNamespacedRef:
      name: gateway-control-plane
EOF
kubectl apply -f ./kong-svc.yaml
spec.controlPlaneRefで作成したKonnectGatewayControlPlaneのリソース名を指定する。
次にRouteをkind: KongRouteを使って作成する。
cat <<EOF > ./kong-rt.yaml
kind: KongRoute
apiVersion: configuration.konghq.com/v1alpha1
metadata:
  name: httpbin-rt
  namespace: default
spec:
  name: httpbin-rt
  protocols:
  - https
  paths:
  - /httpbin
  serviceRef:
    type: namespacedRef
    namespacedRef:
      name: httpbin-svc
EOF
kubectl apply -f ./kong-rt.yaml
spec.serviceRefで作成したKongServiceのリソース名を指定することで、Serviceとの紐づけを行う。
Service、Routeの作成が終わったらData Planeを通してhttpbin.orgにアクセスする。
Data PlaneをデプロイするとProxyがtype: LoadBalancerで公開されるので、これを利用する。
$ kubectl get svc -l konghq.com/gateway-operator=dataplane
NAME                                        TYPE           CLUSTER-IP       EXTERNAL-IP                                                               PORT(S)                      AGE
dataplane-admin-dataplane-example-sp9j4     ClusterIP      None             <none>                                                                    8444/TCP                     8m51s
dataplane-ingress-dataplane-example-79stt   LoadBalancer   10.100.156.238   a26783be2b8bf40ccb795094690efb6a-12968xxxxx.us-east-1.elb.amazonaws.com   80:32504/TCP,443:30441/TCP   8m51s
Proxyのアドレスを環境変数に設定する。
PROXY=$(kubectl get svc -l gateway-operator.konghq.com/dataplane-service-type=ingress -o jsonpath={.items[].status.loadBalancer.ingress[].hostname})
アクセスする。
$ curl -k -s -XGET https://${PROXY}/httpbin/anything
{
  "user-agent": "curl/8.7.1"
}
問題なく取得できた。
ついでにUIで設定を変更した場合、どのように動作するかも確認する。
期待としては、Manifest管理する以上はKubernetes側のルールに沿ってKonnect側の設定が元に戻って欲しい。
今は以下のように表示される。
$ kubectl get kongservice,kongroute
NAME                                               HOST          PROTOCOL   PROGRAMMED
kongservice.configuration.konghq.com/httpbin-svc   httpbin.org              True

NAME                                            PROGRAMMED
kongroute.configuration.konghq.com/httpbin-rt   True
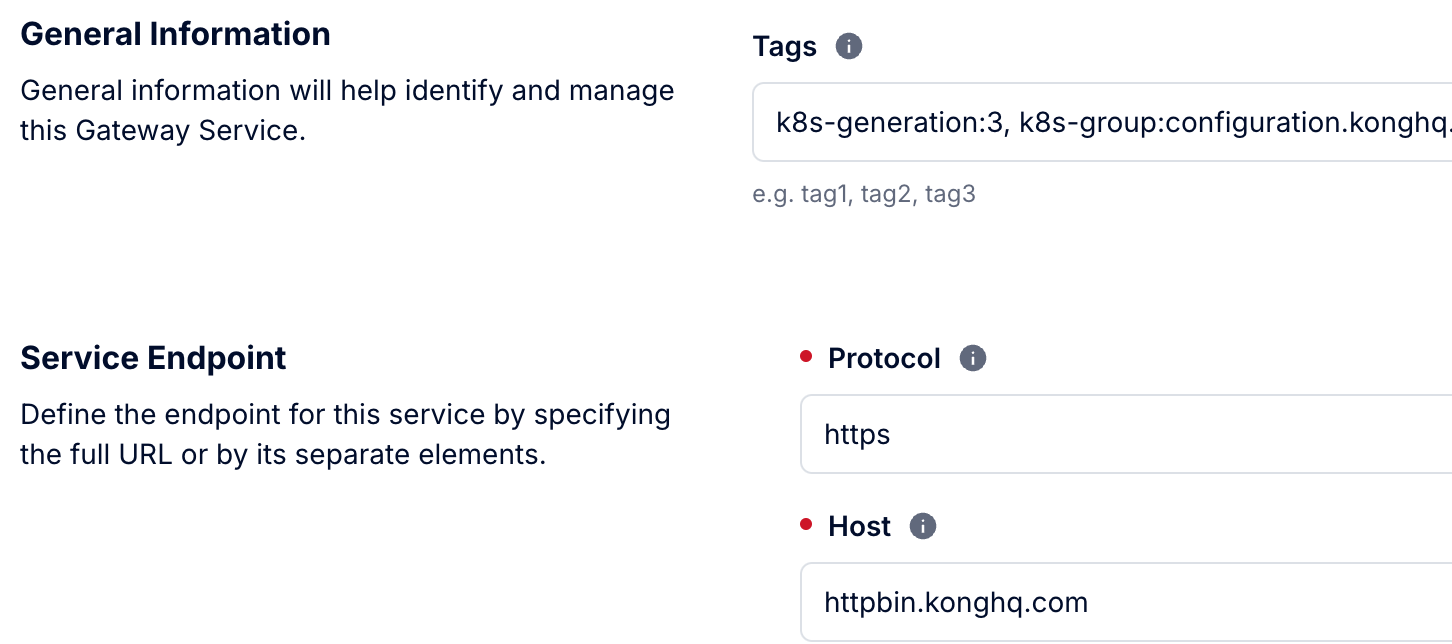
UI上でホストをhttpbin.kongh.comに変更する。

期待通りリコンサイルが動作し、Kubernetes側の設定が優先された。
まとめ
Konnect向けKGO機能を構築から疎通確認まで一通り触ってみたが、普通に使えるな、というのが個人的な感想である。
Konnect側の設定をManifestで展開できるので、構築の自動化とかを検討する人には向いていると思う。
また、Kustomizeやyttを使えばGitOps的なアプローチで任意の環境の構築自動化も簡単に行えると思う。
あと、上記検証では触れなかったが、K8sによるリコンサイルはあくまでもManifestで管理している対象にのみ効き、Manifestで管理していないService、Routeは削除されない。
なので、KonnectのUIも表示専用という訳ではなく、Manifest外のエンティティは作成・変更・削除等利用できる。
この点は先日「KonnectでKong Ingress Controllerを使う」で紹介したKICモードよりも使い勝手がいい。
Kubernetes Firstなシステム、プロジェクトには相性がいいと思うので、KonnectやKong Gatewayを使うKubernetesユーザは試していただければ幸いである。
おまけ
以下のようなYAMLを用意するとKIC向けのKonnectのControl Planeも作成できる。
kind: KonnectGatewayControlPlane
apiVersion: konnect.konghq.com/v1alpha1
metadata:
  name: gateway-control-plane-kic
  namespace: default
spec:
  name: konnect-cp-crd-kic
  konnect:
    authRef:
      name: konnect-api-auth
  cluster_type: CLUSTER_TYPE_K8S_INGRESS_CONTROLLER
ただし、kind: KongServiceを作っても以下のような感じでエラーとなる。
    Message:               Attaching to ControlPlane default/gateway-control-plane-kic with cluster type CLUSTER_TYPE_K8S_INGRESS_CONTROLLER is not supported
    Observed Generation:   1
    Reason:                Invalid
    Status:                False
    Type:                  ControlPlaneRefValid
KICを使う場合はKICのルールに則ってKong GatewayのService/Routeを作る必要がありそうだ。
