Rancherでkubernetesを構築したのでその備忘録です。
ハードウェア
- 4X4 BOX-V1000M (¥71,017)
- Jumper EZbox i3 (¥34,850)
- TP-Link 5ポート スイッチングハブ (¥1,800)
ソフトウェア
OS: Ubuntu 20.04 LTS
Docker: version 19.03.8
Rancher: Docker版 2.4.2
構成
マスタノード1台、ワーカー1台の構成となっています。クラスタ構成ではありません。
(本来、マスター、ワーカ共に3台以上がクラスタ構成の条件となっています)

作成手順
USBにUbuntu20.04 LTSのイメージを作成してインストール
ASRockの方は順調にインストールできましたが、Jumpberの方はSDカードが認識できないエラーが出続けていました。
mmc0: Timeout waiting for hardware cmd interrupt.
モジュールをメモリから落とすことで対応した。ただしPCを再起動するともとに戻ります。
sudo modprobe -r sdhci
sudo modprobe -r sdhci_acpi
Dockerのインストール
sudo apt install docker.io
sudo usermod -aG docker <<アカウントID>>
Rancherの導入
sudo docker run -d --restart=unless-stopped -p 80:80 -p 443:443 rancher/rancher
公式:(https://rancher.com/docs/rancher/v2.x/en/quick-start-guide/deployment/quickstart-manual-setup/)
Rancherのクラスター作成
クラスターを作っていきます。オンプレ構成なのでCustomを選択します。

詳細は名前以外デフォルトで決めました。
kubernetesマスターとワーカーの作成
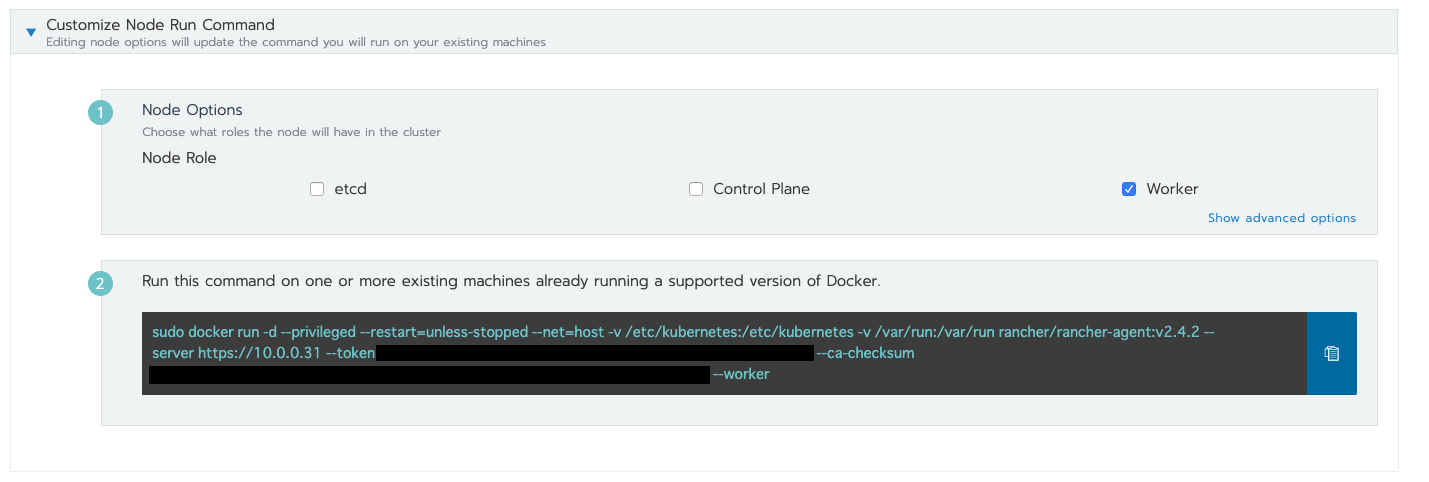
Clusterの作成・編集でノードの追加ができます。
etcd | Control Plane | Worker をチェックして下に表示されるコマンドをそれぞれのPCで実行するだけです。
Jumperにetcd、Control Plane。ASRockにWorkerを設定します。
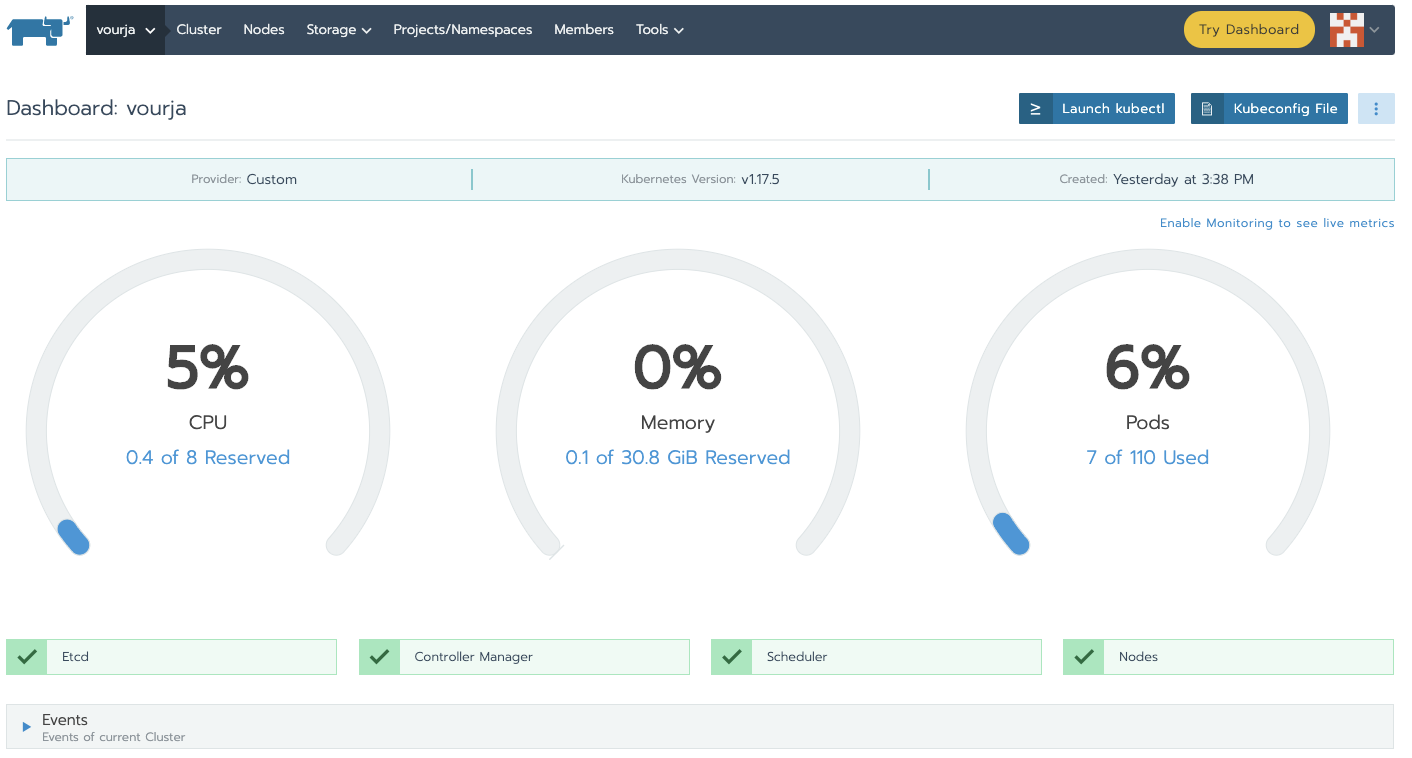
しばらくすると(体感10分弱?)ノードがActiveになりました。
まとめ
めっちゃ簡単にできてしまう。
しばらくはこれでkubernetesの勉強進めようと思う。

