構築の流れ
Smartyのダウンロード
- ダウンロード手順
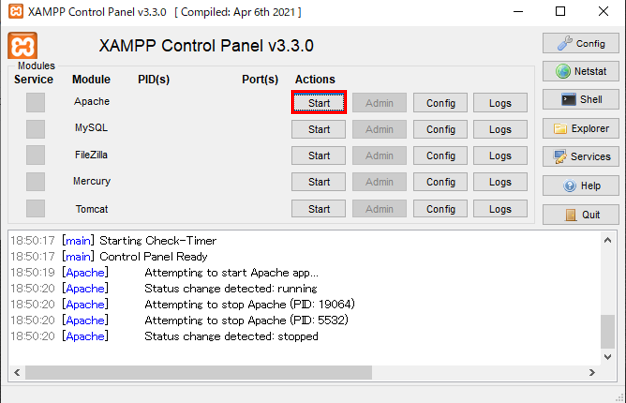
まず初めに、phpのバージョンを確認しましょう。XAMPP Controll Panel を起動して、「Shell」を起動
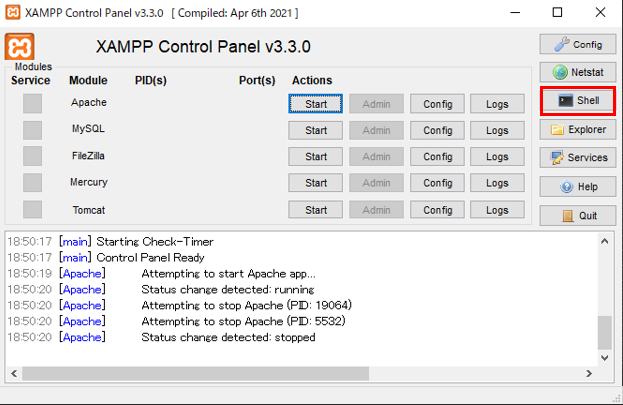
ターミナルが開いたら、「php -v」と入力してインストールされているphpのバージョンを表示させる。

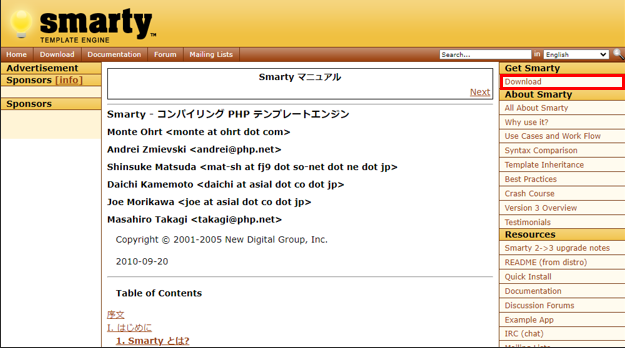
次に、Smartyのdownloadページにアクセスして、右上にある
「Get Smarty」下の「Download」を押下。
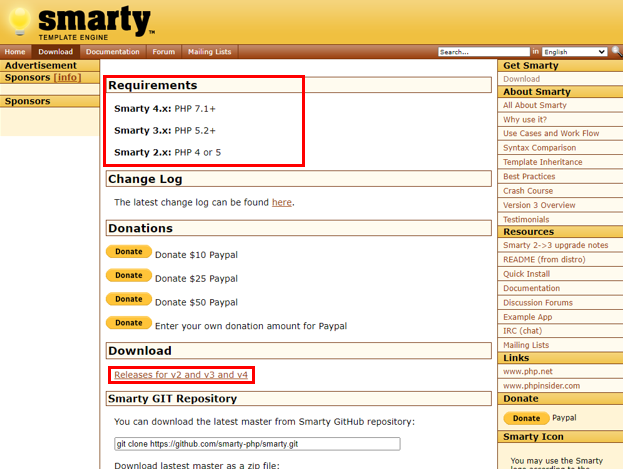
開いたら、最初に「Requirements」を確認し、自分が使用しているPHPのバージョンと互換性があるSmartyのバージョンを確認します。
(本資料では、インストールされているphpのバージョンが8.2.4なので、互換性があるのはSmarty v4)
ダウンロードするバージョンがわかったら、「Download」の下にある、「Releases for v2 and v3 and v4」を押下
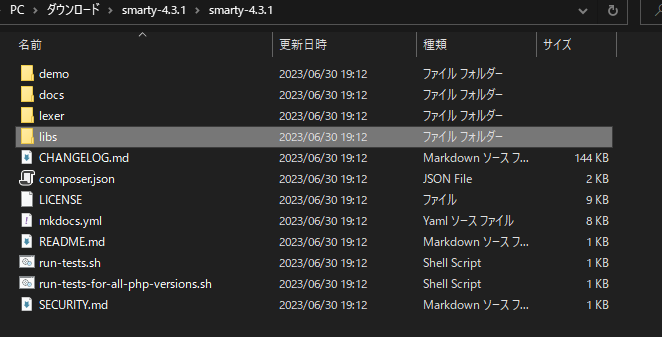
GitHubが開くので、先ほど確認したSmartyと同じバージョンのzipをダウンロード。
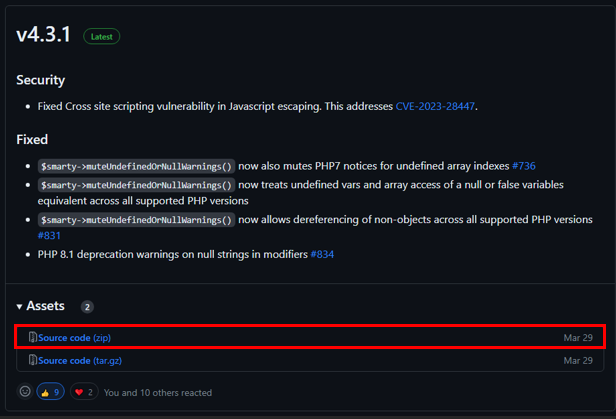
以上でSmartyのダウンロードは完了です。
XAMPPにSmartyを適応
次に、XAMPPにSmartyを適応させます。
ダウンロードしたzipを解凍し、中に配置されいる「libs」をXAMPP内にあphpフォルダ直下(xampp\php)に配置
↓コピーして配置

配置した「libs」の名前を「smarty」に変更しておく。

以上で、XAMPPにSmartyを適応できました。
php.iniの情報書き換え
次に、php.iniの情報書き換えを行います。
xampp直下のphp(xampp\php)を開き、「php.ini」を見つけます。
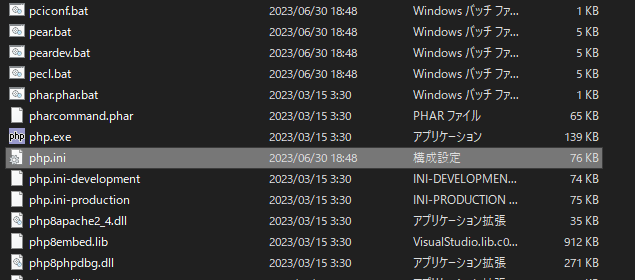
「php.ini」を開き、
「include_path=C:\xampp\php\PEAR」をコメントアウト
その下に、「include_path = ".;C:\xampp\php\PEAR;C:\xampp\php\smarty"」と追記
;;;;;;;;;;;;;;;;;;;;;;;;;
; Paths and Directories ;
;;;;;;;;;;;;;;;;;;;;;;;;;

; UNIX: "/path1:/path2"
include_path=C:\xampp\php\PEAR
;
; Windows: "\path1;\path2"
;include_path = ".;c:\php\includes"
;
; PHP's default setting for include_path is ".;/path/to/php/pear"
; https://php.net/include-path

; The root of the PHP pages, used only if nonempty.
; if PHP was not compiled with FORCE_REDIRECT, you SHOULD set doc_root
; if you are running php as a CGI under any web server (other than IIS)
; see documentation for security issues.  The alternate is to use the
; cgi.force_redirect configuration below
; https://php.net/doc-root
doc_root=
;;;;;;;;;;;;;;;;;;;;;;;;;
; Paths and Directories ;
;;;;;;;;;;;;;;;;;;;;;;;;;

; UNIX: "/path1:/path2"
;include_path=C:\xampp\php\PEAR
include_path =".;C:\xampp\php\pear\;C:\xampp\php\smarty\"
;
; Windows: "\path1;\path2"
;include_path = ".;c:\php\includes"
;
; PHP's default setting for include_path is ".;/path/to/php/pear"
; https://php.net/include-path

; The root of the PHP pages, used only if nonempty.
; if PHP was not compiled with FORCE_REDIRECT, you SHOULD set doc_root
; if you are running php as a CGI under any web server (other than IIS)
; see documentation for security issues.  The alternate is to use the
; cgi.force_redirect configuration below
; https://php.net/doc-root
doc_root=
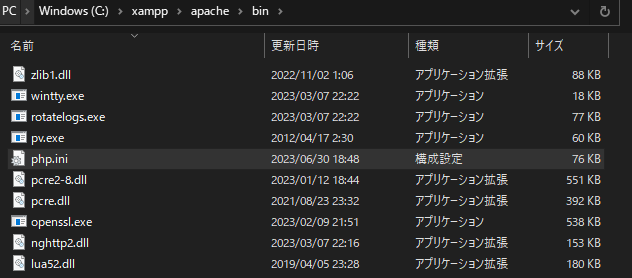
上記を追記したら保存し、ファイルをコピーして、「xampp\apache\bin」に配置します。
プロジェクトの作成・動作確認
- プロジェクトの作成方法
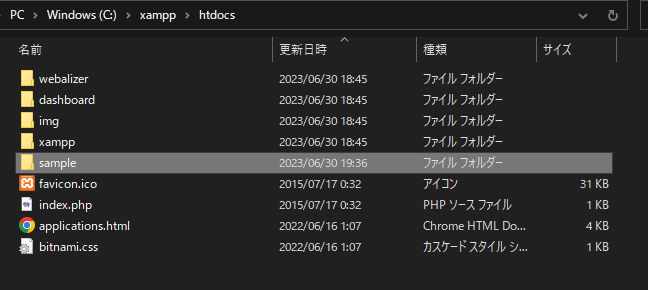
xampp内のhtdocs(xampp\htdocs)に、任意の名前のフォルダを作成してください。(本資では、sampleで作成)
次に、作ったフォルダ内に、「templates」フォルダと、「templates_c」フォルダを作成してください。

作成したら、「templates」を開いて、下記を「index.tpl」として保存。(格納場所 = xampp\htdocs\sample\templates)
<!DOCTYPE html>
    <html lang="ja">
    <head>
      <title>Smarty動作確認</title>
    </head>
    <body>
        こんにちは
        <br>
        {$hello}
    </body>
</html>

index.tplを作成したら、sample直下に戻り、下記をindex.phpとして保存してください。(格納場所 = xampp\htdocs\sample)
<?php
    require_once('Smarty.class.php');
    $smarty = new Smarty;
    $smarty->template_dir = './templates/';
    $smarty->compile_dir = './templates_c/';
    $smarty->assign('hello', 'Hello World');
    $smarty->display('index.tpl');
?>
上記2つのファイル(index.tplと、index.php)を保存したら次は動作確認に移ります。
- 動作確認
XAMMP Controll Panellを起動して、apacheの「Start」を押下
http://localhost/sample/index.php
にアクセスする。
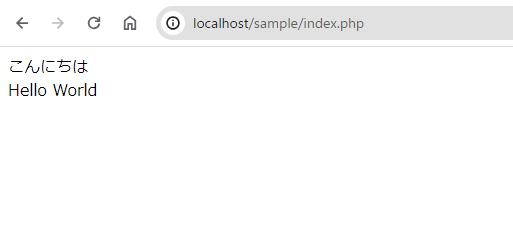
上記が表示されると成功。
たまに、index.phpの2行目
require_once('Smarty.class.php');
でエラーがでるが、smartyのバージョンの確認、ダウンロードしたsmartyを解凍したか、php.iniのpathはtypoしていないのかを確認してください。