概要
MacBookを新調したので、macOSにJupyter Notebookを導入する手順をまとめます。
すでに先人の記事がありますが、この手の環境構築はバージョン違いやダウンロード先の更新で動作が変わっていることが多く、先人の記事をそのままなぞることができないケースも多くあります。
少しでも最新の状況での構築実績として記しておきます。
環境
- macOS 10.14.4 Mojave
手順の流れ
- Xcodeのインストール (※)
- xcode-select --installの実行 (※)
- Homebrewをインストール
- Python3をインストール
- Jupyter Notebookをインストール
- Jupyter Notebookの動作確認
補足説明
※あとから気づいたのですが、「Xcodeのインストール」は、他の記事によるとなくても大丈夫なようです。
私は既にインストール済の状態で開始していたため、入れてあります。
参考;【Mac】XcodeをまるまるインストールせずにHomebrewをインストール
また、XcodeのインストールとCommand Line Toolsのインストールはどちらかでよく(XcodeにCommand Line Toolsが含まれる)、かつHomebrewインストール時にCommand Line Toolsがインストールされるそうなので、xcode-select –installも不要なようです。
参考:【Homebrew】Command Line Toolsのインストールについて
つまりHomebrewのインストールスクリプトの実行から開始できるようです。
詳細
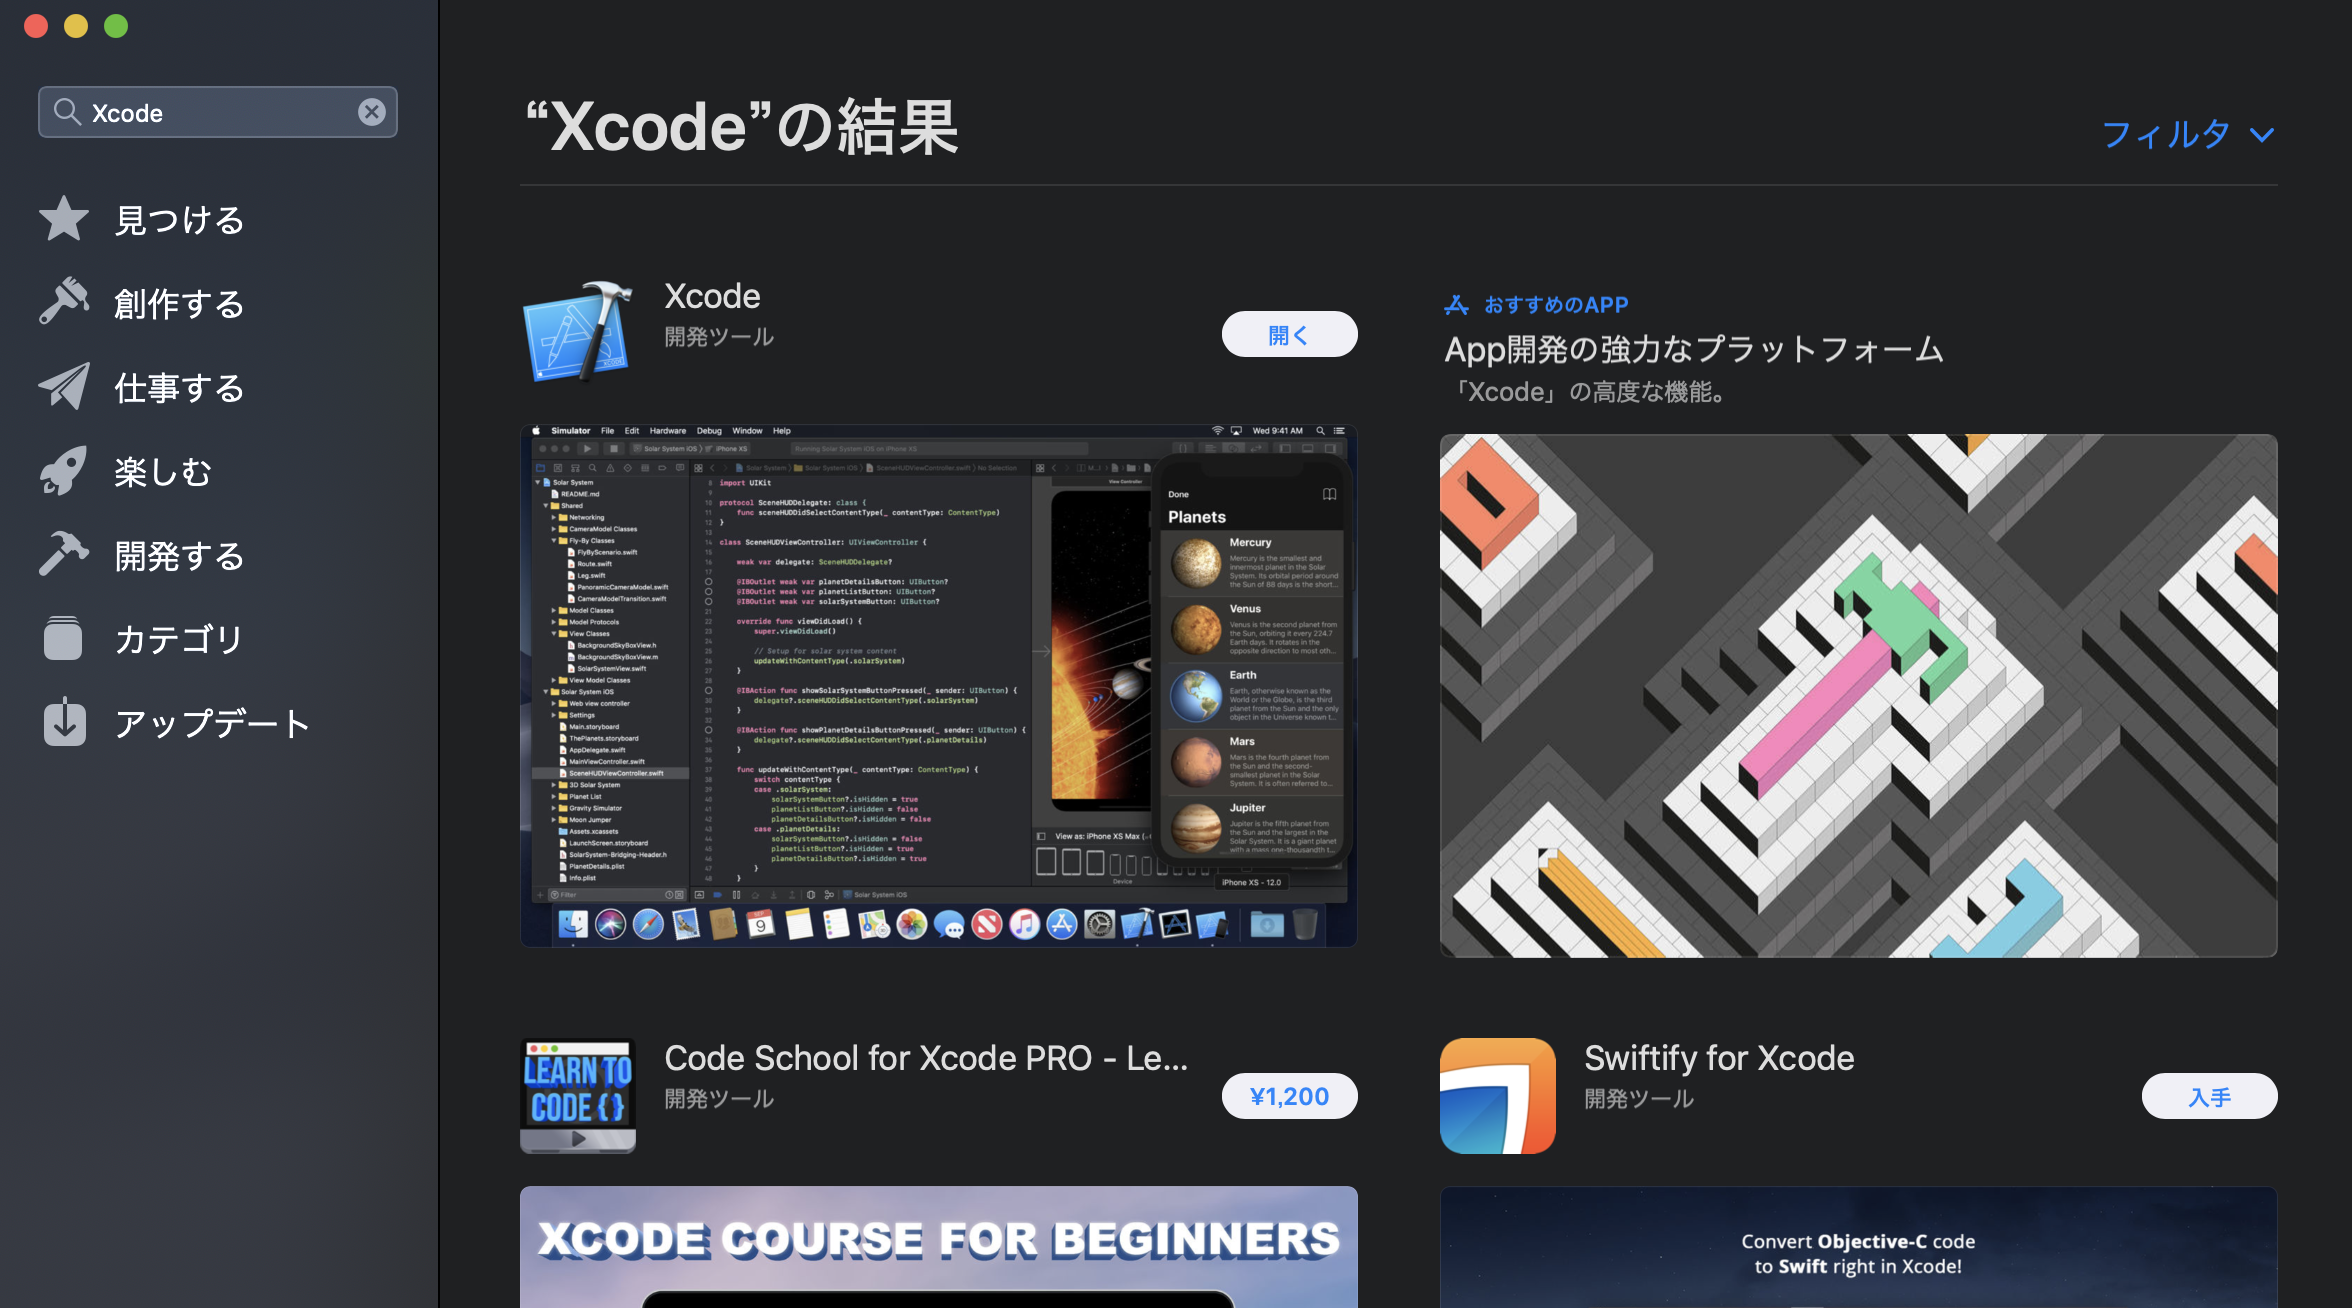
Xcodeのインストール
App StoreからXcodeをインストールします。
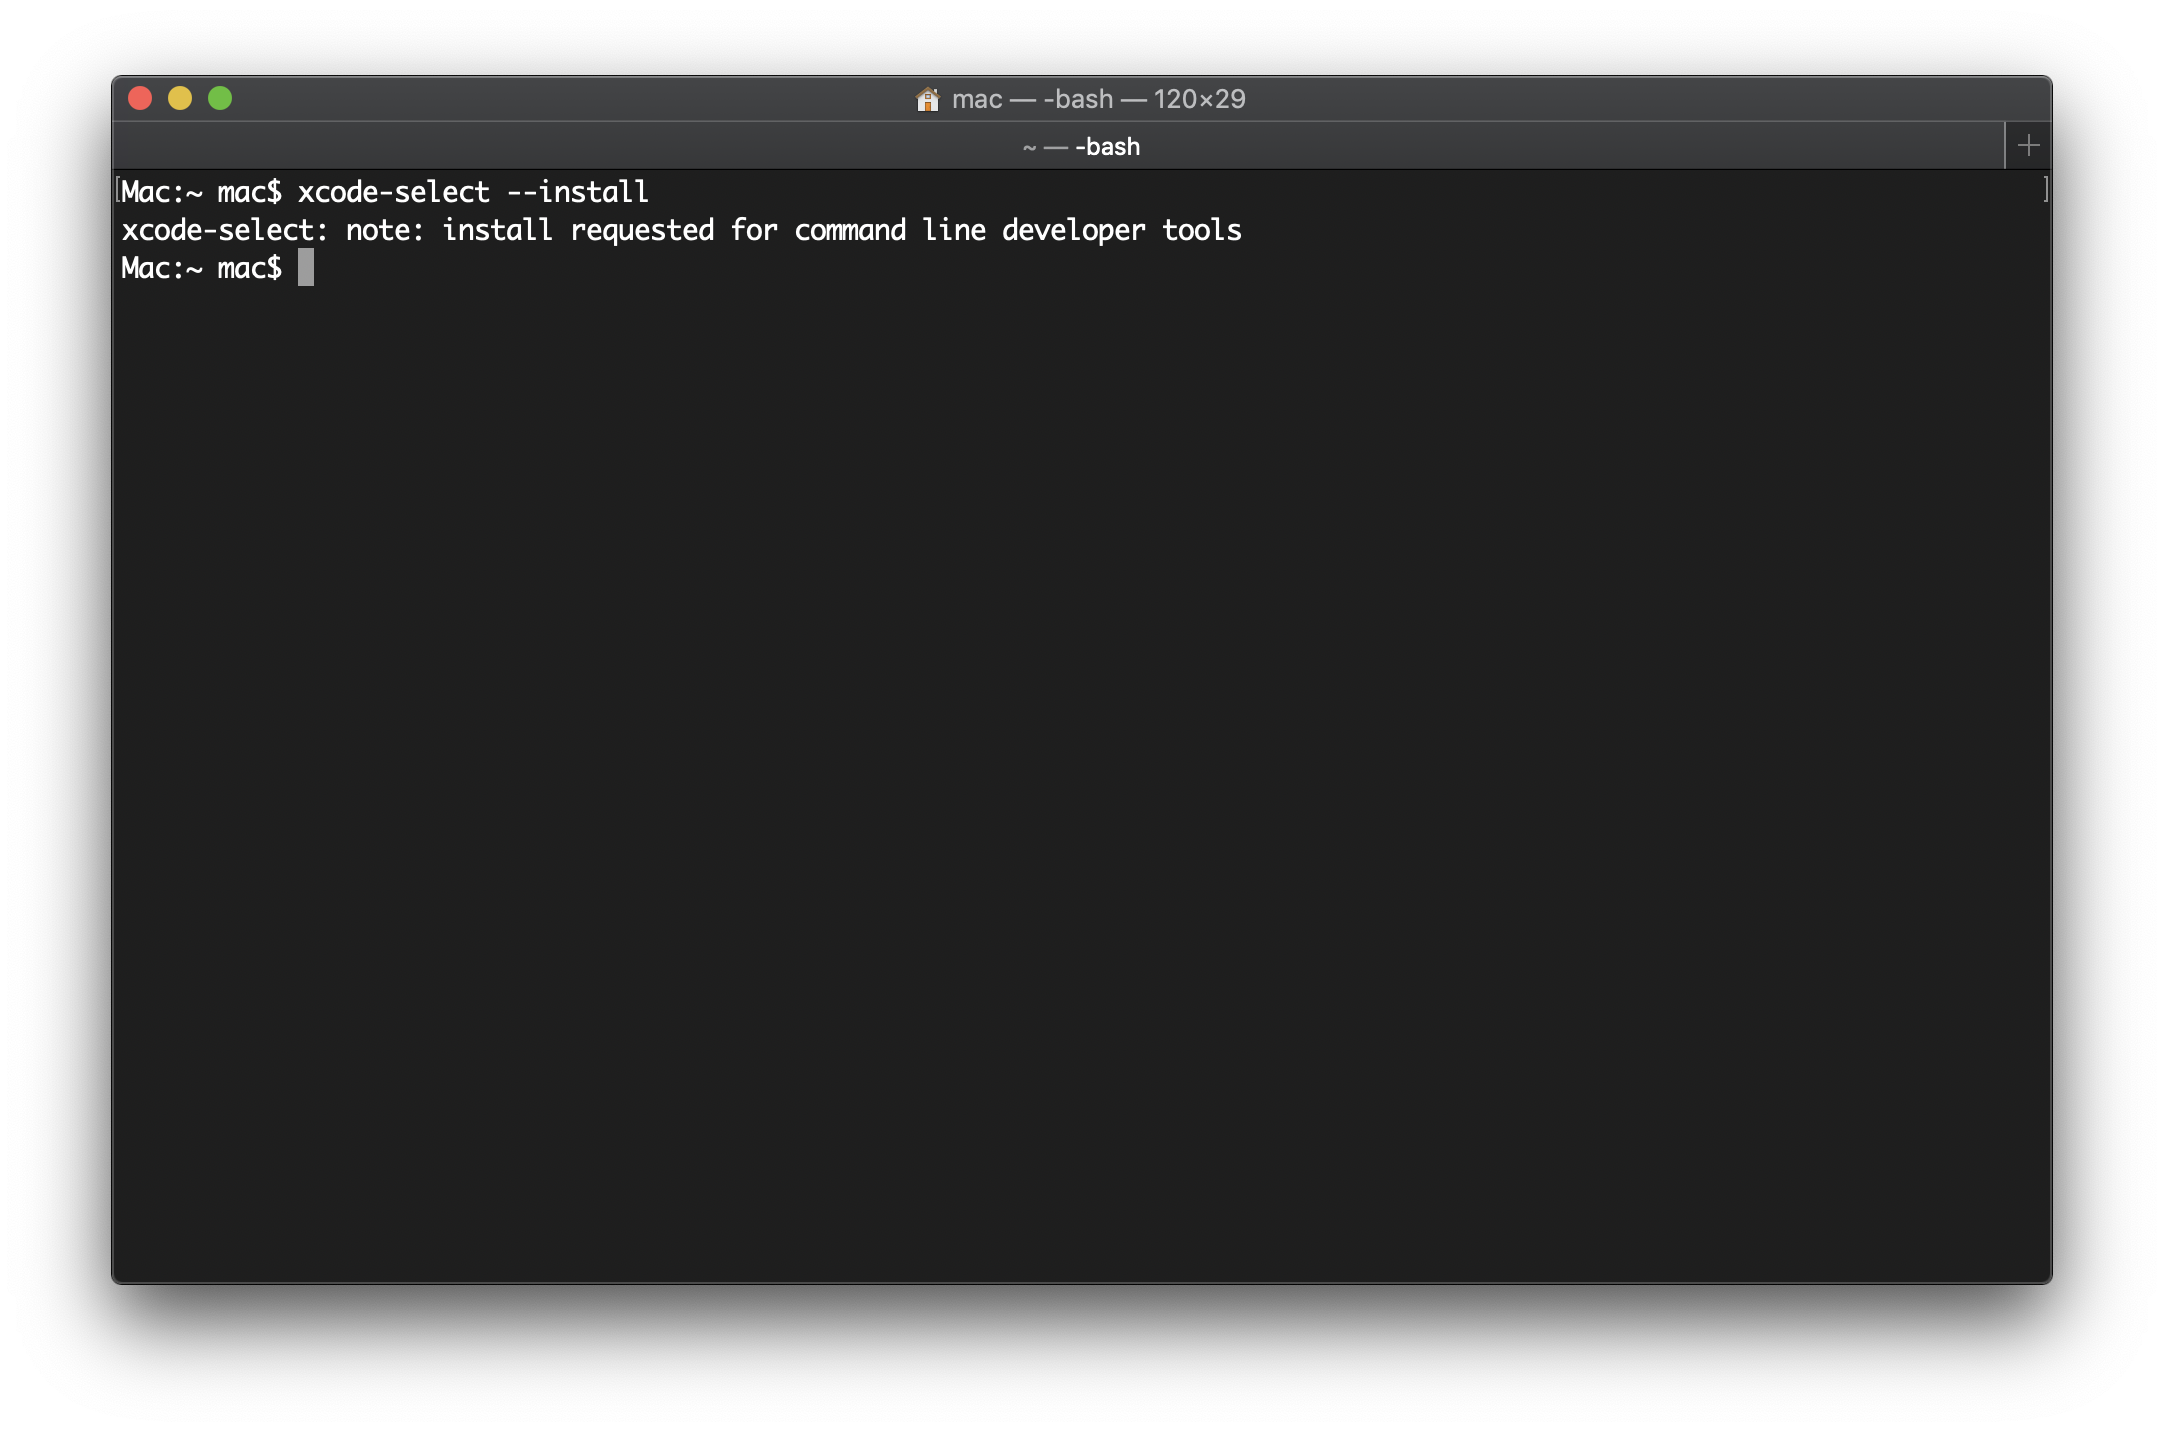
xcode-select --installの実行
xcode-selectを実行します。
$ xcode-select --install
 [インストール]をクリックします。
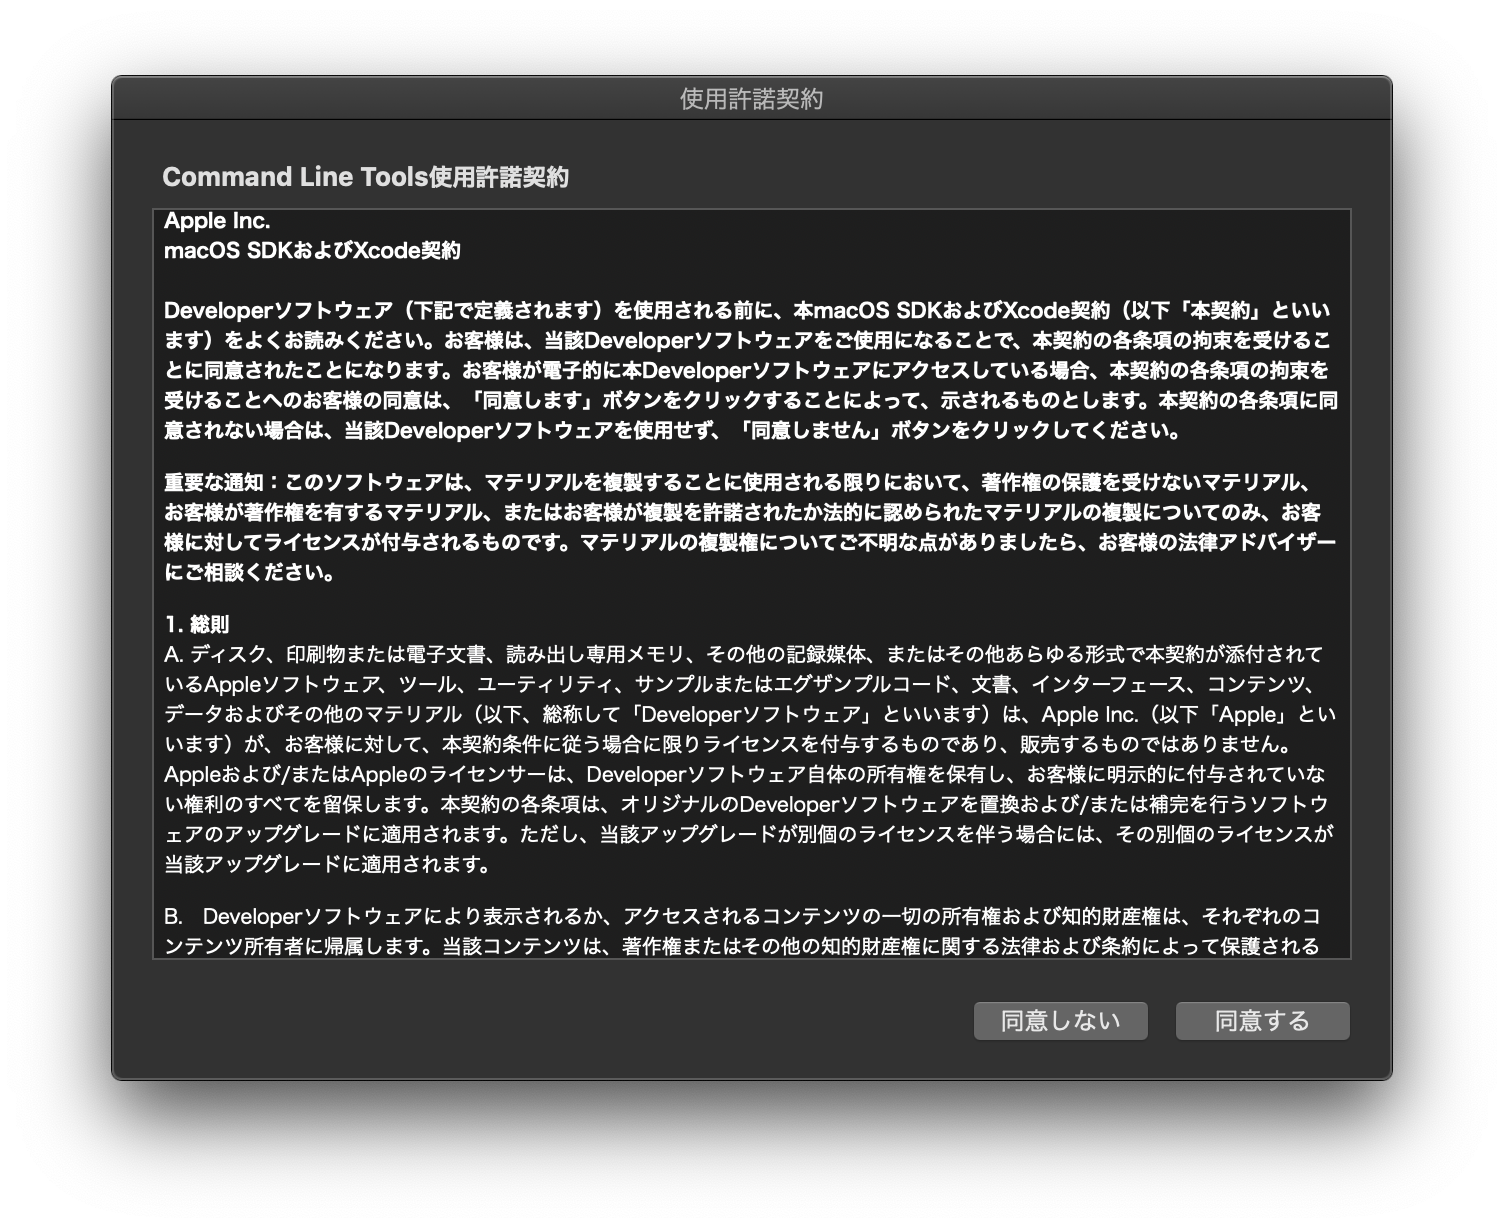
 [同意する]をクリックします。
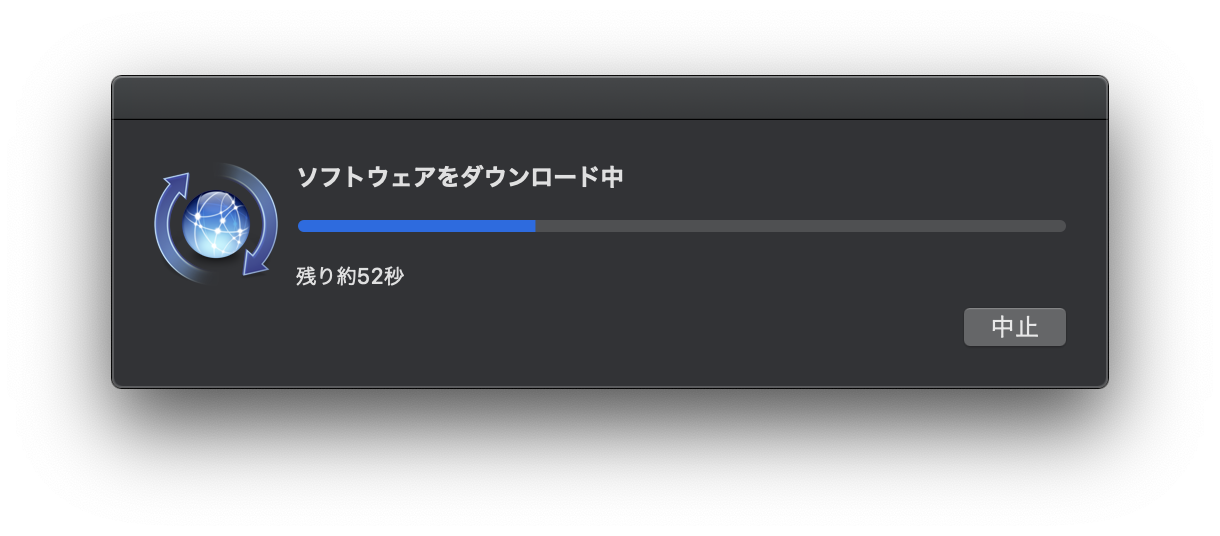
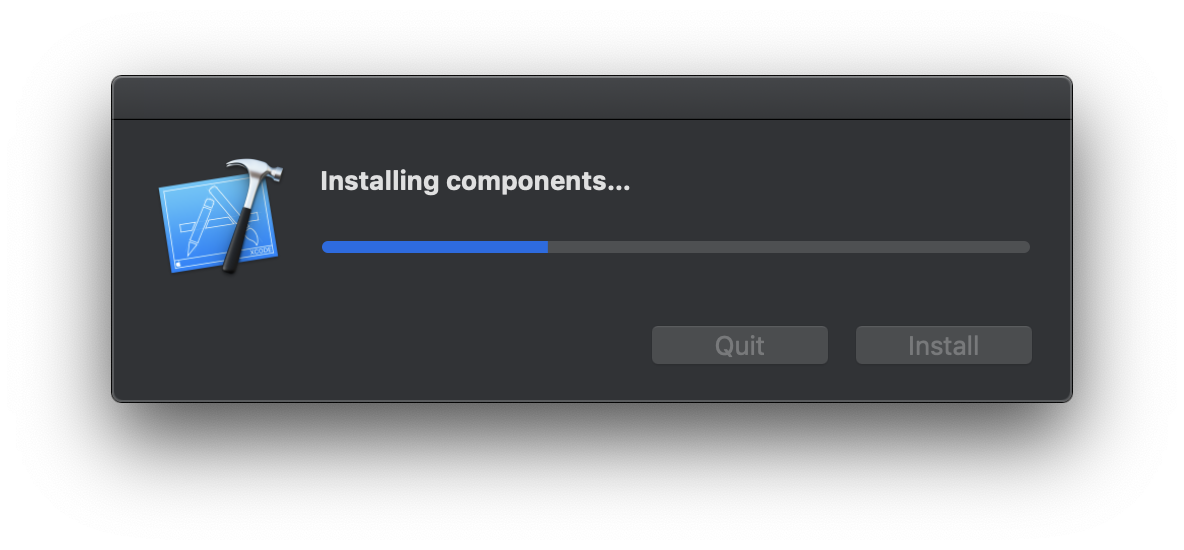
 しばらく待ちます。
 [完了]をクリックします。

Homebrewのインストール
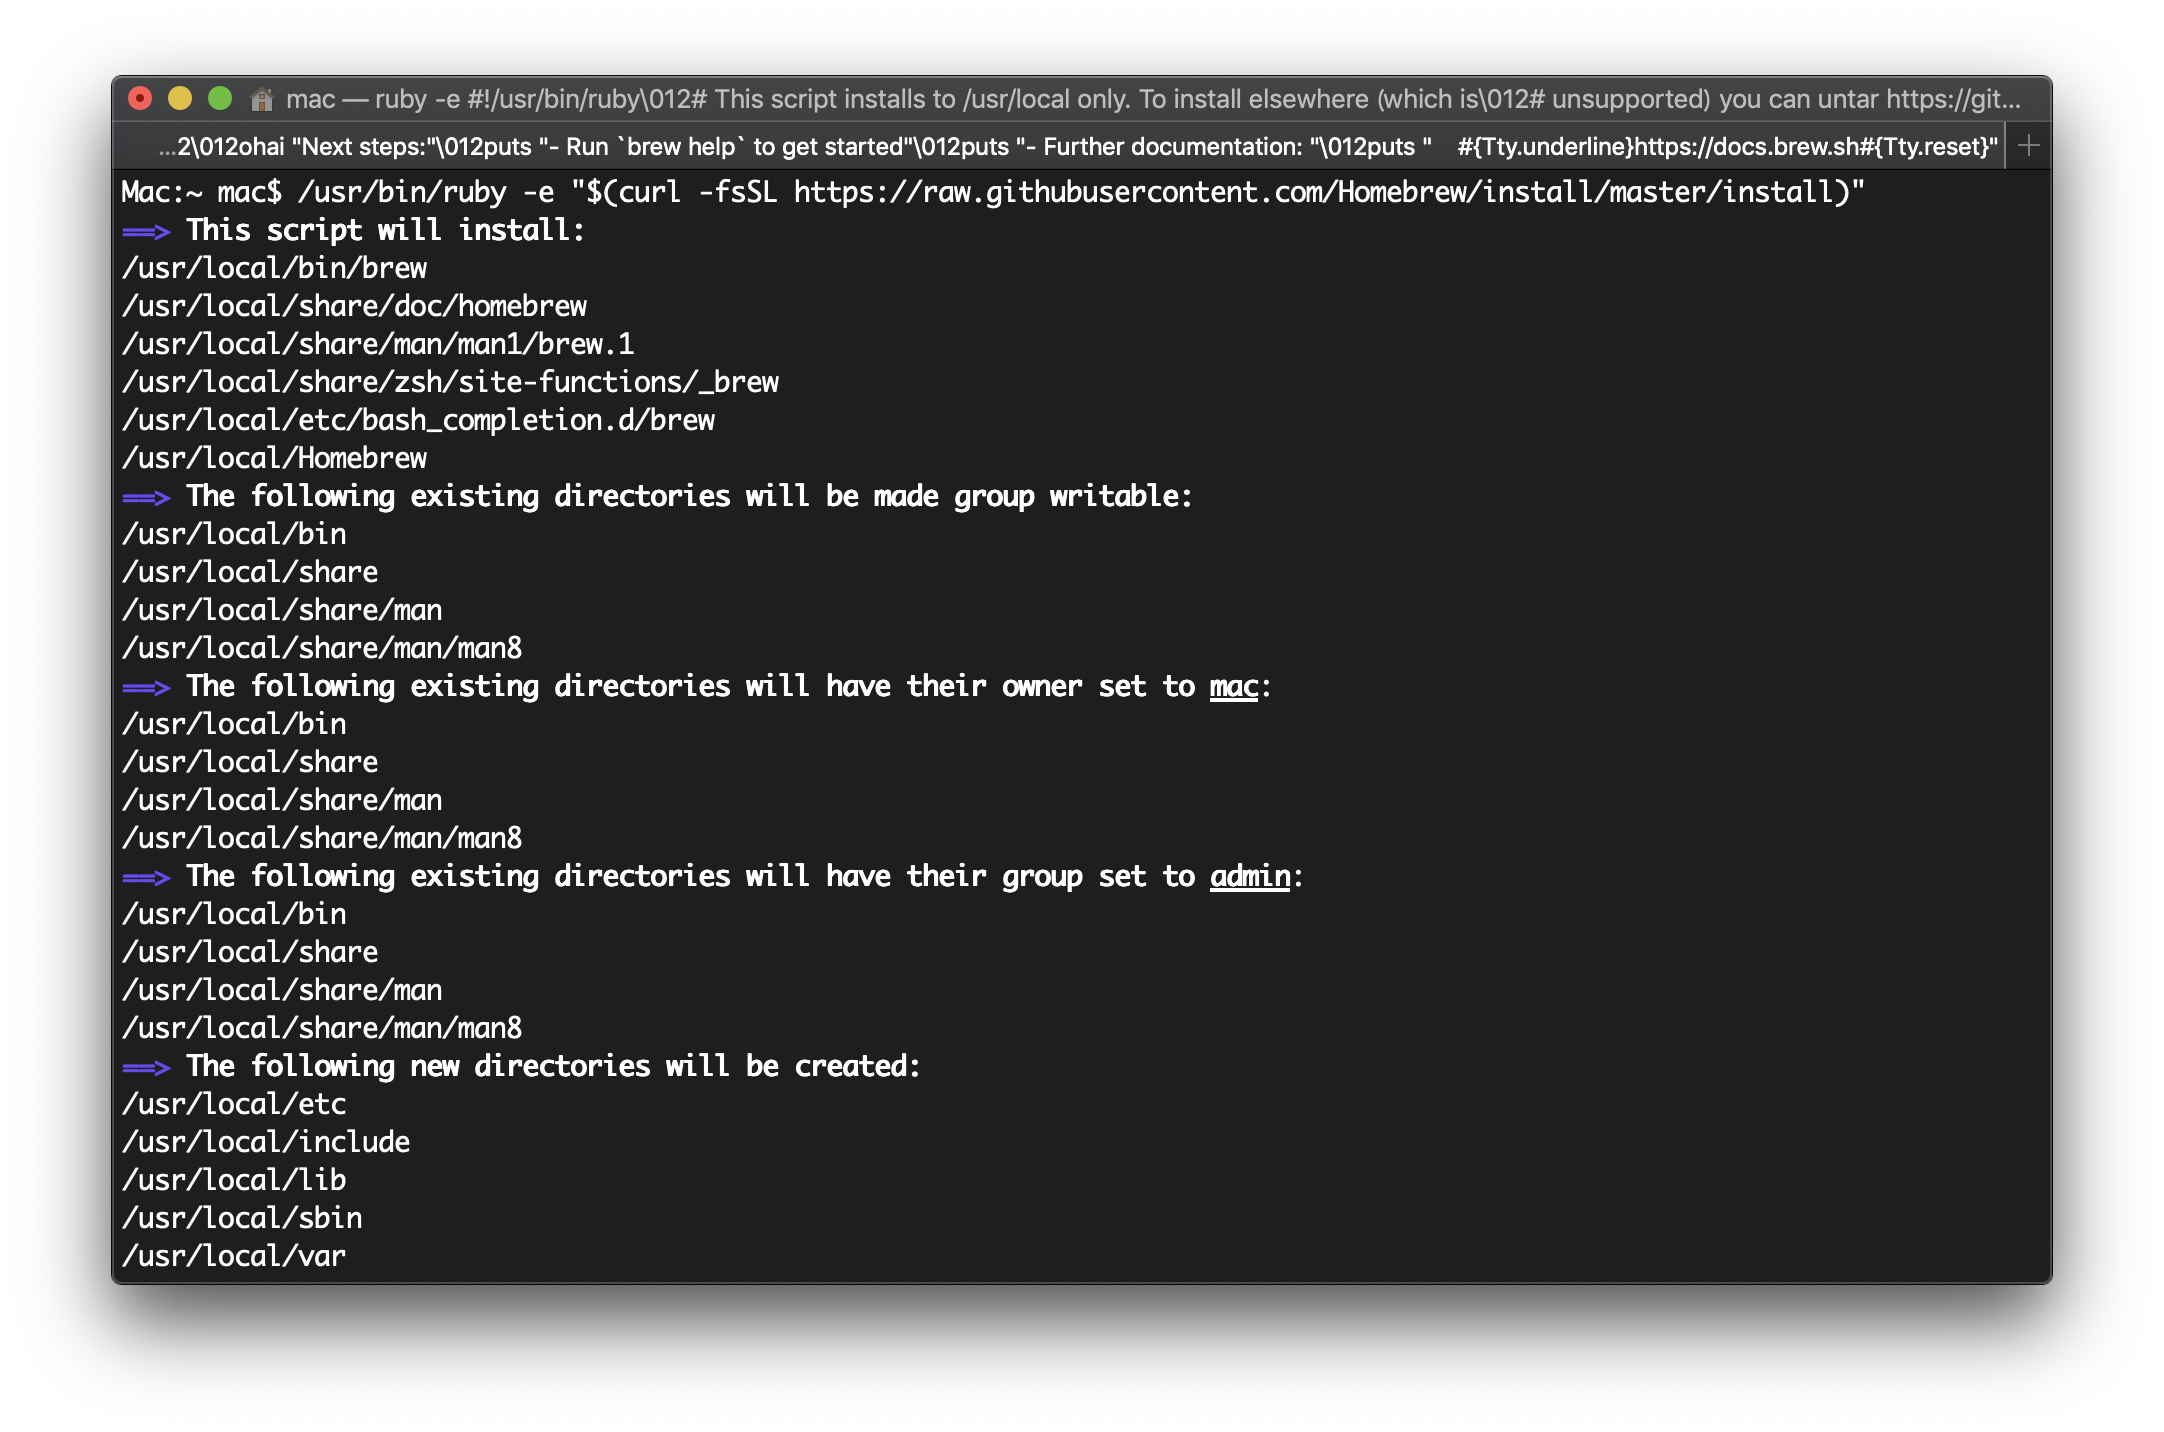
Homebrewのサイト(https://brew.sh/index_ja)を参照し、「インストール」の下にあるスクリプトを実行する。

/usr/bin/ruby -e "$(curl -fsSL https://raw.githubusercontent.com/Homebrew/install/master/install)"
スクリプトをコピペして実行します。
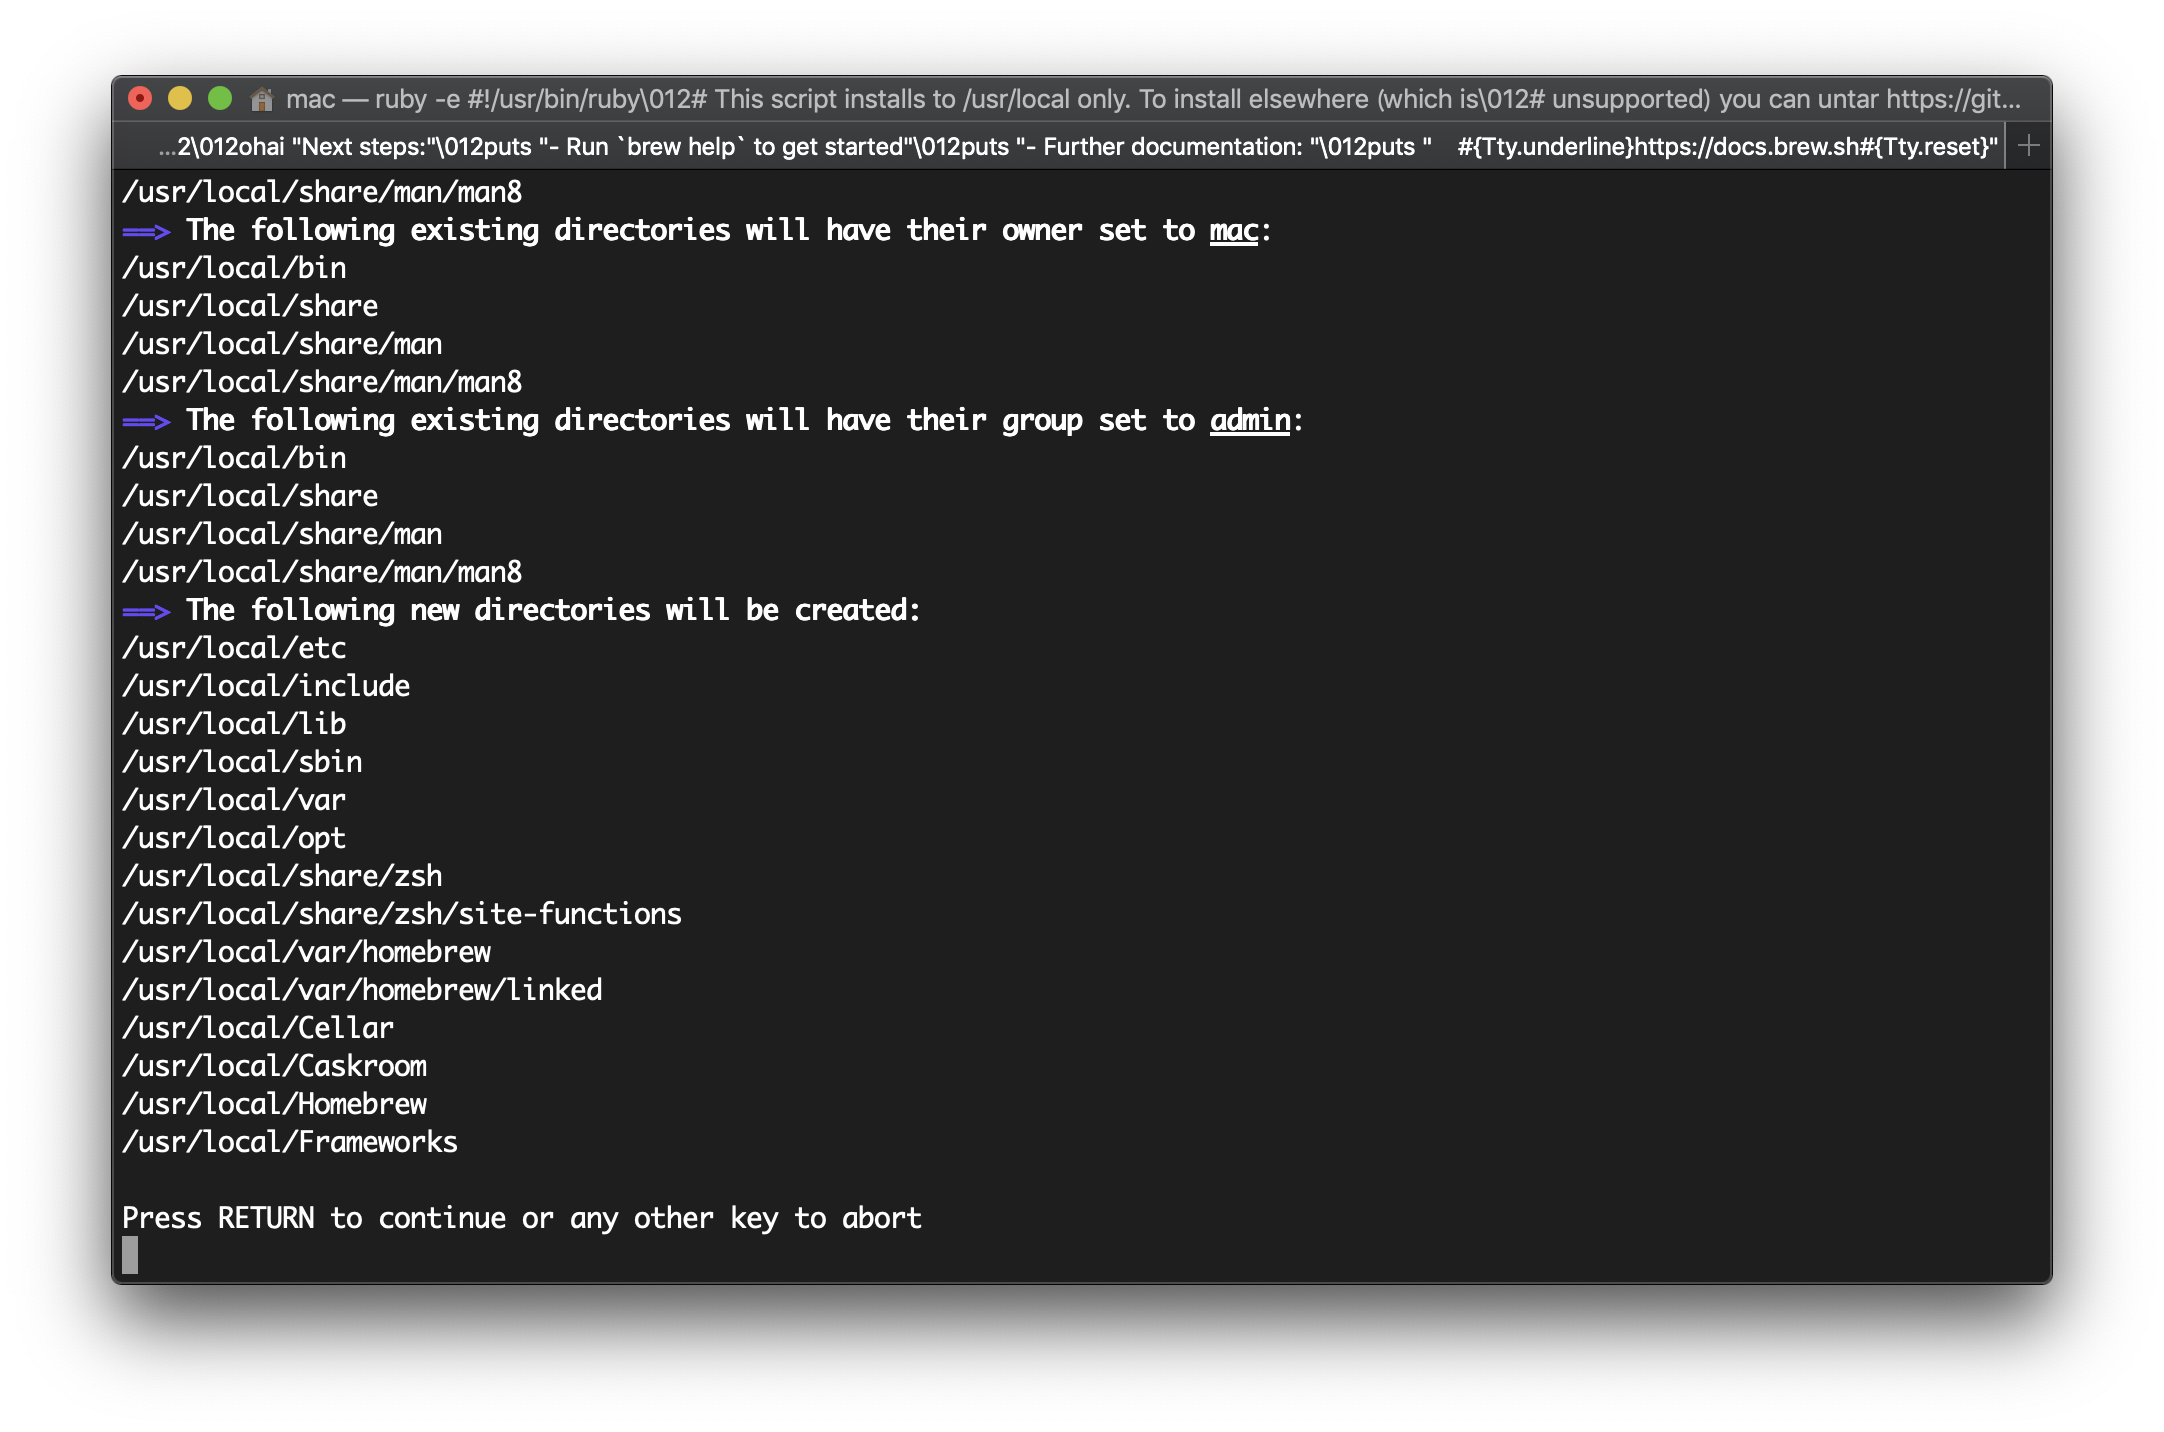
途中でEnter入力を求められます。
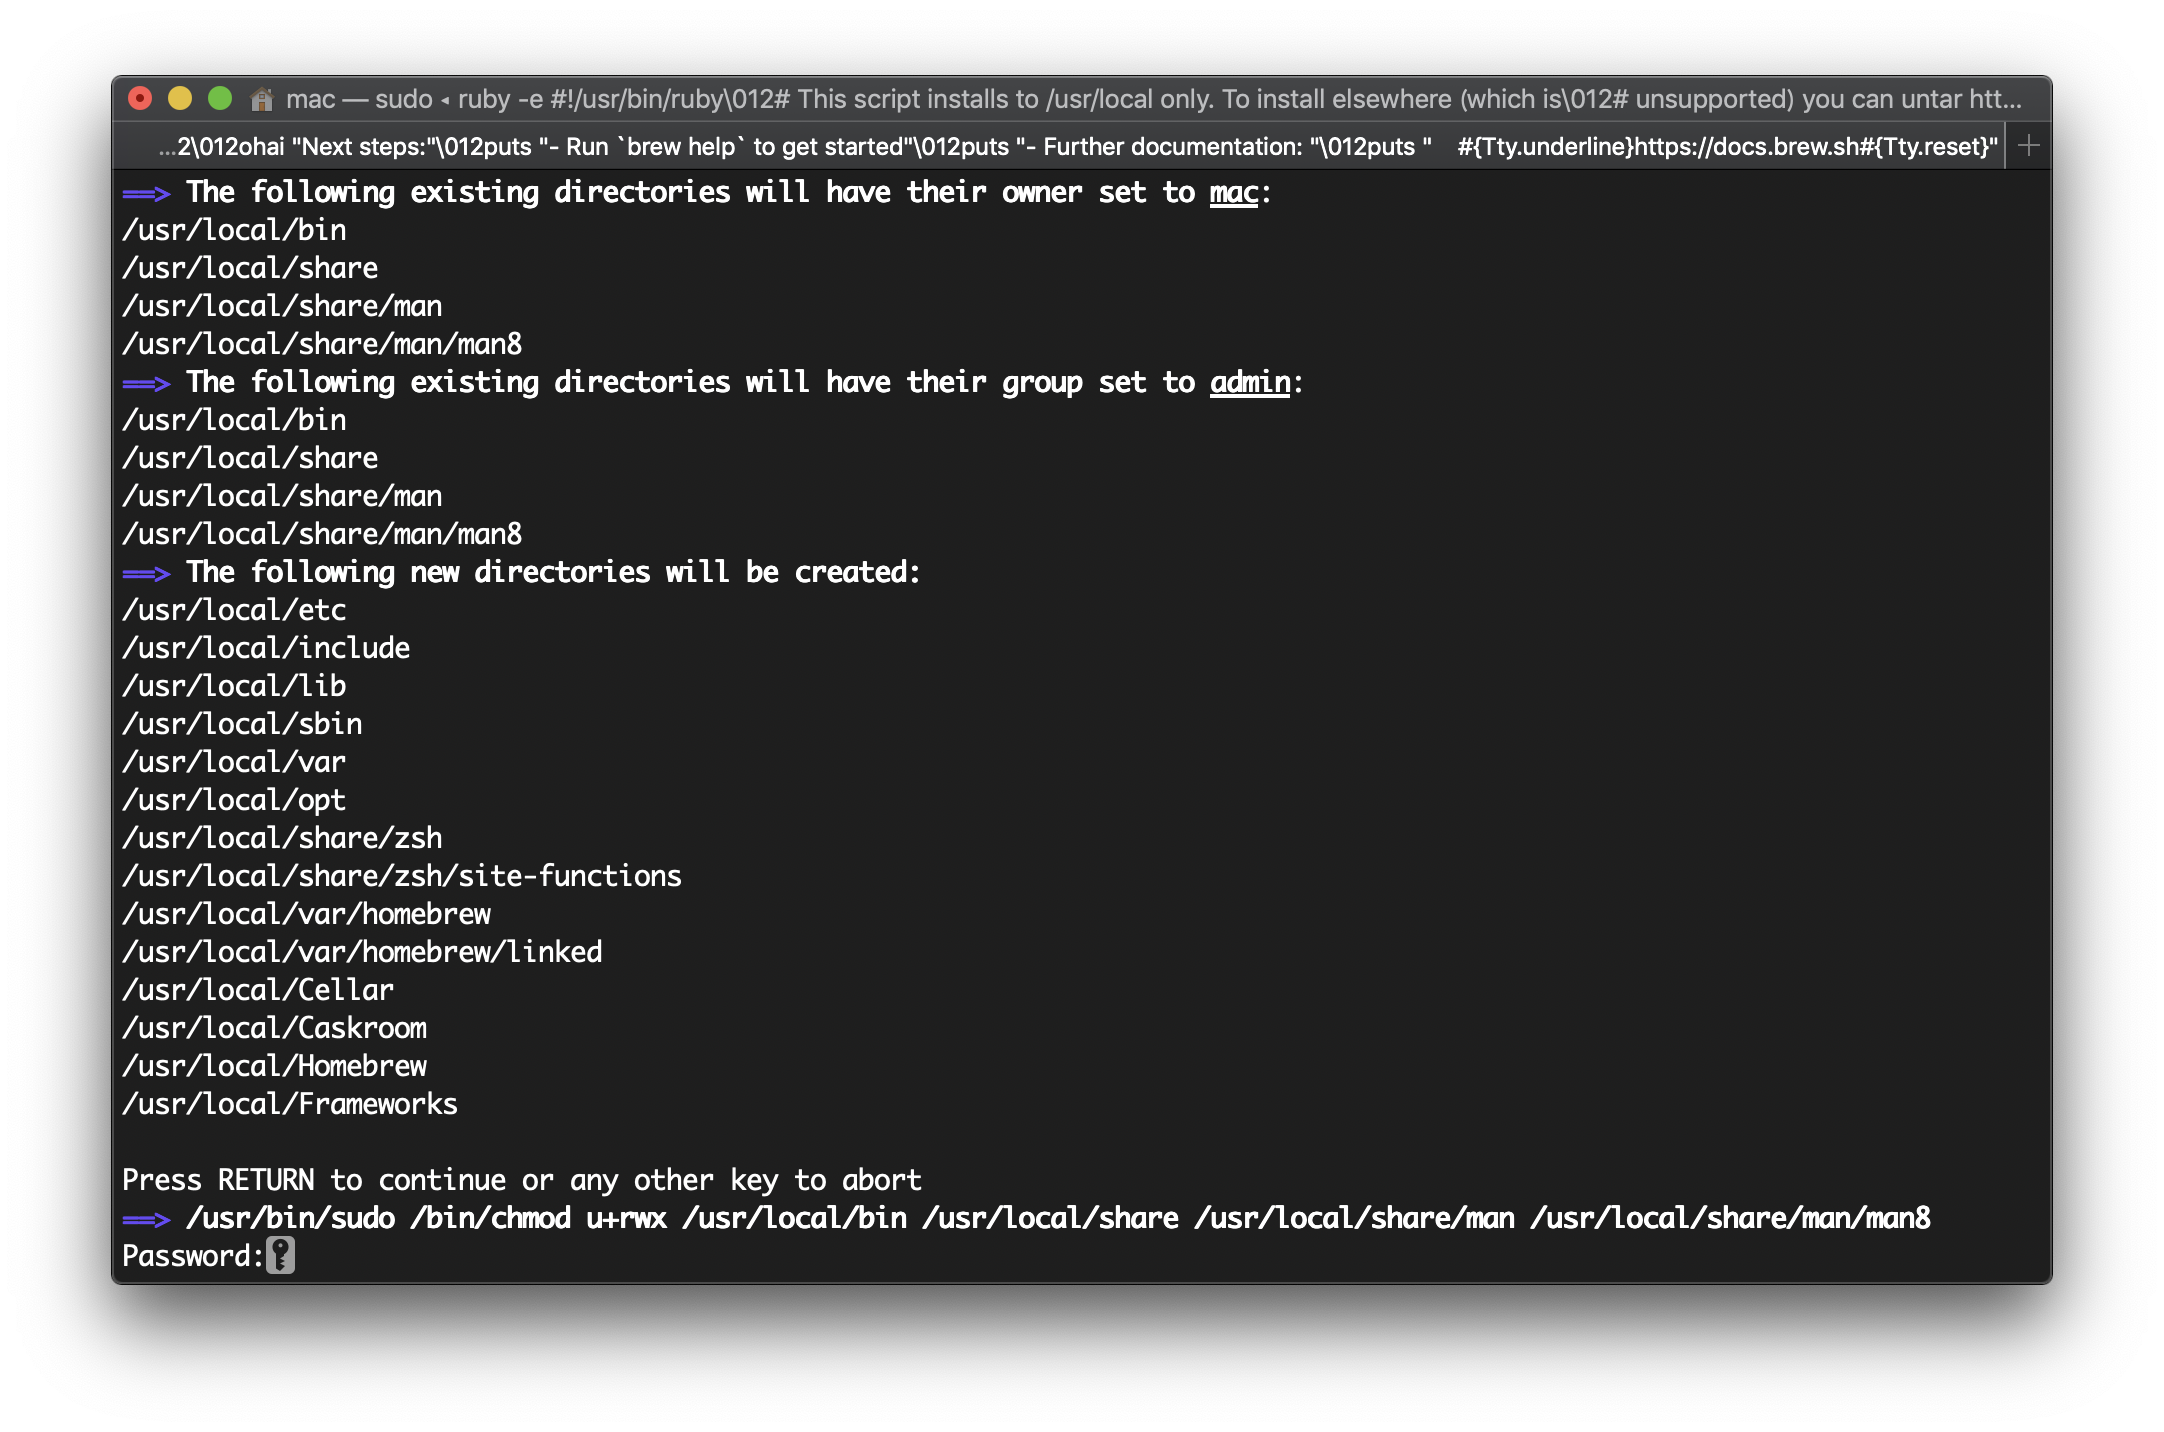
途中でパスワード入力を求められます。
Xcodeのライセンス確認が必要でした。恐らくですが、Xcodeをインストールせずに実施している場合は不要になるかと思います。
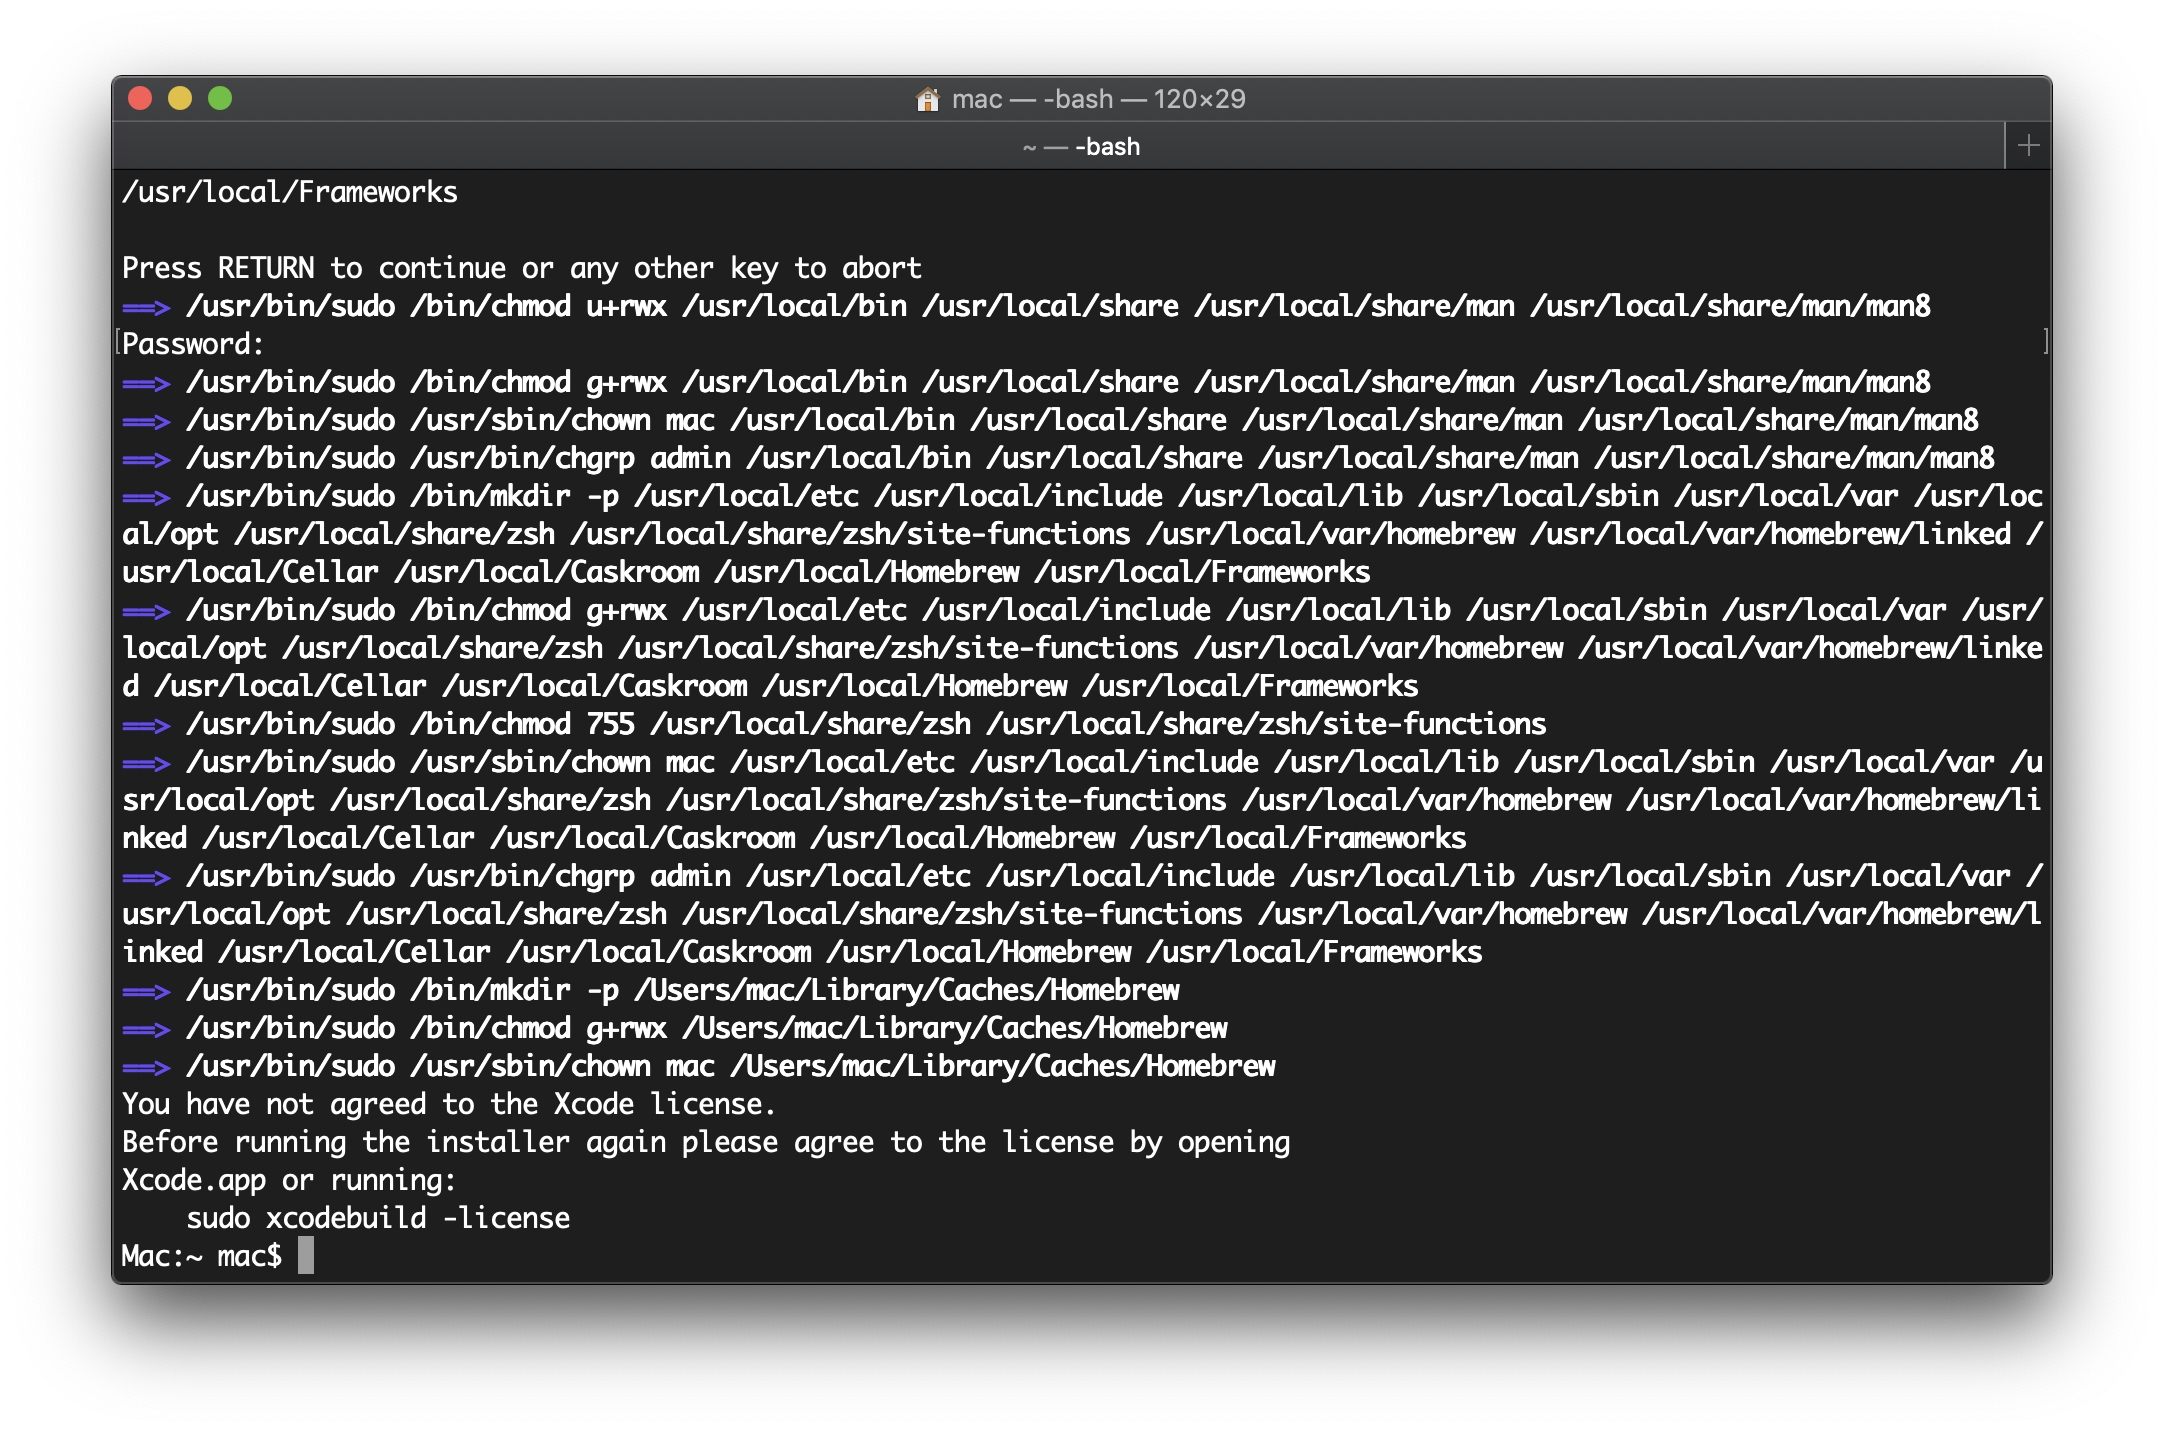
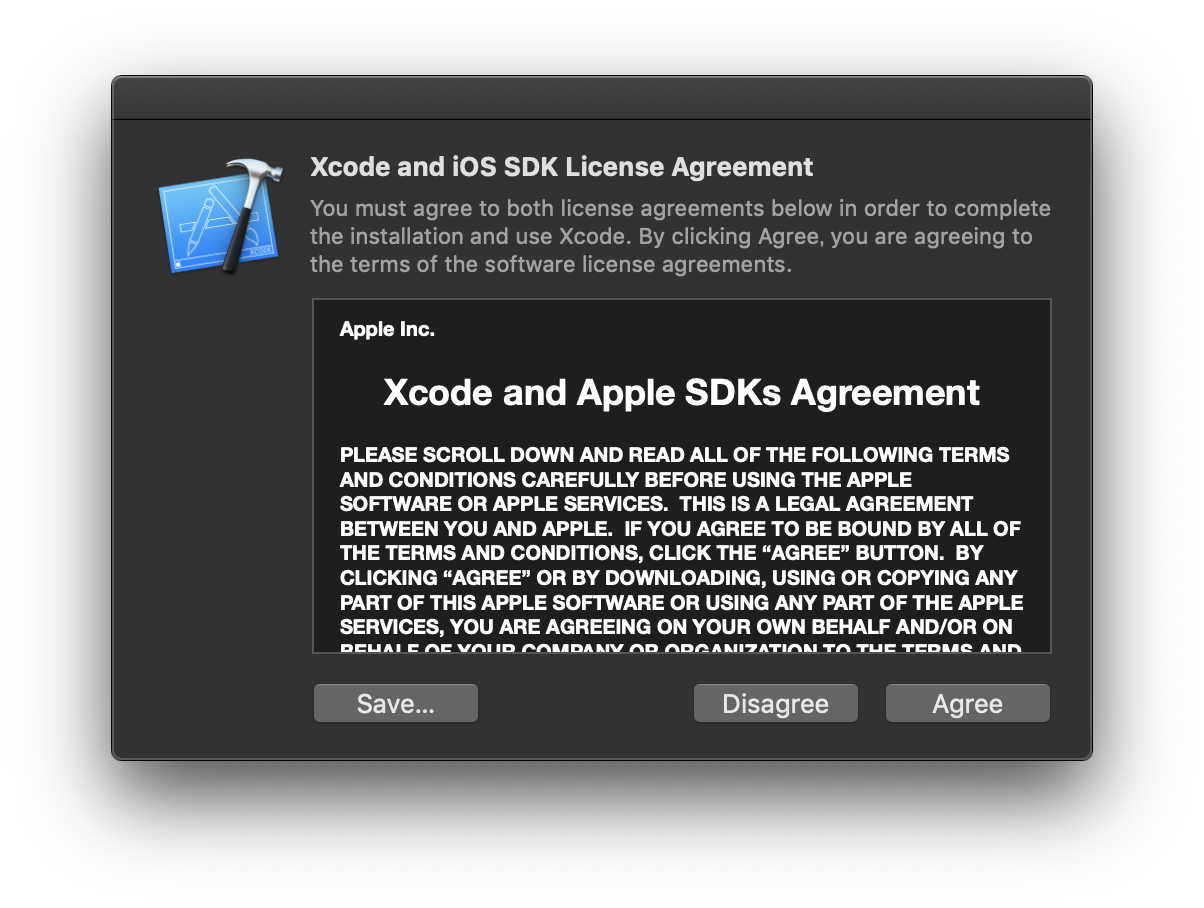
Xcode licenseに同意していないというメッセージが表示されました。
Xcodeを起動してライセンスに同意します。
sudo xcodebuild -licenseでコマンドラインで実施する方法もあるようです。
参考:Xcodeのライセンス同意をコマンドラインだけで切り抜ける (https://qiita.com/tmknom/items/d60084edadfe1b7685ef)
[Agree]をクリックします。
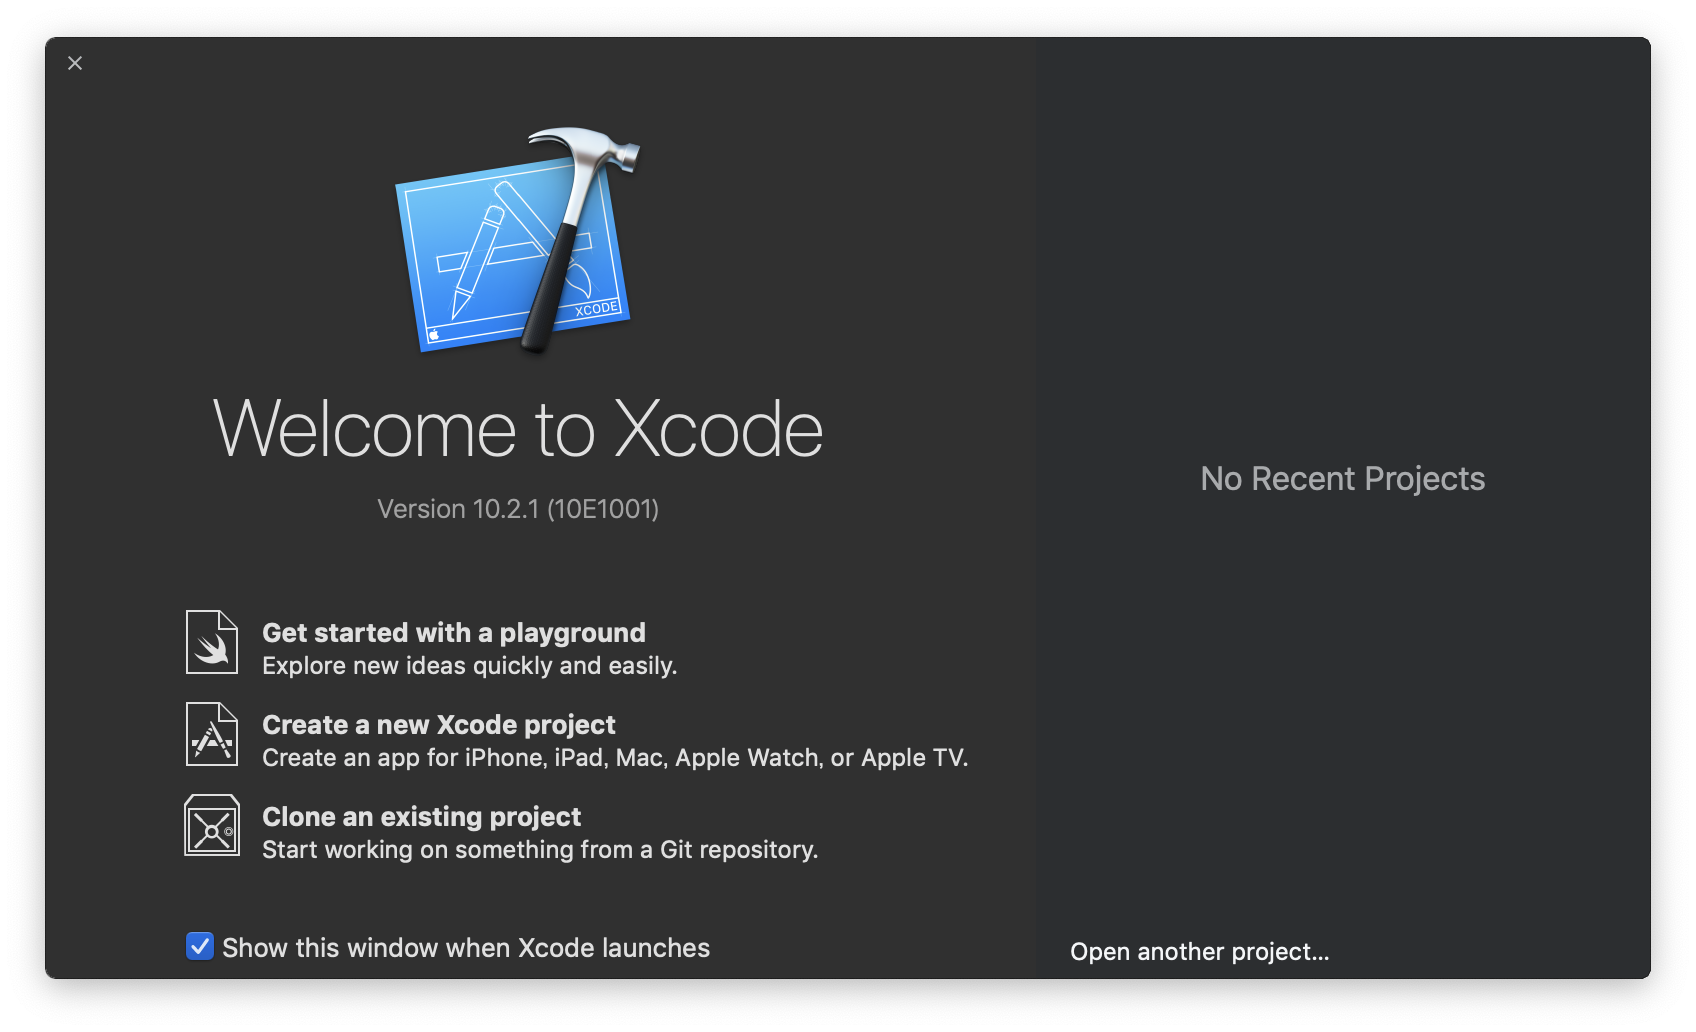
左上の×ボタンでXcodeを終了します。
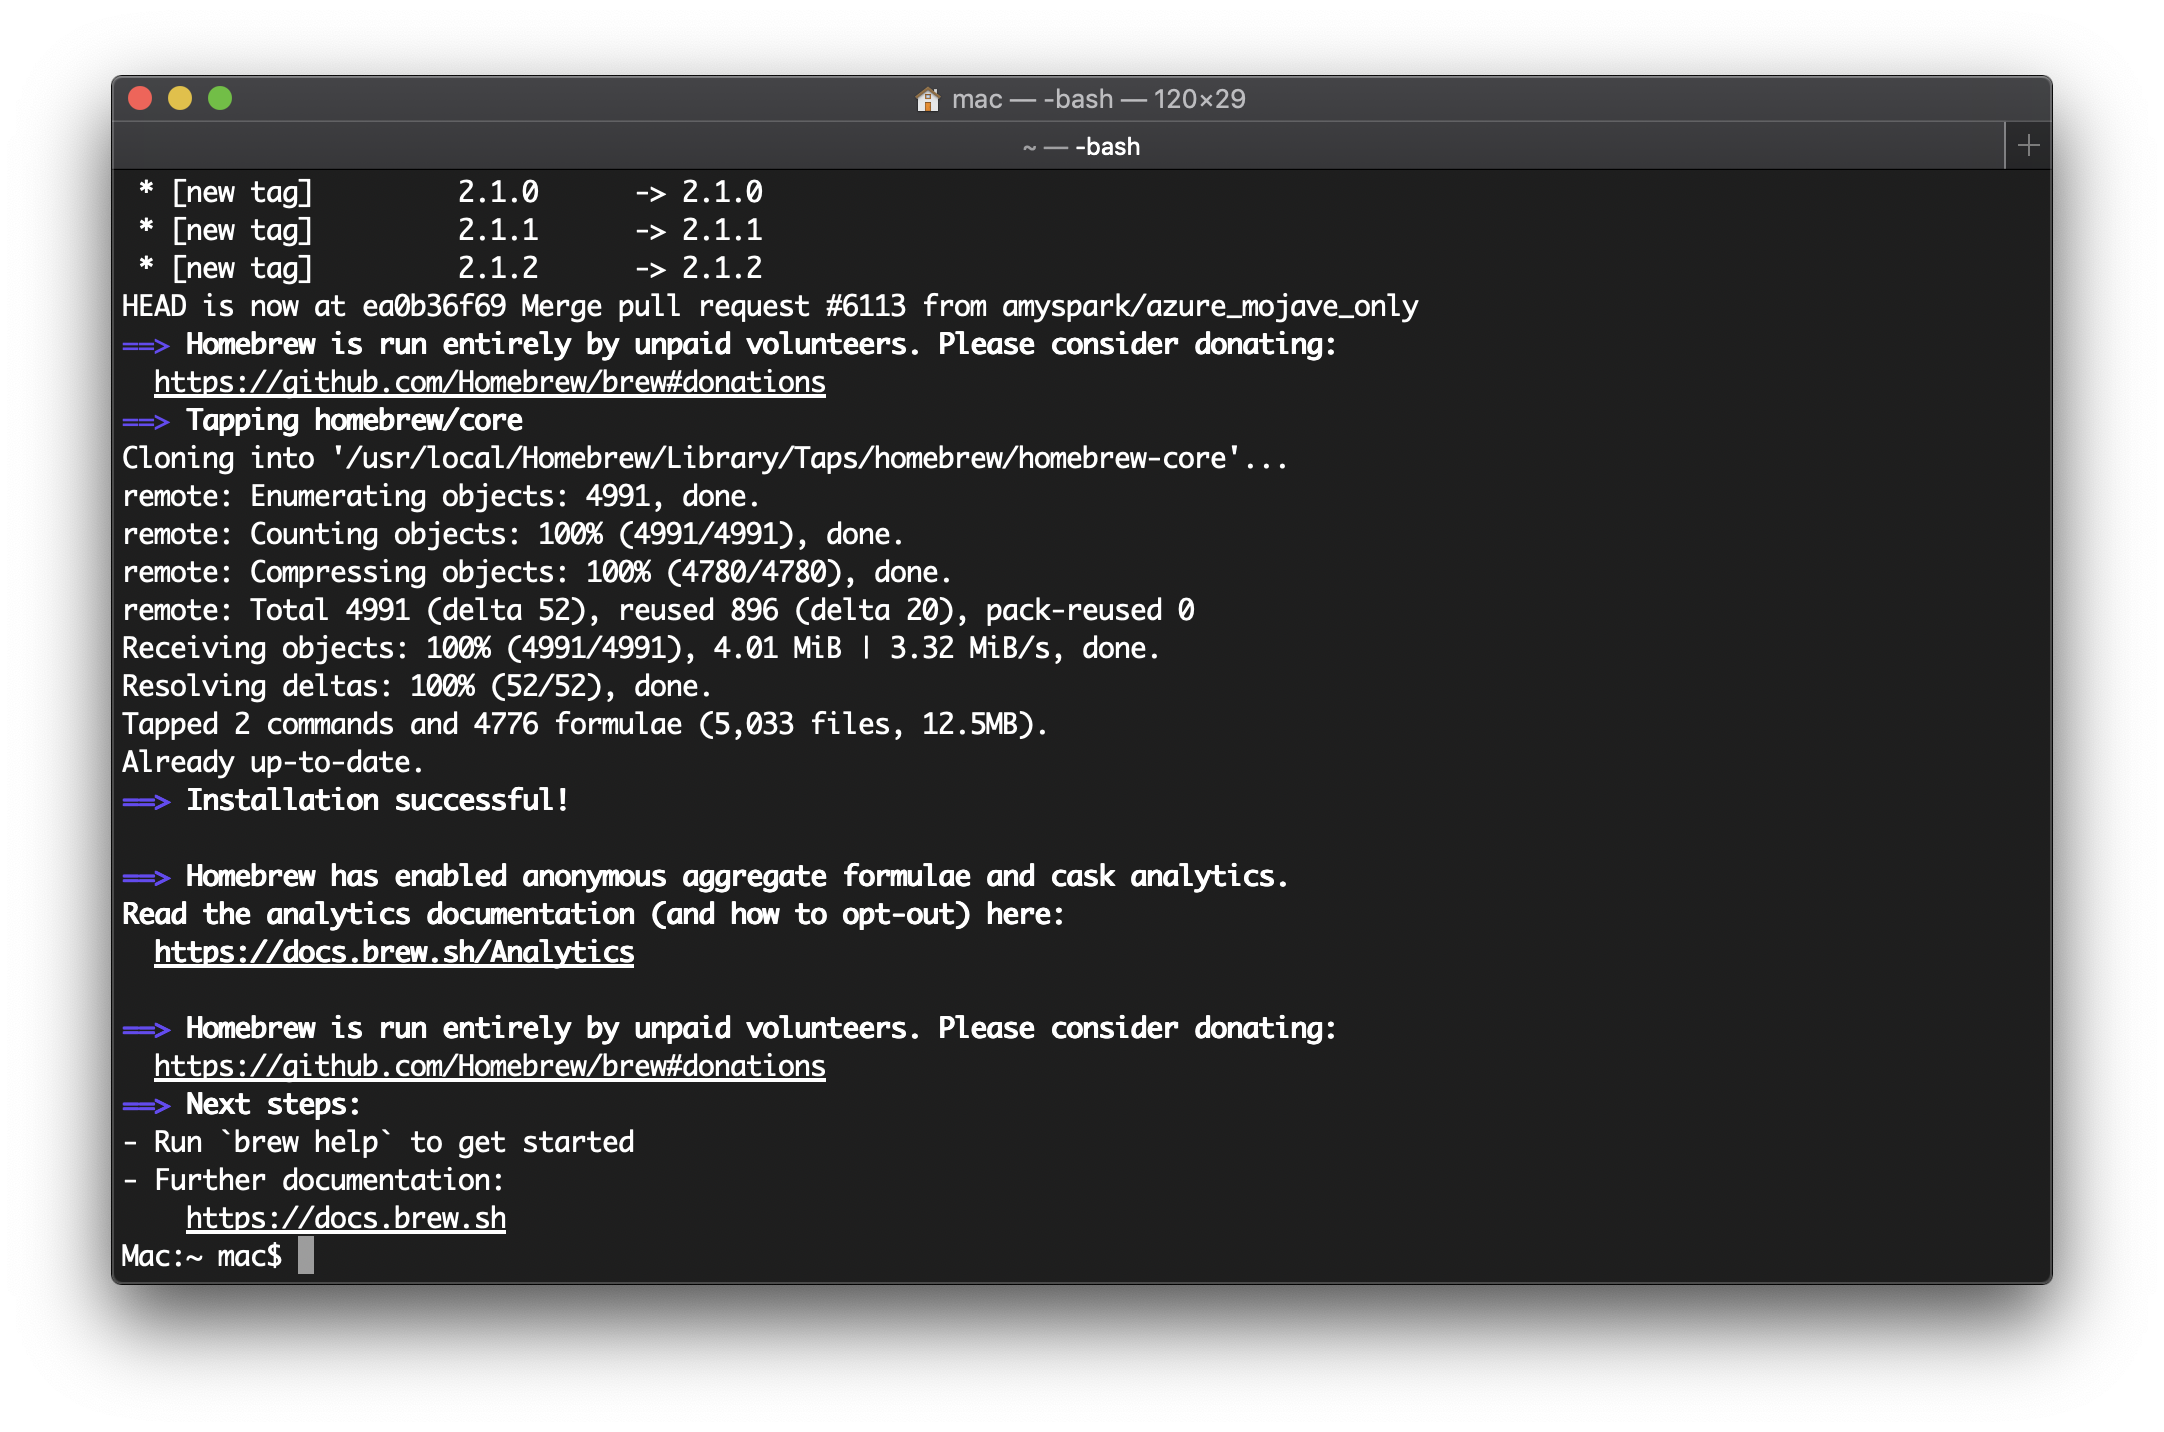
再度Homebrewをインストールします。
/usr/bin/ruby -e "$(curl -fsSL https://raw.githubusercontent.com/Homebrew/install/master/install)"
Enterキーを押下して継続します。

しばらく待ちます。
Homebrewのパッケージを最新にアップデートします。 (恐らく最新なので何も起こらないです)
$ brew update
$ brew upgrade
$ brew doctor

Python3のインストール
$ brew install python3

 ### pipでインストールされているパッケージの確認
pipはpython3のインストール時に同時にインストールされているそうです。
### pipでインストールされているパッケージの確認
pipはpython3のインストール時に同時にインストールされているそうです。
$ pip3 list

$ python -V
Python 2.7.10
$ python3 -V
Python 3.7.3
$ pip
-bash: pip: command not found
$ pip3 -V
pip 19.0.3 from /usr/local/lib/python3.7/site-packages/pip (python 3.7)
私はたまにうっかりpip install 〜と打ってしまい、command not foundが出てしまうことがあります。正しくはpip3です。
Jupyter Notebookのインストール
$ pip3 install jupyter

しばらく待ちます。

Jupyter Notebookの起動
jupyter notebookを実行したディレクトリがHome画面になるので、任意の場所にmkdirでディレクトリを作成し、当該ディレクトリに移動してからjupyter notebookを実行すると、他のファイルと混ざらずに良いと思います。
私はユーザディレクトリ直下でmkdir pythonし、cd pythonしてからjupyter notebookしました。
$ jupyter notebook

Jupyter Notebook動作確認
Home画面を開く
Jupyter Notebook起動時に自動でブラウザ上に表示されました。

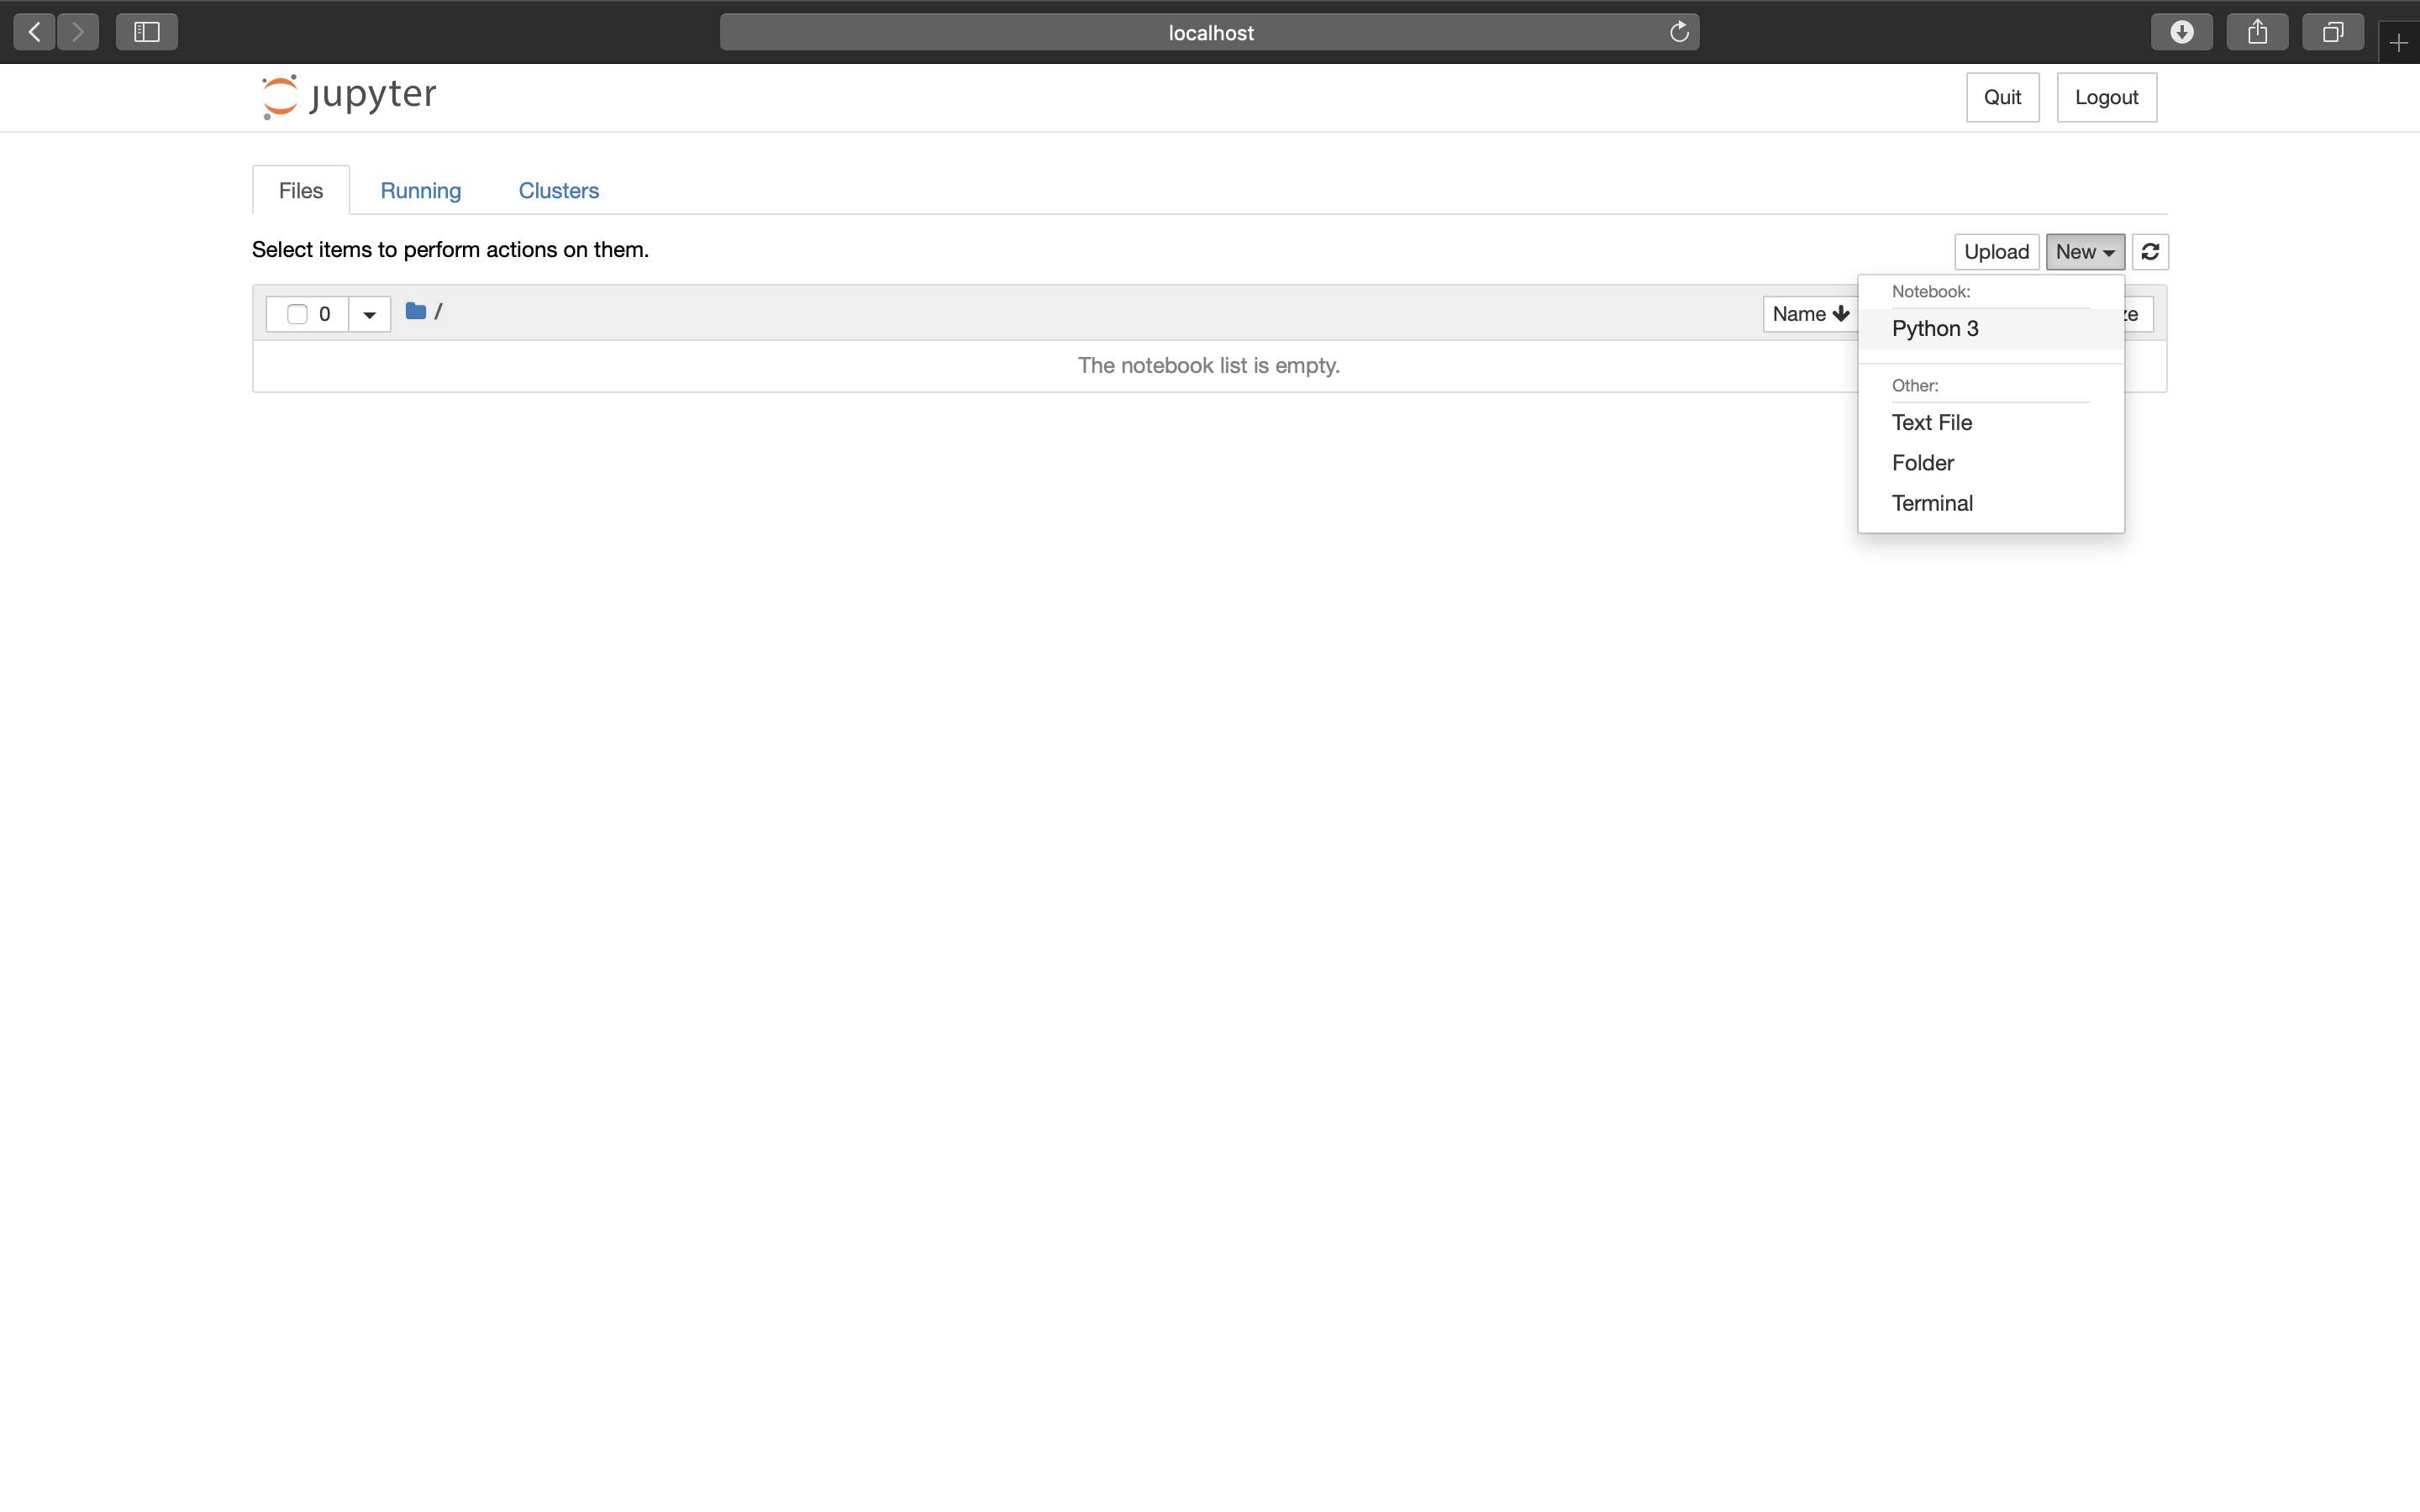
新規Pythonファイルを作成する
右上の[New]から[Python3]を選択し、新規Pythonスクリプトファイルを作成します。
Hello Worldの記述
1つ目のセルに以下を書き込む
print("Hello World")

実行
 Control + Enterを押下するか、ツールバーの[Run]をクリックします。
エラーなく'Hello World'が表示されれば終了です。
Control + Enterを押下するか、ツールバーの[Run]をクリックします。
エラーなく'Hello World'が表示されれば終了です。
まとめ
Homebrewをインストール
↓
HomebrewでPython3をインストール
↓
Python3と同時にインストールされるpip3でJupyter Notebookをインストール
↓
Jupyter Notebookを起動