本記事は #NervesJP Advent Calendar 2019の18日目の記事です。
Nerves Training at Sapporoで Nerves 入門したのですが、いろいろイベントが続いて復習を怠っていたため、かなり忘れてしまいました。この機会に思い出すことも兼ねてアプリケーションを1から作ってみます。(と思ったのですが、躓きどおしで中間報告になります)
お題は SORACOM Advent Calendar 2019 ふたつめで扱った Grove 心拍センサーです。このセンサーを使って心拍数を測定するアプリケーションを作成してみます。
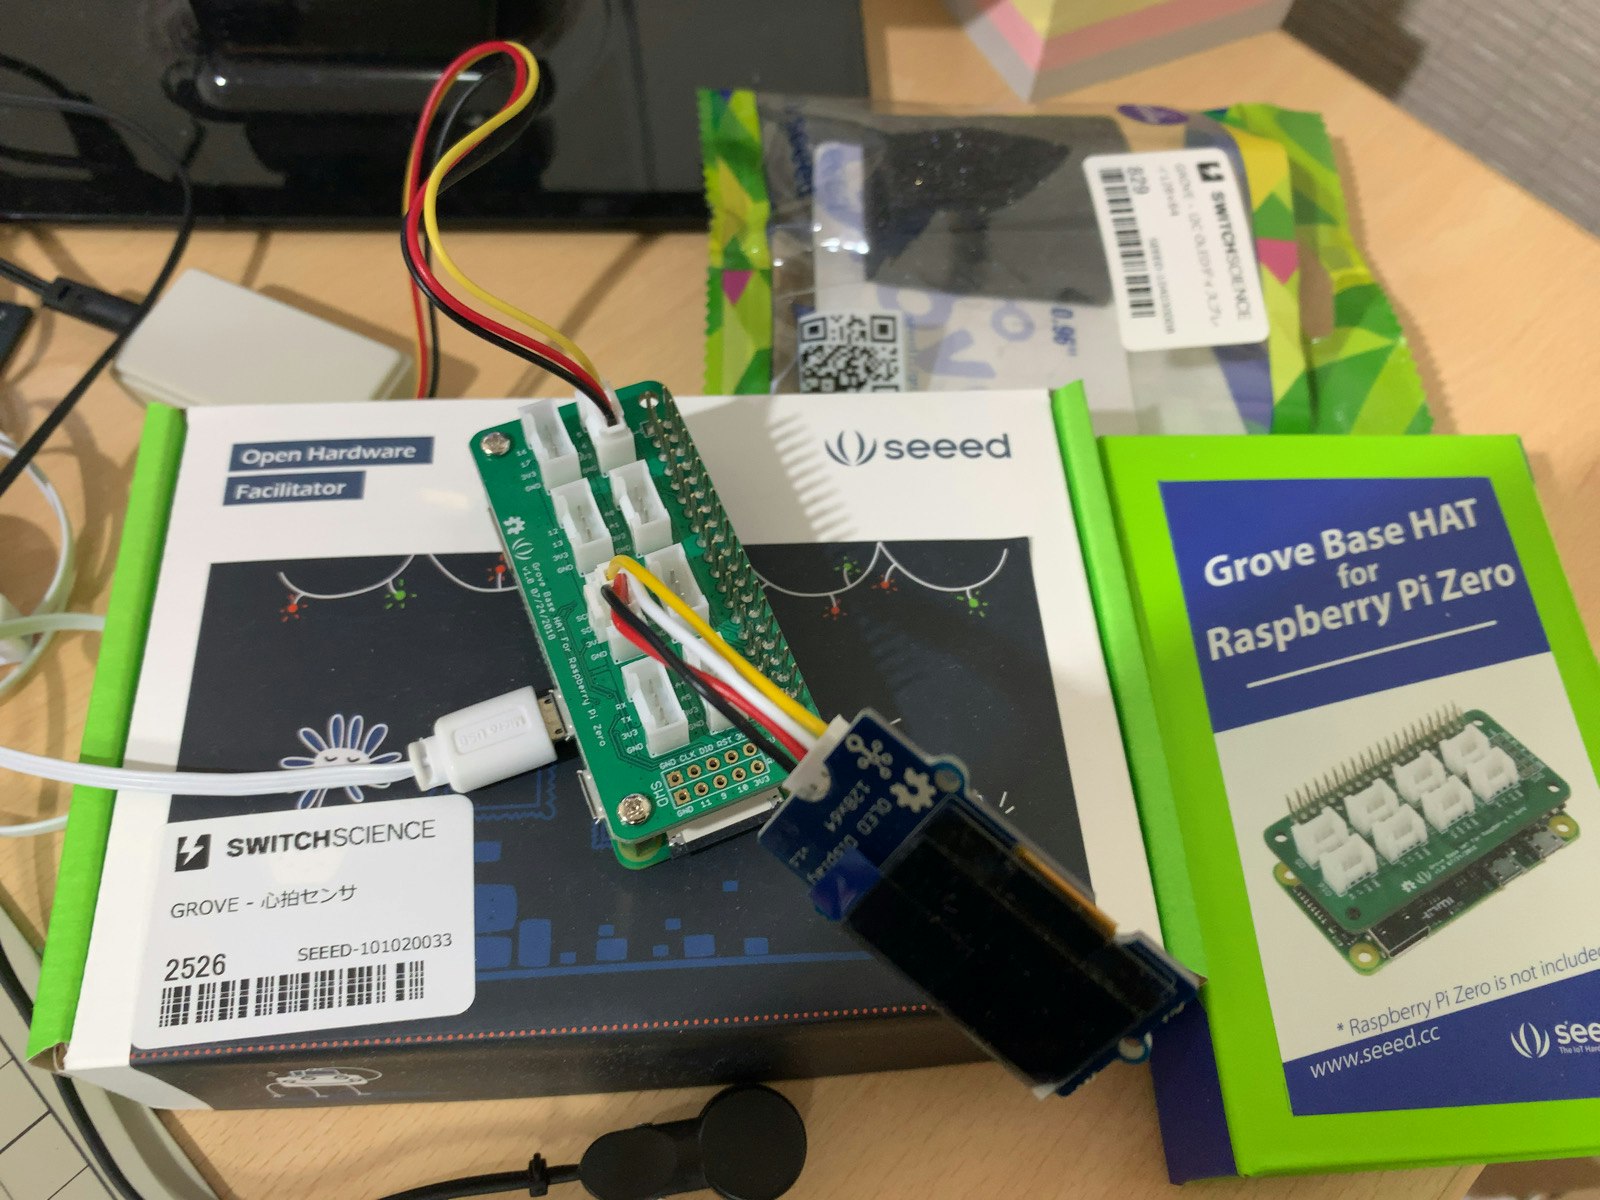
ターゲットのボードには Raspberry Pi Zero W を使い、Grove Base HAT をのせます。心拍センサーは D5 ポートに繋ぎ、表示用に I2C OLED ディスプレィ 128x64 を I2C ポートに繋ぐものとします。
開発環境作成は #NervesJP Advent Calendar 2019 1日目の記事を参照してください。私は macOS (Catalina)を使いました。
プロジェクトの作成
まずは mix というプロジェクト管理用のコマンドを使って、プロジェクトを作成します。
ここでは、心拍数を測るアプリケーションのプロジェクト heartrate を作ることにします。
$ mix nerves.new heartrate
mix コマンドの2つの引数の意味は以下のとおりです。
- nerves.new - nerves のプロジェクトを作成するサブコマンド
- heartrate - プロジェクト名として
heartrateを指定
このコマンドを実行すると以下のようにプロジェクト作成が進みます。
* creating heartrate/config/config.exs
* creating heartrate/config/target.exs
* creating heartrate/lib/heartrate.ex
* creating heartrate/lib/heartrate/application.ex
* creating heartrate/test/test_helper.exs
* creating heartrate/test/heartrate_test.exs
* creating heartrate/rel/vm.args.eex
* creating heartrate/rootfs_overlay/etc/iex.exs
* creating heartrate/.gitignore
* creating heartrate/.formatter.exs
* creating heartrate/mix.exs
* creating heartrate/README.md

Fetch and install dependencies? [Yn] n
Your Nerves project was created successfully.

You should now pick a target. See https://hexdocs.pm/nerves/targets.html#content
for supported targets. If your target is on the list, set `MIX_TARGET`
to its tag name:

For example, for the Raspberry Pi 3 you can either
  $ export MIX_TARGET=rpi3
Or prefix `mix` commands like the following:
  $ MIX_TARGET=rpi3 mix firmware

If you will be using a custom system, update the `mix.exs`
dependencies to point to desired system's package.

Now download the dependencies and build a firmware archive:
  $ cd heartrate
  $ mix deps.get
  $ mix firmware

If your target boots up using an SDCard (like the Raspberry Pi 3),
then insert an SDCard into a reader on your computer and run:
  $ mix firmware.burn

Plug the SDCard into the target and power it up. See target documentation
above for more information and other targets.
プロジェクト作成の結果として、以下の構成のディレクトリ heartrate ができあがります。
heartrate
├── README.md
├── config
│   ├── config.exs
│   └── target.exs
├── lib
│   ├── heartrate
│   │   └── application.ex
│   └── heartrate.ex
├── mix.exs
├── rel
│   └── vm.args.eex
├── rootfs_overlay
│   └── etc
│       └── iex.exs
└── test
    ├── heartrate_test.exs
    └── test_helper.exs
プロジェクトのディレクトリに移動します。
$ cd heartrate
heartrate/mix.exs に依存ライブラリを追加します。GPIO, I2C, OLED を使うので、以下を入れておきます。
  # Run "mix help deps" to learn about dependencies.
  defp deps do
    [
      # 以下3行を追加
      {:circuits_gpio, "~> 0.4"},
      {:circuits_i2c, "~> 0.1"},
      {:oled, "~> 0.1.0"},
      ...
heartrate/lib/heartrate/worker.ex を以下の内容で新規に作成します。
内容は心拍センサーの値が 0 から 1 になる Rising 時のタイムスタンプを出力するものです。
defmodule Heartrate.Worker do
  use GenServer

  alias Circuits.GPIO

  def start_link(_) do
    GenServer.start_link(__MODULE__, [])
  end

  def init(_) do
    {:ok, heart} = GPIO.open(5, :input)
    # GPIO 5 が Rising になった時に割り込みをかける
    GPIO.set_interrupts(heart, :rising)
    {:ok, %{heart: heart}}
  end

  def handle_info({:circuits_gpio, 5, timestamp, value}, state) do
    # GPIO 5 についての割り込みがかかったときのタイムスタンプを標準出力に出す
    IO.puts("timestamp: #{timestamp}")
    {:noreply, state}
  end

end
とりあえず、ここまでできたところでビルドしてみます。以下でターゲットのボードを Raspberry Pi Zero に設定します。
$ export MIX_TARGET=rpi0
次に、依存ライブラリを取り込みます。初回はネットワーク経由で必要なライブラリをロードするので時間がかかります。
$ mix deps.get
いよいよビルドです。
$ mix firmware
正常終了したらファームウェア heartrate/_build/rpi0_dev/nerves/images/heartrate.fw ができています。
ビルドが終わったら、ファームウェアをアップロードするスクリプトを生成します。これで heartrate/upload.sh スクリプトが作成されます。
$ mix firmware.gen.script
あとは、Raspberry Pi Zero と PC を USB ケーブルでつないで、以下でアップロードを実行します。
$ ./upload.sh
アップロードが終了したら、ssh で Nerves に入ります。
$ ssh nerves.local
Interactive Elixir (1.9.4) - press Ctrl+C to exit (type h() ENTER for help)
Toolshed imported. Run h(Toolshed) for more info
RingLogger is collecting log messages from Elixir and Linux. To see the
messages, either attach the current IEx session to the logger:

  RingLogger.attach

or print the next messages in the log:

  RingLogger.next

iex(heartrate@nerves.local)1> Heartrate.Worker.start_link([])
{:ok, #PID<0.1081.0>}
timestamp: 79308110000
timestamp: 80124570000
timestamp: 80940872000
timestamp: 81724341000
timestamp: 82515820000
timestamp: 83312481000
timestamp: 84102475000
timestamp: 84872619000
timestamp: 85665223000
timestamp: 86469945000
timestamp: 87261565000
timestamp: 88037570000
timestamp: 88834137000
timestamp: 89631551000
timestamp: 90419793000
...
それっぽいタイミング(脈拍)でタイムスタンプが表示されていきます。
といったところで、本日時間切れです。進んだところで随時更新していきます。次は心拍数算出できたところで更新したいと思っています。
