2021年10月21日(木)スイッチサイエンスから Espressif ESP32-C3搭載のM5Stamp C3が
販売になりました。
MicroPython v1.7 の最新ソースには ESP32-C3 のポートが含まれているので、ビルドしてM5Stamp C3に入れてみました。
ビルド
ESP-IDF 環境の用意
ESP32-C3 用の MicroPython をビルドするには ESP-IDF 4.3.1 以上が必要です。以下のサイトに説明されている手順に従って ESP-IDF 環境を用意します。
ざっくり書くと
mkdir -p ~/esp
cd ~/esp
git clone -b v4.3.1 --recursive https://github.com/espressif/esp-idf.git
cd ~/esp/esp-idf
./install.sh
開発環境を有効化するには、以下で環境定義します。
. $HOME/esp/esp-idf/export.sh
以後は以下で alias 定義しておけば get_idf で環境定義できます。
alias get_idf='. $HOME/esp/esp-idf/export.sh'
MicroPython ファームウェアコードのビルド
最新の MicroPython ソースを取得します。
git clone https://github.com/micropython/micropython.git
MicroPython コードのフリーズ(コンパイル)環境をビルドします。
cd micropython  # MicroPython のソースコードのフォルダ
make -C mpy-cross
ESP32-C3 用ファームウェアをビルドします。
cd ports/esp32
make submodules
make BOARD=GENERIC_C3
ファームウェアビルドのトラブルシューティング
私の環境ではビルド時に以下のエラーが発生しました。
[653/1276] Generating x509_crt_bundle
FAILED: esp-idf/mbedtls/x509_crt_bundle /Users/inachi/work/pico/micropython/ports/esp32/build-GENERIC_C3/esp-idf/mbedtls/x509_crt_bundle
cd /Users/inachi/work/pico/micropython/ports/esp32/build-GENERIC_C3/esp-idf/mbedtls && /Users/inachi/.espressif/python_env/idf4.3_py3.7_env/bin/python /Users/inachi/esp/esp-idf/components/mbedtls/esp_crt_bundle/gen_crt_bundle.py --input /Users/inachi/esp/esp-idf/components/mbedtls/esp_crt_bundle/cacrt_all.pem -q
gen_crt_bundle.py: Invalid certificate in /Users/inachi/esp/esp-idf/components/mbedtls/esp_crt_bundle/cacrt_all.pem
Invalid certificate
ninja: build stopped: subcommand failed.
ninja failed with exit code 1
make: *** [all] Error 2
原因と対処法は以下に情報がありました。
この情報に従い、cryptography をダウングレードします。
pip install -U cryptography==3.4.8
この対処をした後は、ファームウェアのビルドに成功しました。
ファームウェアの書込み
M5Stamp C3 のUSB シリアル変換用のチップが WCH CH9102 なので、ドライバのインストールが必要かもしれません。私の場合は以下の Mac 用ドライバをインストールしました。
https://github.com/Xinyuan-LilyGO/LilyGo-T-Call-SIM800/files/7037260/CH9102_Mac_Driver.zip
M5Stamp を USB ケーブルで繋いで、ビルドしたディレクトリから以下を実行します。
make BOARD=GENERIC_C3 PORT=<M5Stamp C3が繋がっているシリアルポート> erase
make BOARD=GENERIC_C3 PORT=<M5Stamp C3が繋がっているシリアルポート> BAUD=<ボーレート> deploy
※ PORTのデフォルトは /dev/ttyUSB0 、BAUDのデフォルトは 460800 。
※ Mac でのシリアルポートは /dev/cu.wchusbserial〜 でした。
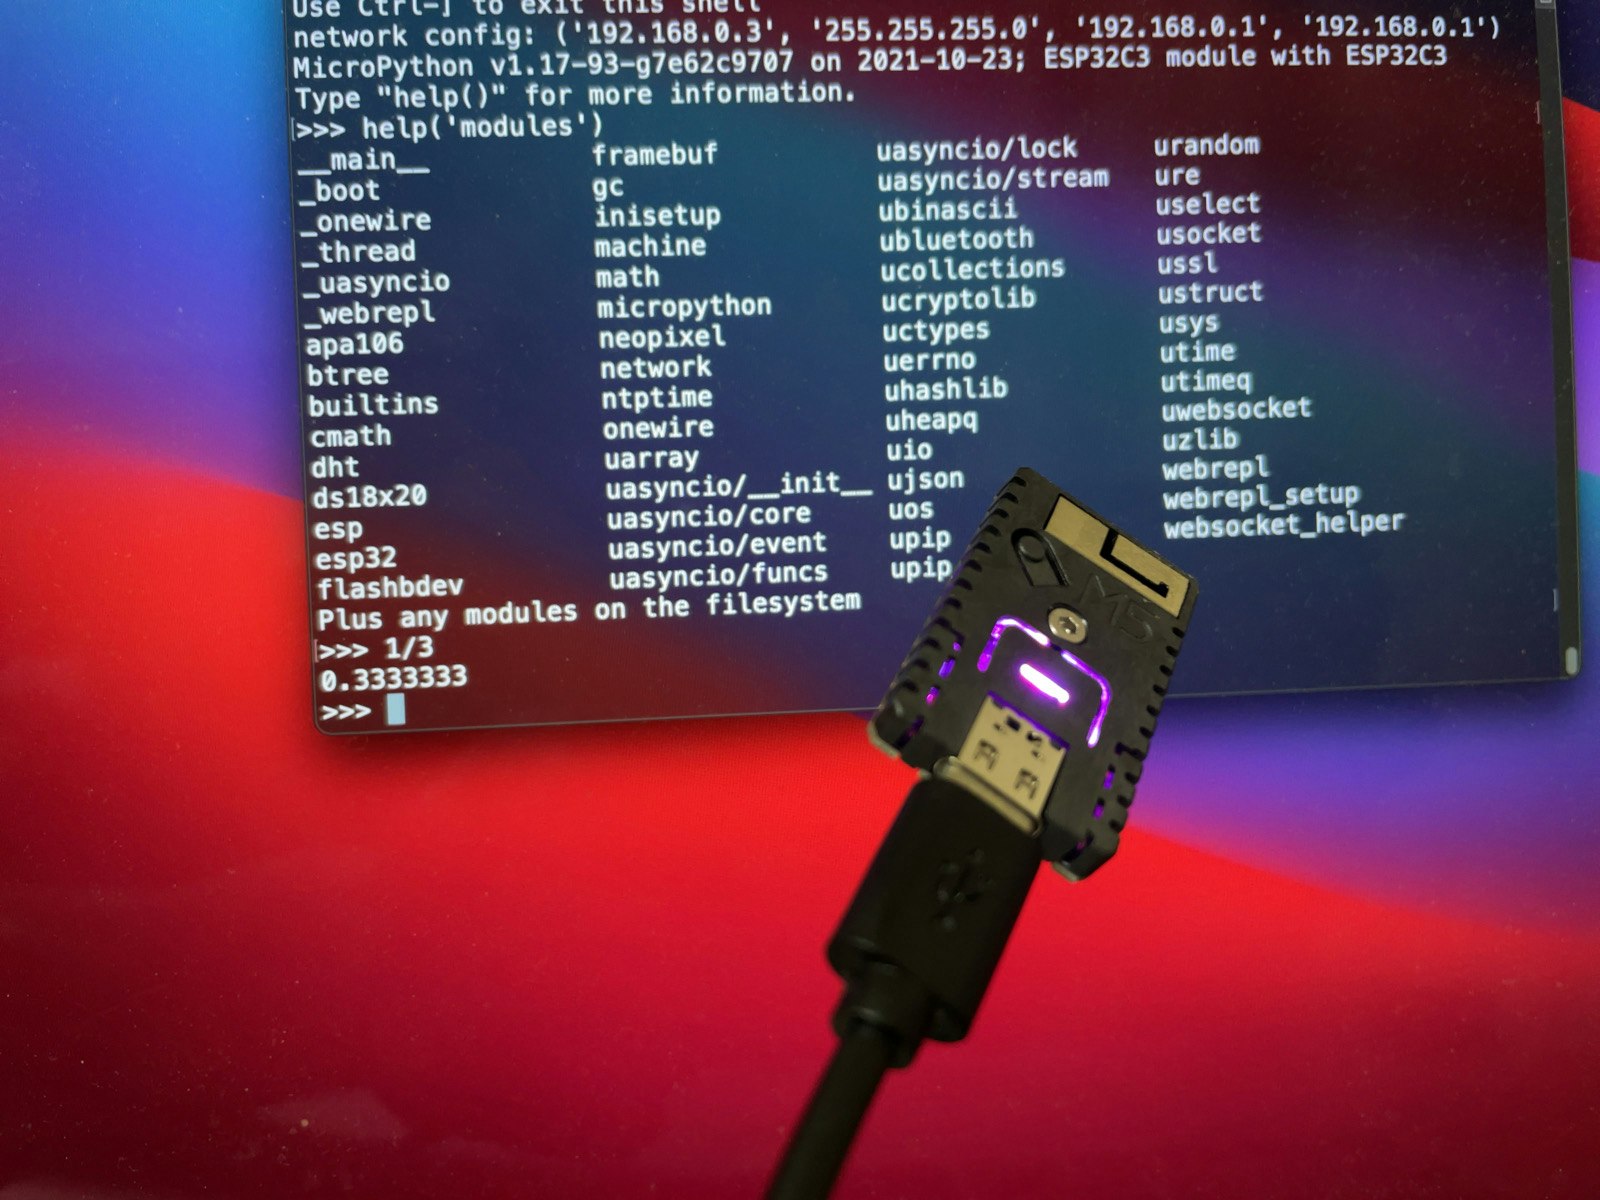
以上で、MicroPython のインストールは終了です。
軽く試していたところでは内蔵の NeoPixel も Wi-Fi も使えています。