はじめに
黒狐と申します。この記事はSiv3D Advent Calendar 2021の16日目の記事です。初参加になります。よろしくお願いします。
メッシュで迷路の形状を生成してみたかったので作ってみました。
コード全文
3D描画については備え付けのシェーダーを使います(チュートリアル37の
3D形状を描く
に出てくるものです)。
Main.cpp
# include <Siv3D.hpp>

Array<Array<int>> getMaze(int w, int h) {
	Array<Array<int>> m;

	for (int y = 0; y < 2 * h + 1; y++) {
		Array<int> b;
		for (int x = 0; x < 2 * w + 1; x++) {
			if (x == 0 || y == 0 || x == 2 * w || y == 2 * h) {
				b.push_back(4);
			}
			else {
				b.push_back(0);
			}
		}
		m.push_back(b);
	}

	const int dx[4] = {1, 0, -1, 0};
	const int dy[4] = {0, 1, 0, -1};
	int curY = 2 * Random(h - 1) + 1;
	int curX = 2 * Random(w - 1) + 1;
	m[curY][curX] = 1;
	Array<int> stuck;
	int guard = 999999;

	while (guard--) {
		Array<int> g;
		for (int i = 0; i < 4; i++) {
			const int sgn = m[curY + dy[i]][curX + dx[i]];
			if (sgn == 2 || sgn == 3) { continue; }
			if (sgn == 0) {
				if (m[curY + 2*dy[i]][curX + 2*dx[i]] == 1) { continue; }
				g.push_back(i);
			}

		}
		if (g.size() > 0) {
			const int nextDir = g.choice();
			m[curY + dy[nextDir]][curX + dx[nextDir]] = 1;
			m[curY + 2*dy[nextDir]][curX + 2*dx[nextDir]] = 1;
			curX += 2 * dx[nextDir];
			curY += 2 * dy[nextDir];
			stuck.push_back((nextDir + 2) % 4);
			continue;
		}
		else if (stuck.size() > 0) {
			const int backDir = stuck.back();
			stuck.pop_back();
			curX += 2 * dx[backDir];
			curY += 2 * dy[backDir];
			continue;
		}
		break;
	}
	return m;
}

MeshData myMaze(int MAZE_W, int MAZE_H) {

	Array<Array<int>> m = getMaze(MAZE_W, MAZE_H);
	float xOffset = 2.0f * MAZE_W + 1.0f;
	float yOffset = 0.0f;
	float zOffset = 2.0f * MAZE_H + 1.0f;

	// 壁の個数は(2w+1)(2h+1)-wh-wh+1なので2(w+1)(h+1)と計算できる
	// したがって頂点の個数はその8倍
	// 面の数はその12倍になるわけ
	Array<Vertex3D> vertices(16*(MAZE_W+1)*(MAZE_H+1));
	Array<TriangleIndex32> indices(24*(MAZE_W+1)*(MAZE_H+1));

	uint32 vIndex = 0;
	uint32 fIndex = 0;
	for (int y = 0; y < 2 * MAZE_H + 1; y++) {
		for (int x = 0; x < 2 * MAZE_W + 1; x++) {
			if (m[y][x] != 1) {

				indices[fIndex] = {vIndex + 6, vIndex + 7, vIndex + 3};
				indices[fIndex+1] = {vIndex + 6, vIndex + 3, vIndex + 2};
				indices[fIndex + 2] = { vIndex + 2, vIndex + 3, vIndex + 1 };
				indices[fIndex + 3] = { vIndex + 2, vIndex + 1, vIndex + 0 };
				indices[fIndex + 4] = { vIndex + 0, vIndex + 1, vIndex + 5 };
				indices[fIndex + 5] = { vIndex + 0, vIndex + 5, vIndex + 4 };
				indices[fIndex + 6] = { vIndex + 6, vIndex + 2, vIndex + 0 };
				indices[fIndex + 7] = { vIndex + 6, vIndex + 0, vIndex + 4 };
				indices[fIndex + 8] = { vIndex + 3, vIndex + 7, vIndex + 5 };
				indices[fIndex + 9] = { vIndex + 3, vIndex + 5, vIndex + 1 };
				indices[fIndex + 10] = { vIndex + 7, vIndex + 6, vIndex + 4 };
				indices[fIndex + 11] = { vIndex + 7, vIndex + 4, vIndex + 5 };
				fIndex += 12;

				float vx = x * 2.0f + 1.0f;
				float vy = 0.5f;
				float vz = y * 2.0f + 1.0f;
				float xDiff = (x % 2 == 1 ? 1.75f : 0.25f);
				float yDiff = 0.5f;
				float zDiff = (y % 2 == 1 ? 1.75f : 0.25f);

				for (float iz = -1; iz < 2; iz += 2) {
					for (float iy = -1; iy < 2; iy += 2) {
						for (float ix = -1; ix < 2; ix += 2) {
							vertices[vIndex].pos.set(vx + ix * xDiff - xOffset, vy + iy * yDiff - yOffset, vz + iz * zDiff - zOffset);
							vIndex++;
						}
					}
				}
			}
		}
	}

	MeshData meshData{ std::move(vertices), std::move(indices) };

	meshData.computeNormals();

	return meshData;
}

void Main()
{
	Window::Resize(1280, 720);
	const ColorF backgroundColor = ColorF{ 0.4, 0.6, 0.8 }.removeSRGBCurve();
	const Texture uvChecker{ U"example/texture/grass.jpg", TextureDesc::MippedSRGB };
	const MSRenderTexture renderTexture{ Scene::Size(), TextureFormat::R8G8B8A8_Unorm_SRGB, HasDepth::Yes };
	DebugCamera3D camera{ renderTexture.size(), 30_deg, Vec3{ 10, 16, -32 } };

	// 頂点シェーダ
	const VertexShader vs3D = HLSL{ U"example/shader/hlsl/default3d_forward.hlsl", U"VS" }
	| GLSL{ U"example/shader/glsl/default3d_forward.vert", {{ U"VSPerView", 1 }, { U"VSPerObject", 2 }} };

	// ピクセルシェーダ
	const PixelShader ps3D = HLSL{ U"example/shader/hlsl/default3d_forward.hlsl", U"PS" }
	| GLSL{ U"example/shader/glsl/default3d_forward.frag", {{ U"PSPerFrame", 0 }, { U"PSPerView", 1 }, { U"PSPerMaterial", 3 }} };

	if ((not vs3D) || (not ps3D))
	{
		return;
	}

	const Mesh maze = Mesh{ myMaze(16, 16) };

	while (System::Update())
	{

		camera.update(2.0);
		Graphics3D::SetCameraTransform(camera);

		// 3D 描画
		{
			// カスタムシェーダ使用
			const ScopedCustomShader3D shader{ vs3D, ps3D };

			const ScopedRenderTarget3D target{ renderTexture.clear(backgroundColor) };
			Plane{ 64 }.draw(uvChecker);

			maze.draw(ColorF{ 0.8, 0.3, 0.0 }.removeSRGBCurve());
		}

		// 3D シーンを 2D シーンに描画
		{
			Graphics3D::Flush();
			renderTexture.resolve();
			Shader::LinearToScreen(renderTexture);
		}
	}
}
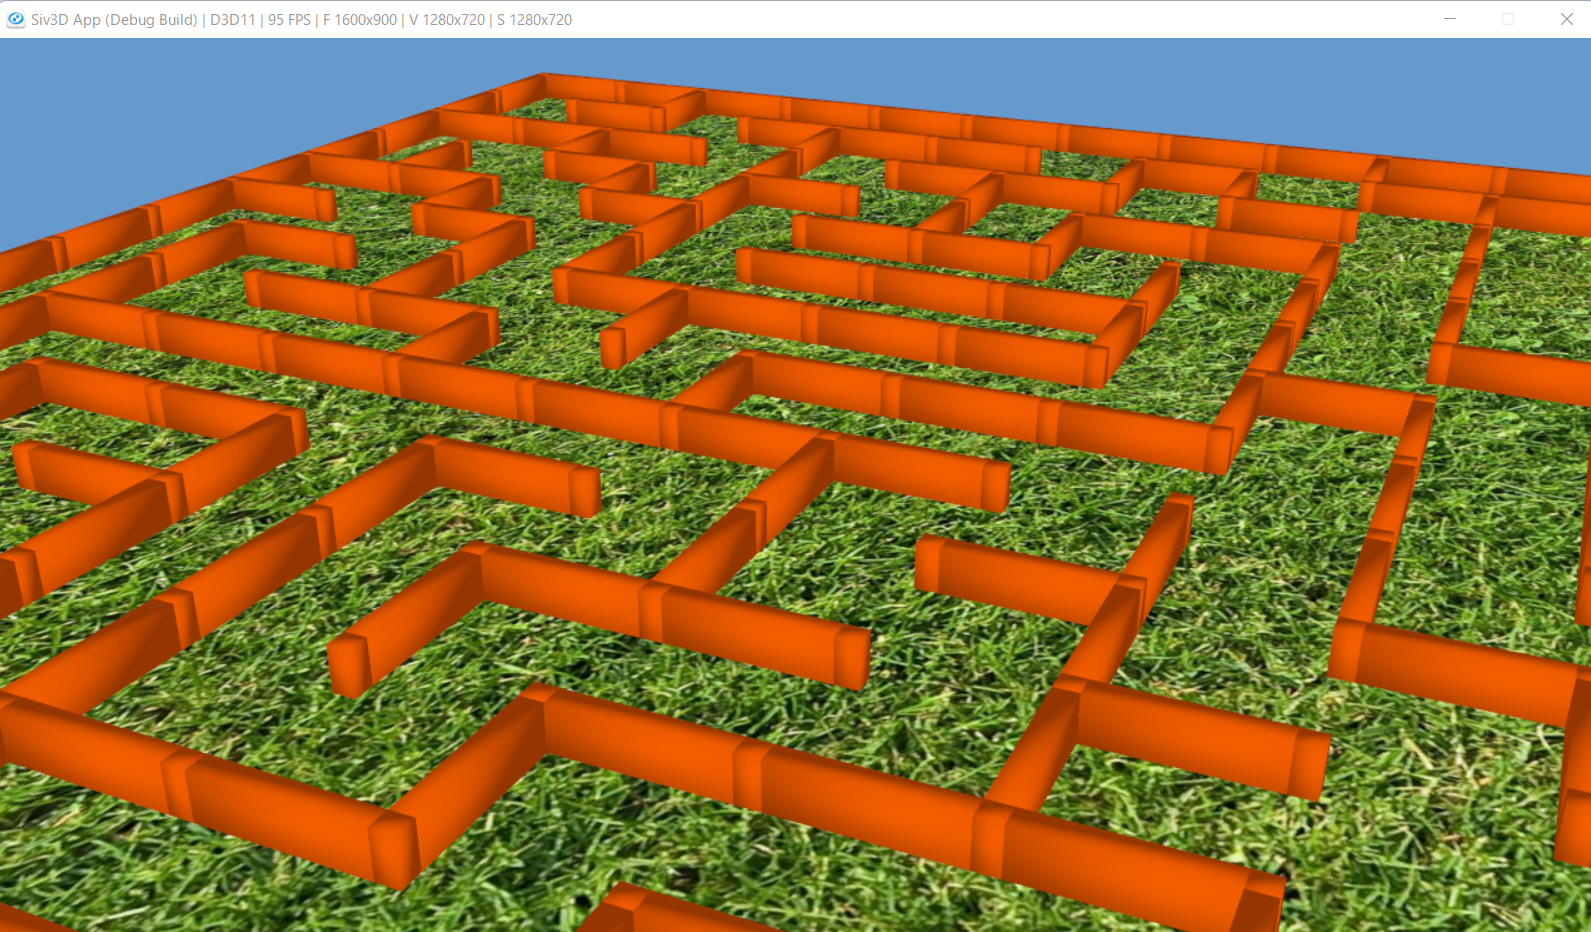
実行結果:
迷路生成のアルゴリズム
次のmikuさんの記事:
迷路生成
に出てくる穴掘り法を参考にして書きました。どれか一つのマスを決めて、上下左右を見て進める方向に2マス進むのですが、2マス先が到達済みなら進まない、進めなくなったら元来た道を引き返す、というのを繰り返す感じです。結果として得られるデータにおいて、1が通れる通路やマス、それ以外が壁にあたります。
メッシュの生成
得られたデータをもとにメッシュを作ります。2次元配列の添数において、両方とも偶数のところの壁は柱の様な位置づけになるので細長い柱にします。偶奇が異なるところは、それに合わせて薄くする感じです。こうして直方体をたくさんつくってつなぎ合わせると迷路が完成します。
おわりに
当たり判定やプレーヤーを用意すればゲームにできそうです。
ここまでお読みいただいてありがとうございました。