環境
- windows
- JDK11
- Maven3.8
step1:必要な拡張機能のインストールをしよう
step2:VSCodeにJavaとMavenの設定をしよう
- vscodeの設定を開き、Java.homeとJava.configuration.runtimesとmaven.terminal.favoritesを設定しよう。
下記のサイトが詳しくJava環境を構築するため、詳しく乗っています。
(vscode公式Java-tutorial)
https://code.visualstudio.com/docs/java/java-tutorial
step3:Spring Bootのプロジェクトを作成しよう
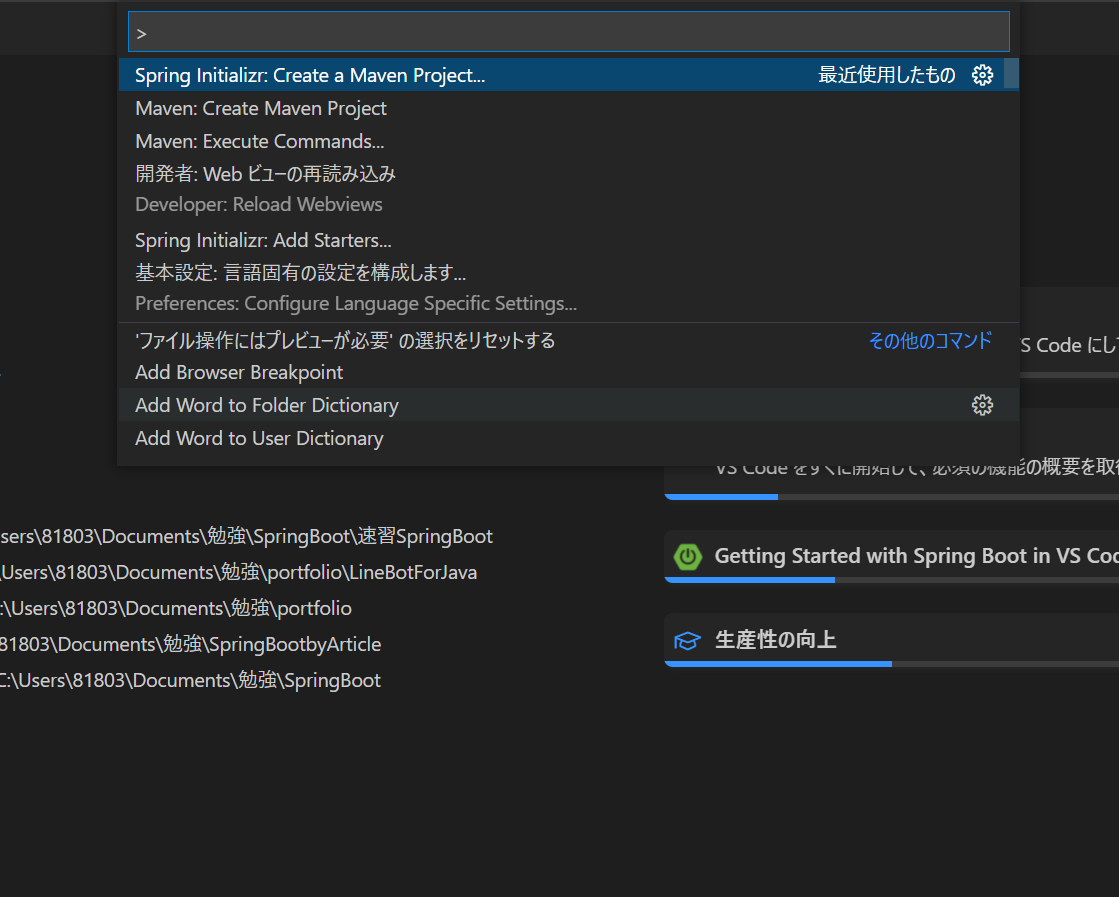
1.ctl + shift + pを押して、Spring Initializr: Create a Maven Projectを選択しよう。

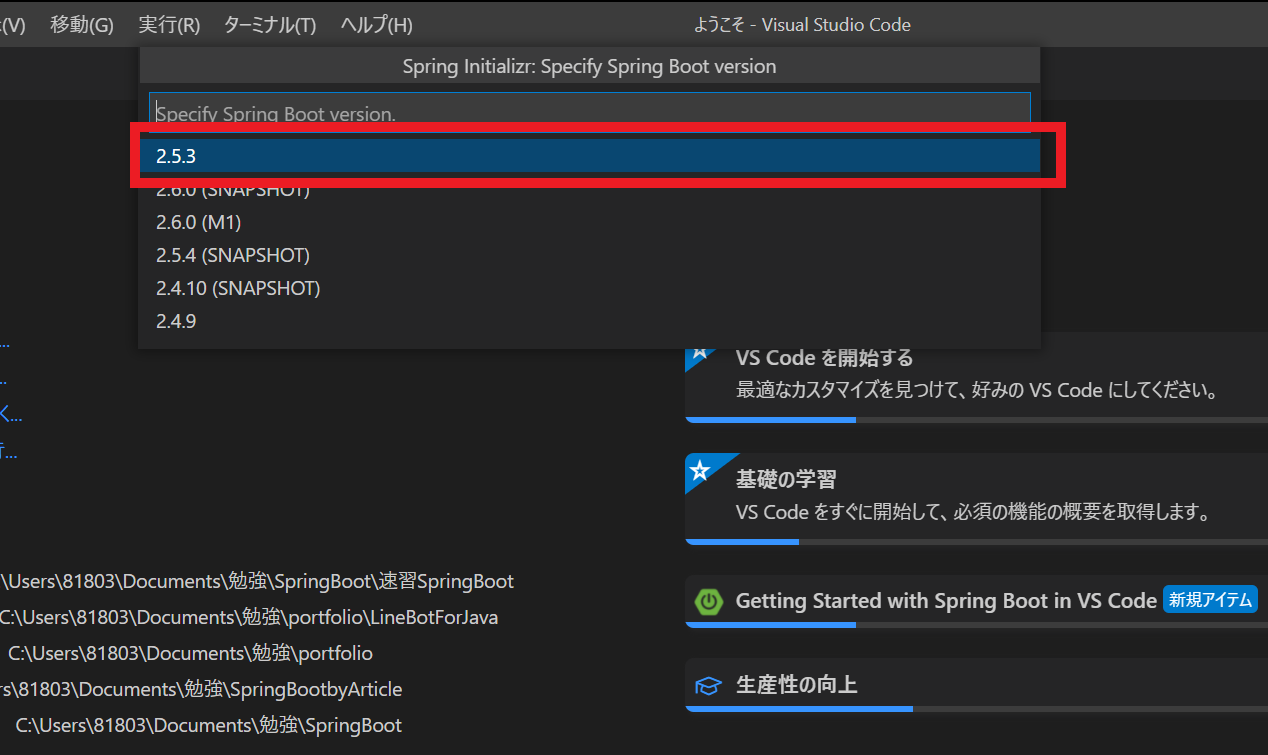
2. spring bootのversionを選択しよう。

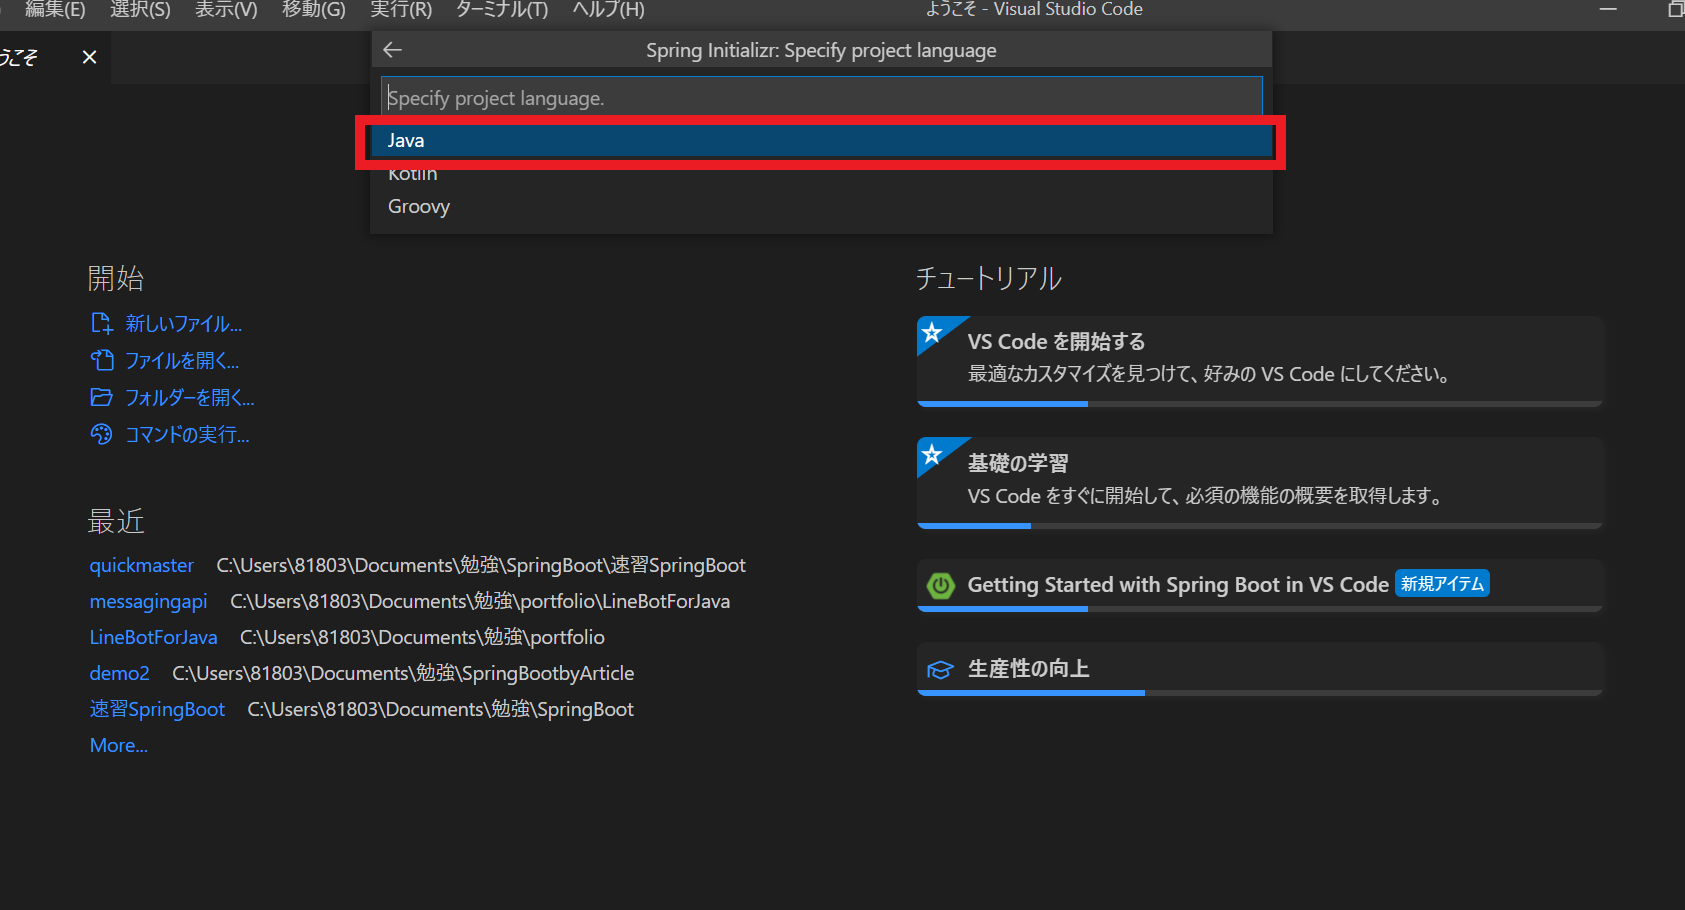
3. Javaを選択しよう。

4. MavenのGroupIdを設定しよう。(そのままで大丈夫です。)

5. MavenのArtifactIdの設定をしよう。(そのままで大丈夫です。)

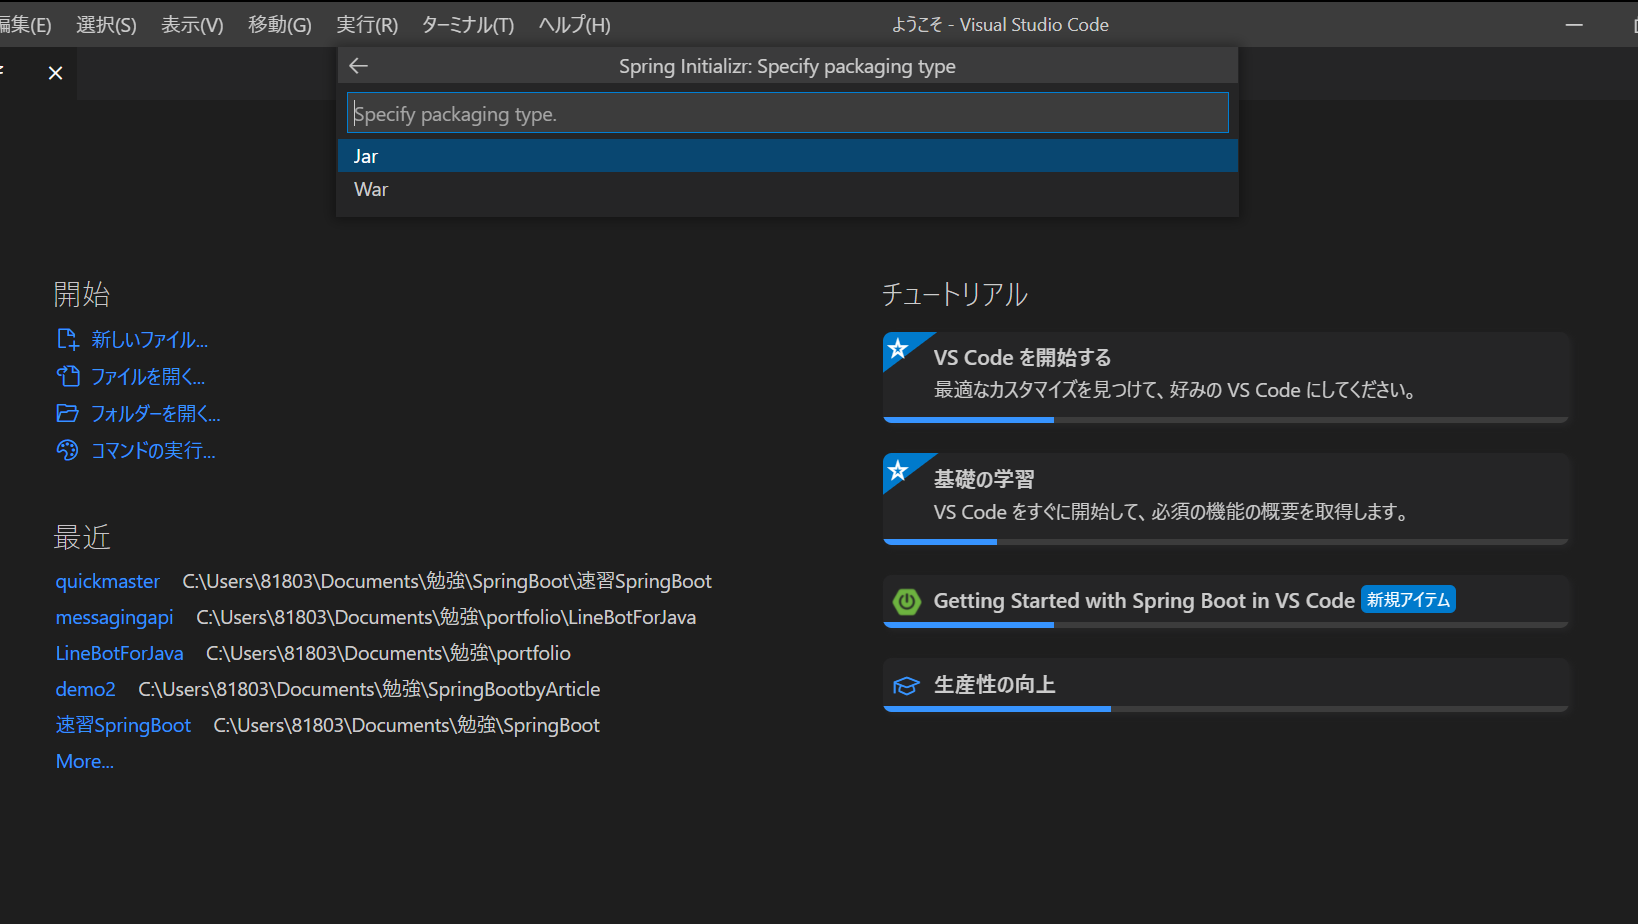
6. MavenのPackageコマンドの際にまとめる拡張子を決めよう。(jarで大丈夫です。)

7. Javaのversionを設定しよう(自分は、11でやりました。)

8. 赤枠の依存関係をMavenに登録しよう。(選択すれば、自動的に登録をしてくれます。)

9. この画面になっていたら大丈夫です。(SPRING BOOT DASHBOARDの表示には時間がかかることもあります。)

10. Spring BOOT DASHBOARDの右矢印を押したら、実行及びデバックができます。
簡単なSampleを実行してみよう
- src/main/java/example/demoの下に、controllerフォルダーを作成してみましょう。
- その下に、HelloController.javaを作成しよう。
- 下記のようにコードを書きましょう。

- 下記をクリックしよう。
http://localhost:8080/hello
Hello Spring Bootと表示されていればOKです。
参考書
- Javaビルドツール入門 Maven/Gradle/SBT/Bazel対応 (掌田津耶乃)
- https://wings.msn.to/index.php/-/A-03/WGS-JVF-001/
(速習Spring Boot 山田祥寛)


