ArduPilotで、シミュレーションは、SITL + FlightGearがよく見られる構成ですが、Macで環境整備すると、幾つかはまりポイントがあります。
Linux(Ubuntu)で動かす場合は、以下が参考になります。
pythonの仮想化のため、anacondaを使っている前提です。
Catalinaで、anacondaは苦労があるので、以下が参考になるかもしれません。
https://tako1192.hatenablog.com/entry/2019/10/12/OSX_Catalina_%E3%81%A7Anaconda%E3%82%92%E3%82%A4%E3%83%B3%E3%82%B9%E3%83%88%E3%83%BC%E3%83%AB
https://qiita.com/akinko/items/1909c8d0145d9ba530b9
最初にXcodeのCommand line tools が必要ですが、anacondaを使っている場合、既に入れているはずです
$ xcode-select --install
anaconda の環境を作ります。
$ conda create -n ardupilot python=3.7


以下の通り、必要なものを入れます。


```sh
$ git clone https://github.com/ArduPilot/ardupilot
$ cd ardupilot
$ git submodule update --init --recursive
$ ./Tools/environment_install/install-prereqs-mac.sh
最後の今日は、pip2で失敗します。
以下の通り手動実行
$ pip install pyserial future empy mavproxy pexpect
Flight Gear のMac版を以下からダウンロードし、インストールします。インストールは通常のMacアプリと同じで、Applicationsフォルダに放り込んでください。
Mac で、fgfs コマンドを使うには、以下の通りパスを通す必要があります。
以下を~/.zshrcなどに書いてください。
export PATH=$PATH:/Applications/FlightGear.app/Contents/MacOS
正しく設定できていれば、以下のように実行できます。
$ fgfs --version
    0.02 [INFO]:general    FlightGear:  Version 2019.1.1
次に、Ground controllerを入れます。Windows/Linux環境だと、Mission Planner が一般的ですが、Macですと、QGroundControllerの方が、インストールが楽です。
こちらも、通常のMacアプリと同じで、Applicationsフォルダに放り込んでください。
あとは、以下のように実行するだけなのですが、Macでanaconda環境だとエラーが出ます。
$ cd ardupilot/Tools/autotest
$ ./sim_vehicle.py -v ArduCopter -L KSFO --map --console
以下のようなエラーで、これは、Pythonを--enable-frameworkでビルドしていない場合に出るエラーです。
This program needs access to the screen. Please run with a
Framework build of python, and only when you are logged in
on the main display of your Mac.
通常、これは、python.appを入れて、pythonwを使って実行すれば解決します。
$ conda install python.app
しかし、sim_vehicle.py を使っていると、中で、mavproxy.pyをコマンドとして呼んでいて、そこで、pythonを
実行しています。これが、上記のエラーを出しているので、ここを修正の必要があります。私は単に、
cmd.append("mavproxy.py")となっている部分を以下のように修正しました。(他にも、良い方法があると思います。。)
以下、mavproxy.pyのパスは、自身のパスに置き換えてください。which mavproxy.pyをすれば分かります。
        cmd.append("pythonw")
        cmd.append("/Users/ikeyasu/anaconda3/envs/ardupilot/bin/mavproxy.py") // <=== ここは自身のパスに置き換え
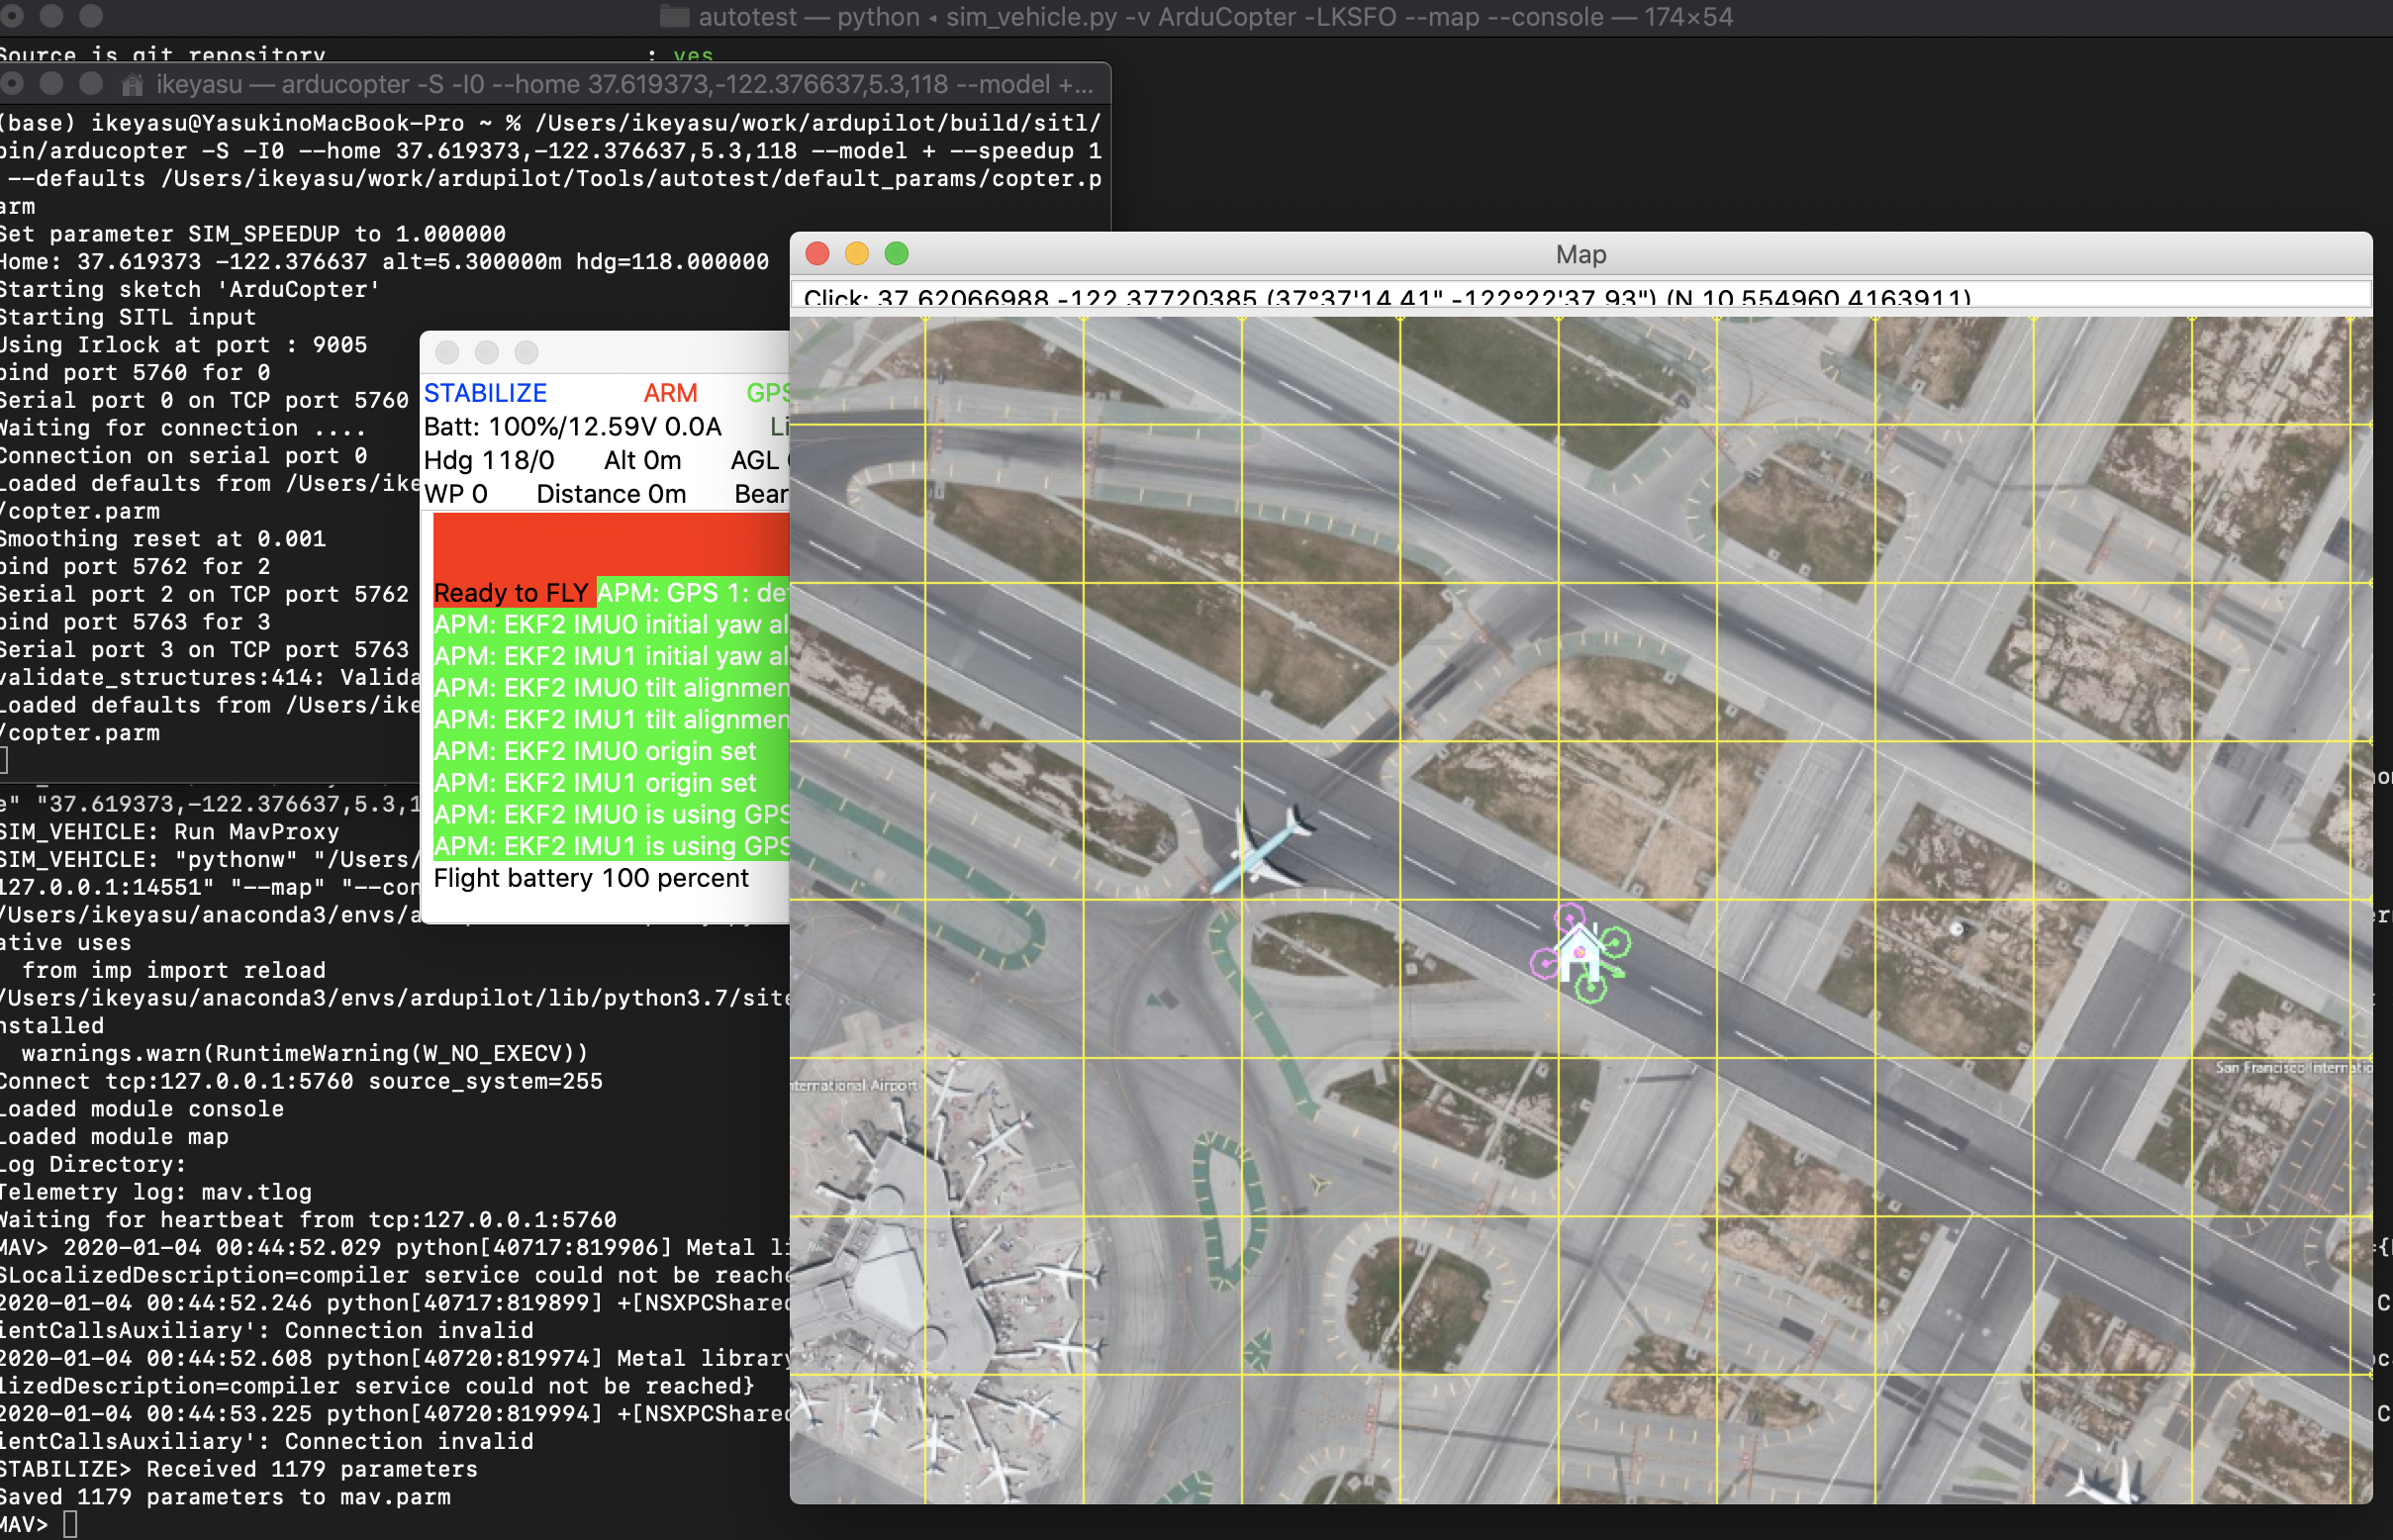
改めて、以下のコマンドを実行すると、新しくターミナルが1つ立ち上がり、マップと、コンソール画面が出ます。
$ cd ardupilot/Tools/autotest
$ ./sim_vehicle.py -v ArduCopter -L KSFO --map --console
次に、QGroundControllerを実行してください。
この時点で正しく実行できていれば、先に実行したsim_vehicle.pyの機体に接続されています。
最後に、別のTerminalで、以下の通り、Flight Gear を起動してください。
$ cd ardupilot/Tools/autotest
$ ./fg_quad_view.sh

起動すると、なぜか夜になります。。とりあえず、メニューのEnvironmentから、Time Settingsを開いて、"Noon"を押してください。昼間になります

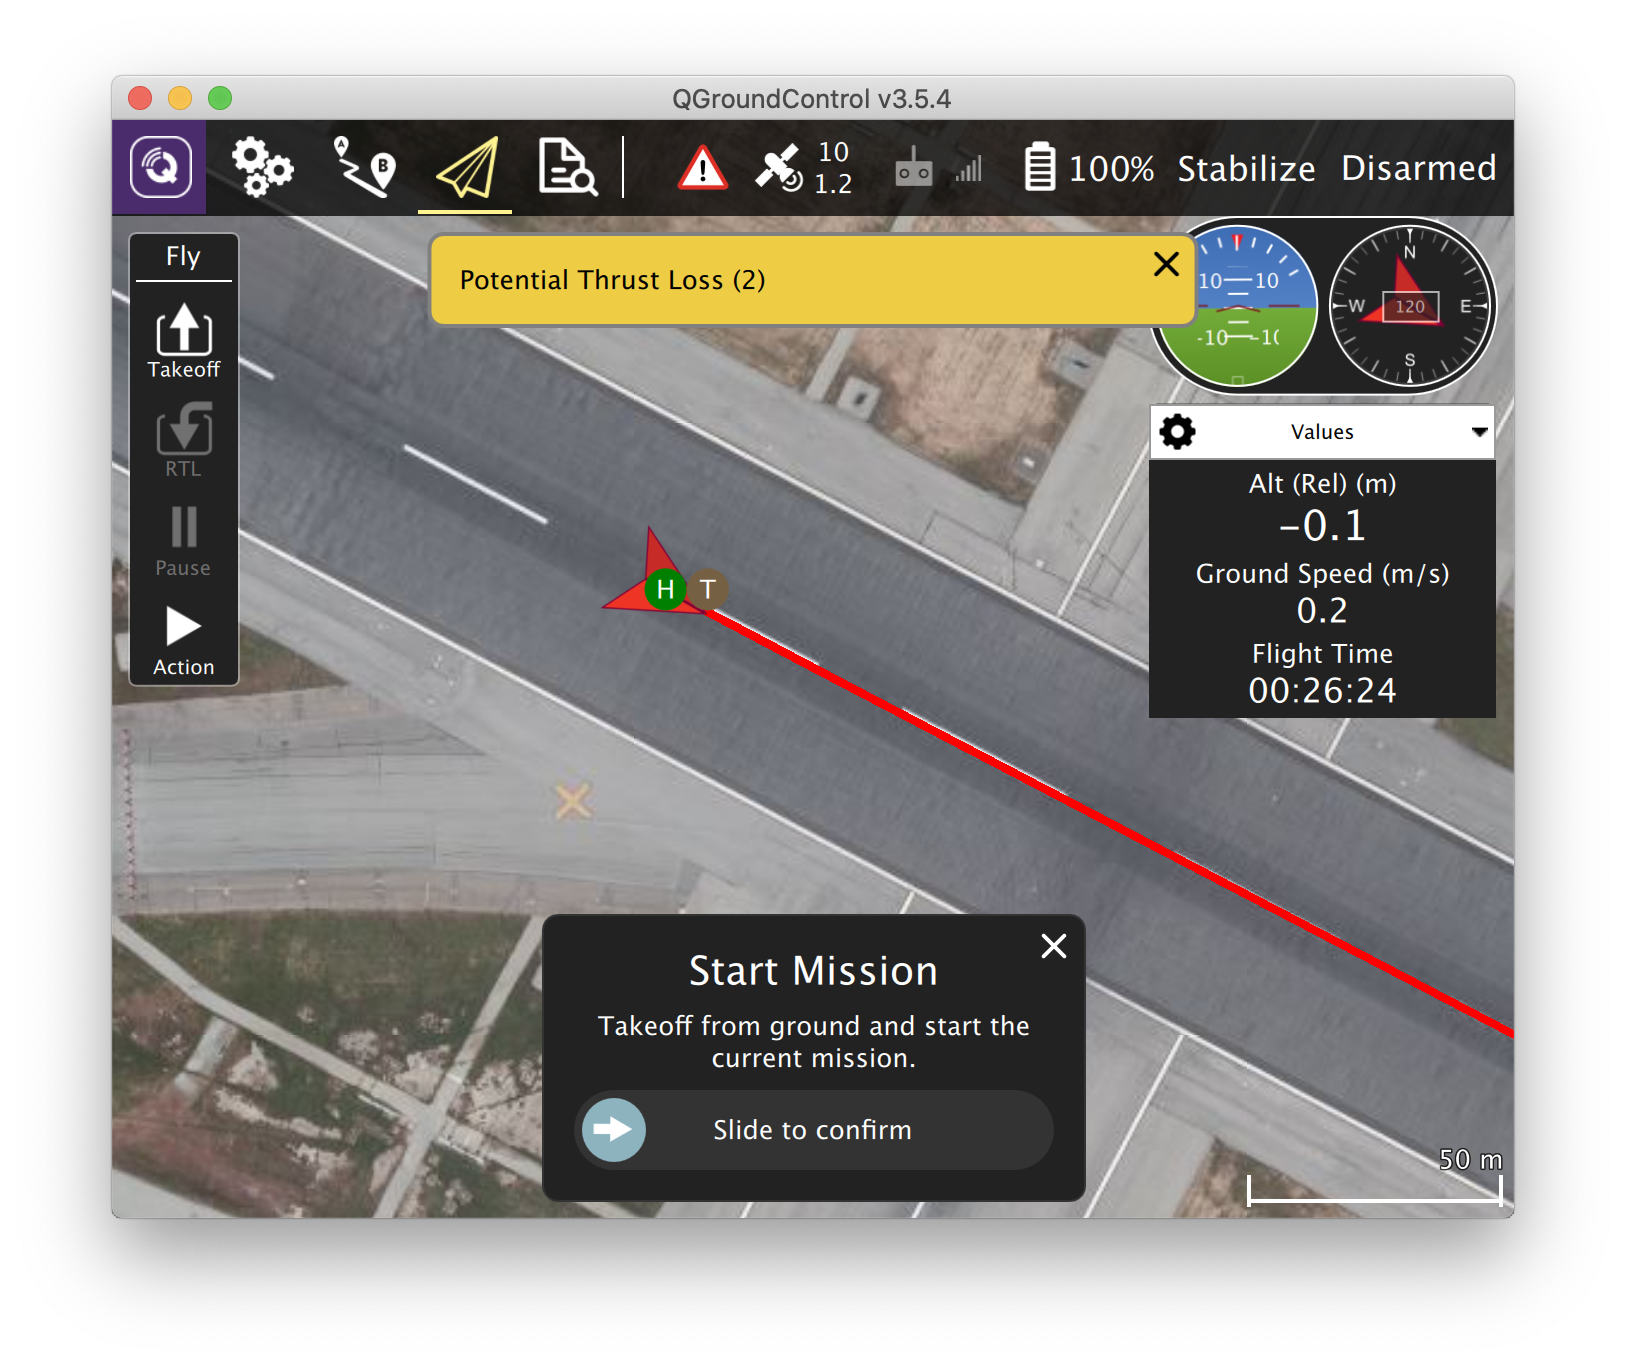
最後に、QGroundControllerの、Start Missionをスライドしてください。このとき、機体のGPSがReadyでないと、Start Missionに失敗します。sim_vehicle.py実行時に表示された、Console画面で、using GPSが出るのを待ってください(数十秒かかります)

無事、Start できると、プロペラが回ります。
