api gatewayがwebsocket向けに利用できるという事を知ったのと、個人的にwebsocketの知識が足りていないのと、denoのFreshというFWを触ってみたかったのとあって、やってみることにしました。あと使った事なかったのでApp Runnerも使っておきます。
使いたいサービス、技術
- Lambda
- api gateway
- deno
- Fresh
- sam cli
- App Runner
- Docker
- DynamoDB
だいたいこんなところでしょうか。
事前準備
このあたりを参考にして進めてみます。
これをベースにしつつFreshでチャットを作ってみようかと思います。
で、
このチュートリアルの完了には約 30 分かかります。
とありまして、ボリューミーなんだろうなと思うのでこのへんは要点だけ残しておくことにします。
チュートリアル: WebSocket API、Lambda、DynamoDB を使用したサーバーレスチャットアプリケーションの構築
- ステップ 1: Lambda 関数と DynamoDB テーブルを作成する
チュートリアル通りに進めました
- ステップ 2: WebSocket API を作成する
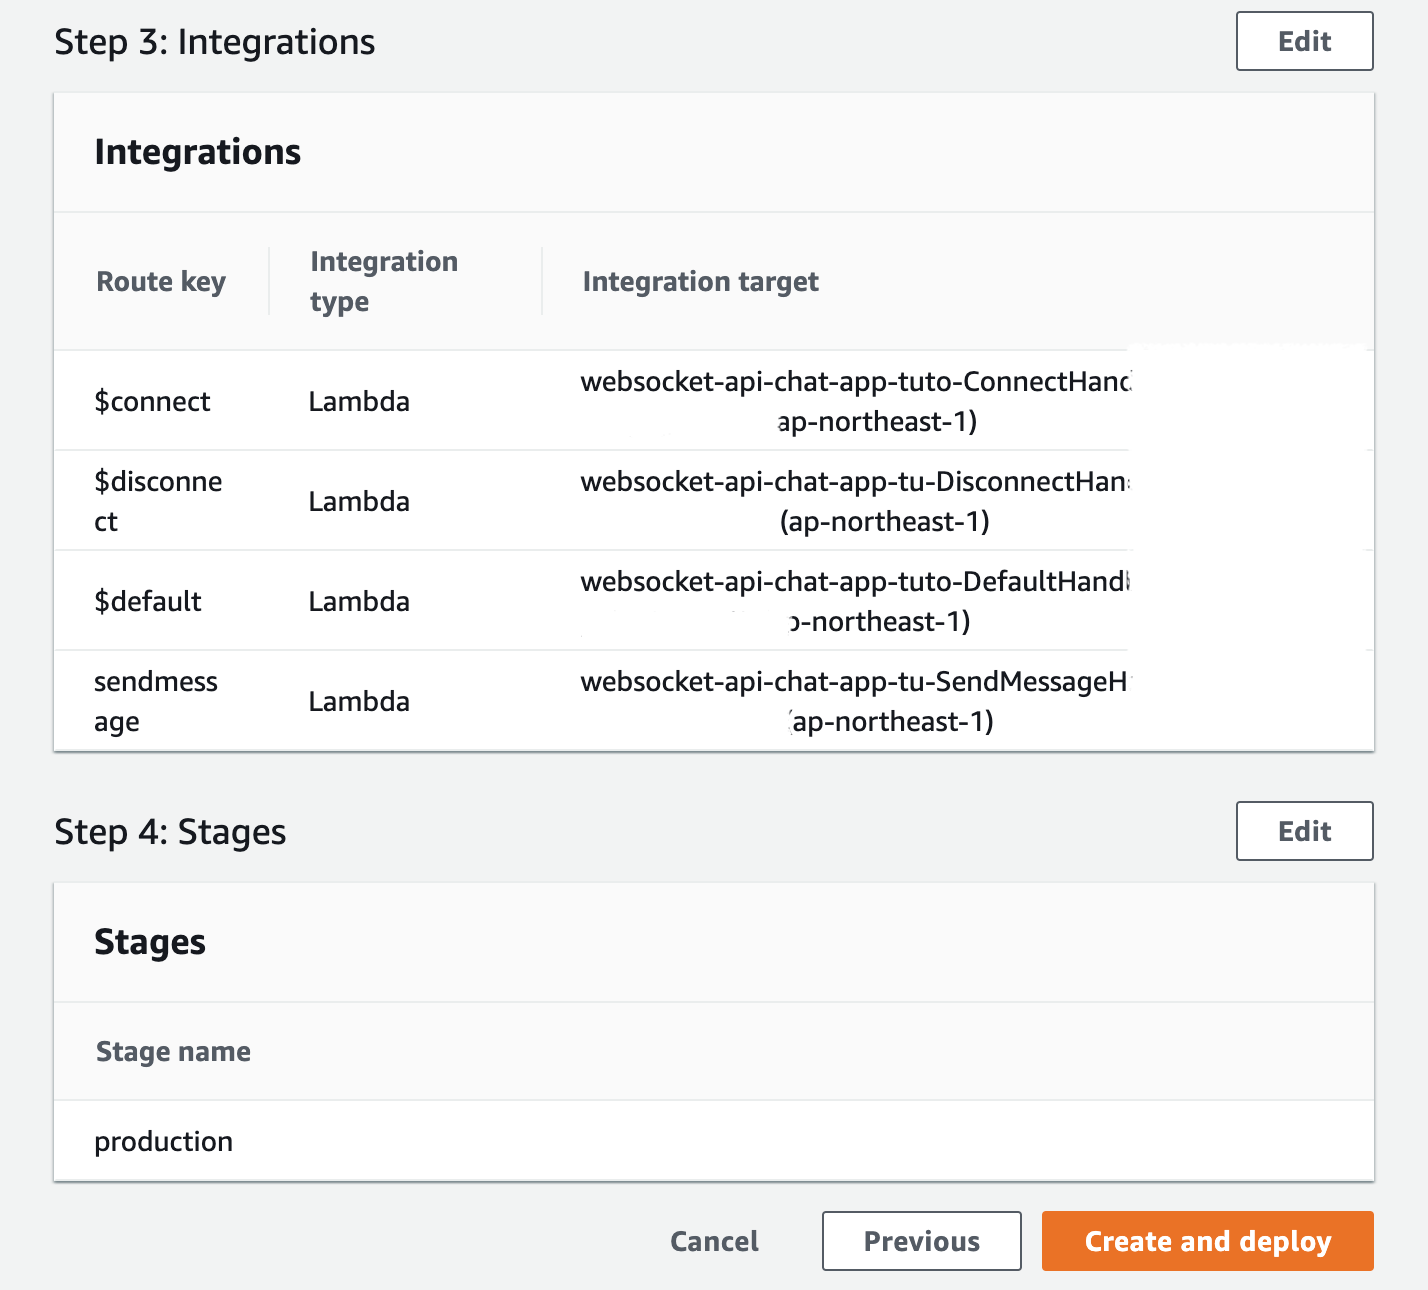
1.で作ったLambdaを各ルートに割り当てました
- ステップ 3: API をテストする
まず、 wscatが入ってなかったのでnpmでinstallします。
$ npm install -g wscat
connect (2つのターミナルで)
wscat -c wss://abcdef123.execute-api.us-west-2.amazonaws.com/production
sendmessage
端末1で送ったメッセージが無事端末2に届きました。
完了
そんなわけで無事完了しました。
作成したLambda
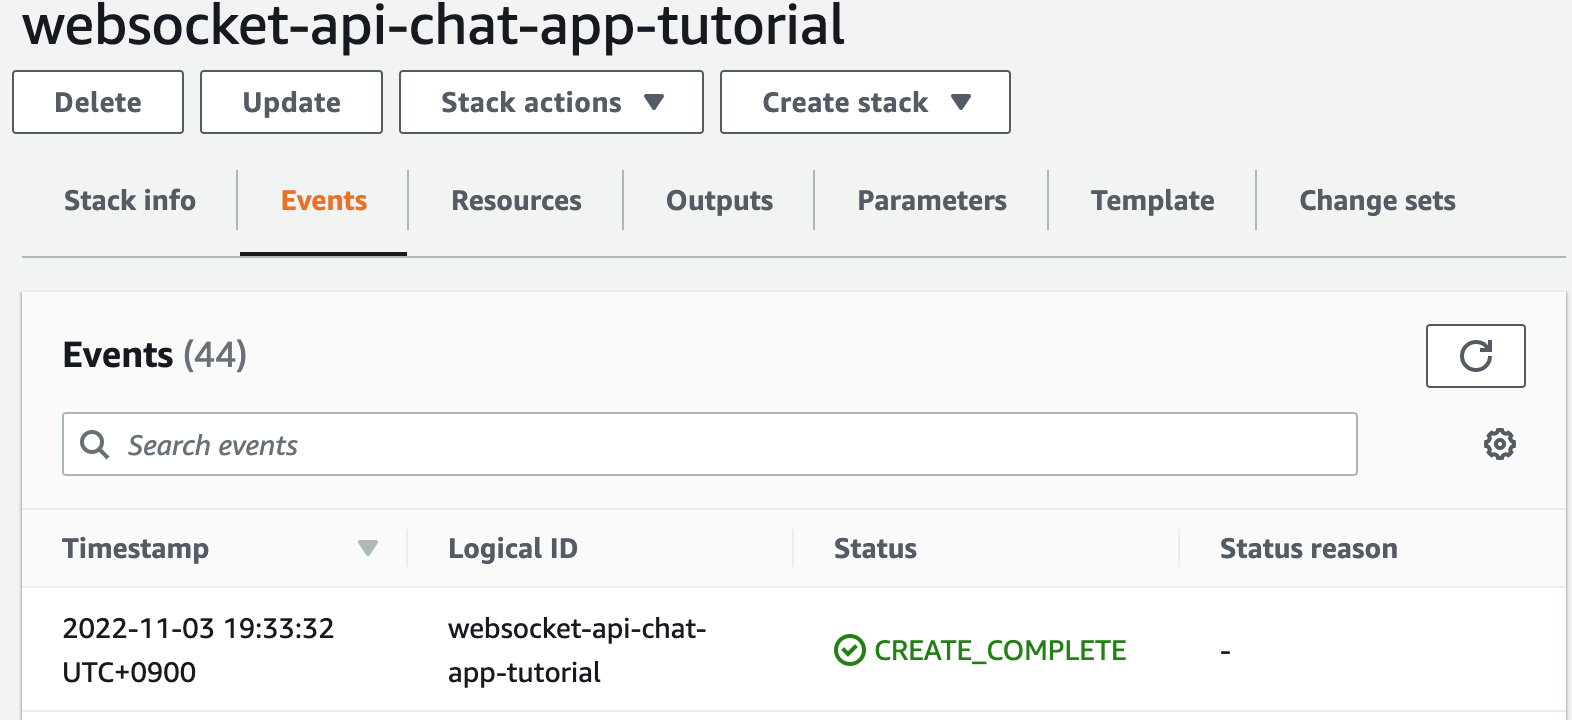
cloudFormationにて作成したLambdaを確認しておきます。
connect handler
eventとして受け取ったIDをconnectionIdとしてDynamoDBに保存してるだけっぽいです。
          const AWS = require('aws-sdk');
                const ddb = new AWS.DynamoDB.DocumentClient();
                exports.handler = async function (event, context) {
                  try {
                    await ddb
                      .put({
                        TableName: process.env.table,
                        Item: {
                          connectionId: event.requestContext.connectionId,
                        },
                      })
                      .promise();
                  } catch (err) {
                    return {
                      statusCode: 500,
                    };
                  }
                  return {
                    statusCode: 200,
                  };
                };
delete
逆にdeleteはconnectionIdを削除してるだけ
          const AWS = require('aws-sdk');
                const ddb = new AWS.DynamoDB.DocumentClient();

                exports.handler = async function (event, context) {
                  await ddb
                    .delete({
                      TableName: process.env.table,
                      Key: {
                        connectionId: event.requestContext.connectionId,
                      },
                    })
                    .promise();
                  return {
                    statusCode: 200,
                  };
                };
send message
少し処理が長くなるけども難しいことはやってない。
- dbをscanしてconnectioIdのリストを作成
- eventとして受け取ったmessageをapi gatewayのendpointにpostする
ApiGatewayManagementApiのpostToConnectionにConnectionIdとMessageを渡せばいいっぽい。
          const AWS = require('aws-sdk');
                const ddb = new AWS.DynamoDB.DocumentClient();

                exports.handler = async function (event, context) {
                  let connections;
                  try {
                    connections = await ddb.scan({ TableName: process.env.table }).promise();
                  } catch (err) {
                    return {
                      statusCode: 500,
                    };
                  }
                  const callbackAPI = new AWS.ApiGatewayManagementApi({
                    apiVersion: '2018-11-29',
                    endpoint:
                      event.requestContext.domainName + '/' + event.requestContext.stage,
                  });

                  const message = JSON.parse(event.body).message;

                  const sendMessages = connections.Items.map(async ({ connectionId }) => {
                    if (connectionId !== event.requestContext.connectionId) {
                      try {
                        await callbackAPI
                          .postToConnection({ ConnectionId: connectionId, Data: message })
                          .promise();
                      } catch (e) {
                        console.log(e);
                      }
                    }
                  });

                  try {
                    await Promise.all(sendMessages);
                  } catch (e) {
                    console.log(e);
                    return {
                      statusCode: 500,
                    };
                  }

                  return { statusCode: 200 };
                };
default
送信した本人にpostToConnectionしてるだけに見える
          const AWS = require('aws-sdk');

                exports.handler = async function (event, context) {
                  let connectionInfo;
                  let connectionId = event.requestContext.connectionId;

                  const callbackAPI = new AWS.ApiGatewayManagementApi({
                    apiVersion: '2018-11-29',
                    endpoint:
                      event.requestContext.domainName + '/' + event.requestContext.stage,
                  });

                  try {
                    connectionInfo = await callbackAPI
                      .getConnection({ ConnectionId: event.requestContext.connectionId })
                      .promise();
                  } catch (e) {
                    console.log(e);
                  }

                  connectionInfo.connectionID = connectionId;

                  await callbackAPI
                    .postToConnection({
                      ConnectionId: event.requestContext.connectionId,
                      Data:
                        'Use the sendmessage route to send a message. Your info:' +
                        JSON.stringify(connectionInfo),
                    })
                    .promise();

                  return {
                    statusCode: 200,
                  };
                };
そんなわけでwebsocket用のLambdaはけっこうシンプル。connectionIdさえあればメッセージを送れるので、送る処理が別のシステムやサービスでも良さそう。
チャットサービスの作成
Fresh環境の構築
Freshはdenoのフレームワークで最もメジャーなもの(2022年現在)かと思います。
あ、denoは・・誤解を恐れつつ言うとnodejsの新しいやつです。
https://deno.land/
https://fresh.deno.dev/
install
deno
mac
brew install deno
なお、入ってたのが古かったのでdeno upgradeで更新しました。
fresh
deno run -A -r https://fresh.deno.dev websocket-example-apigw-with-fresh
で完了です。
Tailwind CSSはusing, VS Codeはnotにしました。
% cd websocket-example-apigw-with-fresh
% deno task start
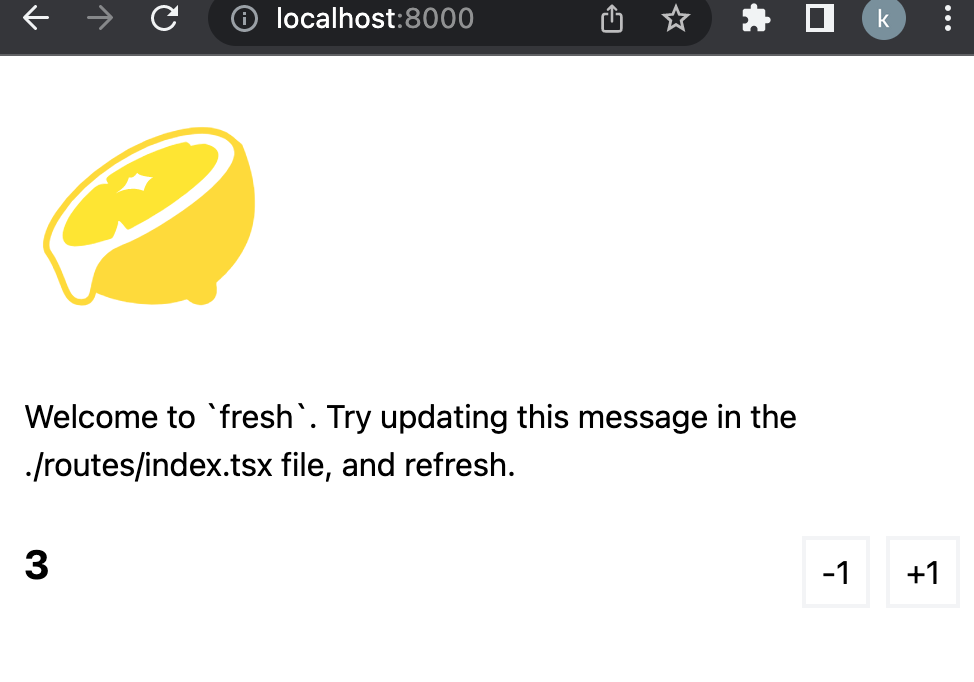
であっさり起動して、localhost:8000で確認できます。
websocketを使ってみる
今回、serverの方はいいんだけど、これ使うとserverもclientも対応できるみたい。
https://deno.land/x/websocket@v0.1.4
import { WebSocketClient, StandardWebSocketClient } from "https://deno.land/x/websocket@v0.1.4/mod.ts";
const endpoint = "wss://xxxxxx.execute-api.ap-northeast-1.amazonaws.com/production";
const ws: WebSocketClient = new StandardWebSocketClient(endpoint);

ws.on("open", function() {
  console.log("ws connected!");
  ws.send("something");
});
ws.on("message", function (message: string) {
  console.log(message);
});

export default function Chat() {
  return (
    <div class="flex gap-2 w-full">
      <p class="flex-grow-1 font-bold text-xl">Hello</p>
    </div>
  );
}
を作って、routes/index.tsxを軽く追記します。
import Chat from "../islands/Chat.tsx";
と
<Chat />
だけ。
すると、terminalからメッセージを送ったものがブラウザのコンソールに出てくるのが確認できました。
websocketを使うのは問題なさそう。
ちなみにroutes/index.tsxがトップページ。routesの中に階層つきでpage毎のファイルを作成するのが基本っぽい?[name].tsxみたいなのはワイルドカードみたいなやつっぽいけど[使われるとbashでの使い勝手悪いなぁ。
deno on Docker
denoはAppRunnerで動かそうかと思います。
よってDocker化する必要があります。
↑ここにあるDockerfileを作るだけでOKでした。
FROM denoland/deno:1.25.0

ARG GIT_REVISION
ENV DENO_DEPLOYMENT_ID=${GIT_REVISION}

WORKDIR /app

COPY . .
RUN deno cache main.ts --import-map=import_map.json

EXPOSE 8000

CMD ["run", "-A", "main.ts"]
docker-compose.ymlも用意します。
version: '3'

services:
  deno-fresh:
    build:
      context: .
      dockerfile: Dockerfile
    ports:
     - "8000:8000"
    volumes:
     - ./:/app
ディレクトリ構成とかは手抜き。ちゃんとやるときはソースとそれ以外はわけましょう。
% docker-compose up --build
これで8000番ポートにて無事起動しました。
ではチャットをやりとりするUIを作成していきます。
チャットUI
とはいえ、UIに関してはセンスがないので良さげでシンプルなものをパク…インスパイアします。
https://dev.to/briosheje/sample-todoapp-in-fresh-deno-framework-4ohi
https://github.com/briosheje/Fresh-Deno-Mongo-Docker-Todoapp
こちらはmongodbを使ったtodoアプリっぽいですね。
Chat.tsxはこんな感じになりました。
あまりReact的な書き方に慣れていないので、ツッコミどころ多いかもしれませんが。
というかファイルはtsxなんですが、中身はjsxですね。ここでは気にしないでいきます。
import { useState } from "preact/hooks";
import { WebSocketClient, StandardWebSocketClient } from "https://deno.land/x/websocket@v0.1.4/mod.ts";
import { tw } from "@twind";
const endpoint = "wss://xxxxxx.execute-api.ap-northeast-1.amazonaws.com/production";
const ws: WebSocketClient = new StandardWebSocketClient(endpoint);

ws.on("open", function() {
  console.log("ws connected!")
});

export default function Chat() {
  const [messages, setMessages] = useState([])
  const [comment, setComment] = useState("")
  function addMessage(message) {
    console.log(message)
    setMessages([...messages, message.data])
  }

  ws.on("message", function (message: string) {
    addMessage(message)
  });

  function sendMessage() {
    ws.send(JSON.stringify({ "action": "sendmessage", "message": comment}))
    // 自分で送ったメッセージはws経由でcallbackされないので直接追加
    addMessage({ data: comment })
  }

  function viewMessages() {
    const renderHtml = []
    messages.forEach((m) => {
      renderHtml.push(<>{m}<hr /></>)
    })
    return <div>{ renderHtml }</div>
  }

  return (
    <div class="flex gap-2 w-full">
      <div
        className={tw`bg-white rounded shadow p-6 m-4 w-full lg:w-3/4 lg:max-w-lg`}
      >
        <div className={tw`mb-4`}>
         {viewMessages()}
        </div>
        <div className={tw`mb-4`}>
          <input
            className={tw`shadow appearance-none border rounded w-full py-2 px-3 text-gray-700 leading-tight focus:outline-none focus:shadow-outline`}
            onChange={(e) => setComment(e.currentTarget.value)}
            id="chat-comment"
            type="text"
            name="comment"
          />
        </div>
        <button
          onClick={() => sendMessage()}
          className={tw`bg-blue-500 hover:bg-blue-700 text-white font-bold py-2 px-4 rounded focus:outline-none focus:shadow-outline`}
        >
          Send Message
        </button>
      </div>
    </div>
  );
}
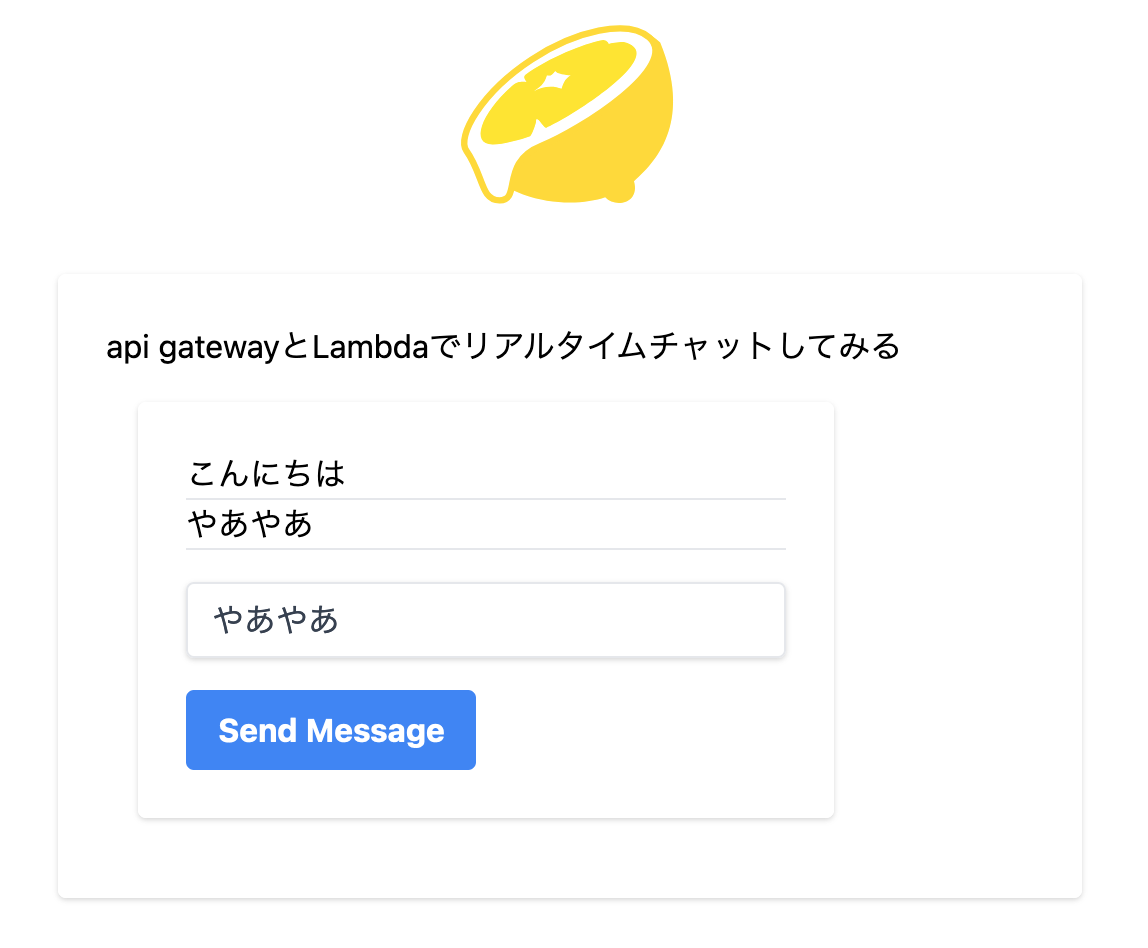
そしてとりあえずリアルタイムでチャットという部分を満たしただけのものができました。
AppRunner
さてこれをAppRunnerでdeployしてみます。
denoにもdeployの仕組みがあるらしく、それでいいじゃんって思いますが、AppRunner使ってみたかったのです。
.envとか使わずにendpoint直書きしちゃってて、githubに丸ごと上げられないですしね。
AppRunnerは今回、コンソールで進めちゃいます。
まずはECR
コードはECRにアップしちゃう事にします。
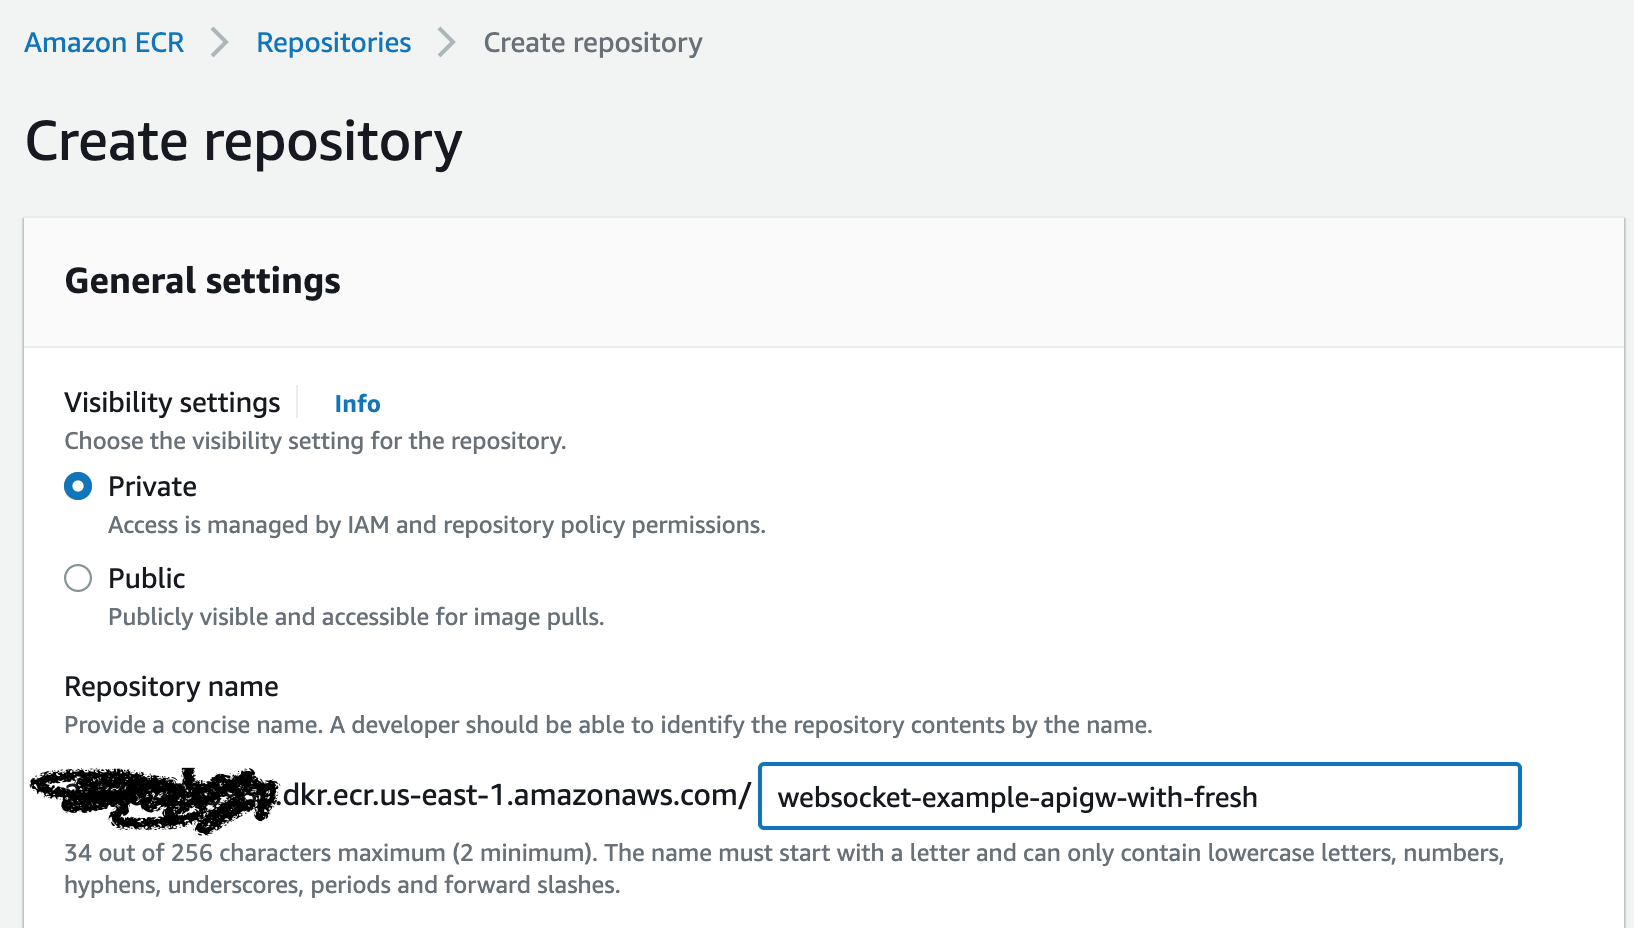
privete repositoryをひとまず作ります。(CLIでも可)
あとはawsのコンソールに記載されている通りにECRにpushしていきます。
% aws ecr get-login-password --region us-east-1 | docker login --username AWS --password-stdin 00000000.dkr.ecr.us-east-1.amazonaws.com
% docker build -t websocket-example-apigw-with-fresh .
% docker tag websocket-example-apigw-with-fresh:latest 00000000.dkr.ecr.us-east-1.amazonaws.com/websocket-example-apigw-with-fresh:latest
% docker push 00000000.dkr.ecr.us-east-1.amazonaws.com/websocket-example-apigw-with-fresh:latest
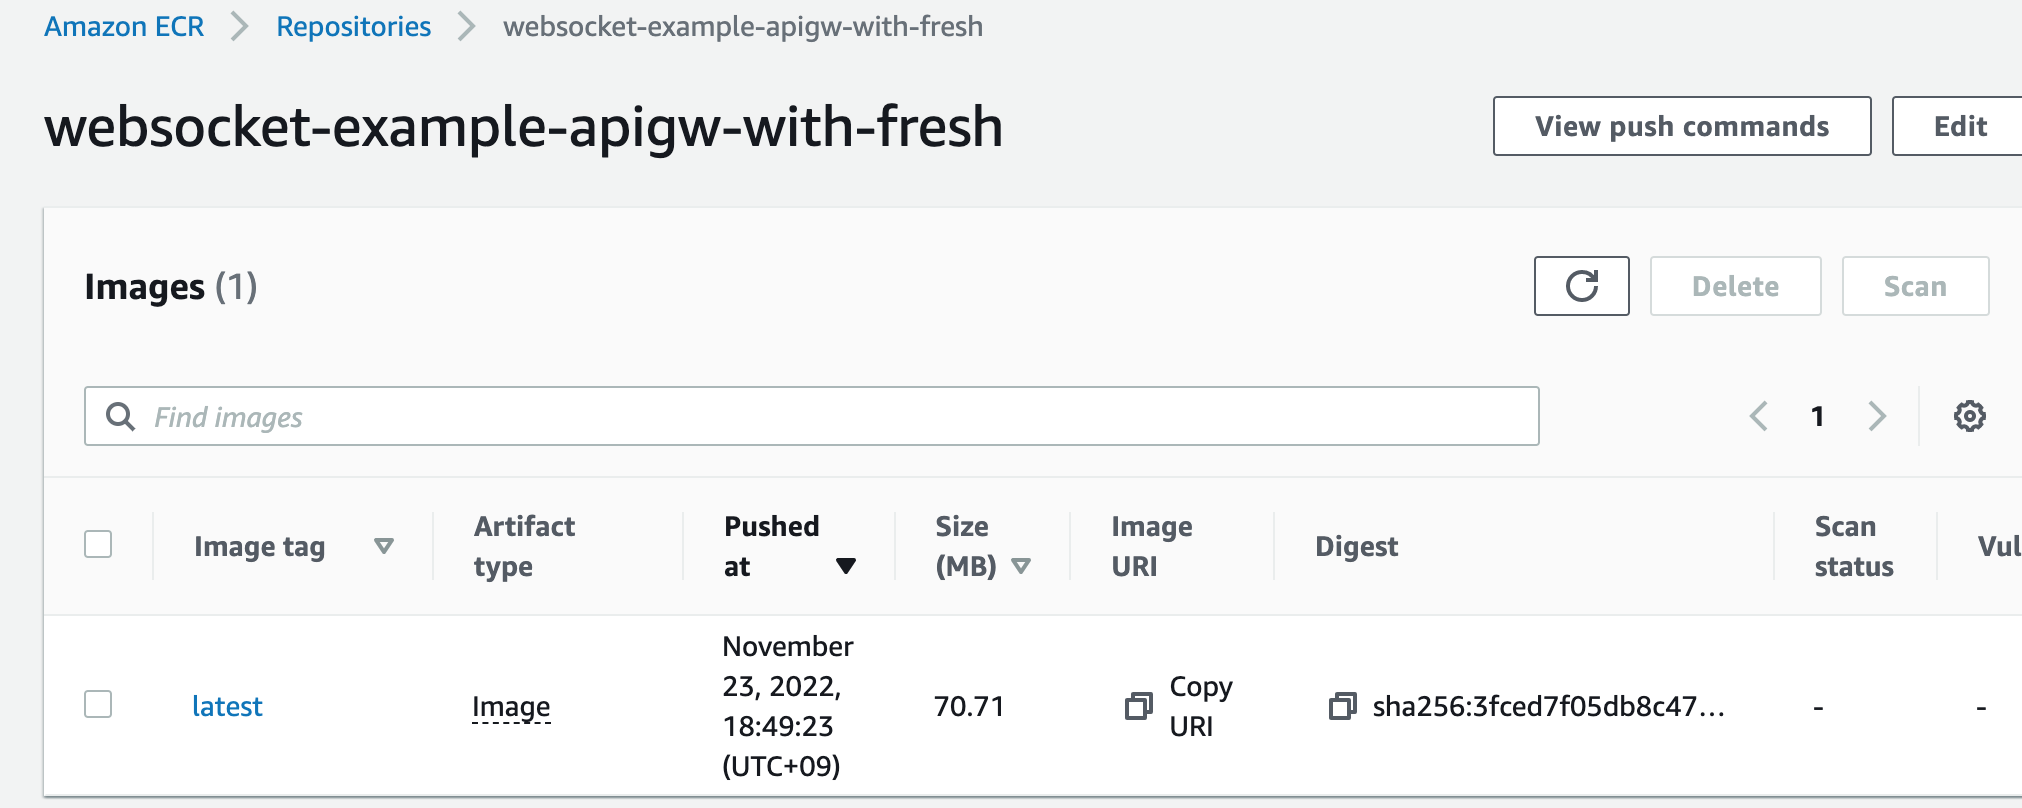
これで無事、アップできました。
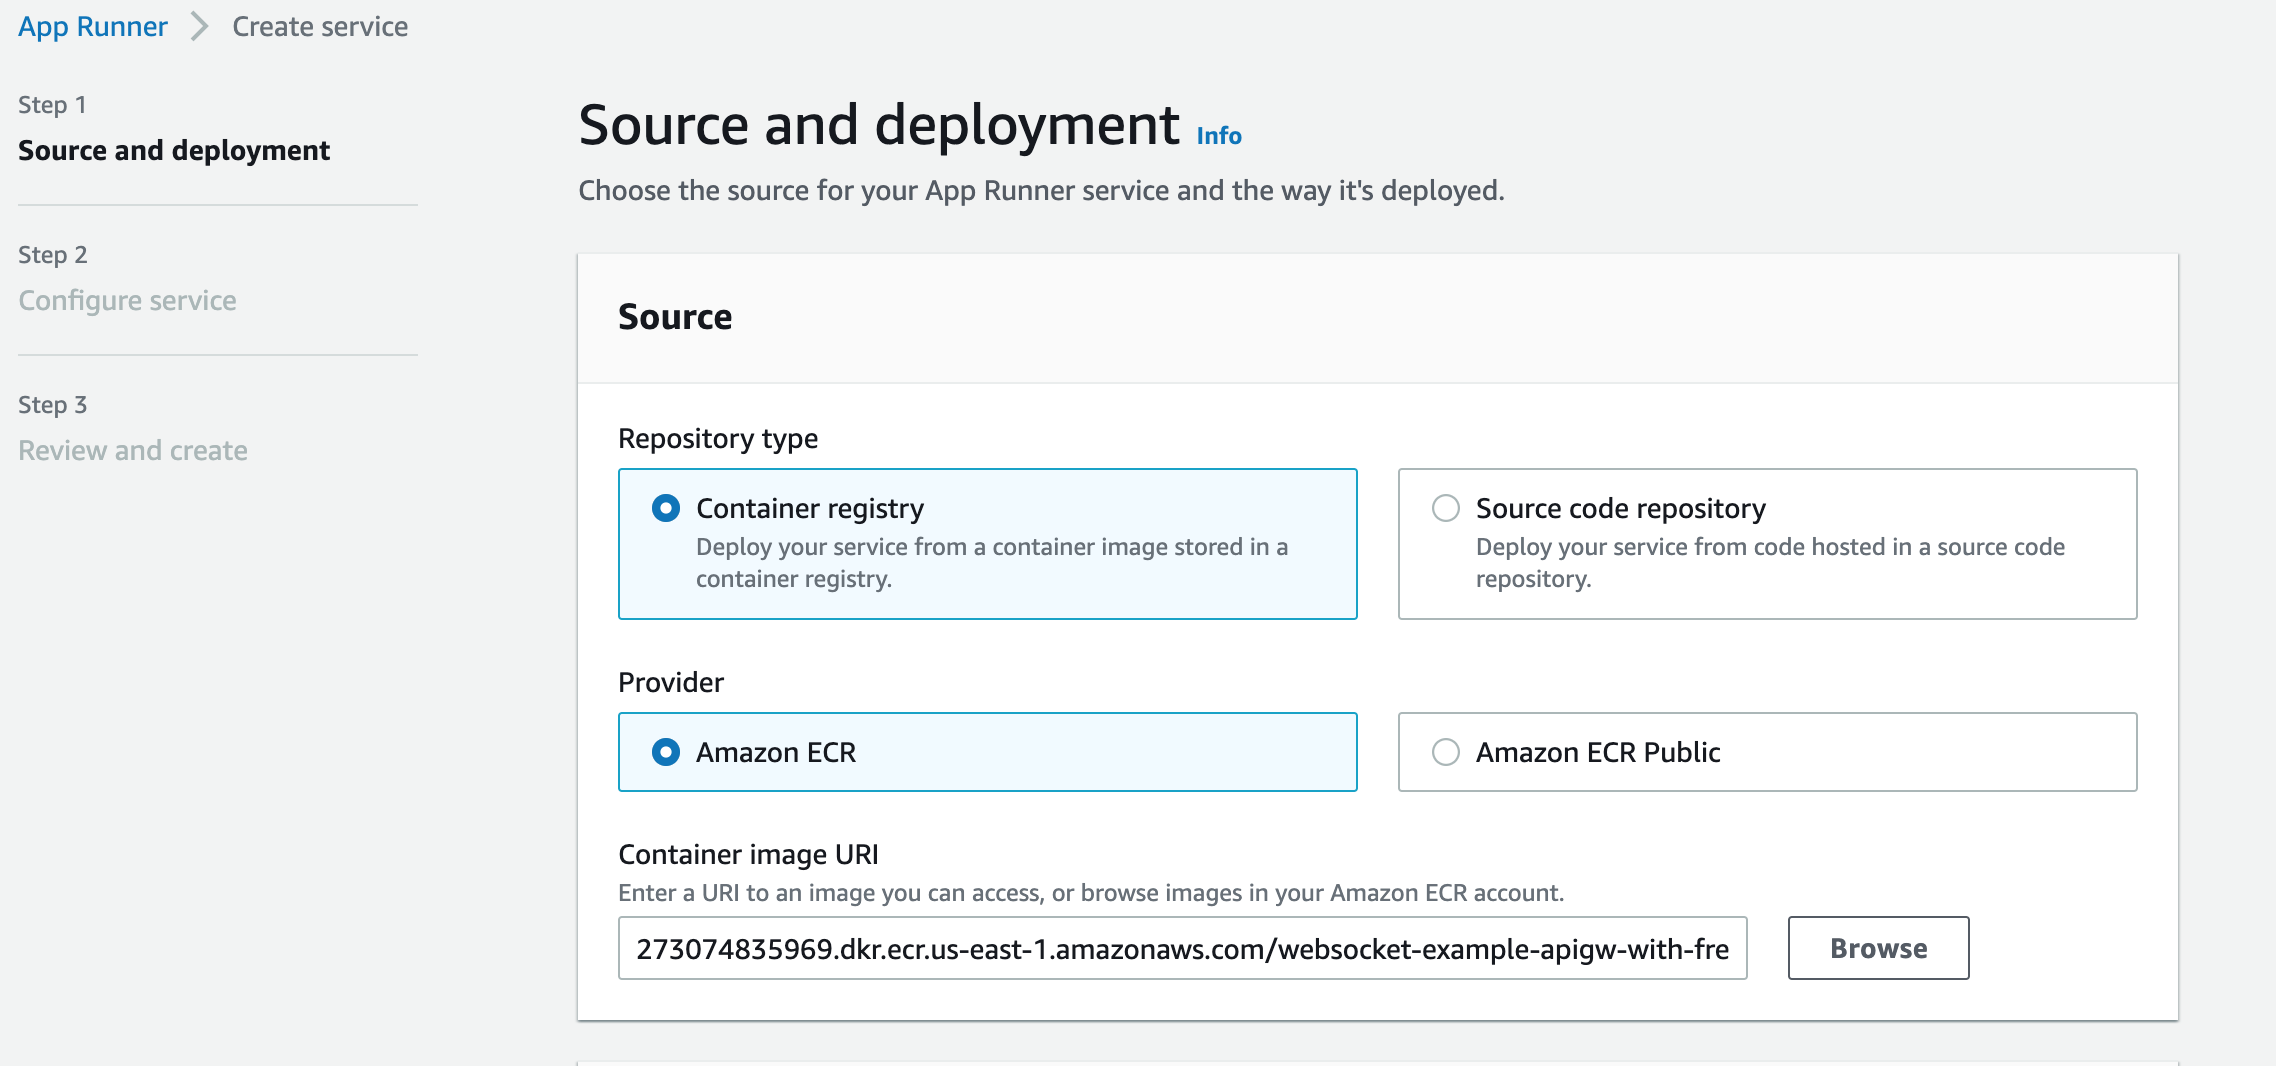
これをAppRunnerで使っていきます。
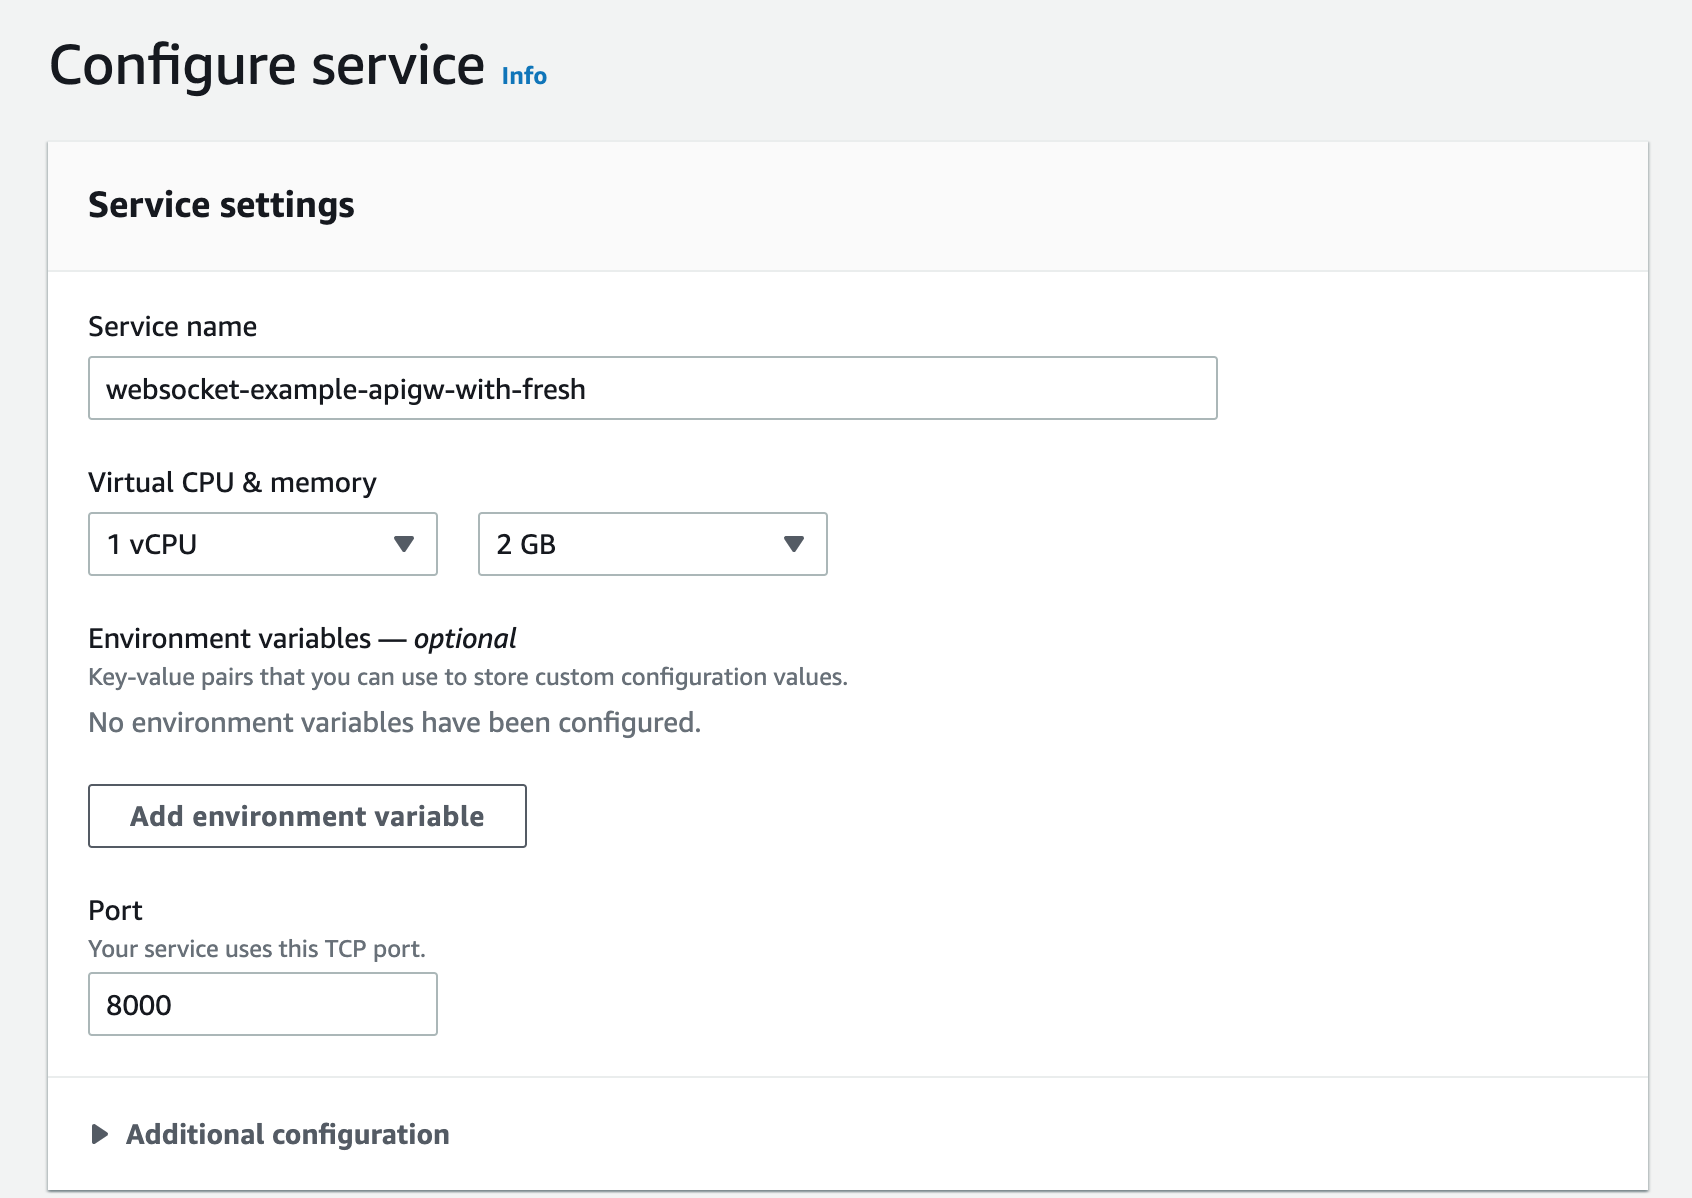
AppRunnerの設定
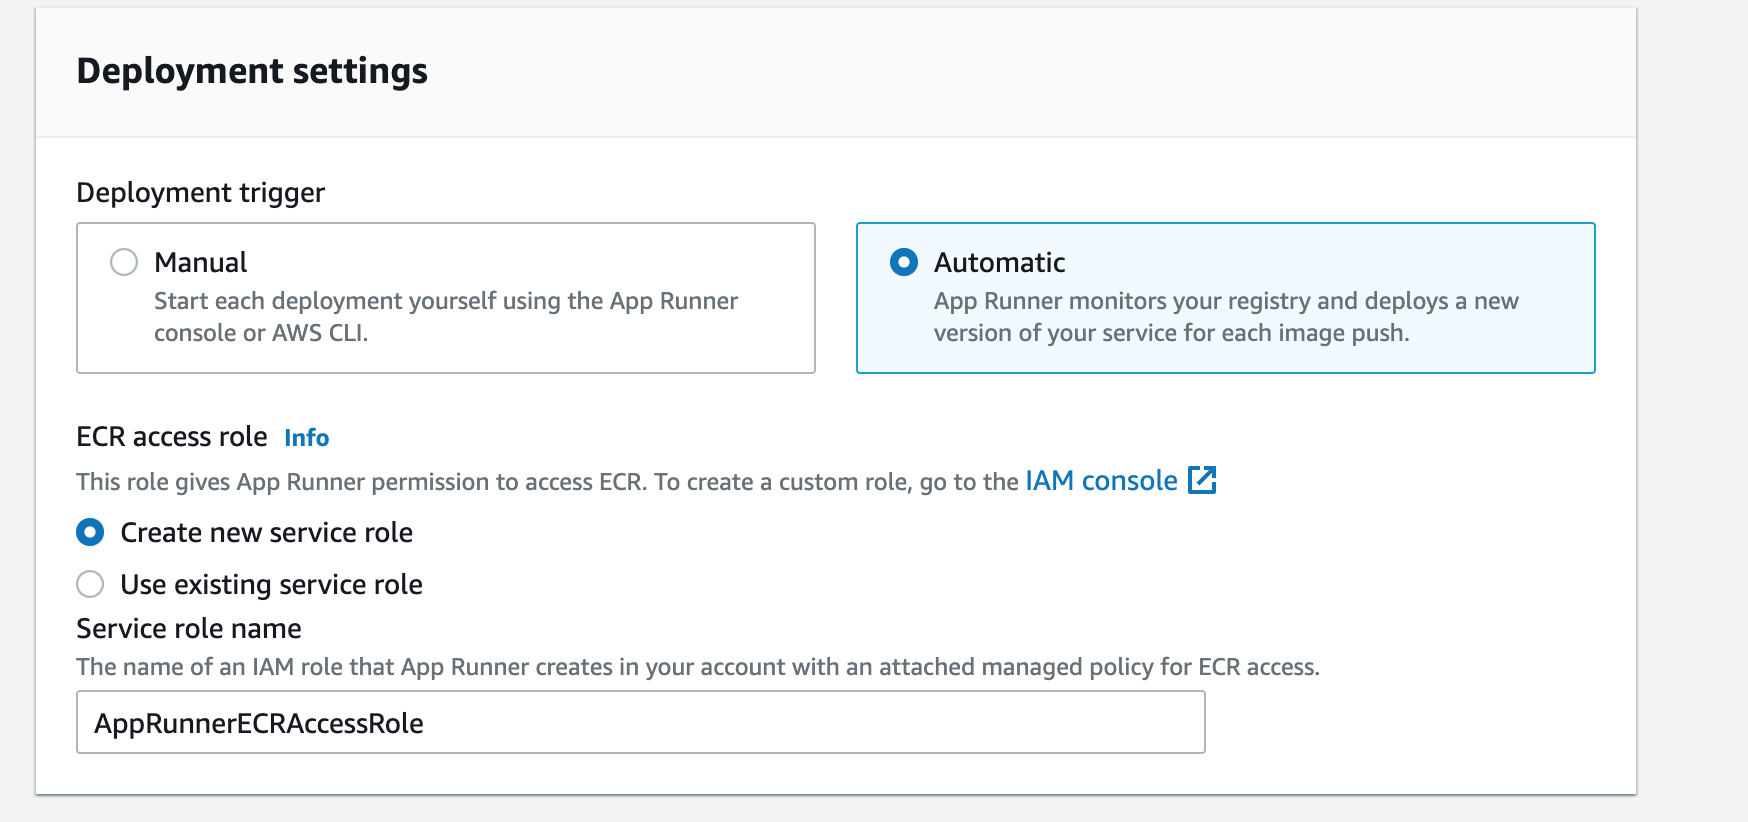
deployはautomatic、role作成はお任せしちゃいました。どうせすぐ消すし。
portは8000としています。その他はデフォルト
deploy完了
無事、deployが完了しました。ECRにあげてしまえばあとはほぼワンアクションでしたね。便利。
そんなわけで完成!
無事動きましたー!
chromeとfirefoxでやりとりしてます。
ソースはこちらにアップしております。
https://github.com/ikegam1/websocket-example-apigw-with-fresh
これまでちゃんとwebsocketを理解できてない部分がありましたが、これで 完全に理解 できた気がします。
今回は蛇足だったけどApp Runnerも便利で良い。
