AmplifyとCognitoユーザープールを使いつつ、AppSync+GraphQLにてコンテンツを管理するシステムがあるとします。
試したい事
- amplifyで構築したシステムにてCognitoユーザープールにて認証の管理
- 認証されたユーザー毎に投稿や、閲覧できるコンテンツを制御する
目次
- 初期構築
- example実装
- readとwriteの権限を制御
まずは初期構築
amplifyのcliのインストールのあたりは上記をみていただくとして、create-react-appのあたりから書きます。
$ npx create-react-app react-amplified
$ cd react-amplified
$ amplify init

? Enter a name for the project reactamplified
? Enter a name for the environment dev
? Choose your default editor: Vim (via Terminal, Mac OS only)
? Choose the type of app that you're building javascript
Please tell us about your project
? What javascript framework are you using react
? Source Directory Path:  src
? Distribution Directory Path: build
? Build Command:  npm run-script build
? Start Command: npm run-script start
ここはおおよそデフォルトです。
次に add auth と add api します。
apiはgraphQLでexampleは “Blogs” with “Posts” and “Comments”) を選んでみる。
$ amplify add auth

 Do you want to use the default authentication and security configuration? Default configuration
 Warning: you will not be able to edit these selections.
 How do you want users to be able to sign in? Username
 Do you want to configure advanced settings? No, I am done.

$ amplify add api

? Please select from one of the below mentioned services: GraphQL
? Provide API name: reactamplified
? Choose the default authorization type for the API Amazon Cognito User Pool
Use a Cognito user pool configured as a part of this project.
? Do you want to configure advanced settings for the GraphQL API No, I am done.
? Do you have an annotated GraphQL schema? No
? Do you want a guided schema creation? Yes
? What best describes your project: One-to-many relationship (e.g., “Blogs” with “Posts” and “Comments”)
? Do you want to edit the schema now? Yes

$ amplify push

? Do you want to generate code for your newly created GraphQL API Yes
? Choose the code generation language target javascript
? Enter the file name pattern of graphql queries, mutations and subscriptions src/graphql/**/*.js
? Do you want to generate/update all possible GraphQL operations - queries, mutations and subscriptions Yes
? Enter maximum statement depth [increase from default if your schema is deeply nested] 2
schima.graphQLはデフォルトでこんな感じになってる
type Blog @model ) {
  id: ID!
  name: String!
  posts: [Post] @connection(keyName: "byBlog", fields: ["id"])
}

type Post @model @key(name: "byBlog", fields: ["blogID"])) {
  id: ID!
  title: String!
  blogID: ID!
  blog: Blog @connection(fields: ["blogID"])
  comments: [Comment] @connection(keyName: "byPost", fields: ["id"])
}

type Comment @model @key(name: "byPost", fields: ["postID", "content"])  {
  id: ID!
  postID: ID!
  post: Post @connection(fields: ["postID"])
  content: String!
}
試しにmockも使ってみよう。
WSL2上のubuntuを使っておりますが、java入ってなかったのでapt-getも実行します。
$ sudo apt-get install default-jre
$ amplify mock


GraphQL schema compiled successfully.

Edit your schema at /mnt/c/Users/masra/react-amplified/amplify/backend/api/reactamplified/schema.graphql or place .graphql files in a directory at /mnt/c/Users/masra/react-amplified/amplify/backend/api/reactamplified/schema
Running GraphQL codegen
✔ Generated GraphQL operations successfully and saved at src/graphql
AppSync Mock endpoint is running at http://192.168.x.1:20002
なんか立ち上がった。
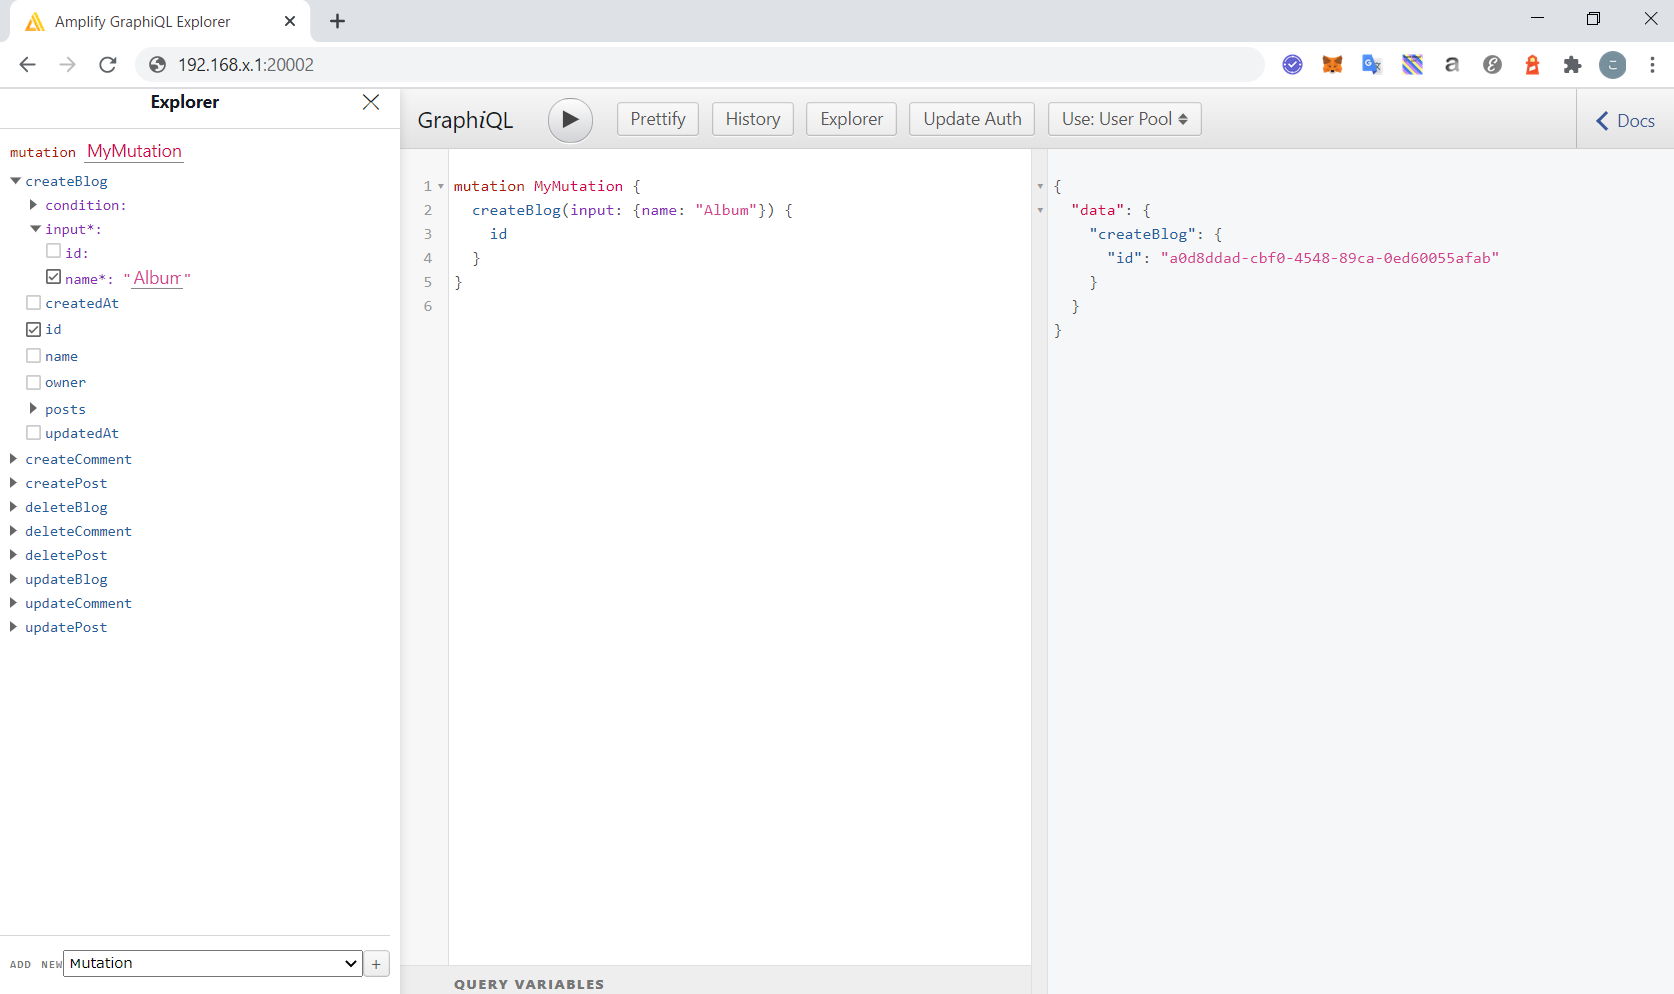
mutationを選択するとcreateとかできる。
example実装
そして、このBlogのschema使ってるサンプル探してみたところ、下記のサイトが参考になりそうでした。なんかWorkShopの時のやつっぽいし、ひとまずこれをやってみるか。
https://amplify-workshop.go-aws.com/40_graphql/10_setting_up_appsync.html
githubはこちら
Albumのアプリ?schemaも変更する必要がありますね。
書き換えたらamplify push。
type Album
@model
@auth(rules: [{allow: owner}]) {
    id: ID!
    name: String!
    photos: [Photo] @connection(keyName: "byAlbum", fields: ["id"])
}

type Photo
@model
@key(name: "byAlbum", fields: ["albumId"], queryField: "listPhotosByAlbum")
@auth(rules: [{allow: owner}]) {
    id: ID!
    albumId: ID!
    album: Album @connection(fields: ["albumId"])
    bucket: String!
    fullsize: PhotoS3Info!
    thumbnail: PhotoS3Info!
}

type PhotoS3Info {
    key: String!
    width: Int!
    height: Int!
}
amplify push
そしてmockのUIで下記を実行しておく。アルバムを2個作る感じかな。
mutation {
    createAlbum(input:{name:"First Album"}) {
        id
        name
    }
}
mutation {
    createAlbum(input:{name:"Second Album"}) {
        id
        name
    }
}
次にApp.jsを書き換える。
https://amplify-workshop.go-aws.com/50_working_with_albums/5_managing_albums.html
ソースは上記ページの ➡️ Replace src/App.js with this content ってあたりにあるボタンをクリックするとコピーできます。
(この段階では、)登録されているAlbumリストをAppSync経由で取得して表示するのと、createAlbumで新規アルバムを追加できる機能があります。
$ vi src/App.js
$ npm install --save aws-amplify react-router-dom @aws-amplify/api aws-amplify-react semantic-ui-react
$ npm run build

> react-amplified@0.1.0 build /mnt/c/Users/masra/react-amplified
> react-scripts build

Creating an optimized production build...
Failed to compile.

./src/App.js
Attempted import error: 'createAlbum' is not exported from './graphql/mutations' (imported as 'mutations').
そして $ npm run start します!
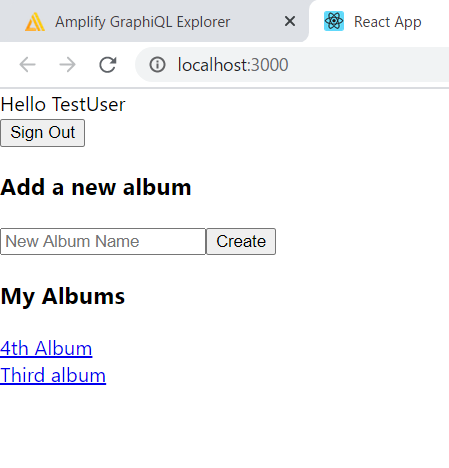
なんかcssとか読み込めてない系だけど、とりあえず機能はしてる。
mockから投稿した First Album とか登録されてないけど、ownerが違うからか。
mockの Update Auth ってとこからログインできそうだし、TestUserでログインしてmockから 5th Albumを作ってみる。
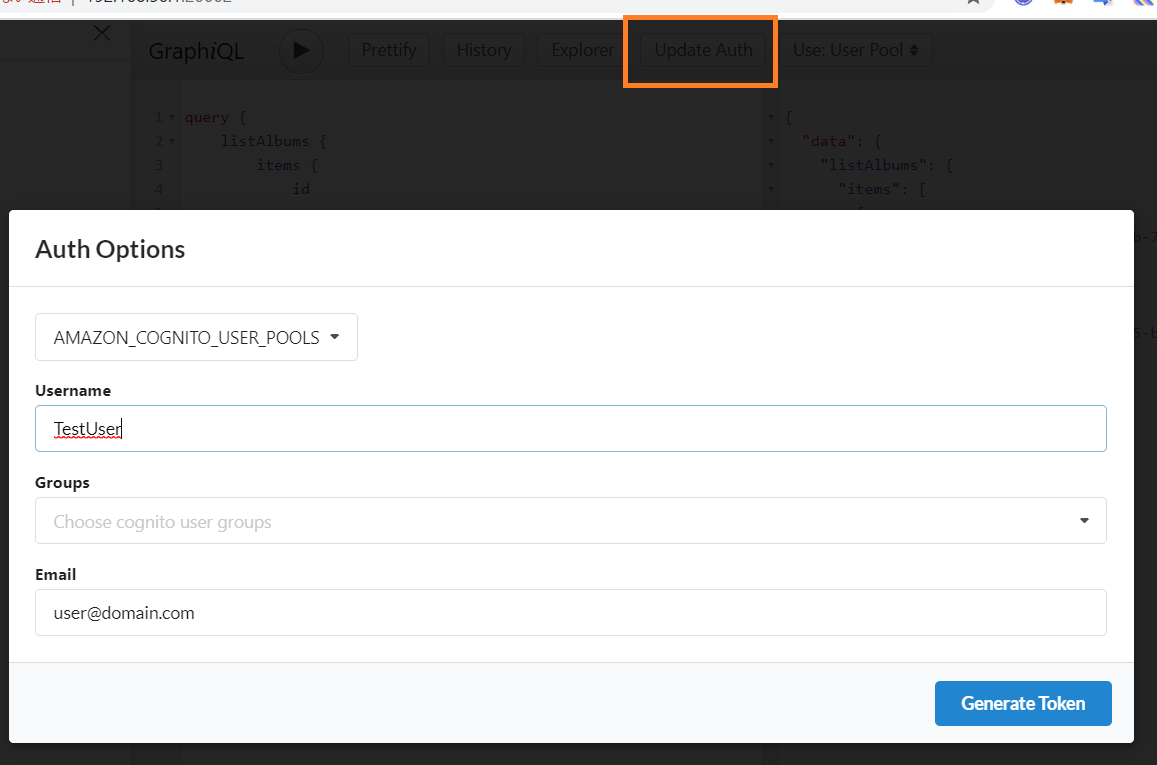
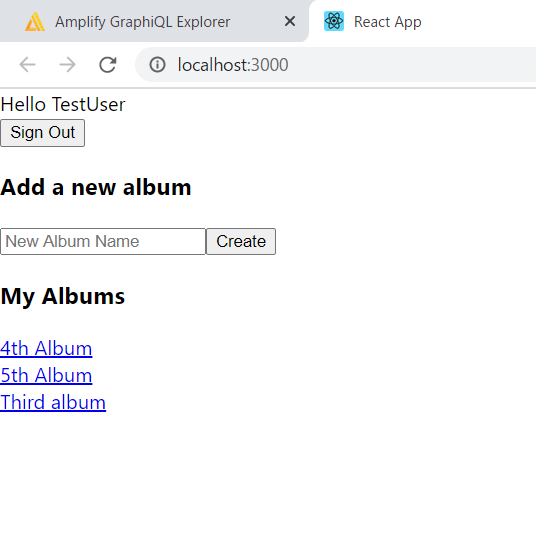
すると TestUserでログインしてるときは無事表示される。
試しに TestUser2 作ってそれでログインしてみたけど、My Albumは空っぽでした。ちゃんと@authが効いてますね。
Workshop的にはこの後、add storageとかしつつ、写真をアップする流れっぽいけど、試したかったのは @authだったので目的は果たした。
・・が、read権限とwrite権限のあたりも試しておこうかな。
readとwriteの権限を制御
こちらが参考にまとまってます。
今回は、owner or private でいい気がする。
これでいいかな?
type Album
type Album
@model
@auth(rules: [
      { allow: owner },
      { allow: private, operations: [read] }
    ])
{
    id: ID!
    name: String!
    photos: [Photo] @connection(keyName: "byAlbum", fields: ["id"])
}

type Photo
@model
@key(name: "byAlbum", fields: ["albumId"], queryField: "listPhotosByAlbum")
@auth(rules: [
      { allow: owner },
      { allow: private, operations: [read] }
    ])
{
    id: ID!
    albumId: ID!
    album: Album @connection(fields: ["albumId"])
    bucket: String!
    fullsize: PhotoS3Info!
    thumbnail: PhotoS3Info!
}

type PhotoS3Info {
    key: String!
    width: Int!
    height: Int!
}
そしてpush。
$ amplify codegen
$ amplify push
$ npm run start
でけたー。
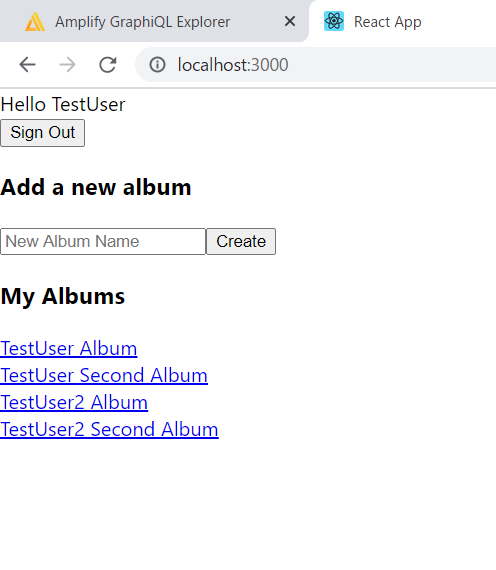
(最初、codegenだけやって**あれ?なんで反映されない?**ってあたふたしてしまったけど、アプリからはpushされたbackendを参照してるからだった。。)
これも忘れずに
$ amplify delete