やりたい事
- vue.js側のボタンでaws iotにpublishしたい
- arduinoでaws iotにsubscribeして取得したデータに応じてサーボを動かしたい
- サーボが回ると餌が投入される仕組み
書いてみると単純。
使うアイテム
- サーボモータ MG92B http://akizukidenshi.com/catalog/g/gM-13228/
5vでもギリギリ動く。家にあったやつをリサイクルです - ESPDuino ここでも使ったセンサーデータ送ってるやつです
- 割りばし
- アルミホイル
- グルーガン
- 安全ピン
- 紐
おおよそこんな感じです。電子工作っぽくないアイテムがいっぱい出てきました。(まあ、タイトルでネタバレしてるんですけども。)
aws iotにpublish
単純にLambdaでやることにしました。
すでに組み込んでいるLambdaがあるのでその方が楽です。
iot = boto3.client('iot-data')

@app.route('/mqtt/{angle}', methods=['GET'], authorizer=authorizer, cors=True)
def publish_mqtt_servo(angle):
    logger.debug('/mqtt/{angle}')
    logger.debug(angle)

    headers = {"Content-Type" : "application/json", "Access-Control-Allow-Origin": "*", "X-Content-Type-Options": "nosniff"}
    try:
        iot.publish(
            topic=iot_topic,
            qos=1,
            payload="%s" % (angle)
        )
        resp = {"statusCode" : 200,
            "body" : "ok",
            "headers" : headers
        }
        return resp
    except:
        logger.debug(traceback.print_exc())

    resp = {"statusCode" : -1,
       "body" : "error",
       "headers" : headers}
    return resp
だいたいこんだけ。これでchalise deployするとapi gatewayにリソースが追加される。
publishするメッセージはシンプルに数値だけです。
ちなみにpython3.6だとopensslのversionがどうたらっていわれたのでpython3.7にしています。
あとlambdaの実行ロールに"iot:Connect"と"iot:Publish"を追加しました。
vue.js
Lambdaを叩くボタンを作ります。
ボタン
    <section class="section" v-show="url">
      <div class="container">
        <b-collapse :open="false">
            <button class="button is-primary" slot="trigger">Servo Controll</button>
            <div class="notification">
              <button class="button is-warning" @click="publishservo(1000)">
                <i class="fas fa-stop"></i>
                <span>Stop</span>
              </button>
              <button class="button is-info" @click="publishservo(1750)">
                <i class="fas fa-play"></i>
                <span>Shoot</span>
              </button>
            </div>
        </b-collapse>
      </div>
    </section>
メソッド
 methods:{
    publishservo: function(angle) {
      self = this;
      console.log(angle)
      Auth.currentSession()
        .then(session => session.idToken.jwtToken)
        .then(token => API.get('RaspiStream', '/mqtt/' + angle.toString(),
            {
                "headers":{"Authorization":token, "Content-Type": 'application/json'}
            }
        ))
        .then(function(response){ self.dialogAlert('publish success!')})
        .catch(err => function(err){this.error = err});
    },
    dialogAlert: function(mess){
      this.$dialog.alert(mess);
    }
}
kinesis videoのURLを取る時にlambda叩いたとのほぼ同じ内容です。
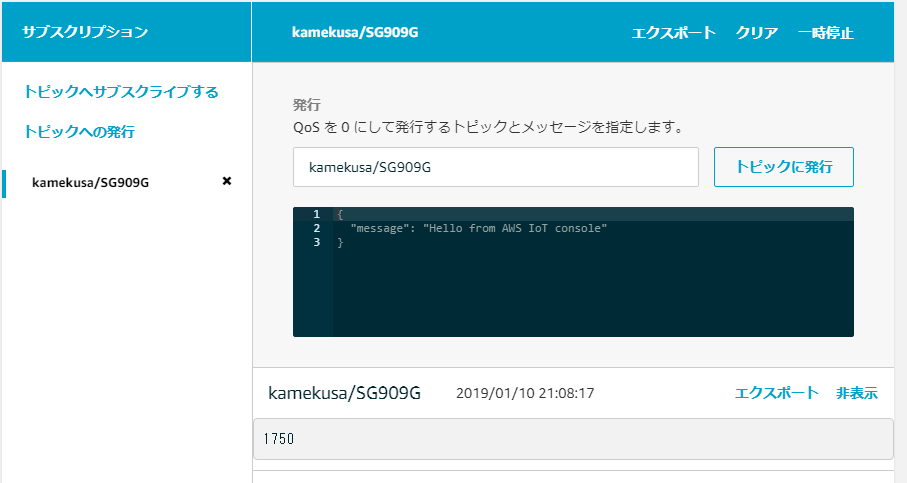
飛びました。渡してる値はサーボのwriteMicrosecondsに渡してる数値で、1000~1750くらいの値を渡してやると今回はちょうどよかった。
ESP8266側
aws iotに飛んだメッセージをキャッチ(subscribe)してサーボをぶん回します。
すでにソースの大半はこの回で入れ込んであるのであと少し。
サーボ動かす部分
# include <Servo.h>
# define SERVOPIN 2
Servo kameServo;
kameServo.attach(SERVOPIN);

void servo_move(int p){
  Serial.print("angle: ");
  Serial.println(p);

  // set the servo position
  kameServo.writeMicroseconds(p);
  delay(1000);
}
subscribeの部分
void subscribe () {
   int rc = client.subscribe(aws_topic_2, MQTT::QOS1, messageArrived);
   if (rc != 0) {
      Serial.print("rc from MQTT subscribe is ");
      Serial.println(rc);
      return;
   }
   Serial.println("MQTT subscribed");
}
で、subscribeのコールバックで走るmessageArrivedの中でservo_move(pos);してます。
工作の時間
丸めた新聞紙の周りにアルミをぐるぐる巻いて、半分に切ったやつ。(新聞紙は取り除いてある)
切り口はグルーガンで固めました。ちなみに針金はハンガー
適当な長さの割りばしをアームにしただけ。トリガー役です。
完成
くす玉システム #qiita用 pic.twitter.com/Ofct3PH3EV
— マスラオ (@masrao) 2019年1月13日
常設する予定はないのでモーターとかは仮止め。使うのは年に2,3回でしょうね。
なお、くす玉にしたのは食材の保存を考えての事もあります。
あとはシンプルで誤動作しにくいかなと。
いろいろ複雑な仕組みも考えはしたんですけどね。
さて、これで2泊3日くらいなら外出できそうだ。
https://github.com/ikegam1/dht22-to-arduino-to-awsiot
https://github.com/ikegam1/raspi-kvs-amplify-lambda-frontend
https://github.com/ikegam1/raspi-kvs-amplify-lambda-backend


